What’s better than holiday decor? The answer is….Winter decorations.
Once you’ve taken down all the holiday decor and your house looks bare, my simple DIY Let it Snow Wreath is the perfect pop of color to cheer on the winter weather transition.

DIY Let It Snow Wreath For Under $5
I am about to share a DIY Let It Snow Wreath for the whole winter season for under $5.
If you don’t celebrate Christmas, and you want a basic wreath to go the long mile from November through February, this is your DIY.
Simple and spirited are the vibes of this wreath.
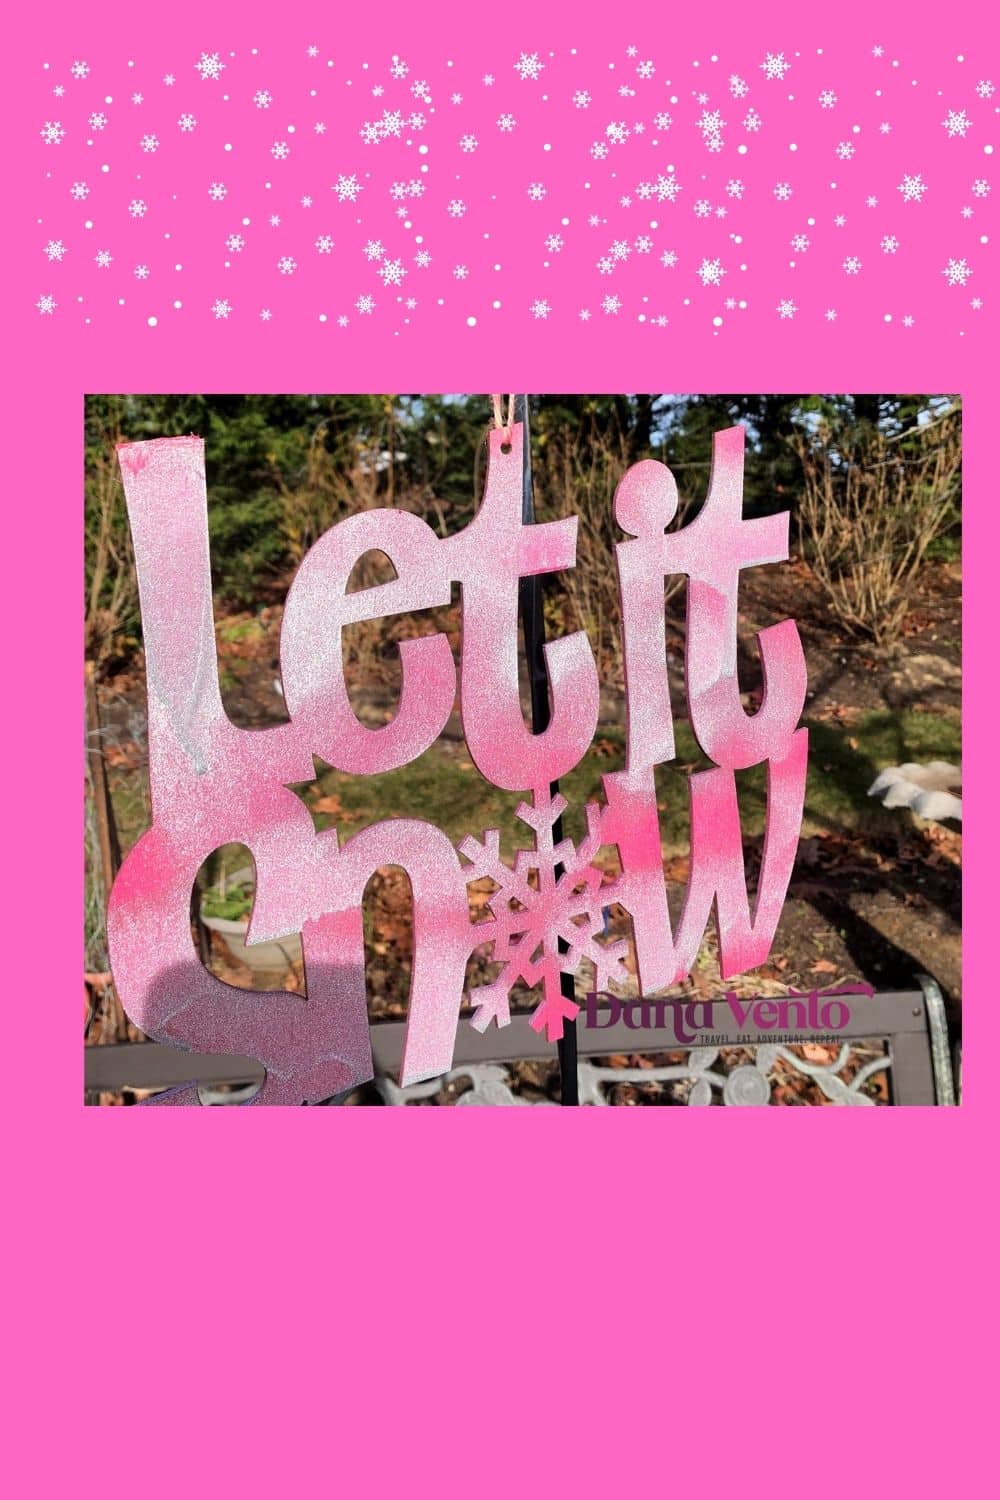
In fact, the DIY Let It Snow Wreath perfectly celebrates winter.
While I may not like driving in snow, I do love snowflakes.
Now you can embrace your love of snow throughout the winter and holiday season!
For those that regularly craft, you probably have everything you need to make this wreath.
Trying your hand at a DIY craft for the first time?
No worries, if you have not crafted before,
this wreath can be made for under $5 and if you are inventive, you will have a lot of items around your home to use.
My DIY Let Is Snow Wreath is best used on interior doors or those that don’t get a lot of water.
Using my favorite tool, and about an hour total I’ll show you how to craft this Let It, Snow, Wreath!
DIY Let It Snow Wreath – Whatever color YOU want?
Take my wreath and use it as a guide to craft your own.
Simply consider it a springboard and then customize it, after all, we all love our own favorite colors and have different color schemes to match in our homes!

Use sprigs of floral instead of green garland.
Additionally, you could use bulbs or wreath foam to build it out.
For those that love bows, you could wrap this in a multitude of bows, really there are endless options for this Let It Snow Wreath.

Change the color of the Let It Snow by choosing your favorite colors of the season.
Everything I have used except for three pieces, I had in my home.
Also, you could take apart old wreaths you have and actually ‘re-install’ or ‘re-invent’ your own.
Want A HUGE Ornament Wreath Made with Pool Noodles? Try This DIY.
Paint & The Wreath.
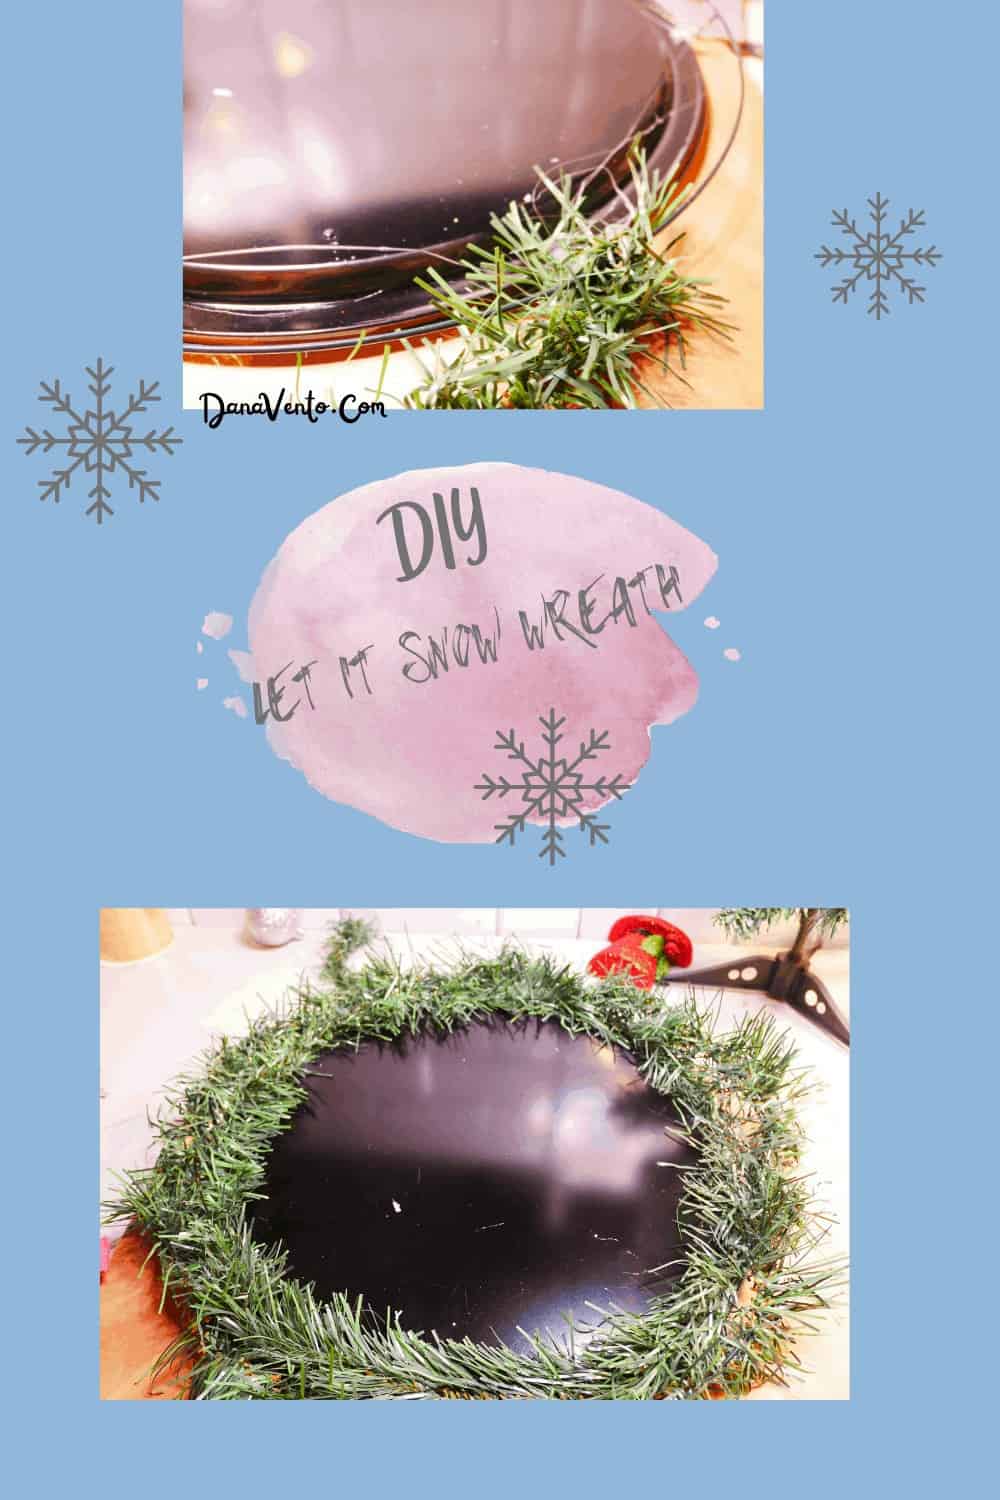
Yes, I used exterior paint.
Then I followed it with a clear matter to seal the deal.
If I want to place this on a door that does not get battered with the elements I could.
Or, if I place it in a bathroom that gets a bit of steam, it’s going to survive (at least I hope, no promises, just my thought process).

You can use any color paint for your DIY Let It Snow wreath!
Honestly, I chose pink because it was feminine, light, and different.
Plus pink interplayed well with the silver sparkles.
I believe that light blue or dark blue would have also been a great color choice.
There’s no right or the wrong color, use what you already have and work with it.
Do you love Shabby Chic Decor for your tabletops? Try This Tabletop Tree.
Sparkles and Baubles

Another reason I loved this project so much is that I heart sparkles and baubles.
Winter absolutely plays into sparkle season.
Snow glistens as glitter one might say.
Baubles abound because it’s the holiday season and finding a few favorite trinkets is easy!
Whether you upcycle items you have and make them sparkle or buy a few sparkly baubles make your wreath shine.
So are you ready to craft this simple DIY Let It Snow Wreath?
Directions For DIY Let It Snow Wreath
DIY Let It Snow Wreath For The Whole Winter Season
Materials
- Glue Gun & Glue
- Wreath Frame dollar stores ($1)
- Leftover Garland or pieces of swag
- Wooden Sign ‘Let It Snow’ from a dollar store $
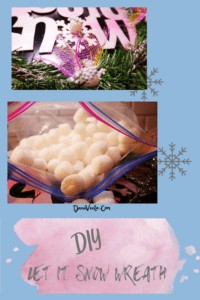
- Styrofoam pieces from shipped packages is what I used
- Vase Filler from the previous project but also available at the dollar stores
- Pink Spray Paint or any color, blue, purple, etc
- One Pizza Pan dollar store or one you don’t use ($1)
- Pieces of metallic ribbon or bow you have
- Sprigs from old wreaths or previous projects that sparkle
- **Optional** Matte Clear spray paint
Instructions
- First, spray paint your pizza sheet black.
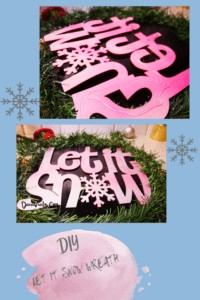
- Then Paint the Let It Snow Sign in Pink.
- Allow them both to dry before attempting to handle.
- For the Let It Snow In Pink, I marbled it with some Metallic exterior paint as well about 2 hours after painting it pink to have it shimmer more like the snow.
- Allow this to dry several hours and follow with clear matte spray if you are choosing to add clear spray.
- Otherwise, allow the painted pan to set up to 24 hours before handling.
- Gather your supplies so they all are within reach of you and your glue gun.
- Invert the pan and place it inside the wreath frame.
- The Wreath frame will be right side up, and the pizza pan will be inverted with the painted side LOOKING at you.
- See the video and images in the post to understand.
- Now glue the pan to the wreath frame.
- Next, it is time to add the garland or swags to the exterior of the frame.
- Wrap one layer on the outermost part of the frame, using the frame as your guide for wrapping.
- Along the way, twist it between the frame and the exterior (refer to images) and also add a few dabs of hot glue to make sure it is secure.
- Use more of the garland on the interior to trim and hide the frame.
- Before installing the Let It Snow sign in the middle of the pan, do a test run for placement.
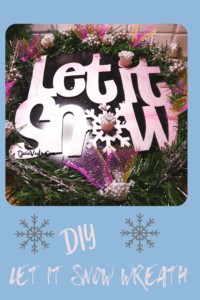
- Once you are satisfied, glue the back of the sign and then place it CENTERED ON THE PAN.
- Next, I added some glitter sprigs I had, hot gluing them for a pop of glistening silver.
- Because it might look sparse depending on the garland you used you can either add more garland or swags or just add these sprigs.
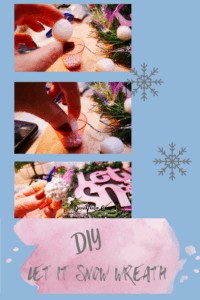
- Then I took these little styrofoam balls and lightly covered them with hot glue (on low) then dipped them into a cup that had vase filler glitter balls to make it look like glistening snow.
- After I then glued those onto the wreath and the Let It Snow Sign.
- On the Let It Snow sign, I attached one ball to dot on the letter ‘i" & on in the middle of the snowflake.
- Then, take some metallic bow in about 3" pieces by 2"W and scrunch them, using them as fill-in different areas around the wreath for color pops and to tie in the pink Let It Snow Sign.
- Last I added Twine on the back as a means to hang and disguised it with a pink pearl-like necklace crafting item I had left from making a Hot Air Balloon.
- Using a wreath hanger, hang on a door and ENJOY ~ Dana XO





Leave a Reply