Physical activity and my travel seem to go hand in hand.
One year when we visited an amusement park we walked more than 7 miles a day.
Another trip we managed to walk over 12 miles a day just by walking through towns and discovering incredible hotels.
Those areas did not have hiking trails or boast natural scenery but we sure exercised.
Colorado Springs offers a plethora of hiking trails that range in scale from easy to difficult.
Don’t forget to factor in the elevation you are already in and how intense that can make the cardio workout.
What I love about hiking are the multiple options when you get to a hiking destination.
Will you choose the easier trail or the harder trail?
Will, you go for scenery and photos or are you going for the ‘All In’ exercise.
Admittedly, on my recent trip to Colorado Springs, I wanted scenery and less exercise.
I captured scenery and some intense cardio workouts in hiking!
Lavishly live travel out loud, use my picks of 2 incredible hikes with scenic views in Colorado Springs as a springboard for planning.
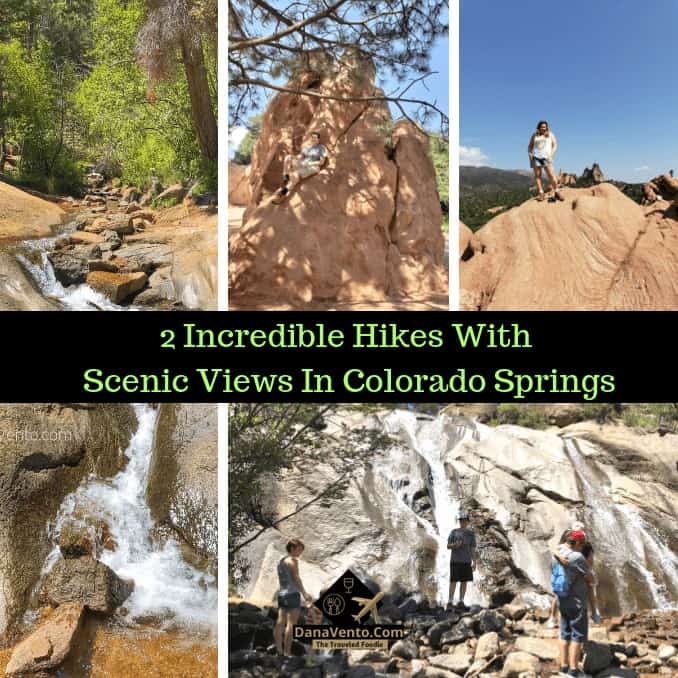
2 Incredible Hikes With Scenic Views in Colorado Springs
The hiking areas I will share are all in the Colorado Springs Area.
Each is easily accessible. There are no fees to park or hike in these areas.
Photo ops are endless, the outdoor activity is limited only by your activity level wants for physical activity.
One trail is accessible by stroller, and wheelchair.
The other is not conducive to both and is a bit more challenging, though truly dependent on your skill level as challenging is a word that is different for each person!
For any trip that includes hiking, I definitely will advise you to pack a backpack and your hiking boots.
Both things will come in handy when you hike. Trust me, you don’t want to get caught without things you need with you, definitely, not a good idea.
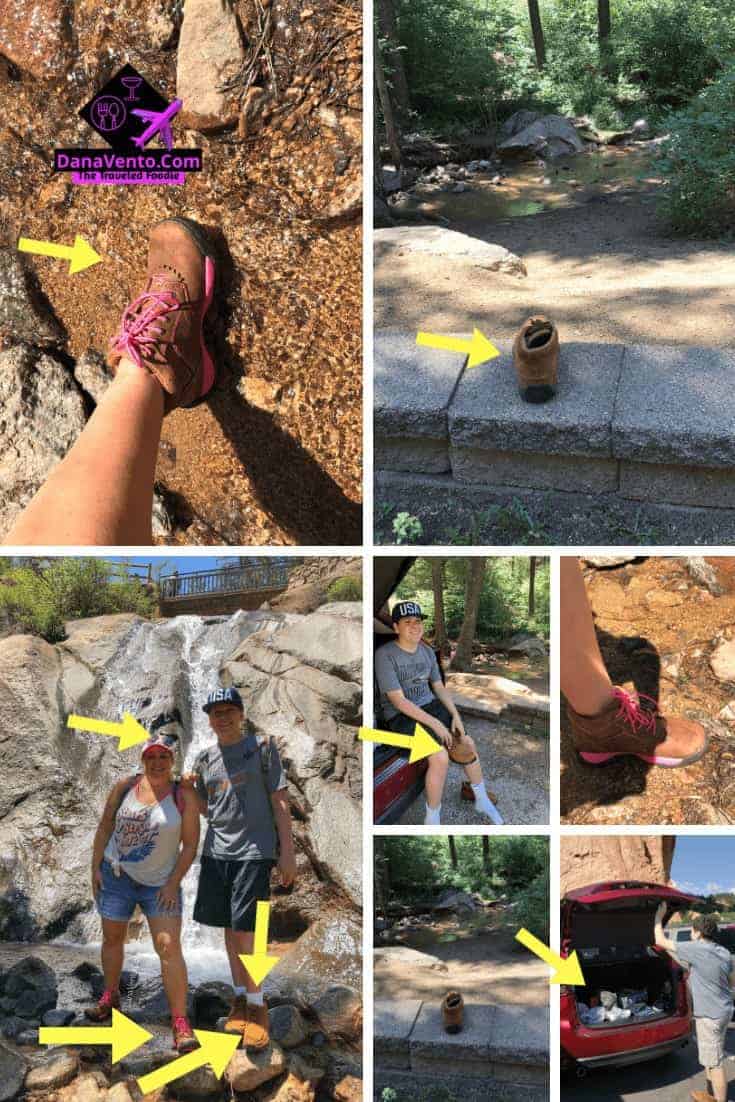
On my feet: Twisted X Style Number: WAL0007.
They are Women’s All-Around Lacer – Oiled Saddle/Pink.
Where Niko Travels has on Style Number: MHK0003.
The Twisted X on his feet are Men’s Hiker Shoe in Brown!
We needed comfort, durability, and stability for the pathways we were choosing.
Layer By Layer
First of all, your day hikes need to be planned.
Then you can decide what to wear.
Remember mornings start off cooler, so you need peelable layers.
I suggest for summer hikes, longer shorts, to protect from brush scrapes.
Additionally, tall socks, and hiking boots.
As for shirts, add a long sleeve shirt with a tank underneath, as the morning temperature changes, so will your body temperature, so peel baby peel.
Tie the shirt around your waste. Don’t forget a hat.
Backpack
Now for inside the backpack, try to keep things simple.
Water bottles, sunscreen, bug repellant wipes, hand sanitizer, and tissue come to mind first.
Don’t forget lip balm, trail mix for energy, and a disposable raincoat.
You will want your smartphone even if you are in a no-service area you can still use it as a compass and a flashlight, etc.
Remember to bring along a charger and a cord to keep it powered up.
If you have allergies, bring along Benadryl, your epi-pen, and your inhaler.
Where To Hike & Succeed in a Few Hours
I am not the one that wants to trek for hours to get to the prized picture.
Rather I want to enjoy the trail and not just hike for the glory of a photo.
I want to go, hike, enjoy and then claim the other half of my day doing something else.
There’s just too much to pack into vacation days to be gone day-long.
Now if I return, I will hike the longer trails since I will have already seen some things!
Call it a multi-tasking vacation, but its’ my personal preference.
The funny thing about that, on the trails, we heard people saying, “ok we did this now what else are we gonna do today!? ” LOVE IT!
Therefore, let me clue you in here, I am about to share with you hiking locations in Colorado Springs.
What I am about to share will allow you to fulfill your wanderlust without full-day involvement.
However, there is a caveat.
Knowingly, you will get funneled into the ‘this is incredible I want more mindset’ (I do too), there are other options to increase your time at each of these destinations.
I am just sharing the tip of the iceberg when it comes to each of the following destinations.
What this means to you is that each place I traveled to offered multiple trails with differing distances.
You can choose if you want to do more or just dead-end it at the end of your trail!
Also, I don’t do places without bathrooms, not my style either (this totally works against me when we go to Dude Ranches and ride horses, lol!)
Anyway, everywhere I will share has a visitor center and bathrooms, so use them before you hit the trails!
Worth mentioning: before your hike do understand there can be mountain lions and black bears on any of these trails.
Bells are good to keep with you or on your backpack and leave no trash behind!
2 Incredible Hikes With Scenic Views in Colorado Springs
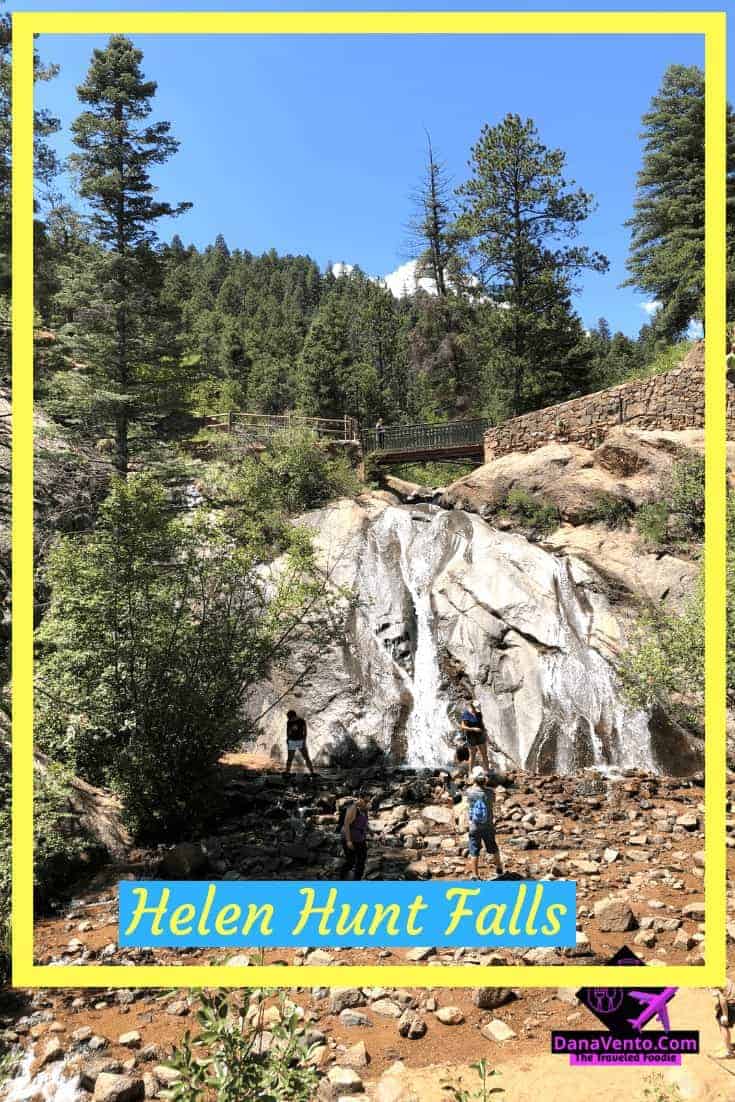
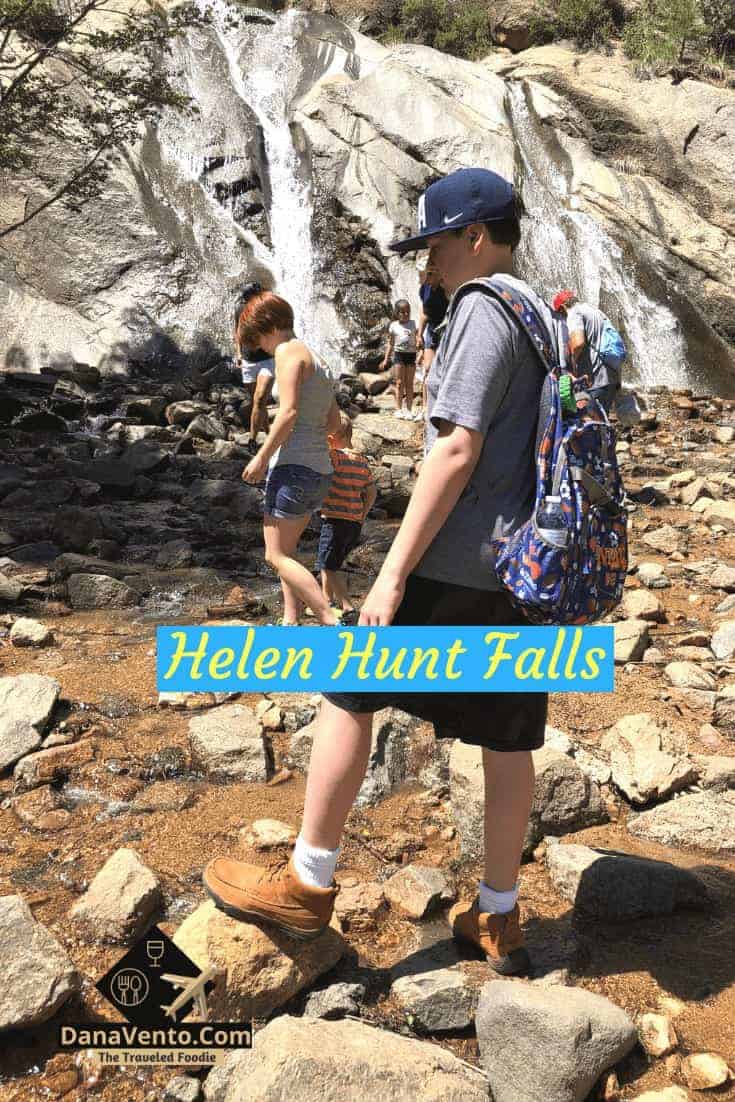
Helen Hunt Falls
I Only hike as a side activity, I am not a pro, so I needed the hike to be just lightly challenging.
Remember we are at about 6000 feet in elevation already so we are working on that challenge which is a steep change from good old Pittsburgh!
Helen Hunt Falls is located in North Cheyenne Canon Park.
There are tons of trails here for all skill levels from beginner to pro.
You choose your path and hang with it.
For me, parking close enough to the falls and then once at the falls continuing to the top was plenty for me.
That challenge actually took us about 1 hour from top to bottom.
It was about 85° outside by the time we were done.
Want my thoughts on this trail?
Scroll down to see me live chatting about the hike in comparison to training for the Olympics, lol!
Pictures At Helen Hunt Falls
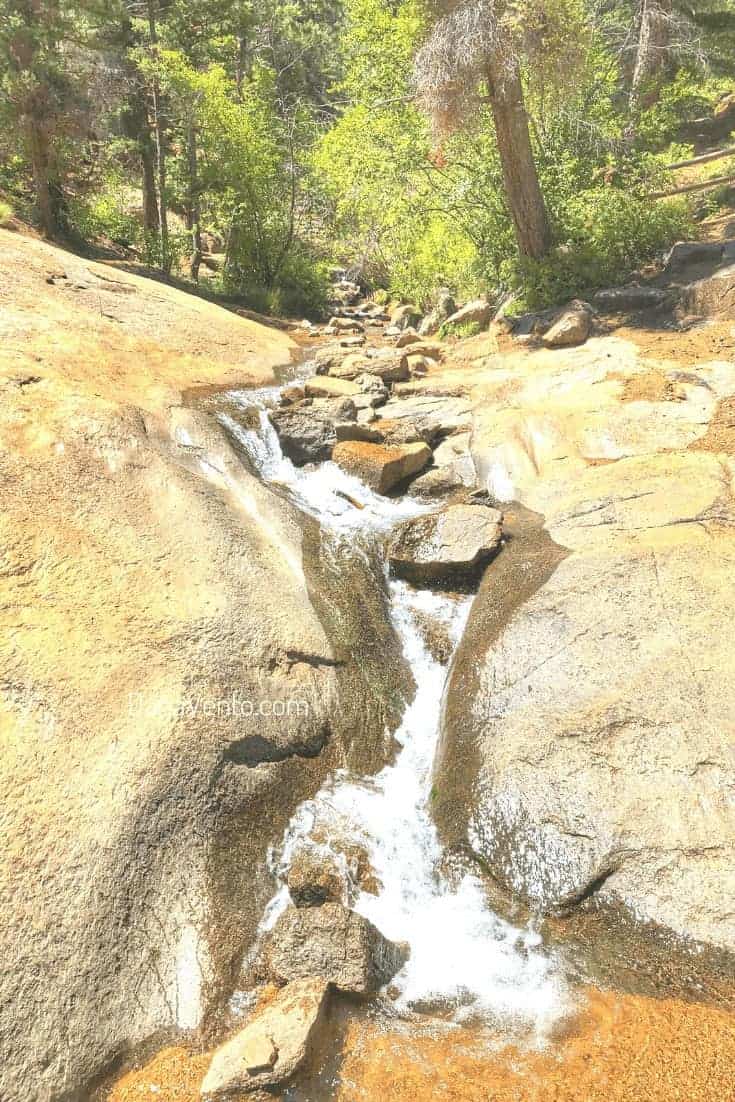
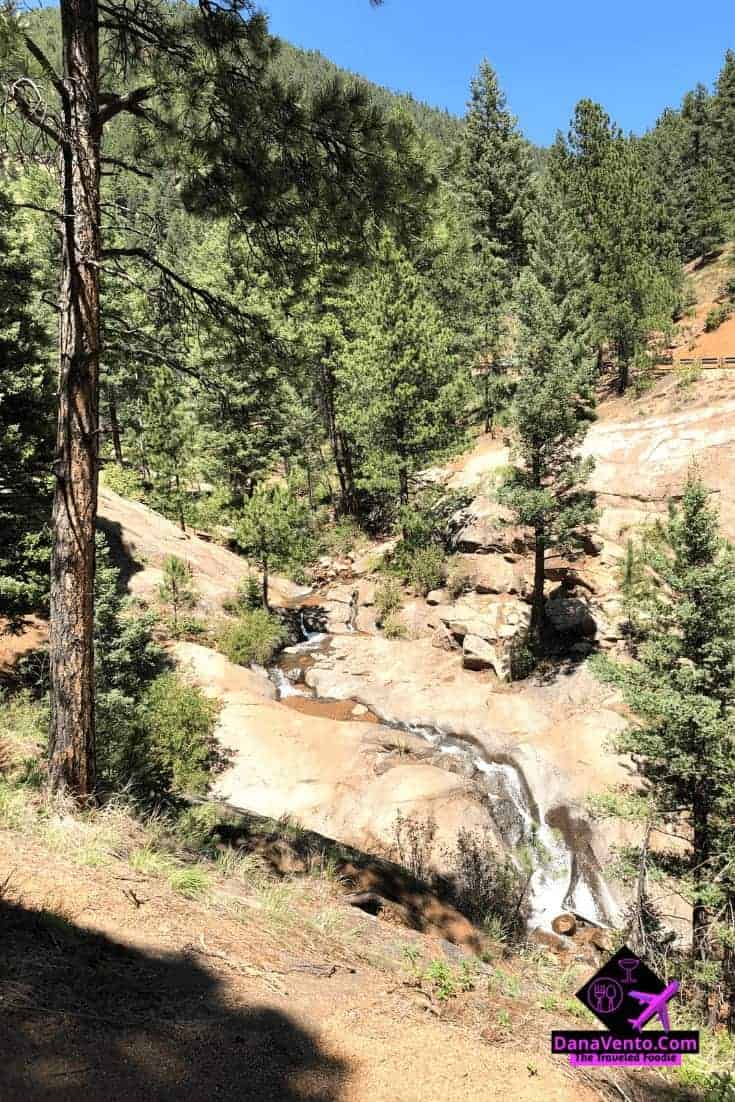
Due to the drought, we got a lot closer than most will.
We were able to get to the falls and photo right in front of them without being swept away.
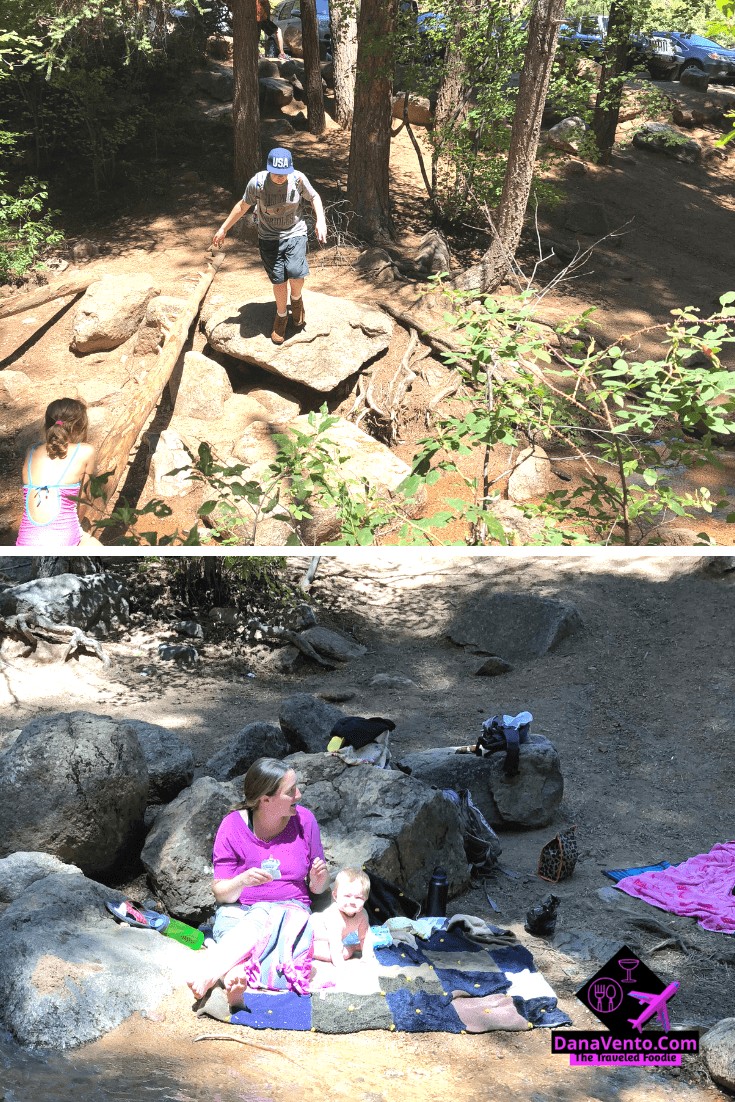
It was pretty incredible. As the water trickled downstream, we followed the Cheyenne Creek back to the car.
You can see how low the water was, but it was the perfect path back to the car.
We were in the shade and it was cool walking back.
There were a few challenges along the way and of course as I mention later, I tripped, but whatever, it’s all good!
We used our hiking boots are waterproof and wonderful to keep our traction on the rocks and through the water.
Often we were climbing edges that did not offer compact ground so our hiking boots dug in and kept us steady with terra firma!
Now Where Niko Travels decided to be more like a duck and puddled through the creek.
Conversely, I took more of the high ground because I had already tripped and had enough.
I hike but I am not going to claim gracefulness. LOL!
There were other brief moments when I wondered if Where Niko Travels was going to actually fall in himself.
He succeeded without issue which was the goal. Well maybe not his goal, but mine anyway!
Silver Cascade Trails to The Top
Want a better view and more of a hike?
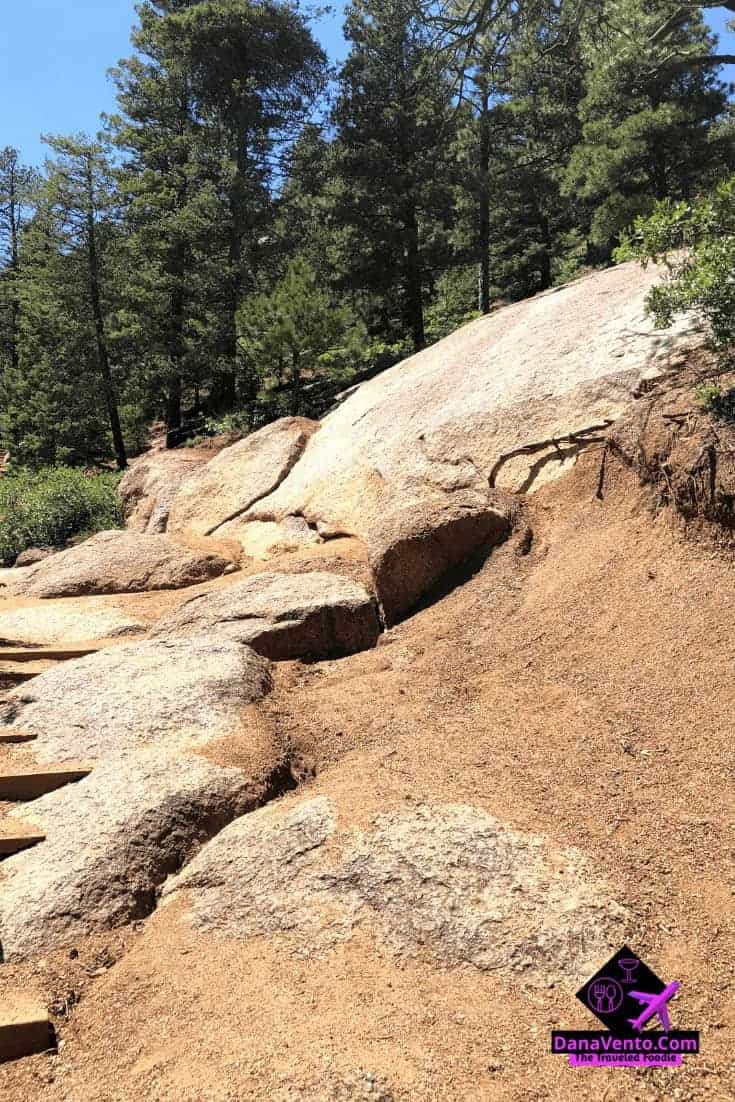
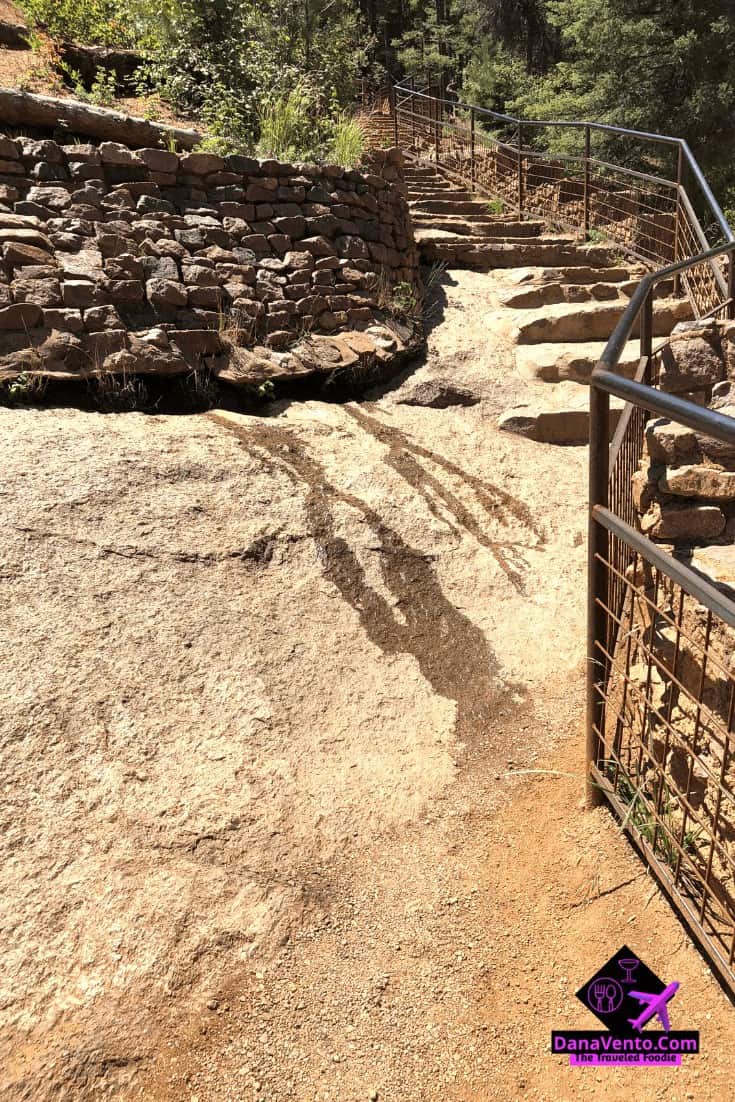
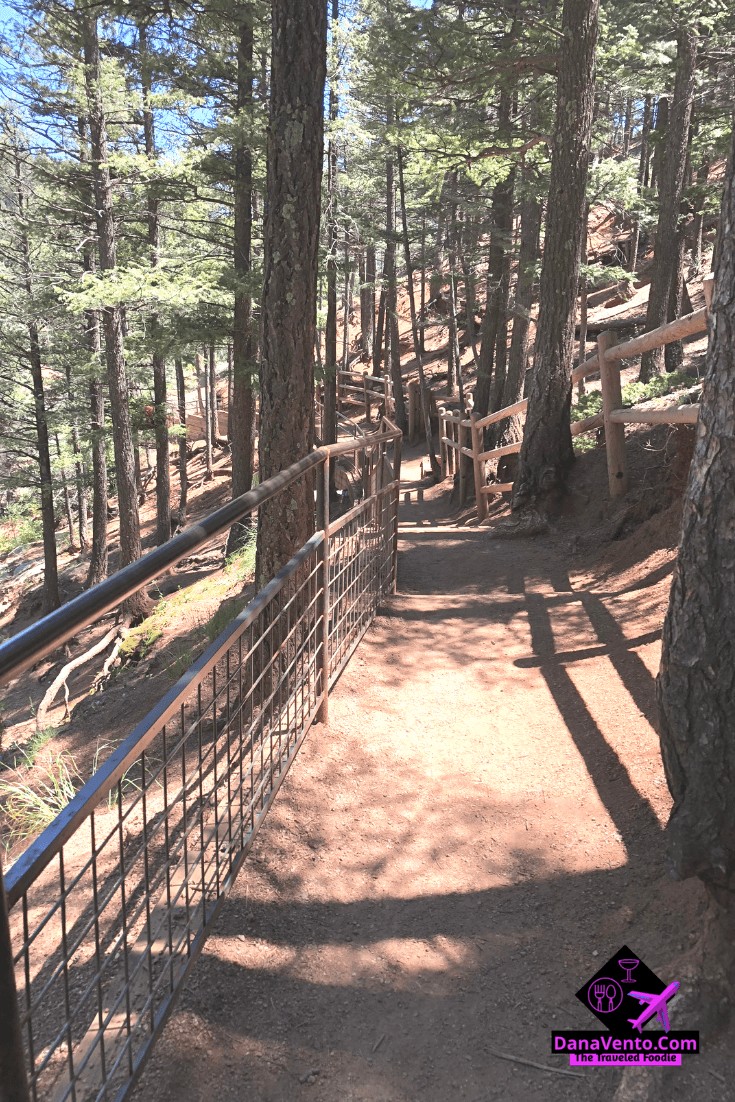
We took the additional 1/3 mile hike, which is completely uphill, on terraced steps to go all the way up.
No kidding the top was the end of the trail.
We knew before we got up there that other than treetops there would be no wildly flowing water due to the drought.
Also, a lot of people stopped us and told us to go back because there was nothing to see but we wanted to go to the top and we did!
The length of the trail from Helen Hunt falls to the top of Silver Cascade falls is about 1/3 of a mile but in the heat and sun, it feels like a bit more.
Factor in the uphill walking and elevation and it can definitely catch up with you! When atop Silver Cascade Falls 7400′ so you are climbing!
Want my rendition of how strenuous this trail is for uphill climbing?
I exercise hard 6 days a week in my real life for an hour a day, and this still winded me!
Atop Silver Cascade Trails
I highly suggest a fabulous bridge picture (as long as the park ranger is not there, they won’t let you!).
Additionally, I also suggest using the utmost caution when photoing at the top if it is windy.
Do enjoy the view and most likely people will offer to help you capture that photo!
On the way down, watch your footing, we watched a few people ‘bite it’ just as they started their descent.
It is gravel and sand-like substance so it’s harder to capture your footing. Take your time.
Also, take photos on the way down too because of the perspective changes so much IMO!
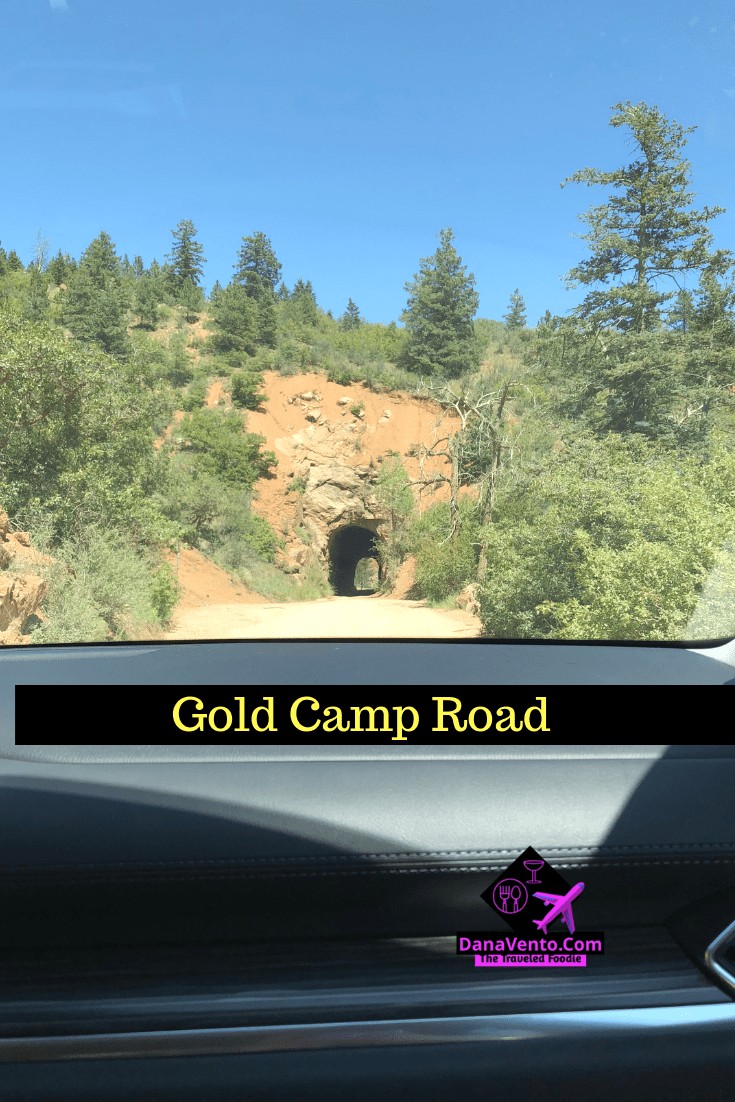
Gold Camp Road
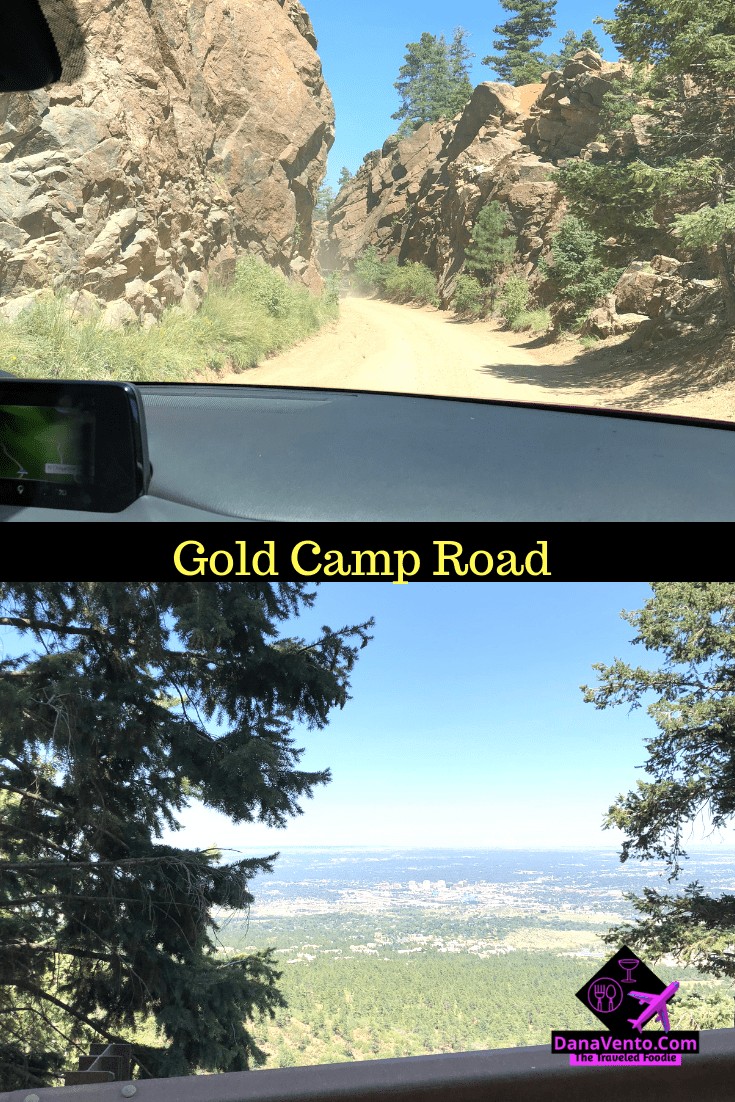
Yes, I will sound a little dorky, but trust me, it’s because these tunnels are funky and in a pretty scary ride!
Just saying. Read on to learn more about where to find this road.
In fact one of the most dangerous road you can drive on, or so I found out after we drove on it!
It is truly a tough drive. That is all I am going to say, and more because of oncoming, not the road.
Also, the tunnels are rumored to be haunted, we found this out after we left the destination.
Pass the visitor center and go up the road. TO the right there is n unmarked (though marked road) named Gold Camp Road.
Want a challenge? Drive it. The road was way more than I thought it would be.
I would never drive it again, but to be able to say, been there, done that, is all good with me!
Why? It is one lane, 2-way road and most of the time there is no guardrail on the one side of the road, with drops you don’t want to even know about.
The right side of the car was a challenge always.
Of course, someone decided to just get out and park their car, it’s not like the road is not busy.
We were there on a weekend I had people behind me and always yielding at the tunnels.
There were no free moments. So, please don’t stop and get out unless there is a pull off!
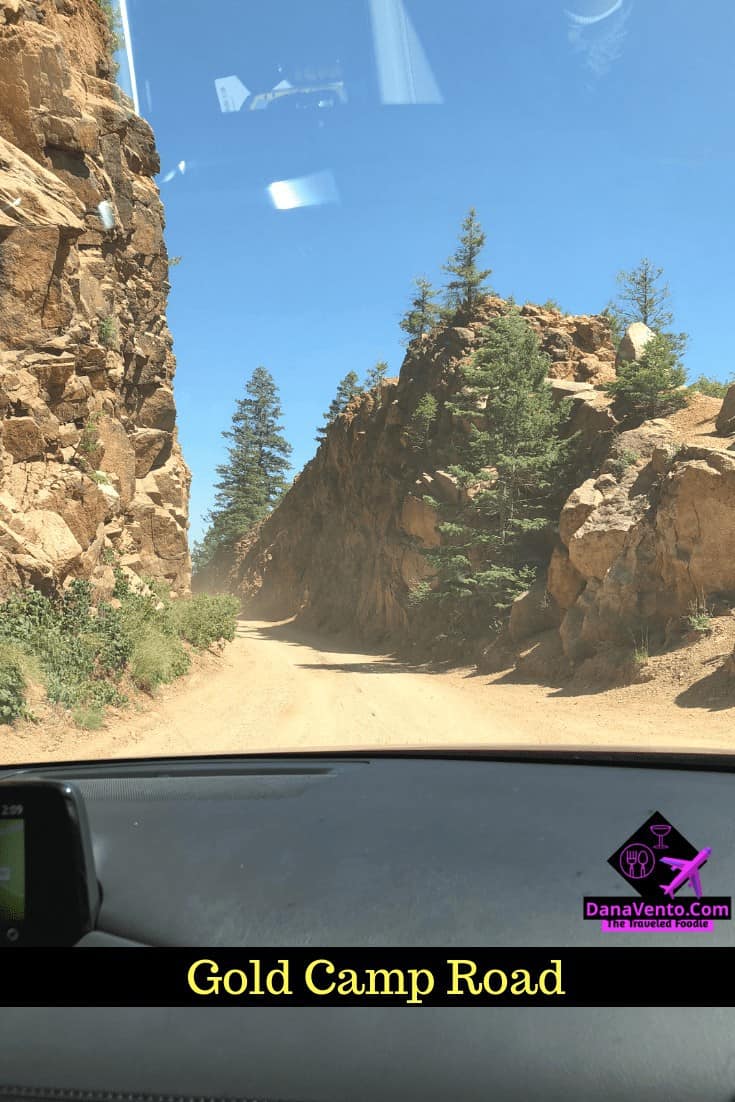
When it is time to go through a tunnel or a very narrow pass, you often have to side angle your car so others can pass and then take your turn.
With reference to the tunnel, you have to really drive slow to the entrance and see if there is traffic on the other end.
There were some serious idiots driving up here and way too fast for the road that is dirt and adventurous.
I pulled over a few times just to let them pass because 25 was my max speed, and yeah call me cautious or someone who values their life, your choice.
Truly this road will leave you breathless from the views to the condition of the road.
If you are not a heights person or get scared easily, truly NOT your road.
I questioned my choice of the road for a while.
Where Niko travels videoed us going through the tunnels and we stopped and took photos.
I kind of breathed a sigh of relief when we hit the paved road and the last section of guardrail only to find that we had a steep grade to go down for the last part of the trip.
It is a great ride and takes depending on your speed of about 15 minutes to go on.
Dusty? Yes.
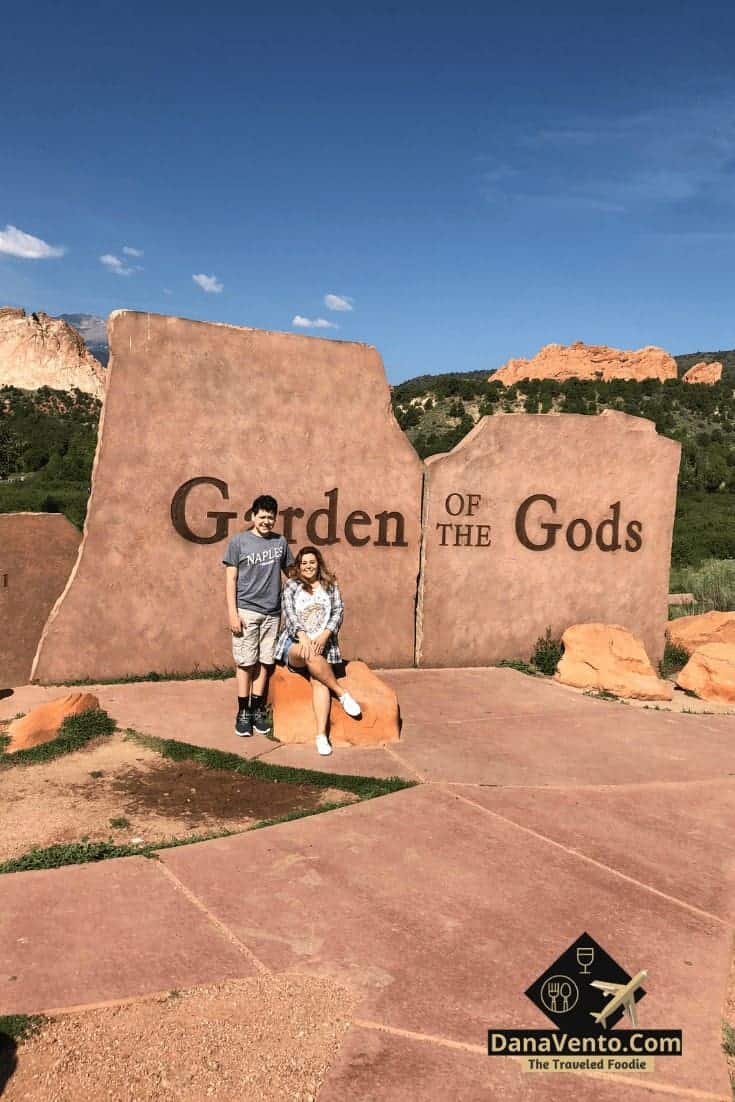
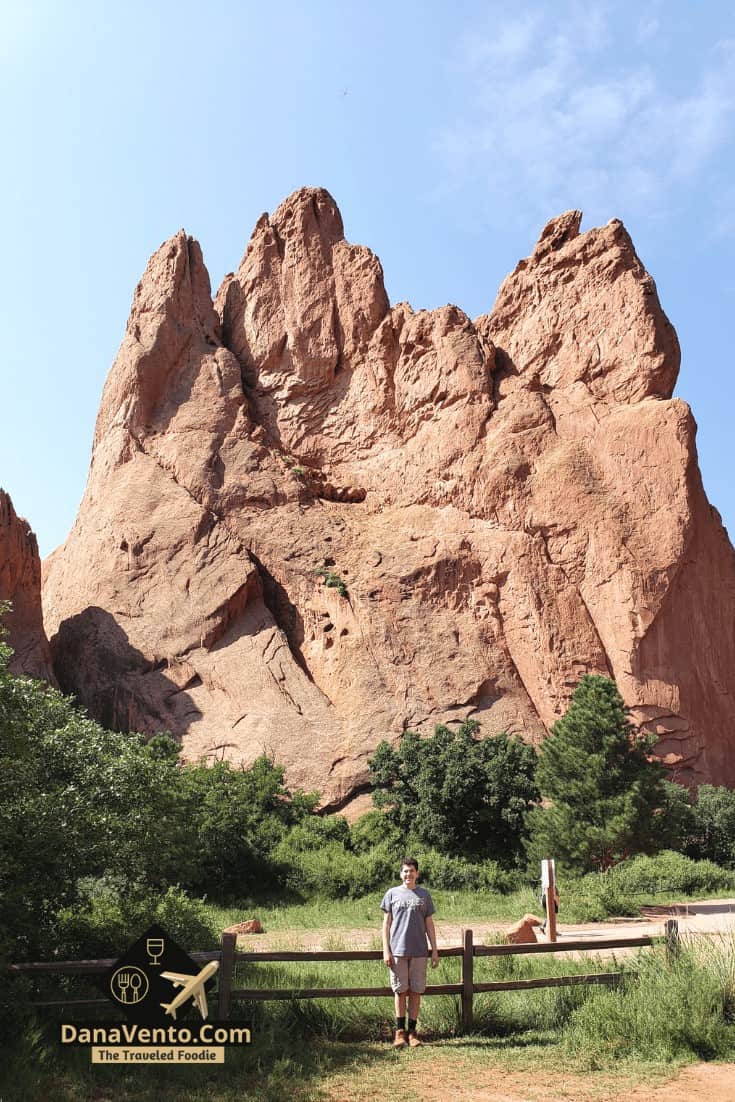
Garden Of The Gods
I knew as soon as we were headed to this destination that I could not possibly have enough time to capture all the imagery I wanted and enjoy it at the same time.
In fact, we returned at night for an incredible sunset, do that!
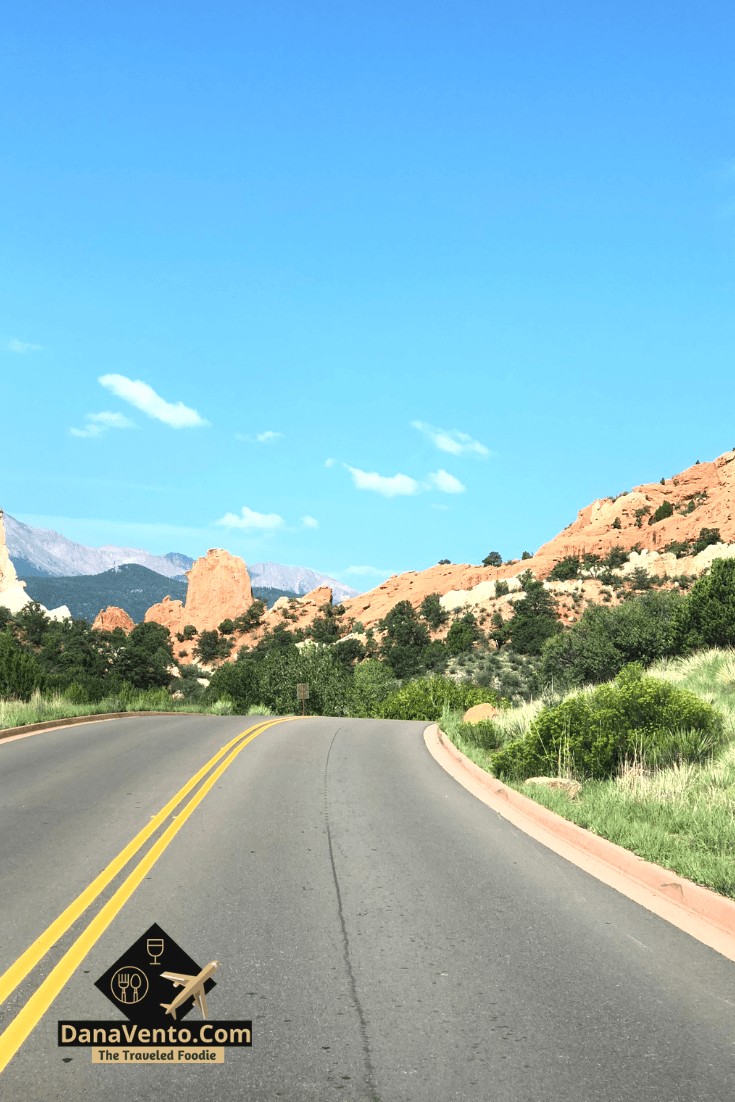
The road ahead was gorgeous, kind of reminded me of Red Rock Park in Las Vegas, Nevada, except this time I was dressed and ready for the road ahead!
As you can see we started off in layers, well I did more than Where Niko Travels!
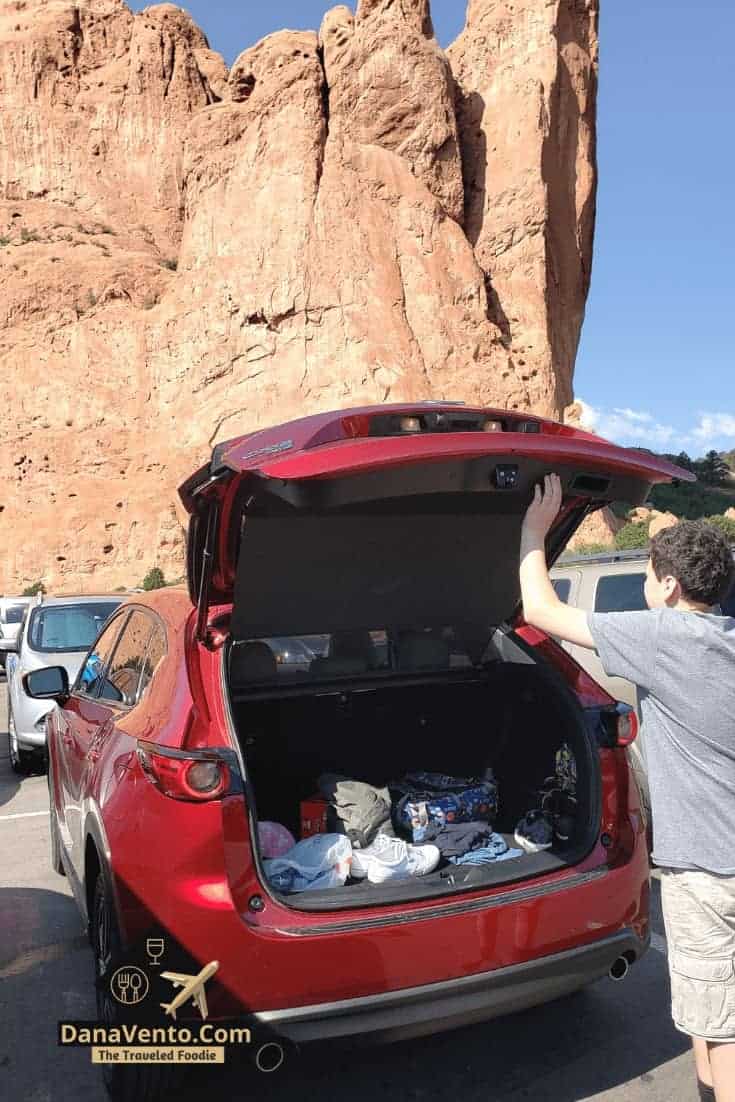
Park in the free parking, you may have to circle a time or two but trust me the end result is totally worth waiting it out for parking.
Of course, there are other places to park and then hike over to the area we are about to enter as well.
Definitely a choice of how you want to go about this.
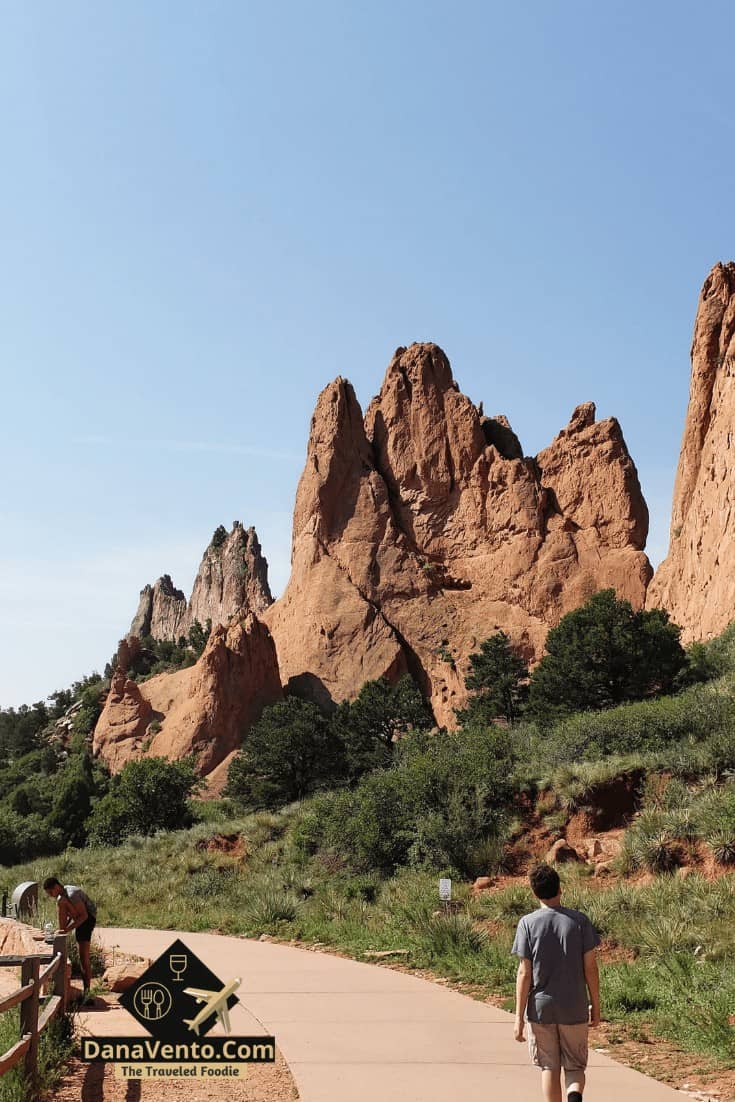
You will find paved paths here, and people were pushing strollers.
I do suggest at the bare minimum athletic shoes as the sandstone is all over the walkways and can be very slippery when you are trying to walk back up the hill or are sauntering down.
We are all set to hike, as we changed our shoes and made sure we had our hiking boots on and plenty of water.
There is one bathroom stop before you head down, so I suggest watering up before you go.
Once you are walking, there are multiple stopping options for images, including when you walk behind these sandstone rocks.
The descent down is so different when you get to the fork below and look up.
Once we had enough around here, we got in the car and drove on the one-way road about 1/2 -1 mile ( I lost track sorry) and came upon another fantastic opportunity for photos.
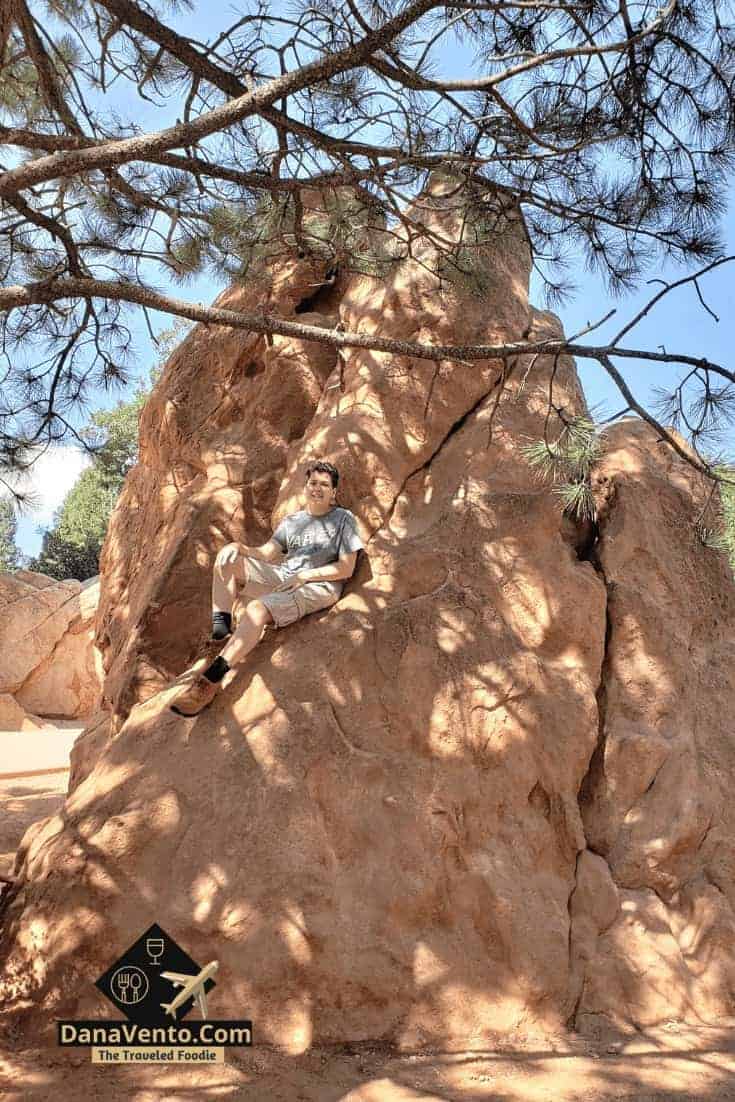
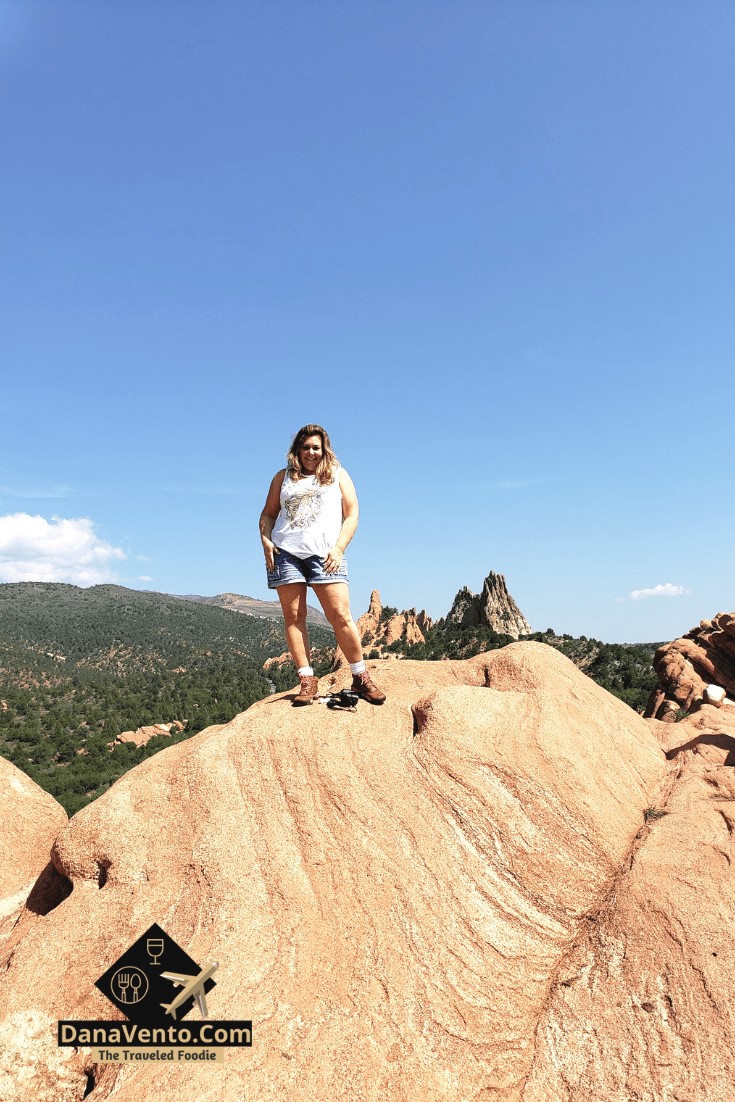
Do respect the rocks, do not just climb in any area.
With each step caution to the drop below.
Watch your kids, and remember, there are no guardrails and nothing to hold you back.
There are great places to let them climb without worry, but the taller opportunities need to be with guarded caution.
See the Garden of the Gods website for more details.
Or just stay on the path rather than on the rocks!
Hiking To Discover
There’s a lot of fun discovering and uncovering the area, but I urge you to use caution, everywhere.
We were fortunate that the drought (which is unfortunate) allowed us to get so up close and personal at the falls.
Additionally, we were very careful and choosy about where we climbed at the Garden of The Gods.
Our adventures offered up great imagery, history and the perfect way to get outdoors and enjoy the best in nature.
We left with a lifetime of memories and really got to know the area.
It’s about getting out there, enjoying your family and a lot of fun for free.
Sometimes the best luxuries in life are free, just like those I shared with you today. ~ The Traveled Foodie, Dana XO

