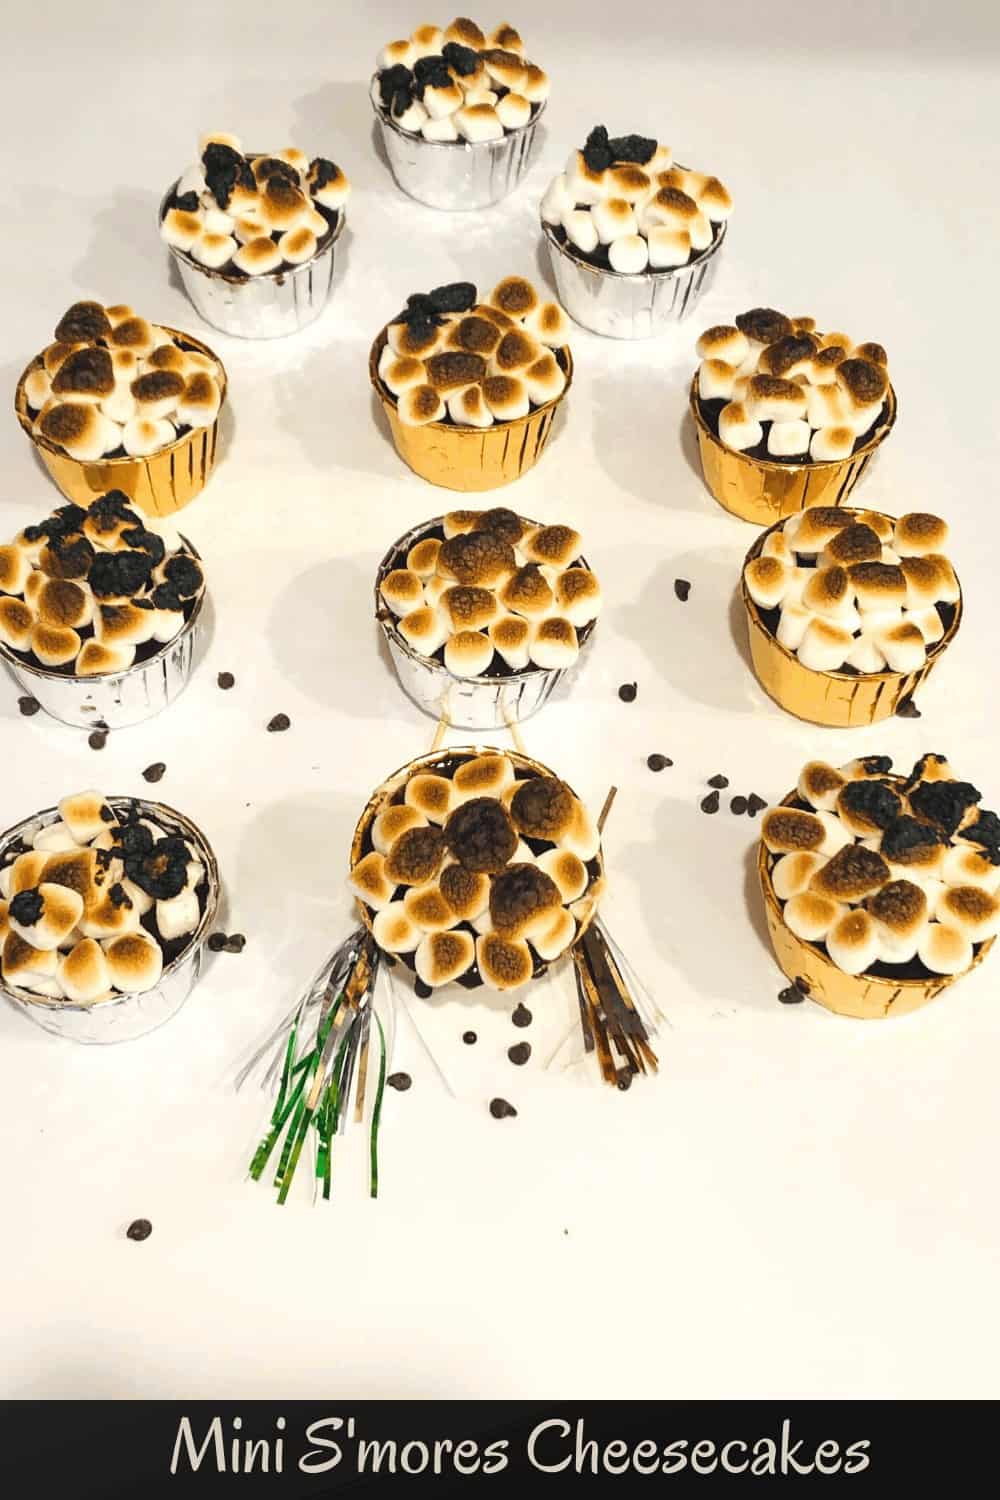
Mini S’mores Cheescakes
Yum. Wait for it.
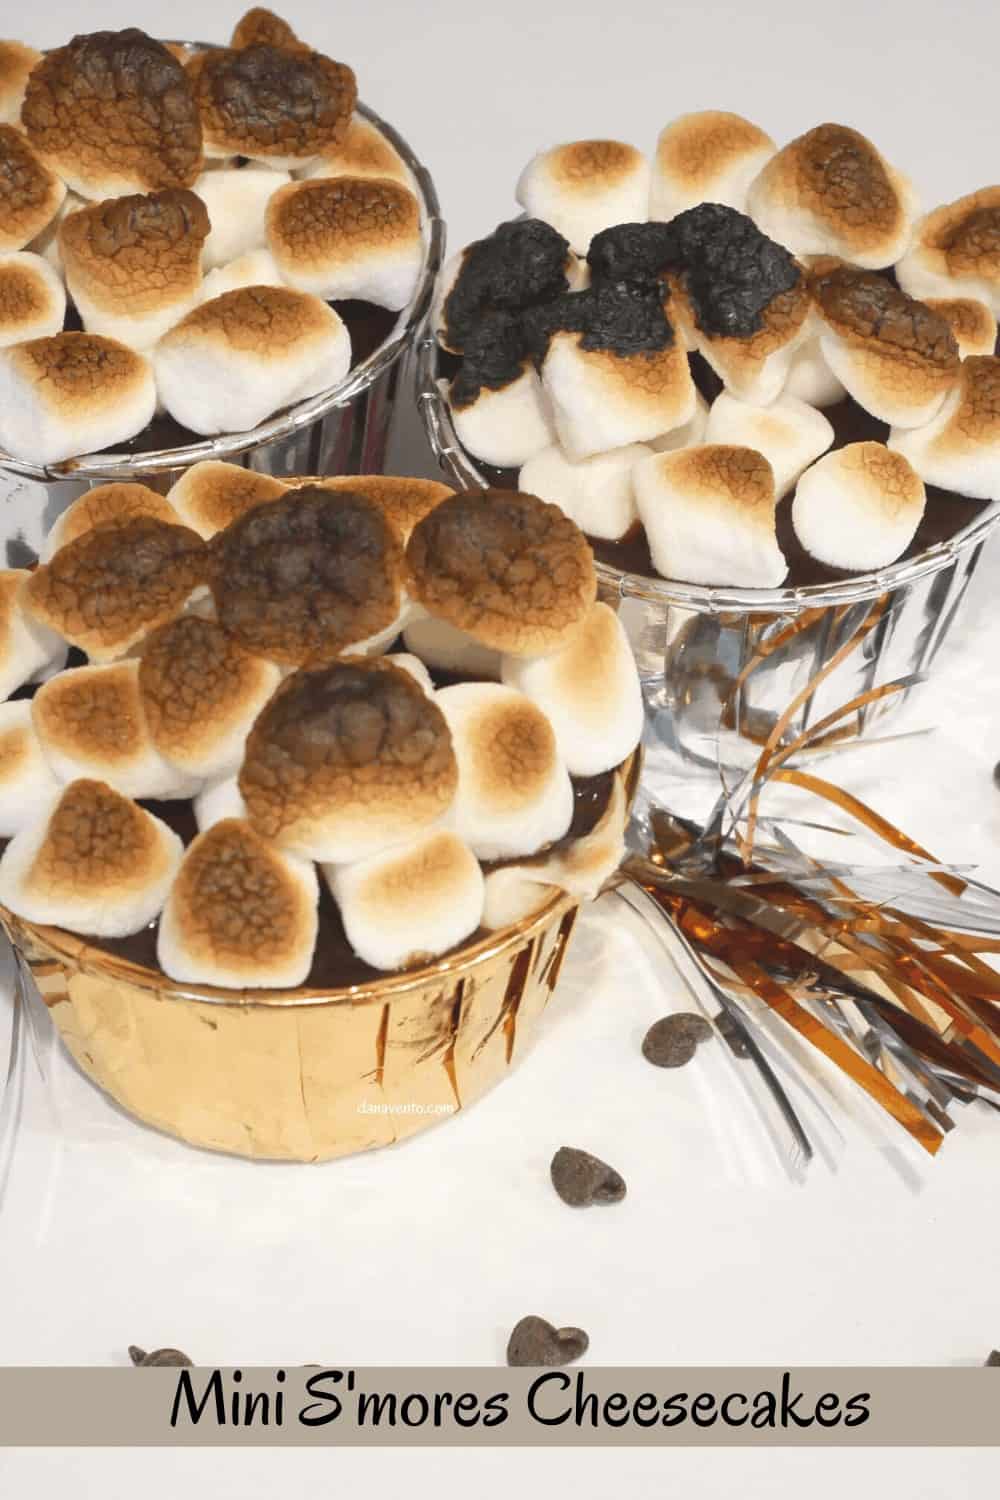
Sorry, I am currently munching on a few toasted marshmallows from my best no-bake mini s’ mores cheesecakes.
These are so good, from their graham cracker crust to their secret-ingredient driven cheesecake filling!
S’mores, they are either really good or really bad, and I don’t do bad!
Today’s share of the best no-bake mini S’mores cheesecakes topped with toasted marshmallows will leave you wanting to lick the screen!
Go for it, and then go make your own!
Seriously, s’mores cheesecakes are really tasty treats, that keep things portioned so you don’t over-indulge.
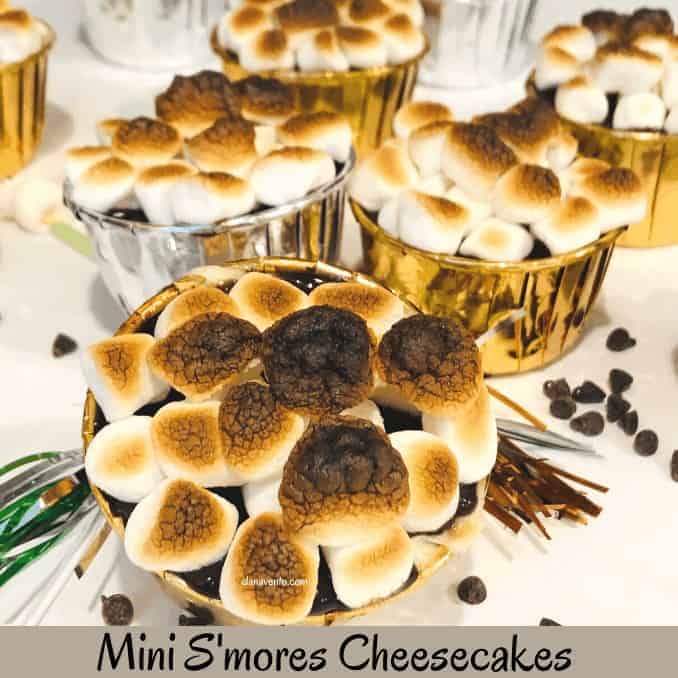
I’m not sure if it is the rich chocolate ganache or the filling that makes these little bites of heaven, but, I know this, they will disappear if you blink!
Really there are 3 different steps to the recipe and none of them take much effort.
So, if you ready to let a trifecta of taste (flavors) come together to send you into a foodgasm, this should be your indulgent recipe!
Best No-Bake Mini S’mores Cheesecakes & How Easy
None of the products shared today were provided. However, in order to make our business sustainable and keep our content free, we use affiliate links. That means if you make purchases through certain links throughout the article, we may earn a commission (at no extra cost to you). Read my disclosure.
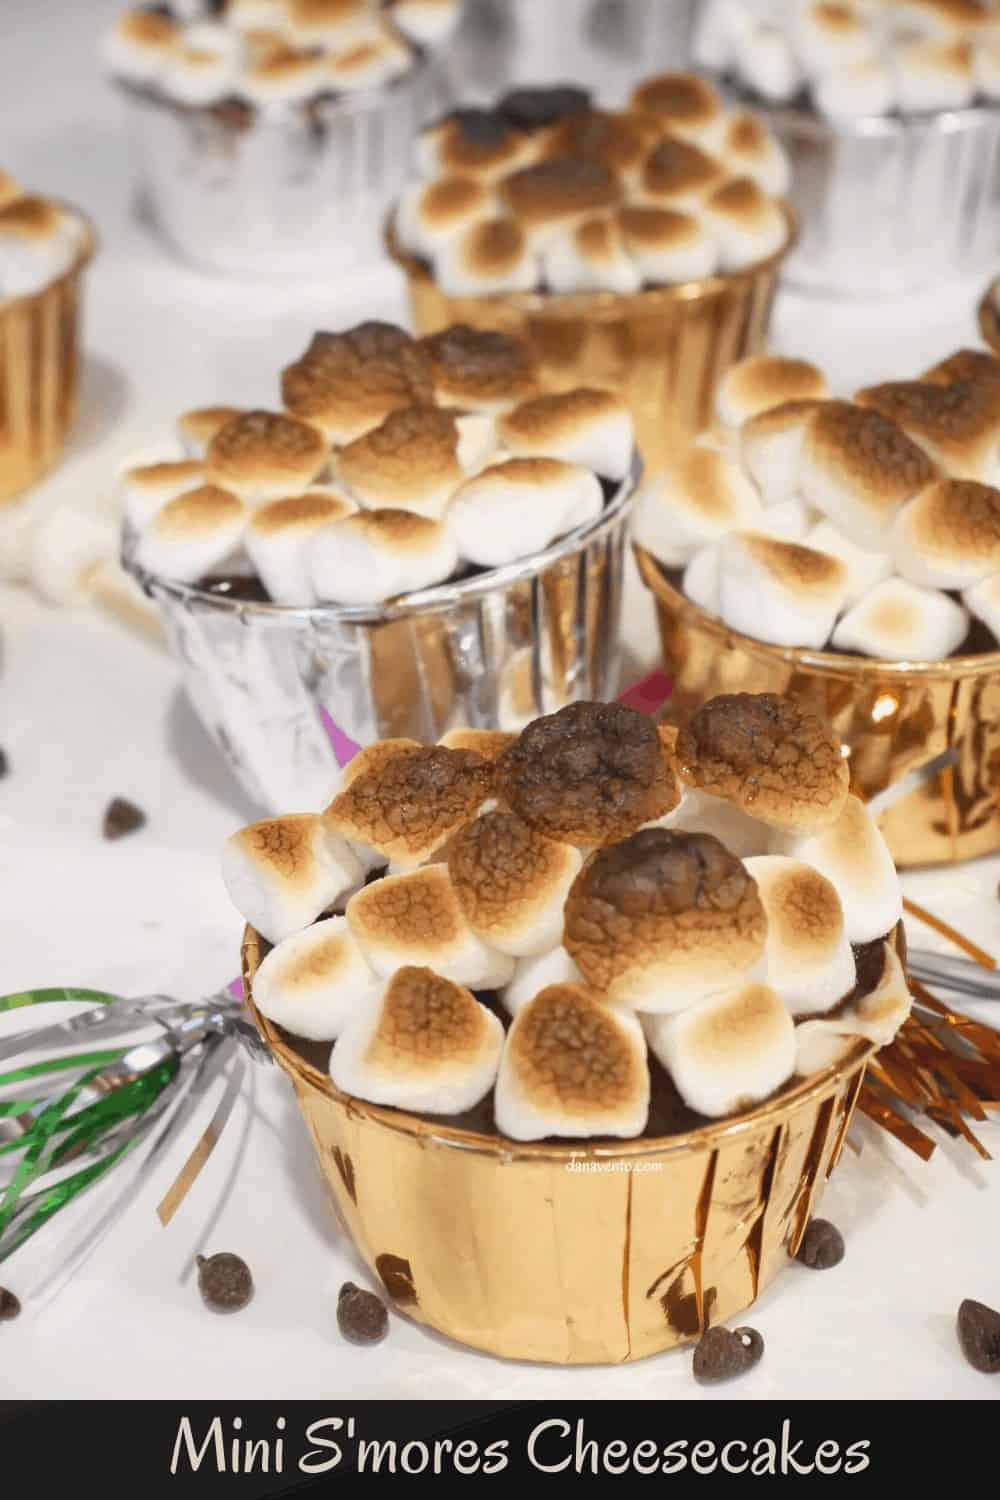
If it does not work, if it needs to be tweaked, it happens.
I don’t believe in publishing recipes that I don’t create and tweak.
Here’s the thing, knowing a recipe inside and out, means I’ve made every mistake YOU will make.
There’s an allowance for making a mistake on this recipe and I’ve learned that threw all my trials and errs.
A Lot Can Be Done In Thirty Minutes for No-Bake Mini S’mores Cheesecakes
Also, I don’t believe in complicated steps or lots of timing.
This recipe, though each of the 4 steps separated by 30 minutes, lets you get everything done including dish cleanup in between.
You can also do this in stages and different days if you can’t go at it all at once!
I work too, so sometimes, I’ll make the base and the next day the filling and ganache.
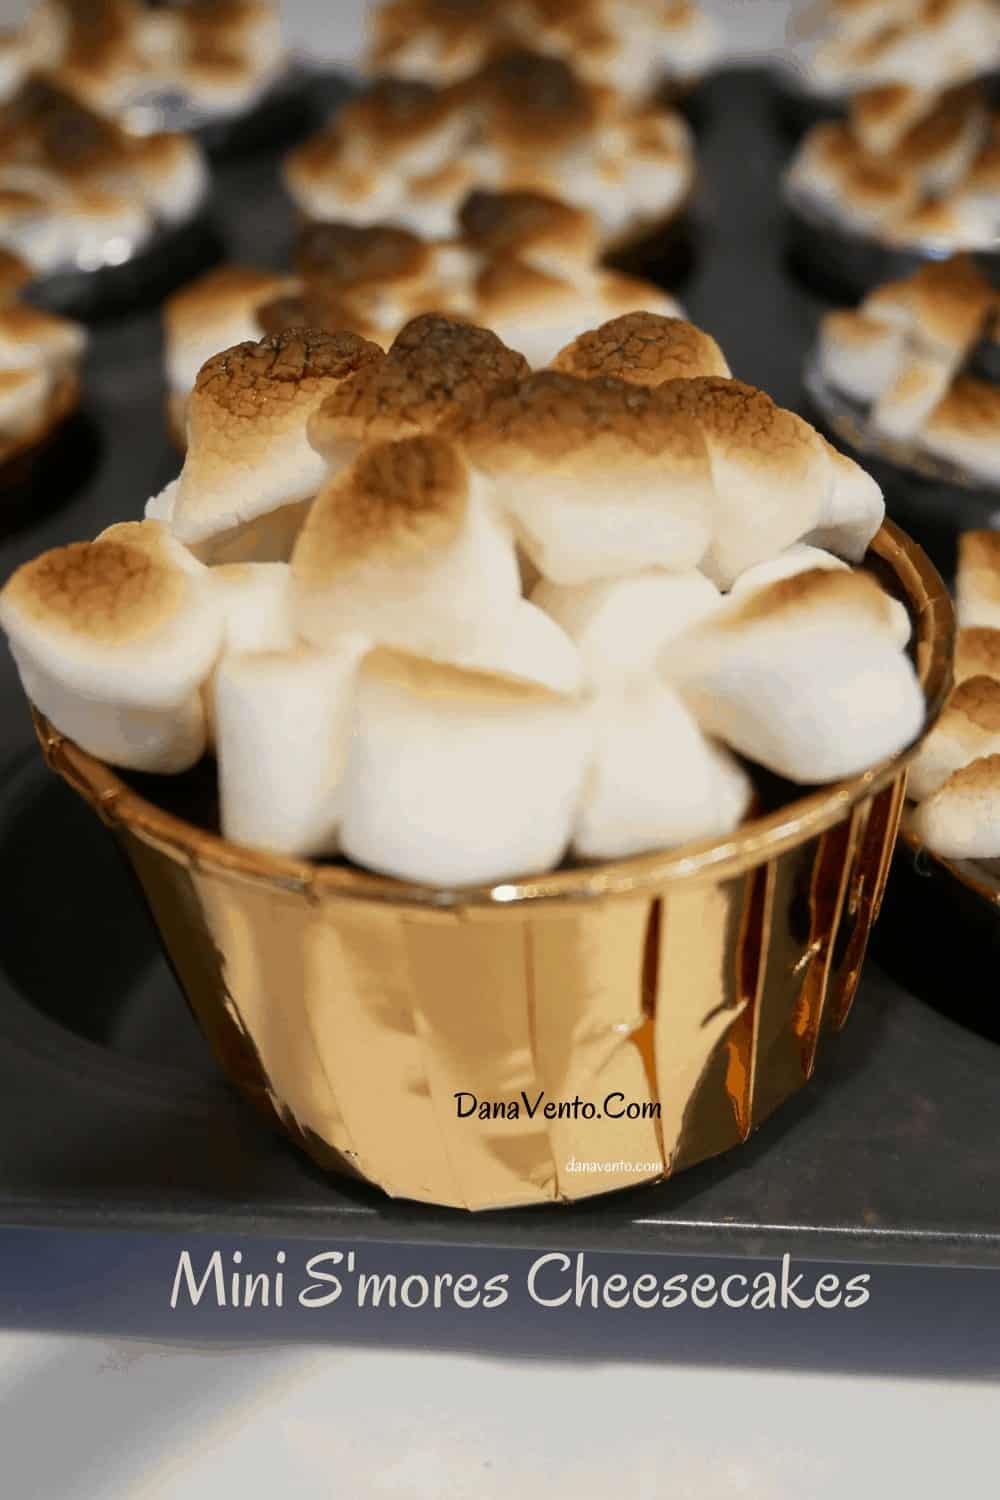
Plus, the end result is super-impressive when it comes to presentation.
Do you have that one family member you are just sick of and want to let her jabber jaws become flabbergasted?
Or maybe you have that one friend who always wants to top you out?
Throw this down and see what they got in their word choices!
Cupcake Liners & Best No-Bake Mini S’mores Cheesecakes
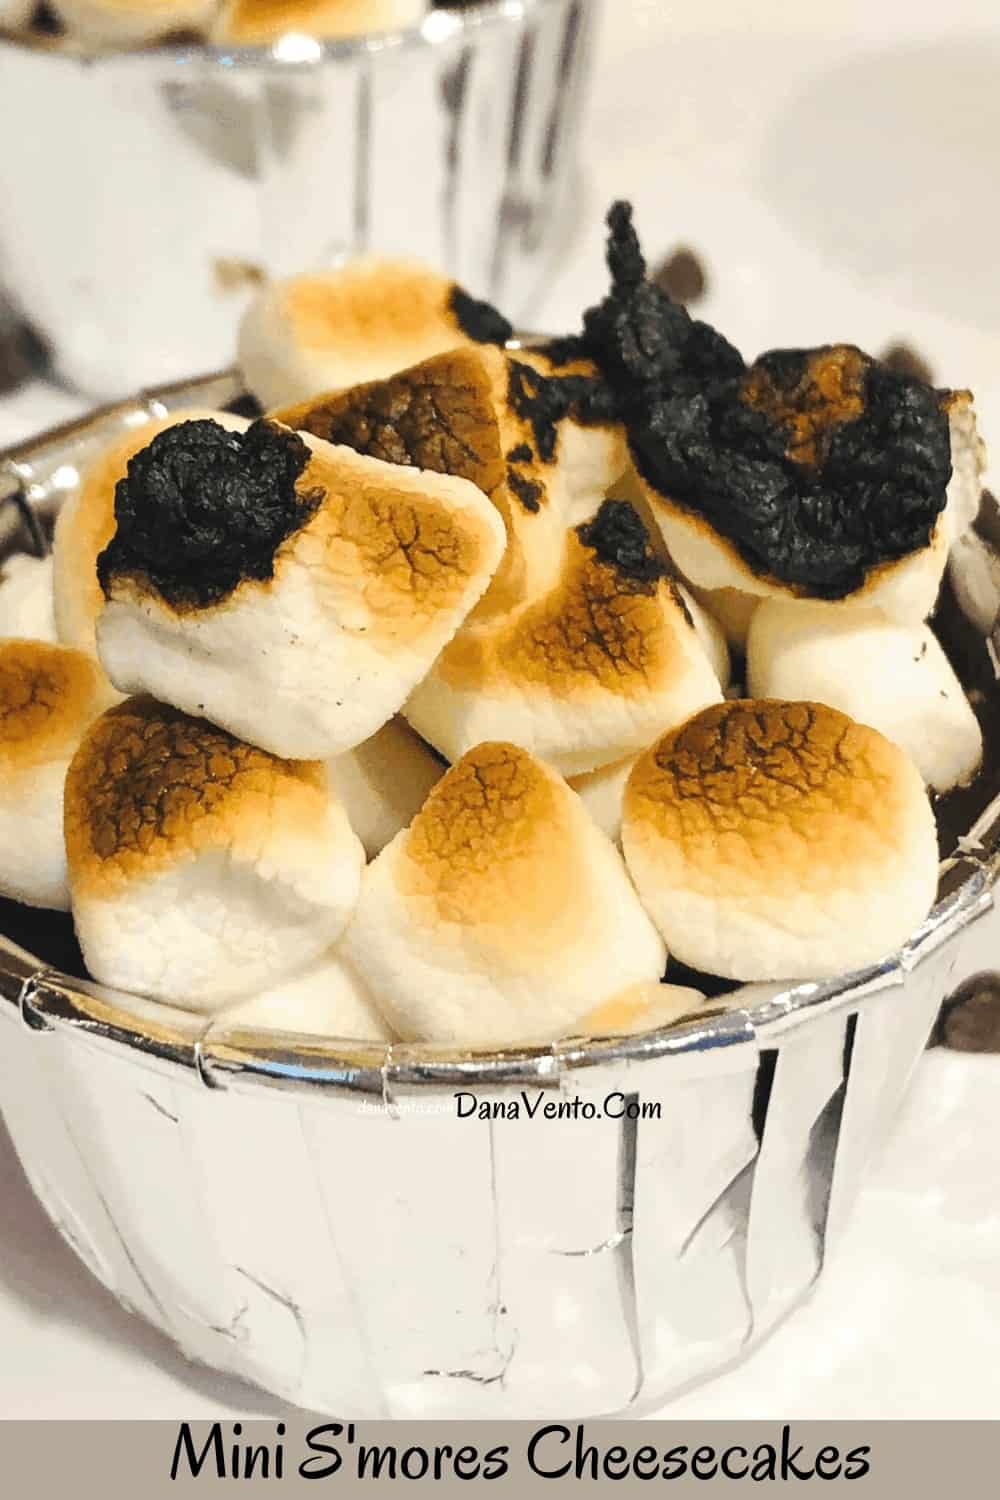
However, I love my aluminum foil (disposable ramekin) muffin liners.
I’ve learned to love them more when I use a non-stick spray in them!
Yep, you can either spread the nonstick spray from liner to liner with a silicone brush or by a misting spray.
Since I tend to have a heavy hand, I spray ONE of the cupcake liners and use a brush to share the wealth, so to speak.
I have my own favorite set of silicone basting brushes because they are both colorful (easy to find in the drawer) and high heat resistant (up to 450°F).
Just saying, if you bake, cook or grill, you really need a good set of basting brushes!
Marshmallows Both Big and Small
You can use a bunch of mini marshmallows for the batter but it’s a pain.
I prefer larger ones (normal size) for the cream cheese batter (yeah that’s the secret ingredient that kicks this recipe up to s’more-like’!)
Also, make sure to nonstick spray your glass container in order to not allow the marshmallow to STICK to it.
Yep, I forgot once and never again.
Which leads me to the other point, use a silicone spatula also misted with nonstick spray to make sure the melted marshmallow does not stick.
I use 8.5″ silicone spatulas that are heat resistant and dishwasher safe!
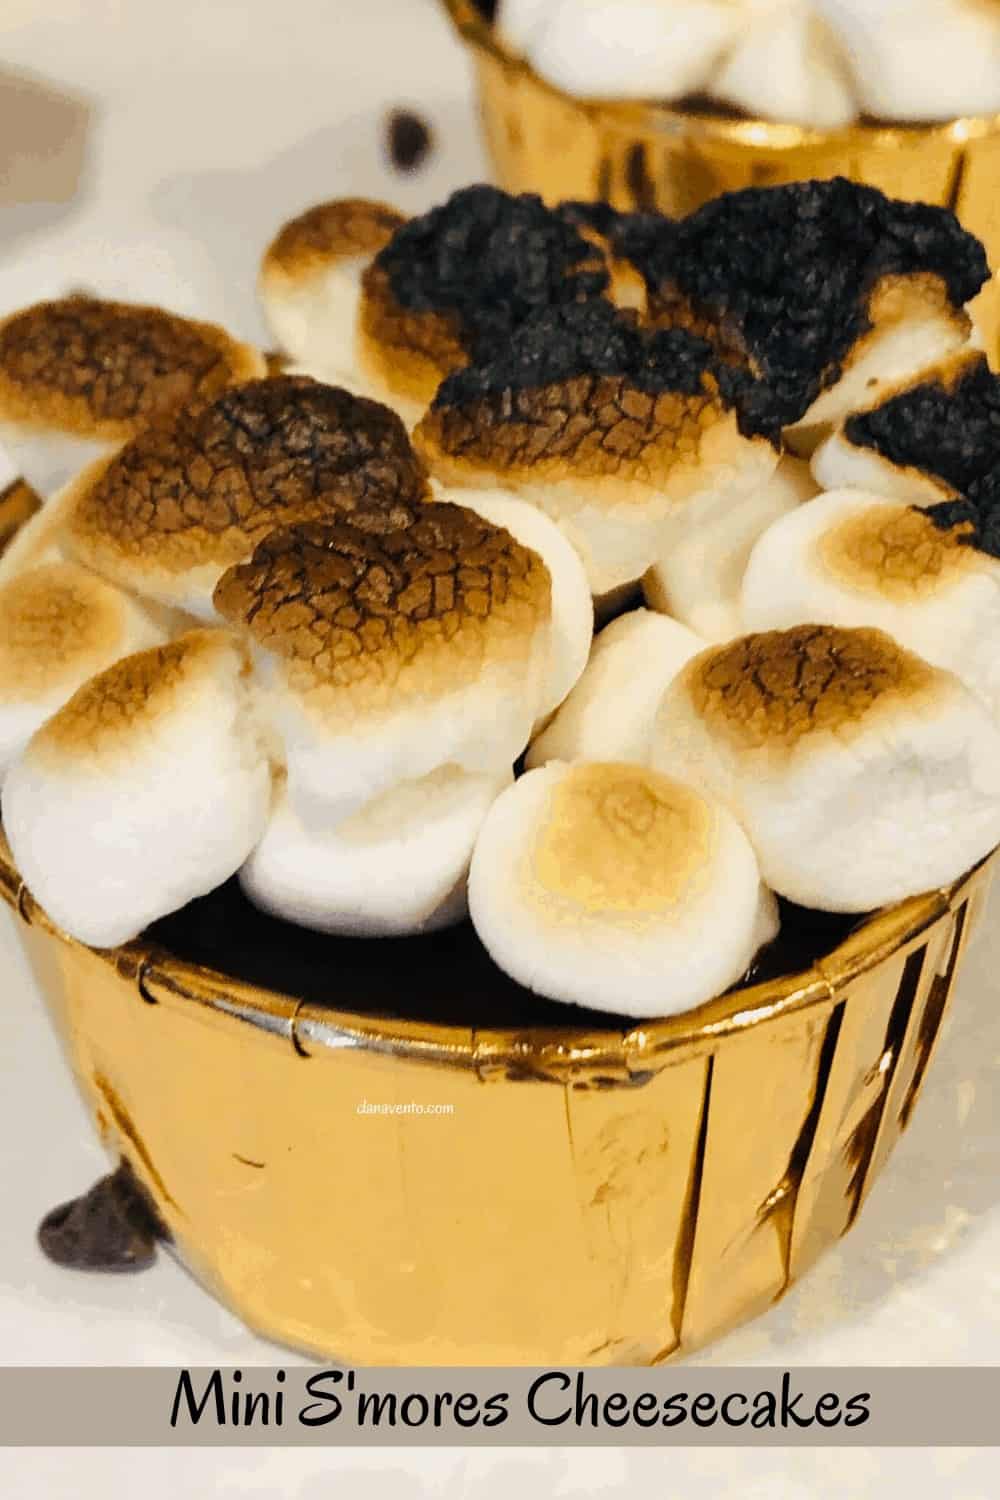
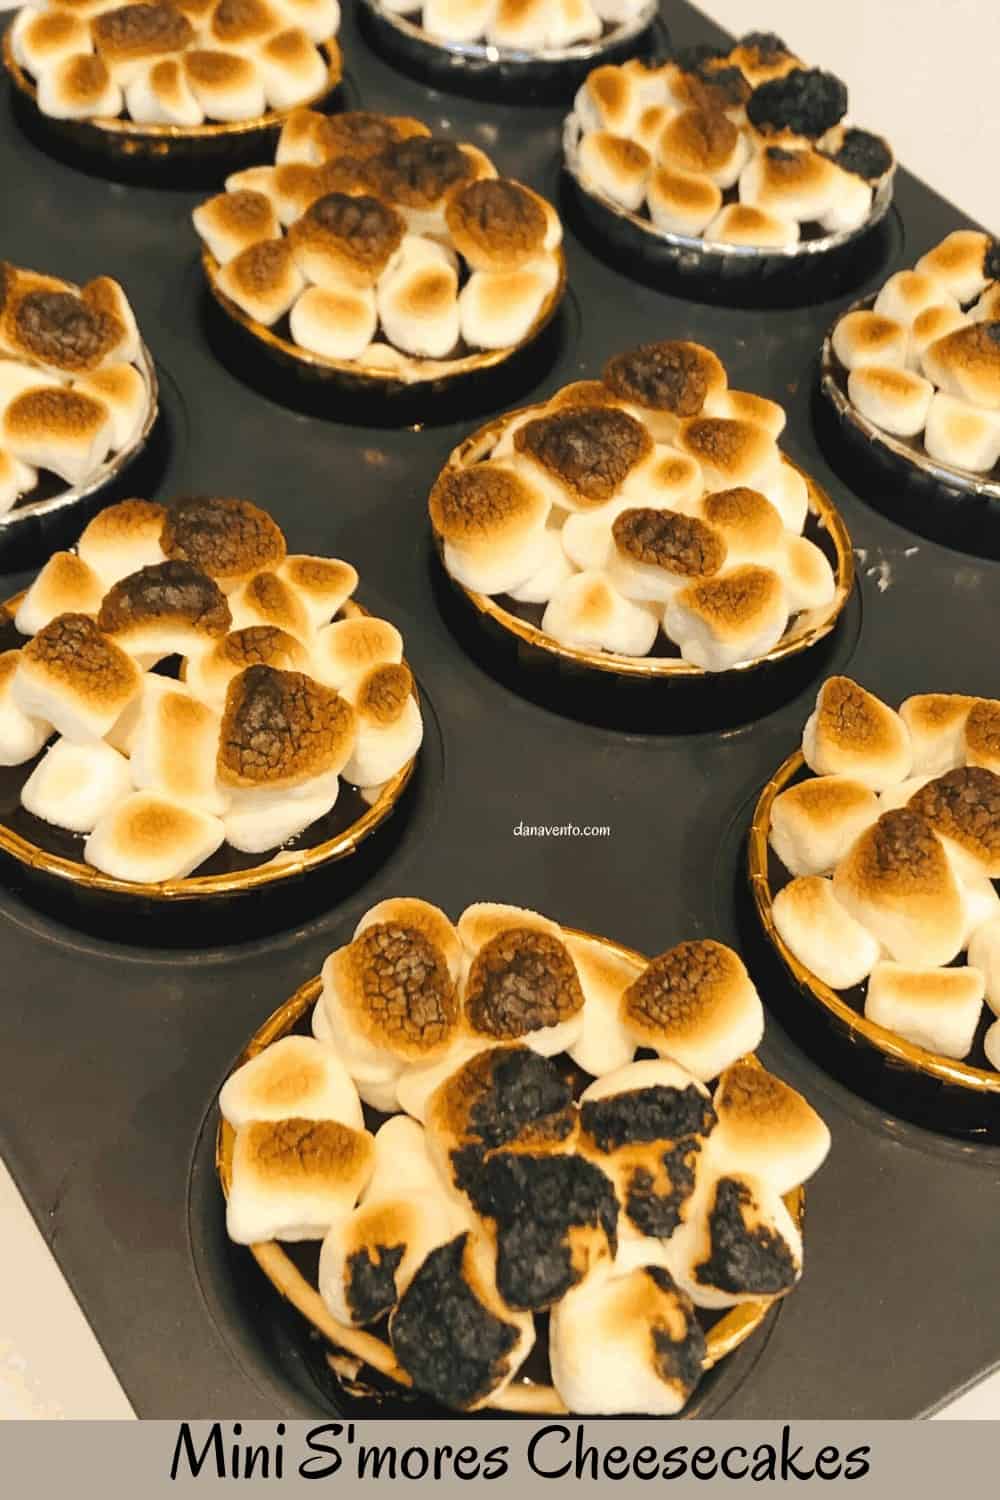
Small marshmallows are perfect for topping the mini s’mores cheesecakes.
However, this is one item I will make a quick note on.
You could use one of those Campfire Marshmallows (super-sized) but, it takes longer to get that one piece toasted.
Which does matter, because you have chilled ganache below and I hate heating that up too long.
Last, mini marshmallows allow your spoon or fork to clear the path through the cheesecake to get to your bites, whereas a toasted large mallow is not easy to break into!
In other words, if you want to take a bite quickly that big marshmallows can’t be broken through unless you are BITING It with your teeth!
Keeping it Solid but Thin When It Comes To Mini S’mores Cheesecakes
Don’t overdo the base, or the filling or the ganache layers.
However, go crazy with the top mini marshmallows.
It’s supposed to be a S’more and it can’t be unless you really top it off with mini mallows!
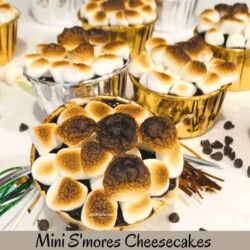
Best No-Bake Mini S'mores Cheesecakes With Toasted Marshmallows
Ingredients
- CRUST
- 1/2 C Butter
- 3/4 C Graham cracker crumbs
- BATTER
- 16 oz cream cheese softened
- 2 Tsp Vanilla
- 2 Tbsp Sugar a sugar substitute is an option as well
- 1/2 C Large Marshmallows
- GANACHE
- 1 C Chocolate chips
- 1/2 C Heavy whipping cream
- 1 c mini marshmallows
- KITCHEN MATERIALS
- Nonstick spray unflavored
- Cupcake pan
- Mixer
- Spatula
- Basting brush
- Mixing bowls
- Aluminum muffin cups
Instructions
BASE LAYER
- Prepare aluminum baking cups with nonstick spray (as described in my post)
- Place each prepared liner into the cupcake pan.
- In a small bowl, mix melted butter and graham cracker crumbs.
- Drop by the tablespoon into each liner.
- Press with (CLEAN) fingers or back of spoon for coverage.
- Refrigerate until your batter is ready.
BATTER
- In a large mixing bowl, combine cream cheese and vanilla.
- Blend.
- Next, add in sugar.
- Combine.
- Microwave large marshmallows for 30 seconds (to soften and then mix to smooth.
- Add smoothed marshmallows to the batter.
- Mix to combine.
- Remove the base layer from the refrigerator to fill.
- Scoop and fill each liner but not all the way.
- Remember to leave room for the Ganache topping and toasted marshmallows.
- Refrigerate again.
GANACHE
- In a microwave-safe bowl, place heavy whipping cream.
- Microwave to warm, not BOIL.
- Remove and add in chips.
- Just let it SIT for 5 minutes.
- Then stir to blend.
- Once blended and thicker (will still be a bit to the runner side), remove filled liners from the refrigerator.
- Top each with ganache.
- Return to the refrigerator for 1/2 hour.
TOASTED MARSHMALLOWS
- Either before your serve or after the 1/2 hours (which is when Ganache should set up a bit more) remove from the refrigerator and top with mini marshmallows.
- Generously add mini marshmallows to each filled liner.
- Next, place your broiler on low and pay total attention to the toasting process.
- As they brown, pull it out of the broiler and allow to cool.
- If you want them a bit more 'charred' simply use a lighter and crisp them. (optional)
- Serve immediately (with caution to very hot marshmallows) or refrigerate and serve later.
- ENJOY

