What I have learned to be true, as a self-taught home chef is that easy is best.
I am not a frills kind of gal with multi-step recipes.
In fact, those just annoy me. I feel that it takes multiple steps to get to a good-tasting endplate, it’s not worth it.
Simple tastes better.
Less is more.
You get the concept because you read my site daily and have come to know me.
Today, I will show you how to work with puff pastries and create those cream-filled horns you see in the store!
Plus, there’s no lard in my cream filling, nor nuts, which makes them better than their store counterparts.
Even if you have never worked with puff pastry, you can do this recipe, trust me.
Add Puff Pastry sheets to your shopping list and bookmark the recipe.
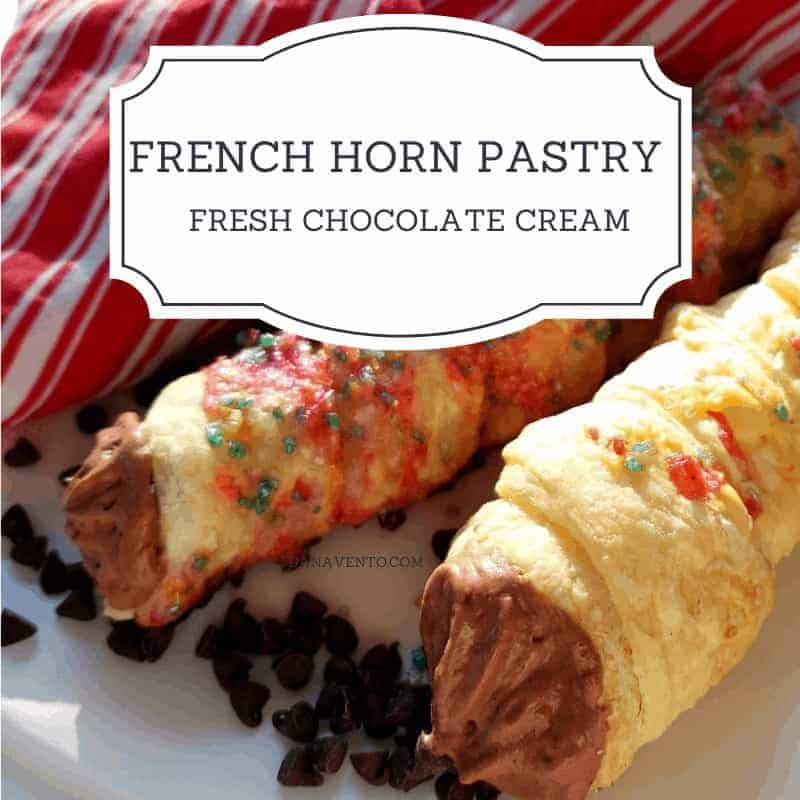
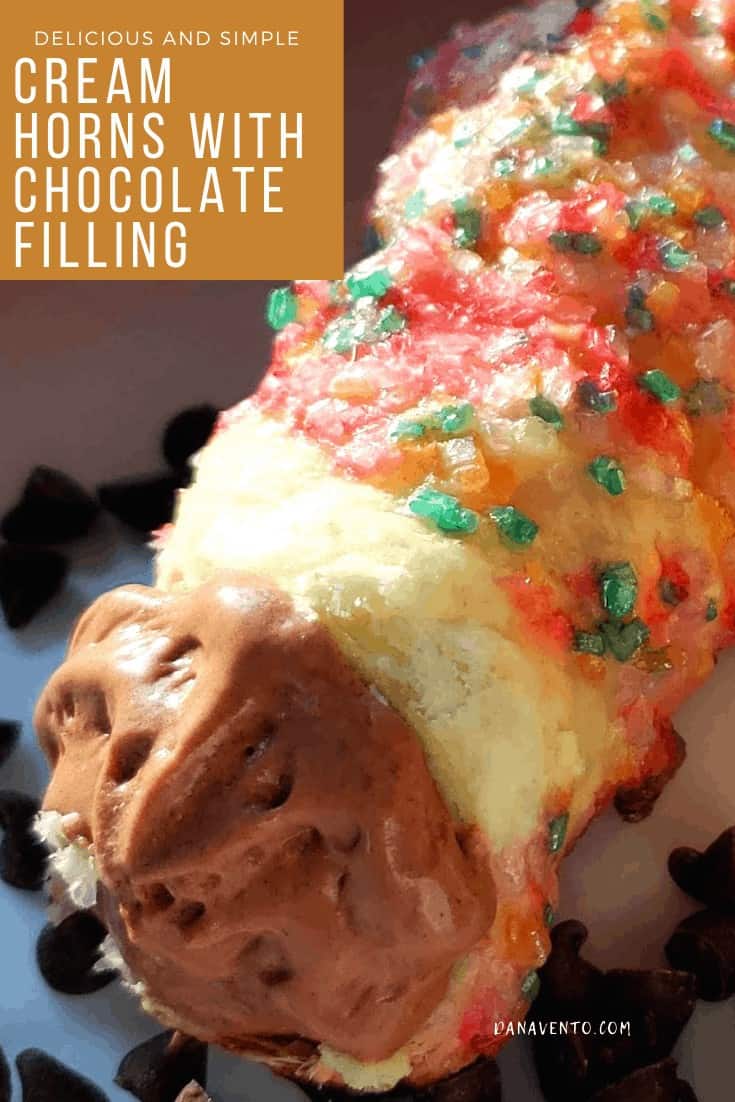
Let’s make delicious and simple cream horns with chocolate filling!
Delicious and Simple Cream Horns with Chocolate Filling
What You Need To Recreate The Recipe
I’ve put these links in to guide you directly to the product, to save you time searching, or just to show you the photo for identifying what I am talking about.
My intent is to fully educate each and every person that wants to recreate any of my recipes.
So I seek out the products that look the same or are the same as I have used so your results can be the same!
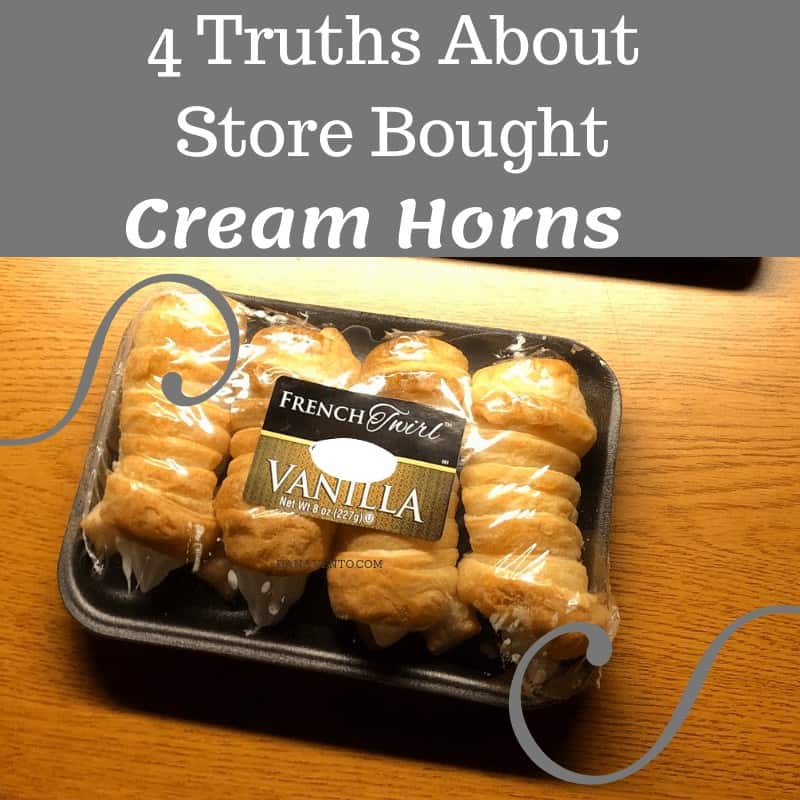
4 Truths About Store-Bought Cream Horns
Allergies
The reality of food in my home is that most of it must be made in-house, or in Casa Vento by me.
Why?
With Niko’s food allergies, the only way to be certain that he is safe from nuts, and all the other food allergies that bring on anaphylactic attacks is to prepare it myself.
First, store packaged foods, may or may not disclose if they have been near nuts.
This is a huge issue if you have both nut and peanut allergies. Our local grocery store does not disclose this on most of their in-store baked goods.
Second, if there is a food that travels into the home, and Niko would love to try it, I won’t let him.
Most baked goods (I’ve read so many) have more than one allergen source for him and that includes ‘shellfish’.
Would you think baked goods would have shellfish cross-contamination?
ME either, but some do. Again, another reason we can’t just purchase.
Try a Festive Feta Cheese Ball for the Holidays
Added In & The Cost
Third.
The other ingredients in most of the sweet, pre-packaged or even store-made products are crap.
Plain and simple.
The products house ingredients that include Palm Oil (great for those that want to have a heart attack), and of course lard.
Now I am not saying we are perfect, but pre-packaged foods have a lot of preservatives and additives we don’t need to consume.
More or less those are added for shelf life.
Think about this, if those french horns with cream filling can sit on a table without refrigeration and not break down, what do you think the cream filling does once it’s in your arteries?
It sits there!
Don’t forget about the cost of the product. 4 French Horns in a package with shelf-stable filling run about $4-5 for the package!
I hope you don’t have teens because they can eat a package in ONE sitting!
In need of a Holiday Drink? Try out these Cranberry Margaritas!
Delicious and Simple Cream Horns with Chocolate Filling – Make Them
Now that I have preached and totally made us all feel bad for lovin something so delectable, let me show you a better way to fulfill your sweet tooth.
Don’t mistake the ‘homemade’ aspect as better for you, as it still has sugar in it, but, a treat is a treat!
Do know that for pennies on the dollar, (after your initial investment in some products) your overall cost per piece is about .36 each.
What You Will Need to Make Cream Horns With Chocolate Filling
KITCHEN TOOLS
A Knife or Kitchen Scissors
Nonstick spray or parchment paper
Disposable Icing Bag & Star Tip (Optional)
Grab the Recipe Here

Simple Cream Horns with Chocolate Filling
Ingredients
- Sprinkle of Flour for your work surface
- 1 Box of Frozen Puff Pastry Dough
- Sugar Crystals optional
- 1 egg + 1 Tbsp Water whisked in a bowl
- FOR THE CHOCOLATE CREAM FILLING
- Tub of Cool Whip 8 oz chocolate or plain
- 2 Tablespoons of Cocoa Powder
- 1/2-3/4 C Heavy Whipping Cream more or less as needed
- 1/2-3/4 C Confectioner's Sugar thinner or thick start with least amount
Instructions
Before You Start Prep
- Allow your puff pastry to thaw.
- You want it to be at the right temperature.
- Follow thawing ingredients on the box.
- Cut parchment paper to size and line your baking tray.
- Additionally, I suggest spraying your parchment with nonstick spray.
- Once the puff pastry sheet is ready to work with, you will dust your workspace with a dash of flour.
- Dusting the workspace is only so the puff pastry will not stick to it.
- Now, crack your egg and in a separate bowl/jar make your egg wash.
- If you have opted to use sugar crystals now is the time to prep the dish as well.
- Just place them in a flat, rimmed dish, at least as long as the pin you are working with.
- Coat the bottom of the plate with the sugar crystals.
- Don't forget to preheat the oven to 400° F.
Cutting The Puff Pasty Instructions for Cream Horns with Chocolate Filling
- This next part is all in what you are comfortable with.
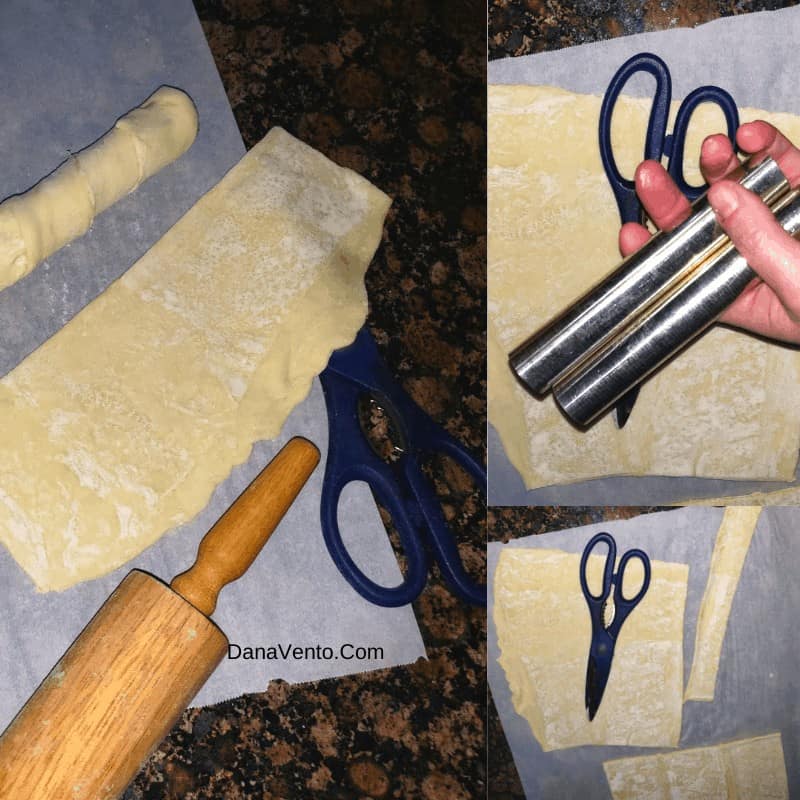
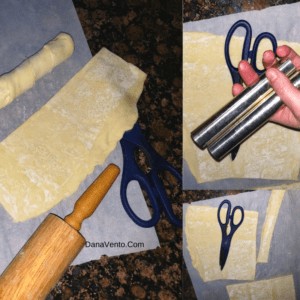
- Either roll the puff pastry sheet as a whole with the rolling pin to lengthen and flatten a bit or cut the 3/4" strips - 1" strips then roll each separately.
- Honestly, I've used both methods, and it is whatever works for you.
- Just do make sure to use a rolling pin to roll the dough so it stretches before you attempt wrapping around the pins.
- Once your strip is both cuts to size and rolled, take the pin in one hand and work from the bottom to the top, in a diagnol fashion, lightly pulling the strip to wrap around the pin.
- If it breaks while you are working, lightly take the broken piece and touch with water (do not press or it will adhere to the pin and be difficult to unstick after backing) and mend.
- Lay aside and repeat until all the strips are on the pins that you have.
- Then you will take each pin, and use the pastry brush to apply egg wash lightly coating each.
- If you are going to add on sugar crystals, do that step now.
- You can opt to omit the sugar crystals too, this is all personal preference.
- Simply take the egg-washed puff pastry on the pin and roll quickly through the prepared plate of sugar crystals.
- After this, you will be transferring the puff pastry to a baking pan.
- Then place it on the prepped parchment covered cookie pan.
- I spread mine out because they do 'puff' like the word Puff Pastry alludes to.
- Even if you use a rolling pin beforehand, so no worries.
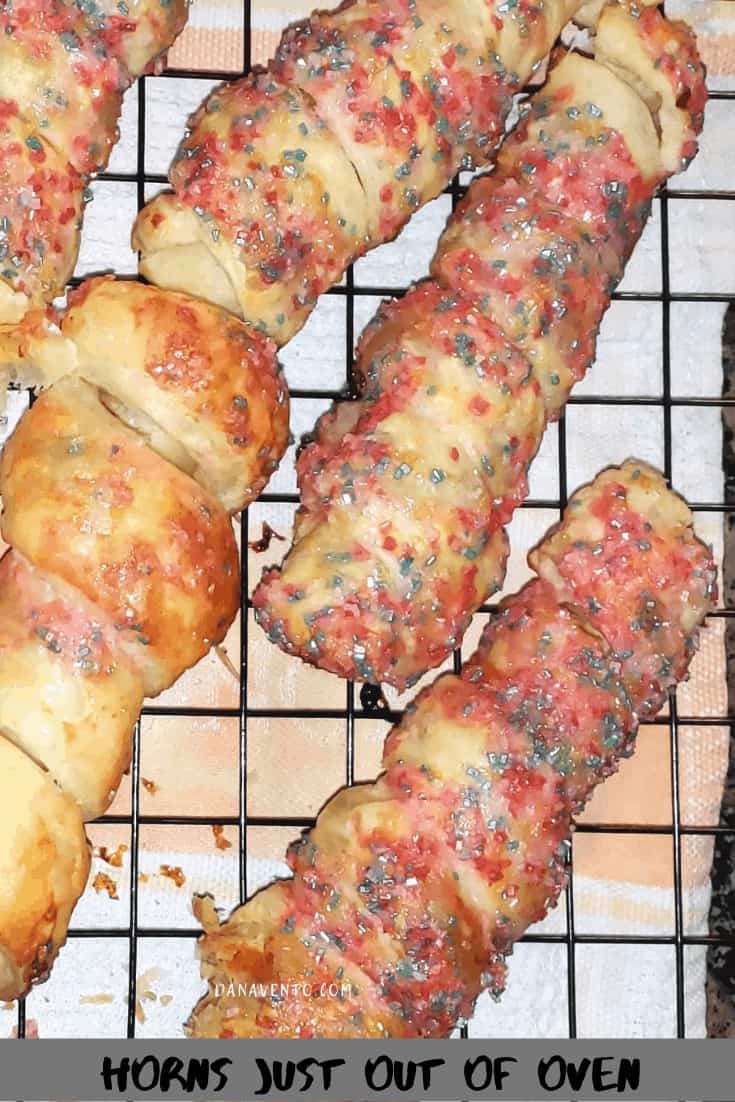
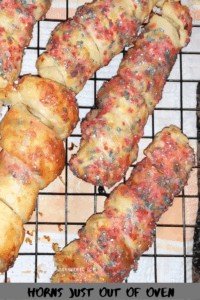
- Place these in the oven for 8-10 minutes at 400° F until golden brown (ovens vary so see what time works on your oven).
- Remove from the oven, and allow to cool for about a minute.
- They will be HOT! Then you will need to remove the pins. I used a small pair of tongs.
- Placing them inside the opening of the cannoli pin and then I slid the puff pastry horn off the pin and onto a cooling tray.
Cooling & Filling For Cream Horns with Chocolate Filling
- Once cooled you can fill.
- To Prep the filling, place cool whip topping in the medium mixing bowl, along with the cocoa and heavy whipping cream. Mix well.
- Then add in confectionary sugar a little at a time, until the desired consistency is reached.
- Remember less is better, you can always add sugar in along the way but you can't take it back out.
- Too much will make it very runny and you won't be able to fill it!
- Put chocolate cream filling into a piping bag with a star tip or alternatively use a plastic zippered bag with a small slit in the corner to pipe frosting into puff pastry.
- Fill each pastry and serve immediately or refrigerate for up to 2 days filled.
Alternates For Filling on Cream Horns.
There are a lot of options you can choose for filling. Consider vanilla, and chunked Oreos, even pumpkin. I have done them all.
I always make sure to reserve a few teaspoons for those hanging in the kitchen too!
Enjoy your party and let me know what you filled your Cream Horns with! ~ Dana XO

