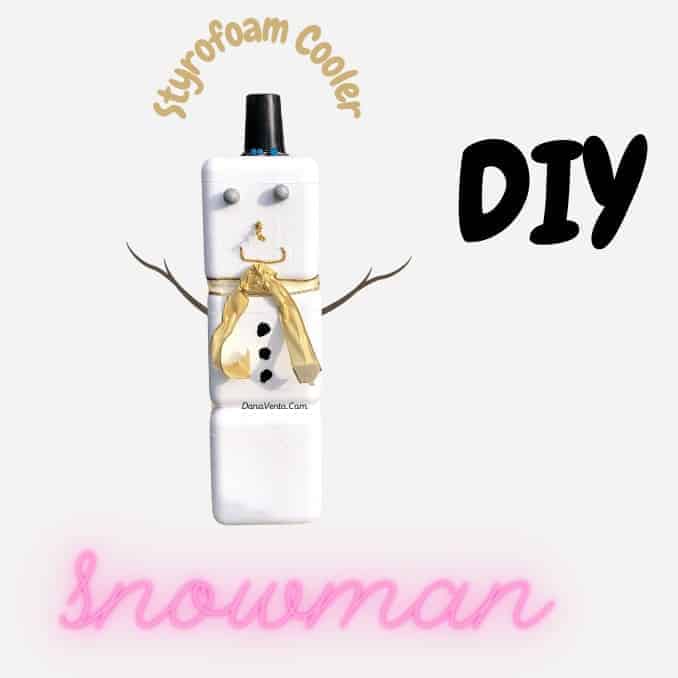
DIY Styrofoam Cooler Snowman
As I began cleaning out the garage, I ran into a large stack of styrofoam coolers.
In short, these coolers were used to ship my medications and I did not want to throw them in the trash.
In fact, I was looking for the RIGHT place to recycle and I guess I forgot about them.
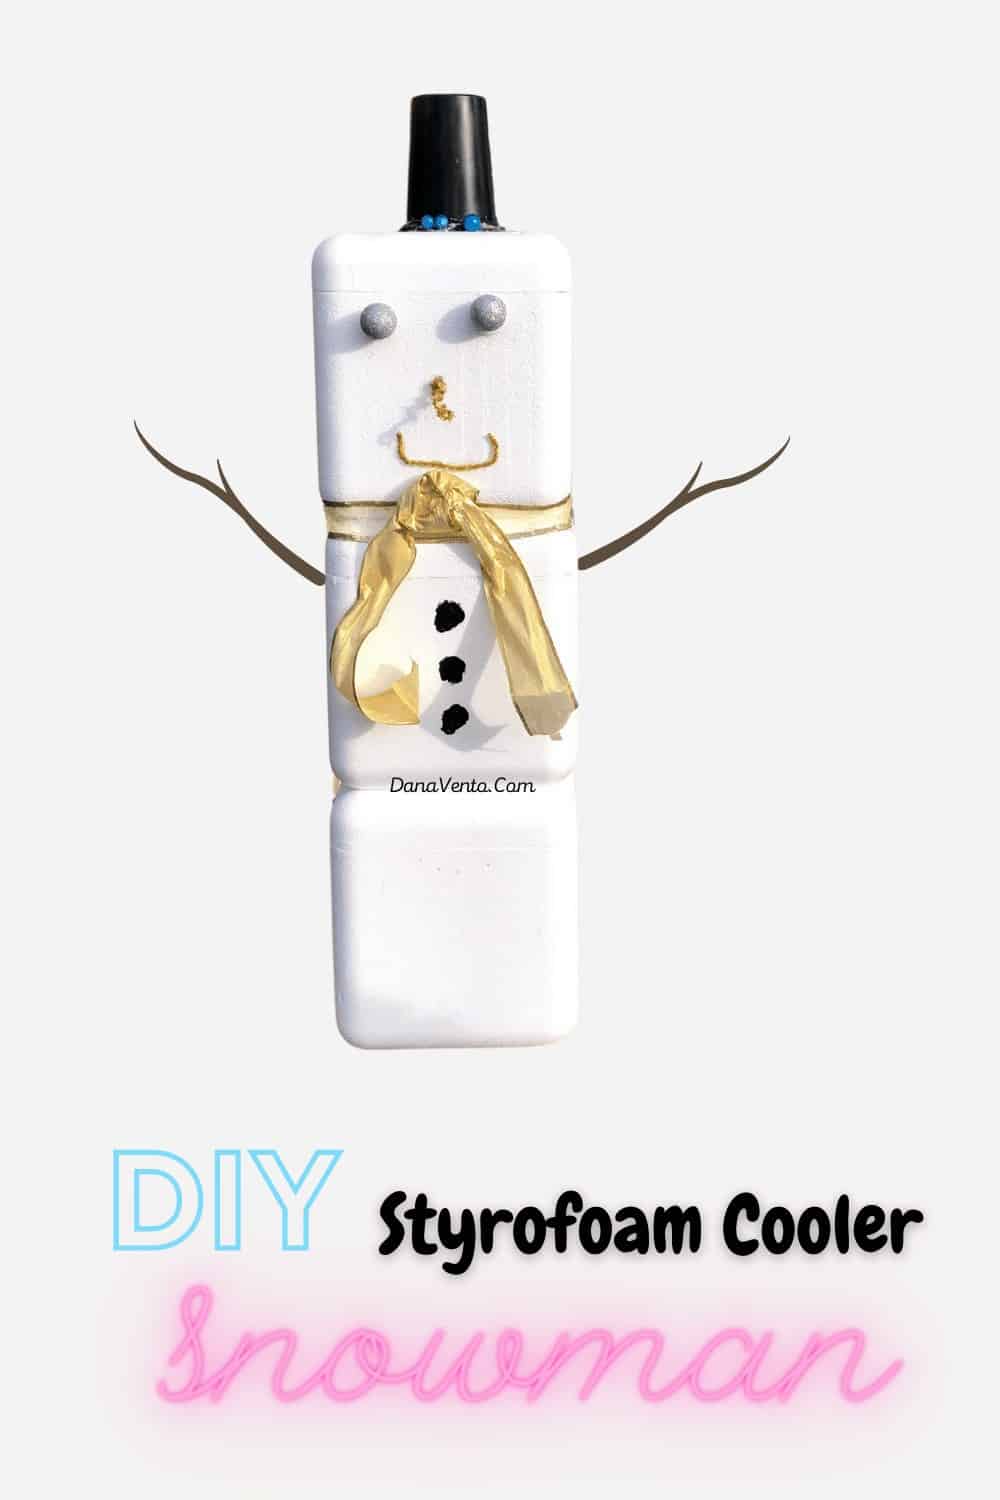
Instead of going to the recycle bin, I created a DIY Styrofoam Cooler Snowman.
Really this is a simple item upcycled into a holiday decoration and it’s weather-resistant because it is styrofoam!
Better yet, it really cost me ZERO dollars to make my DIY Styrofoam Cooler Snowman.
As a DIY gal, I have a lot of little craft items sitting around and even if you don’t craft, you will most of the items I had on hand as well, I’m sure!
Sometimes when I start a DIY, I wonder if it will ever end, but this DIY Styrofoam Cooler Snowman was both fast and easy to create.
Plus, you can change up what I did to create your own DIY Styrofoam cooler snowman and still keep the upcycling and recycling movement strong!
In other words, these snowmen are perfect for the WHOLE winter season.
Snowman For the Winter Season, Even Better!
Let me put it another way, you really don’t have to put it away once Christmas is done.
Instead, think of this as a generic, you holiday spirited craft, that really goes the long mile!
At the same time, this snowman will not blow away, because it’s going to be ready to withstand the elements!
Let’s craft a DIY styrofoam cooler snowman!
Despite my best efforts things still accumulate in the garage.
Unlike many things I can recycle, styrofoam is really nasty to the environment, so I make certain that is recycled properly.
In fact, that is why it was in my garage, to begin with.
Simply put, I wanted to dispose of it properly and with the right recycle box.
However, having these on hand made my upcycle project easily come together.
Now Gather What you Need & Let’s Craft
First, head straight to your garage and gather your crafting tools.
After all, you can’t dive into a project if you are not prepared.
That said, you might want to look at some images of a snowman and see what you like and what you don’t.
For instance, consider the color of the eyes, and don’t forget to look at the nose and mouth options.
What Can I Use to Craft A DIY Styrofoam Cooler Snowman That I have Around My House?
Nevertheless, mouths can be made out of things like sparkly pipe cleaners, or rubber bands, rope, twistie ties.
Accordingly, just keep up with the recycle and upcycle mindset and the possibilities are endless!
Consequently, you can even use paperclips for the mouth because they bend and can be pressed into the styrofoam.
What is more, is that if you have an old string or ribbon use it!
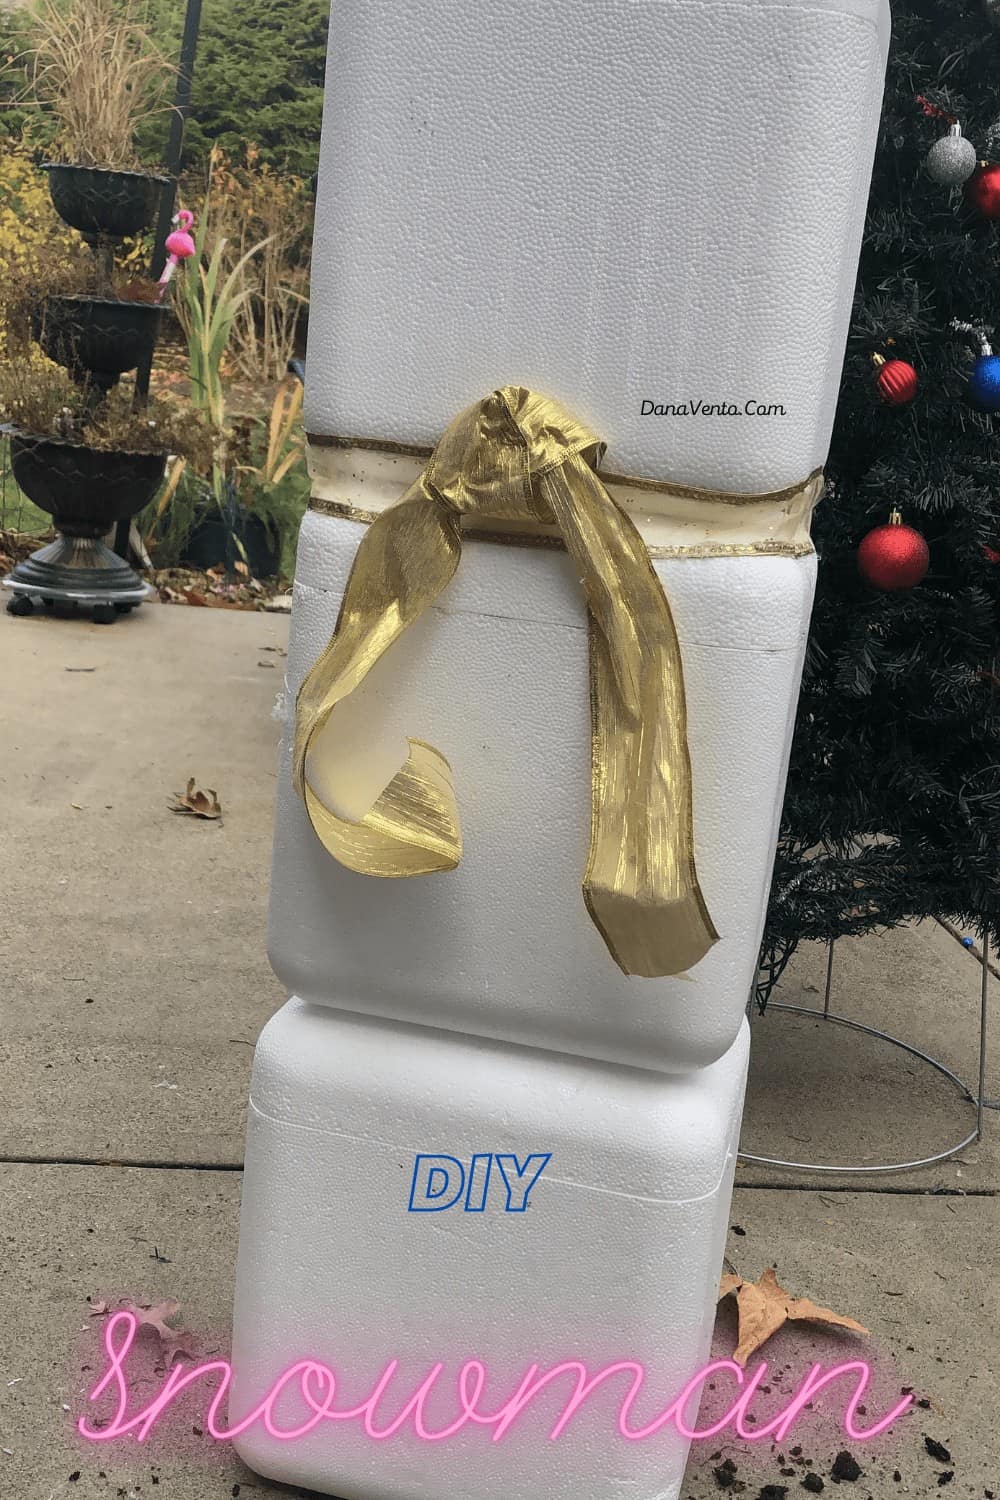
Each of the aforementioned can handle the outside elements. ☃️
You could even loop together ponytail holders, it’s endless what you can use for a mouth.
Don’t forget you will need Clear Sealant Spray for Outdoor, to coat your items. ☃️☃️
Eyes for the DIY Styrofoam Cooler Snowman ☃️
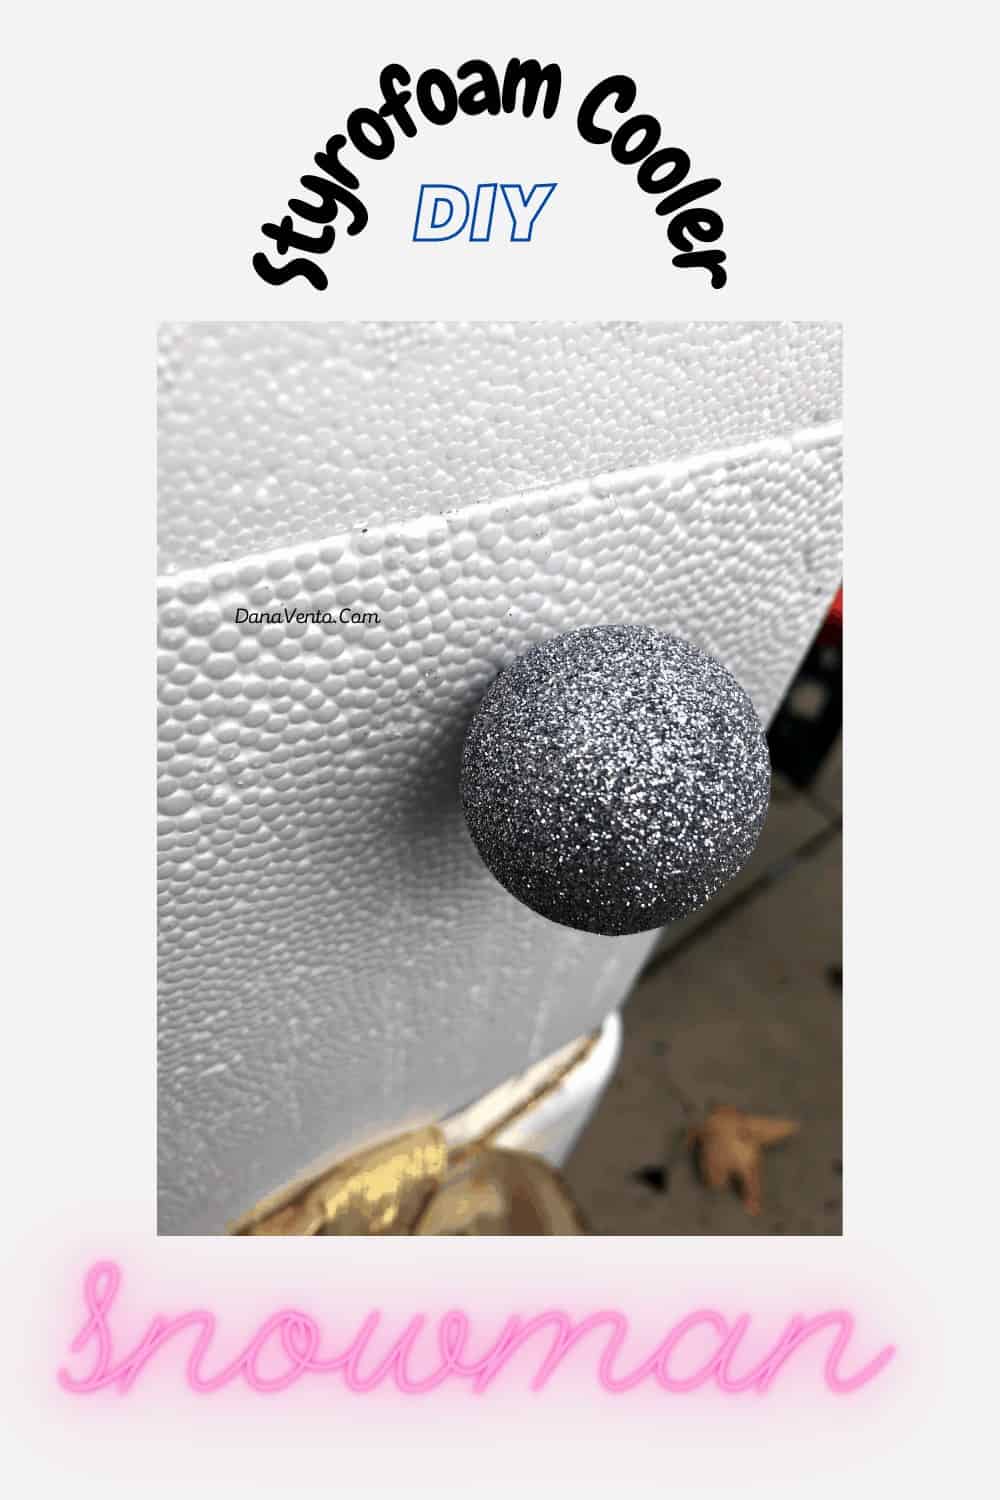
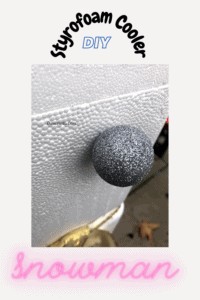
However to get them to withstand the elements I had to do a few steps before affixing them to the snowman.
But, I did love that I could use the top of the ornament to ‘push’ into the styrofoam with glue, really holding it on.
Of course, there are other options such as Milk rings from the collar of a milk bottle, or the milk lid itself.
Likewise, if you use a milk lid you will want to paint that your favorite color so they kind of POP a bit.
Don’t forget to have some Black exterior paint on hand too.
For those using milk rings, you’ll need to probably use a sharpie marker in the middle and add a black eyeball to make it more realistic.
Naturally, you can use buttons or beer twist-off lids, but the sky is the limit in making this project your own.
All the more reason to consider rope, medicine caps (painted or not), or you can even purchase big eyeballs from a craft store!
Additionally, you will want to check out Halloween clearances still ongoing and you will find eyeballs there too!
How To Create a DIY Styrofoam Cooler Snowman
DIY Styrofoam Cooler Snowman That Won't Blow Away
Equipment
- Glue Gun
- Scissors
- Paint Brush
- Scissors
Materials
- 3 Styrofoam coolers
- acrylic black paint
- plastic food container 16 oz
- 2 smaller ornaments
- Clear spray sealant if using bulbs
- Ribbon
- Glue Gun low temperature not HIGH Heat
- Glue sticks
- Elmers Craft Clear Glue
- Dirt or Rocks
- black spraypaint exterior
- 2 Same Color Glitter Pipe Cleaners nose, mouth
- Pencil
- 2 pieces matching pipe cleaners trim for hat
- optional black paint for belly button
- Ribbon for scarf
- Sticks for arms
Instructions
- First Open three styrofoam coolers.
- Next, fill each one with DIRT of Rocks to weight it down.
- Once filled as far as possible with still allowing the lid to attach stop filling.
- Now, using your glue gun and some clear glue (to assure the lid will stay attached) trim the rim with glue and place lid on.
- Next. Place one cooler in front of you.
- Using clear glue (for crafts like Elmer's) and your glue gun place glue across the entire lid.
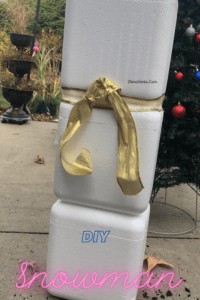
- Now, place the 2nd cooler atop the first and press a bit.
- Repeat this same process to affix the 3rd cooler.
- While these are setting up with the glue, I suggest placing something heavy atop the three coolers for about 10 minutes.
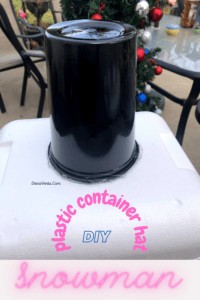
- Now, take the plastic 16 oz container, and let's go paint the tophat.
- Don't overcoat it, just enough to take it from clear to black
- Next, take the 2 ornaments and spray them with a clear sealant. (don't overspray, just enough to coat and protect)
- While the tophat and ornaments are drying, it's time to get back to the snowman details.
- Now, I suggest starting with a scarf.
- Since I was using any scrap ribbon I had laying around, I first made a wrap from the front to the back.
- Once you trial fit it, then attach with hot glue.
- Then, I formed a bow in some way ( I am not good with bow making) and attached this with glue also.
- Next, the tophat dried quickly, so I worked on centering it atop the snowman's head.
- Using my glue gun, I followed the rim of the plastic container and then attached the hat to the top of the snowman.
- Next, since there was glue around the base, I used this to my advantage and added a sparkly pipe cleaner to make it show a bit better.
- Then, a few sparkly balls and a branch.
- I worked on the eyes and mouth and nose last.
- First I worked on the eyes.
- Using scissors I cut a little slit where I wanted each eye to go.
- This way, when I coated the tip of the ornament hanging portion with glue it would stick better and be 'in' the styrofoam.
- After attaching both eyes, move to the nose, so you can center it.
- I took one sparkly pipe cleaner and wrapped it around a pencil, making it 'spring-like' and dimensional.
- Again, I slit the styrofoam with the scissors, placed glue on the end of the nose, and pushed it into the container. ( I suggest using tweezers, as I should have to really get it in there and not STICK to your fingers).
- Last I worked on the mouth.
- Simply gluing the pipe cleaner to the width I chose and attached.
- Then, just like that, the DIY styrofoam cooler snowman is done!
- OF course, you can add arms, if you like I stopped short of the arms to make it easier to store!
- Enjoy! ~ Dana XO


