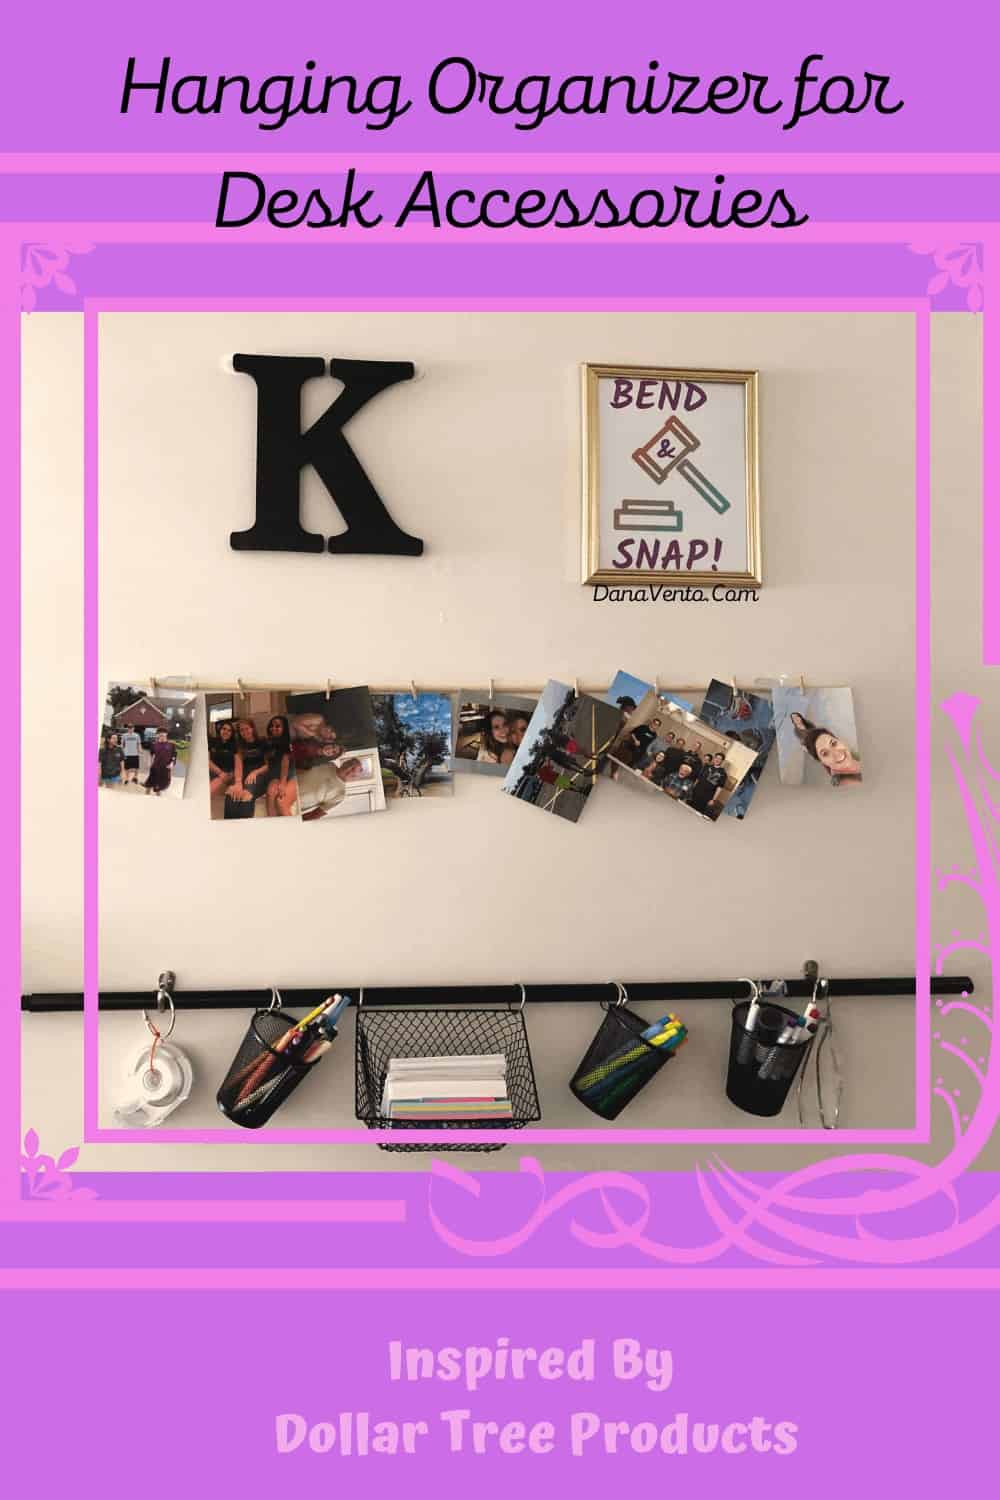
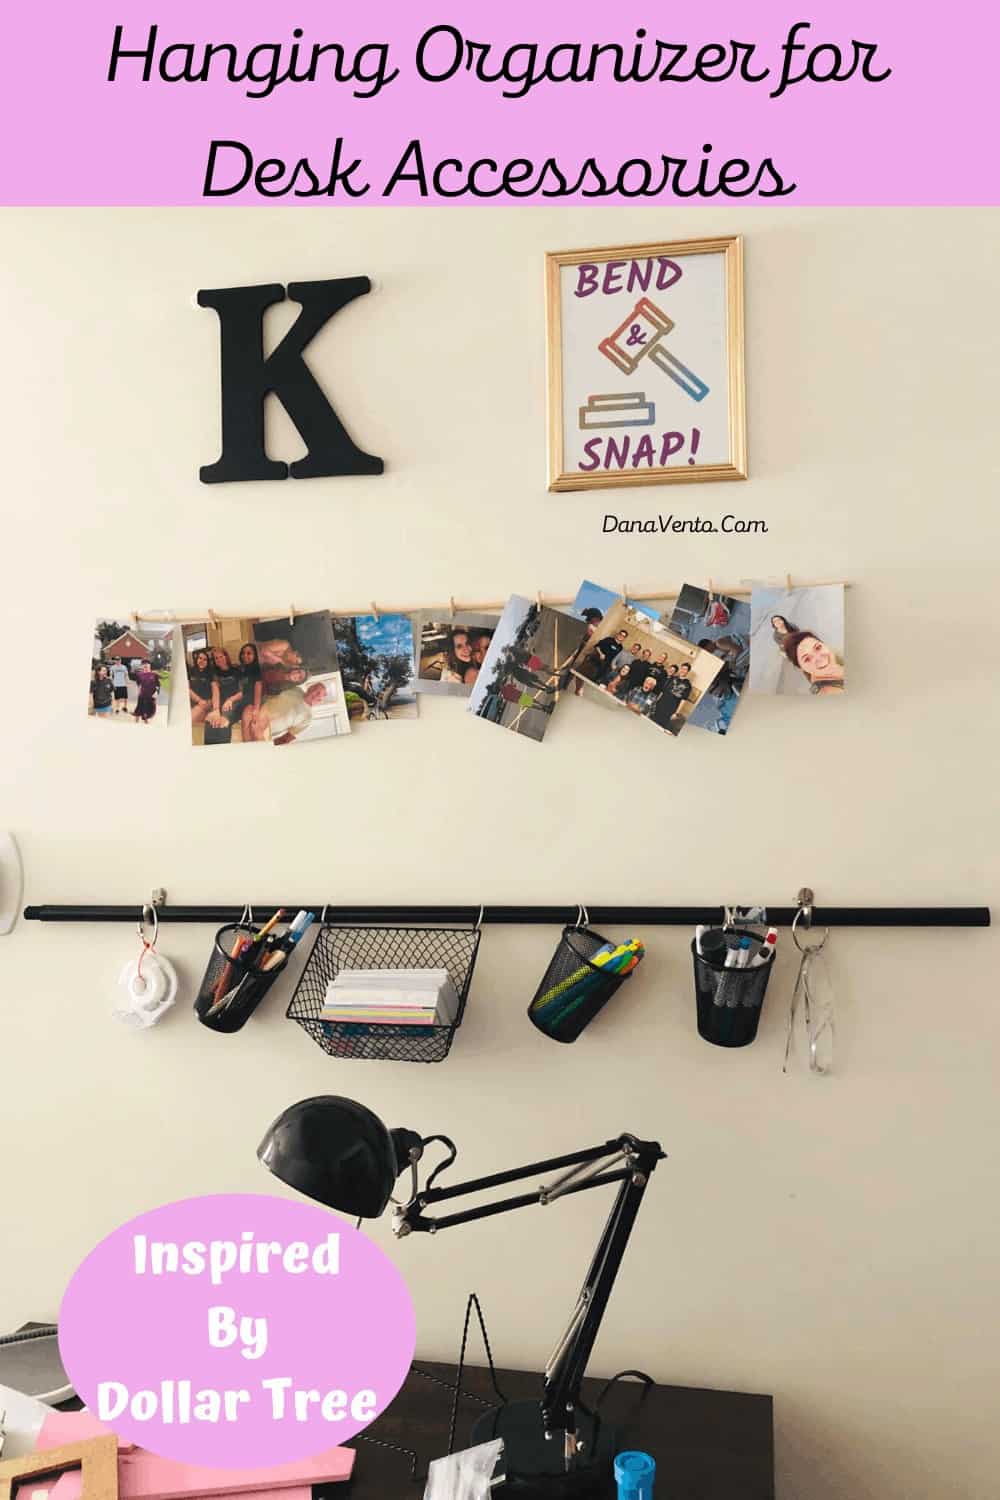
Desk Accessories Need This Hanging Organizer
Why do you need a hanging organizer?
Your desk is a mess.
Why?
Pencil and pen cups in excess.
Perhaps markers in bulk, as well as scissors, tape, and notecards.
How do you function with so little space on a desk?
The answer is simple, you don’t!
Take 15 minutes to craft this DIY Hanging Organizer for Desk Accessories.
In fact, it’s a replica of one we have purchased from a large retailer that costs a lot more.
Spend less, get organized, and let your workspace be freed from pens, pencils, scissors, notecards, and more.
To be good at what you do while you are at your desk, it needs to be accessible and have a workspace.
Does your desk have space to work at?
Truly this is an easy DIY and a great way to test out your crafty skills for the first time!
As long as you have a wall in front of your desk, you can do this!
Simply put, this DIY will take about 15 minutes to make, requires minimal effort, and frees up much-needed desktop space.
Additionally, it’s a bargain and can be made for $6 or $8 depending on how many containers you add on!
Compare that to one from the large retailer and that’s a savings of $35 dollars!
You can do this, let’s go!
Your Hanging Organizer for Desk Accessories
As an Amazon Associate, I earn from qualifying purchases learn more on my disclosure.
Alright so to begin the process, sit at your desk.
Imagine it clean.
Yeah, just take everything off of it.
Because you see, imagining a clean desk begins with clearing it off!
Now, start by going through all of your pencils and pens.
Toss out what you don’t need, or basically what does not work.
Get rid of any marker that is dry.
Keep nothing for nostalgia’s sake.
Organize your scissors and paper punch, ruler, and tape into a different pile.
Grab those note cards, even the pile out, and see what you have.
Do you need more small note cards or large note cards?
By now, you’ve tossed, sorted, and taken stock of what you have.
Make sure to order or purchase what you will need to replace those tossed out items.
Then it’s time for a trip to the Dollar Tree.
Hey, if you love Dollar Tree, buy some of your desk supplies there!
A Trip To The Dollar Tree To Grab Supplies for you Hanging Organizer for Desk Accessories

In this case, about $7 made our change.
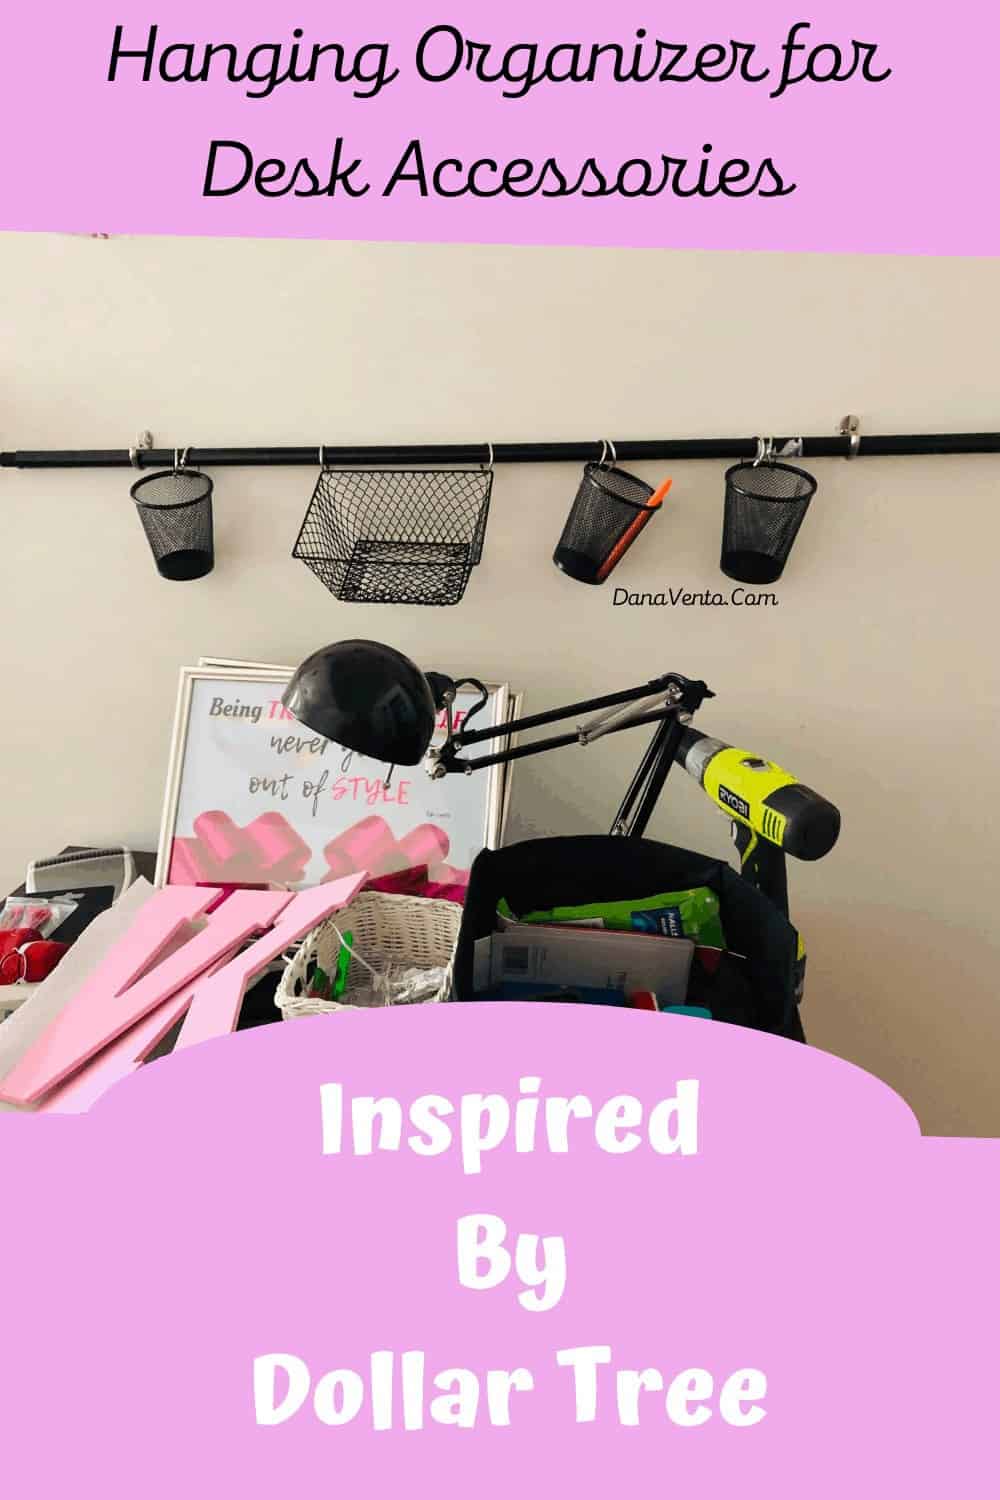
So to tidy up, and increase space for my daughter’s desk I went to work mocking up what I thought would work to create a hanging organizer.
I grabbed the supplies and laid them out.
Yep, I was dead-on what needed to be done, with a few tweaks.
There’s not a lot to this project, but, you do need at least a drill and a screwdriver.
Timing From Start To Finish
If it took me 15 minutes, that might even be too much time calculated.
It’s an easy project and makes a huge impact.
The solution to not enough desktop storage is solved!
Your tools will be basic items including wire snips.
Grab the Step By Step Directions Here ⇓
DIY Hanging Organizer for Desk Accessories Inspired by Dollar Tree Products
Equipment
- Drill (for hooks) - Optional You might choose Strong Command Strips
- Aluminum/Metal Cutters
Materials
- Dollar Tree Broom Handle black
- 1 Package of 8 Jot Metal Book Rings
- 3 Jot Metal mesh pencil holders (or more as needed)
- Jot Metal Rectangular Bin
- Tool Bench 9" Nylon Cables zip ties
Instructions
- Place broom handle on the ground.
- Layout your concept.
- Take each mesh cup and snip 2 SMALL holes close to the reinforced rim.
- Put a metal book ring through it to make sure you cut just enough.
- Mark your wall.
- Drilling if you used them the hooks into each side of the wall.
- Next, place each ring on the broom handle.
- Hang the broom handle on the 2 hooks.
- Next, open each ring and place a cup or rectangle basket (2 rings) on each.
- Fill cups and basket.
- Use zip ties for your scissor handles and let them hang on a metal book ring.
- Do the same for your tape.


