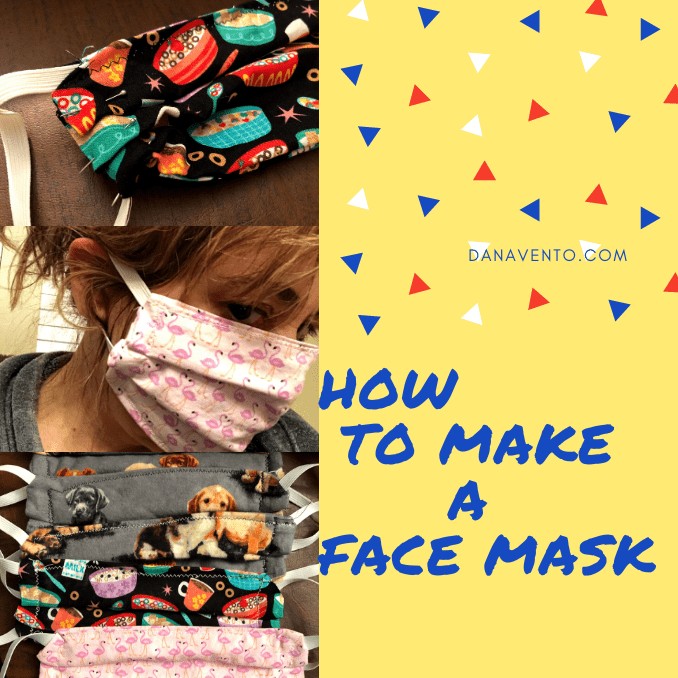
This DIY is easy and requires 100% Cotton.
While these are not N95 masks, they are masks nonetheless.
Why I chose to share how to make a face mask is to help you craft one for your runs to the grocery store or doctor’s office where you will be around others.
We are all practicing social distancing yet, a mask, be it N95 or not is helpful if it covers an area that could potentially be sprayed by a sneeze or fluid of a sick person.
I’ll be the first to admit, I am awful at sewing.
However, I still have managed to make masks for my family, parents and the nurses at my doctor’s office.
Whether you are riding out flu season or avoiding germ, these masks are tri-ply, and crafted with tightly woven fabric.
Let’s get started, you have no time to waste.
Did I mention that after crafting about 10 of these I can make each, free-hand, without pins and in under 5 minutes?
How To Make A Face Mask
I am not a medical professional, nor am I pretending to be. Rather, I just learned how to make these face masks after a lot of trial and error.
Trust me, if I can make these you can, I am sewing Challenged and found the easiest way possible to make these!
Read the advice from WHO as to HOW to properly use a face mask. This is So important.
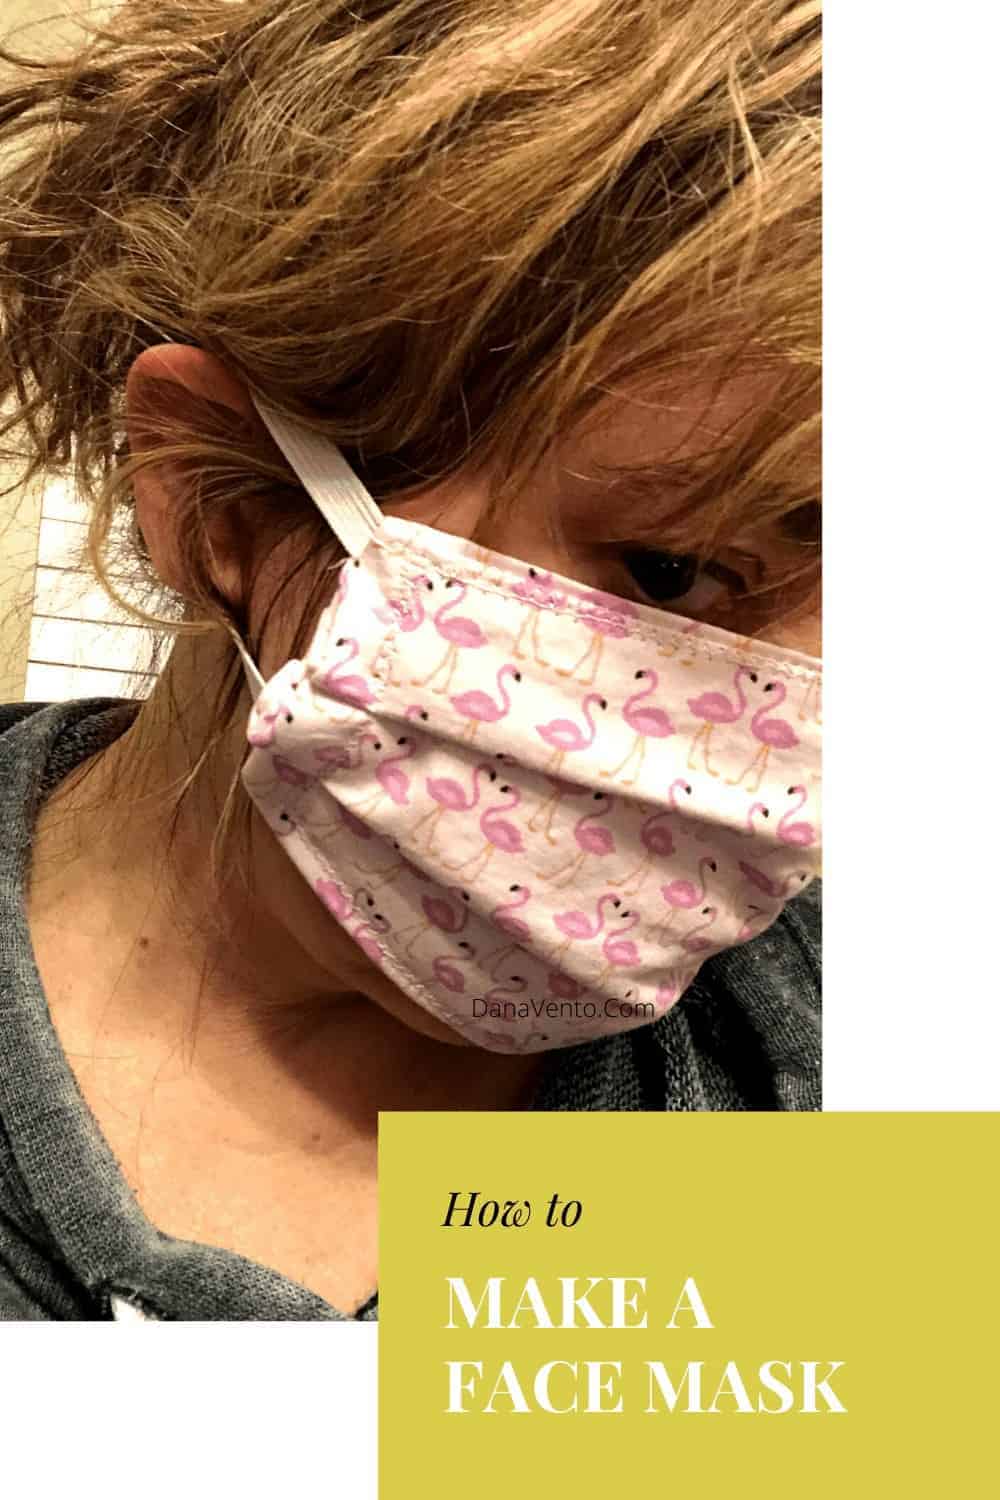
It literally sucks. Then again, I hate sewing, but this is a Necessity we can’t do without at current.
Honestly, I hate sickness more than sewing, so I sucked up my hate for it and did it.
You can too! Trust me, if I can anyone can.
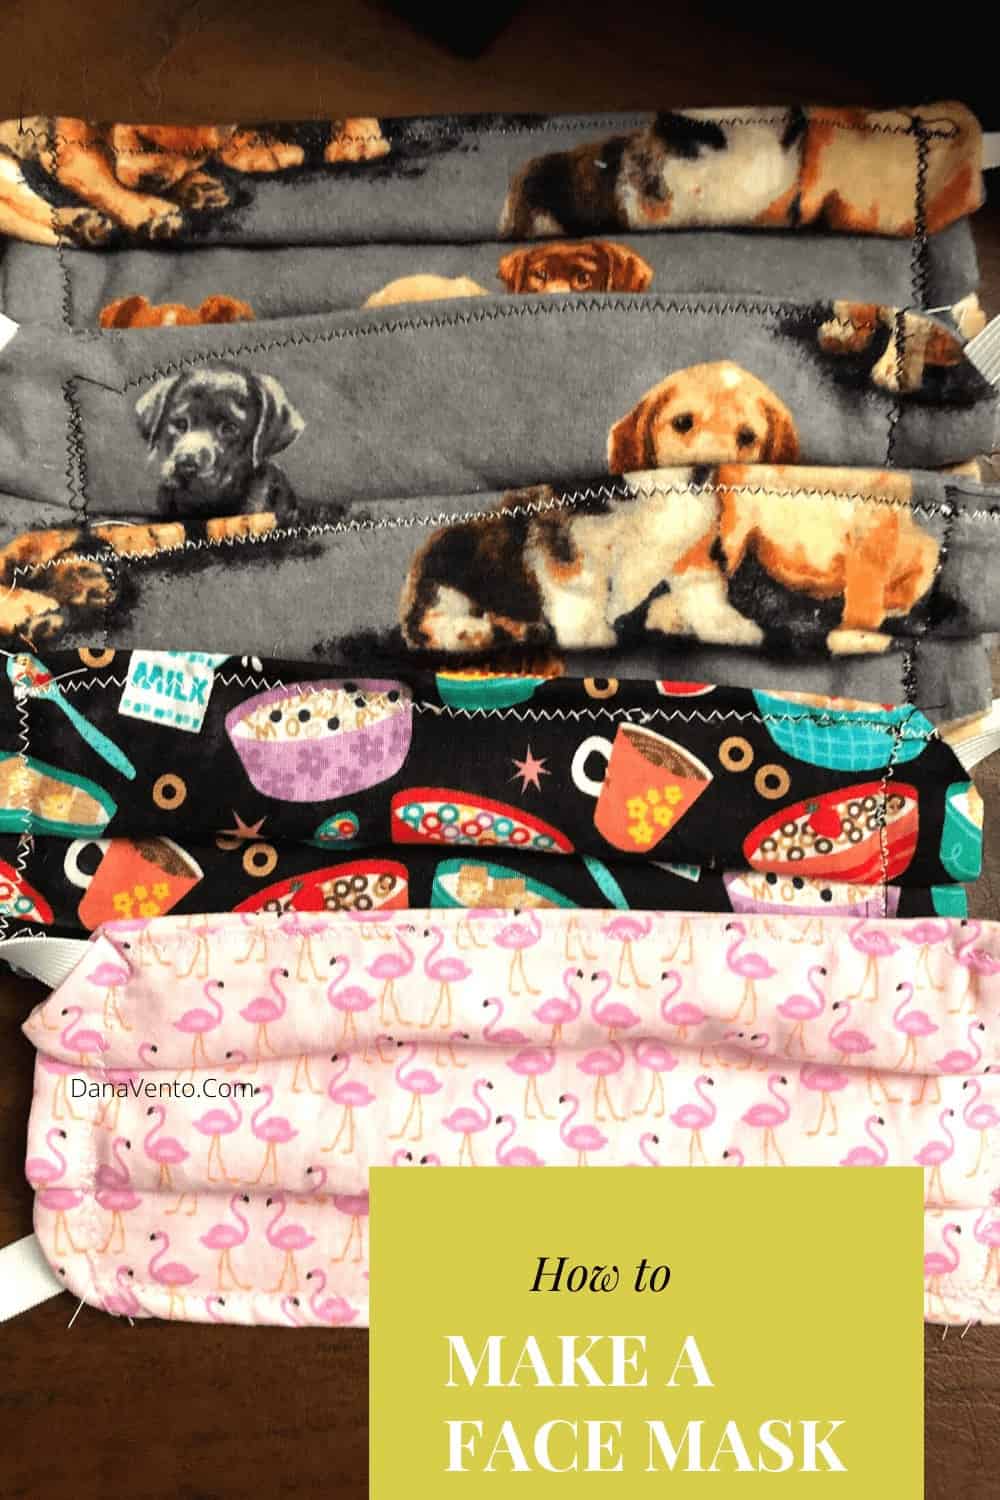
They’ve got great deals and coupons all the time.
In the case that you want to use what you have to make a mask, you can.
Grab some of your washed 100% COTTON tees and your sewing kit!
I gotta be honest, the fact that I used printed material and that I HATE sewing is what derailed my sewing process at the beginning.
Fabric Positioning  Start with the middle piece.
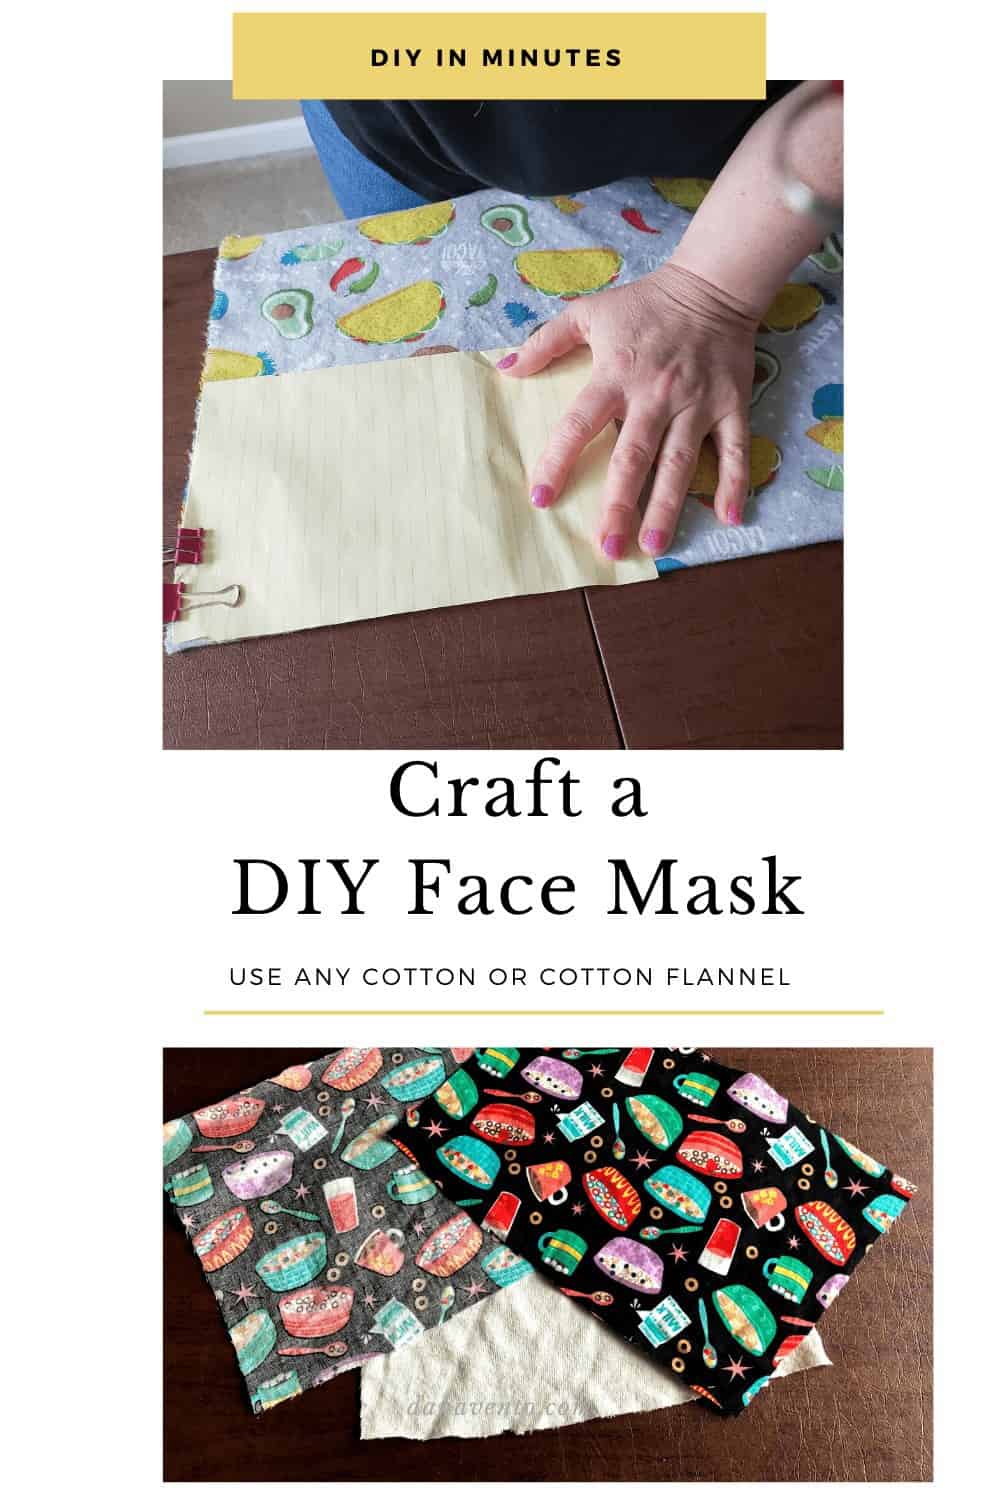
Right side up, upside down, it does not matter NO one will EVER see that piece.
Next, if you have chosen material with prints place the print right side up atop the first piece.
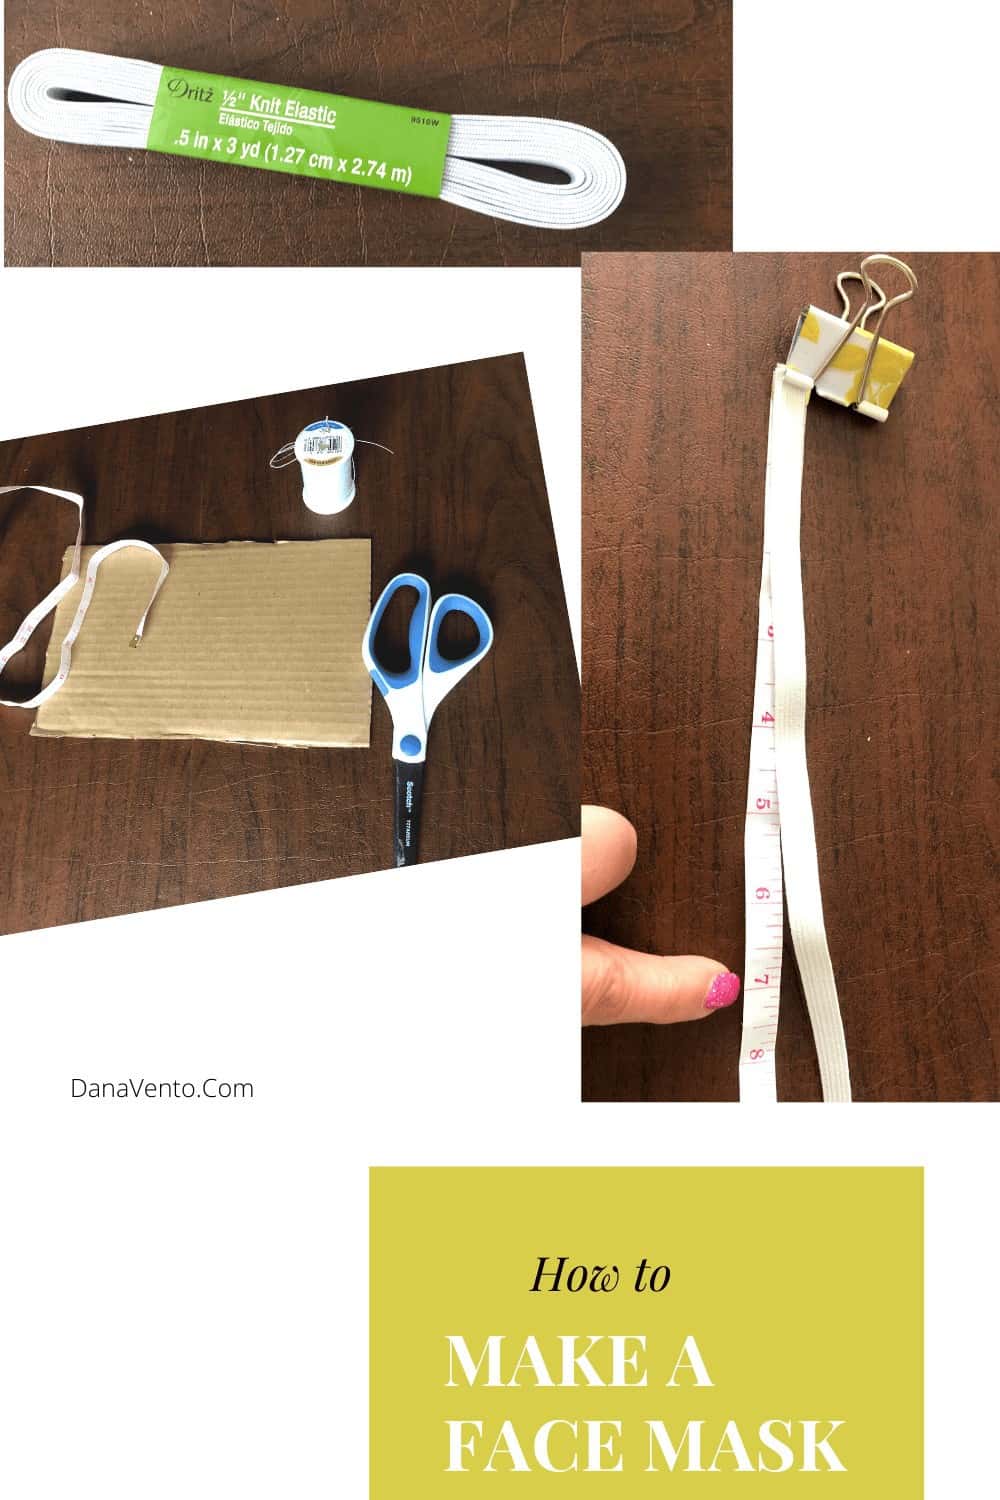
Now, lay the elastic onto one of the short sides (6″) side about 1/4″ down.
You will pin that (until you get good enough to go freehand.
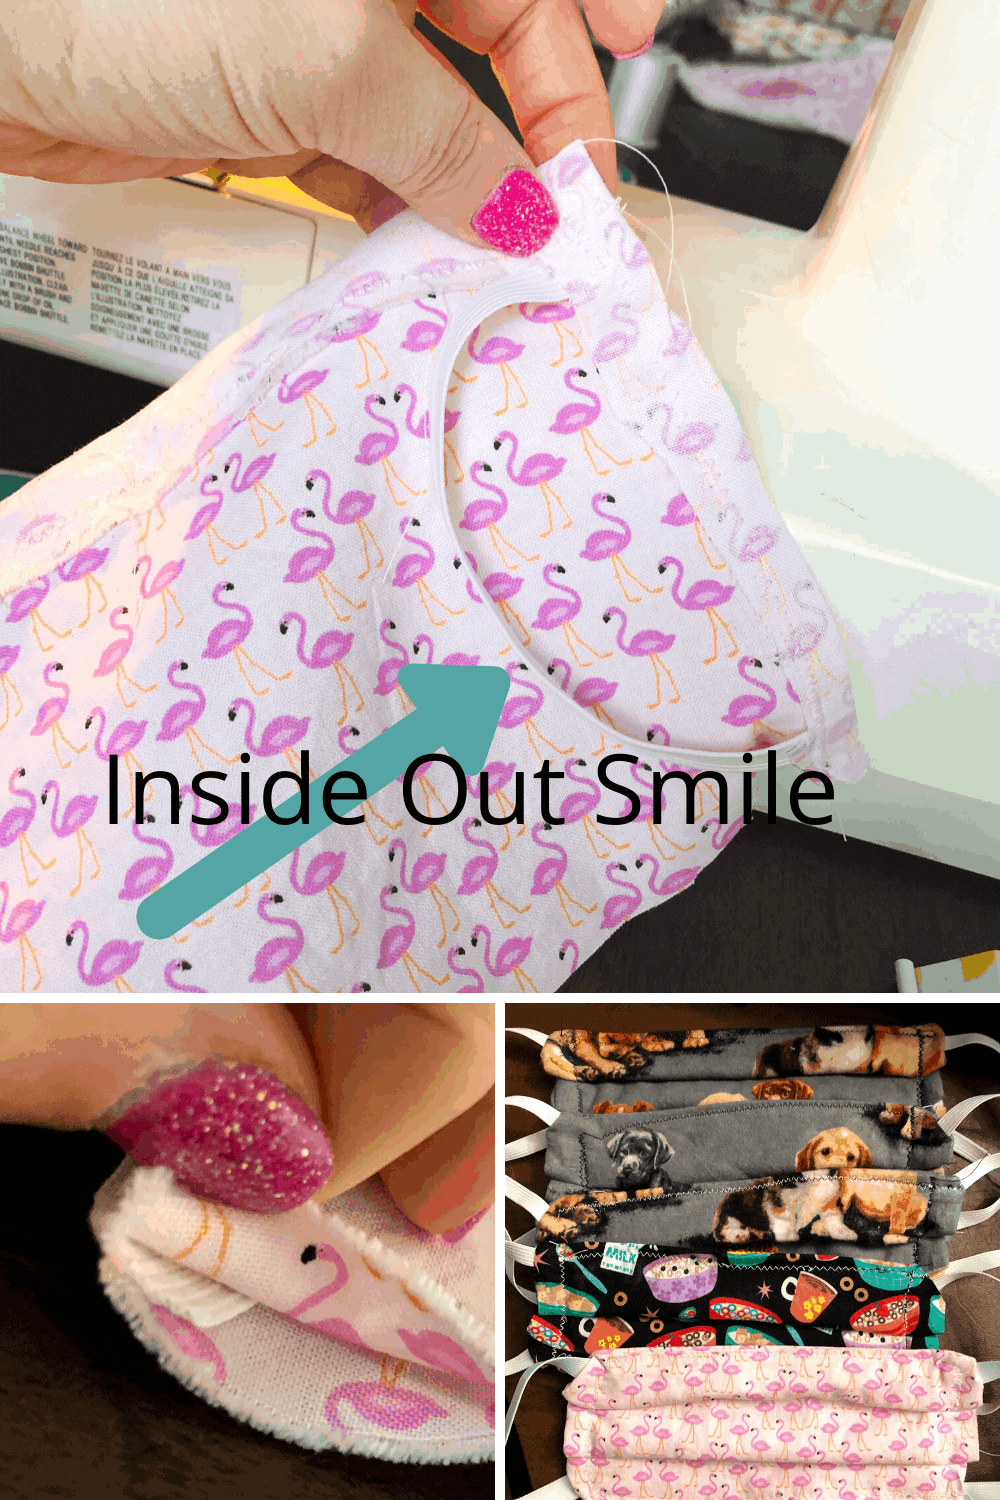
Again, that elastic should be 1/4″ from the bottom of that same 6″ side.
Now, do the same with the elastic across on the other 6″ side.
Last, place the printed fabric print side down for the top layer, so you can’t see your print.
Now, take the clips of the elastic placement and reclip all the material together (3 pieces plus elastic).
Repeat this for all four corners.
How To Make A Face Mask Sewing Time
I’ve always started by attaching the elastic, so I work on the short sides first.
I do this because I like to take those clips off.
Again I’ve gotten to the point that I don’t clip the elastic, I place it on as I go, but that took 10 tries, LOL.
Can we say, Sewing Machine Challenged!
First I sew the first short side, then release the foot, keeping the needle in, and pivot the material on the 9″ side.
On the first long side (9″) I sew all the way to the corner of the next 6″ side.
Once at the corner, I pivot, and I attach the elastic.
Again, it’s placement is an interior smiley face.
As I attach the first elastic, I remove the clip and continue to sew that side until I reach the end where is another piece of elastic.
Then, I remove the clips, pivot the material with the needle in and the foot up.
Get Ready, Side 4 (9″) is DIFFERENT than the other 3 sides
Securing the foot of the machine, after the pivoting process, I sew this side, HOWEVER…
I stop sewing 3″ shy of the other corner.
Stop the machine.
Cut the thread.
And then put my hands into the opening and pull the material through, (inside out).
Suddenly there’s a mask in front of me.
Now, I line up the seams, turn them in and start at one end of the long 9″ open side and sew the gap from side to side.
Remove the mask again from the machine, cut all threads.
Clips, Folds and All The B.S. You Gotta Do ~ How To Sew A Face Mask.
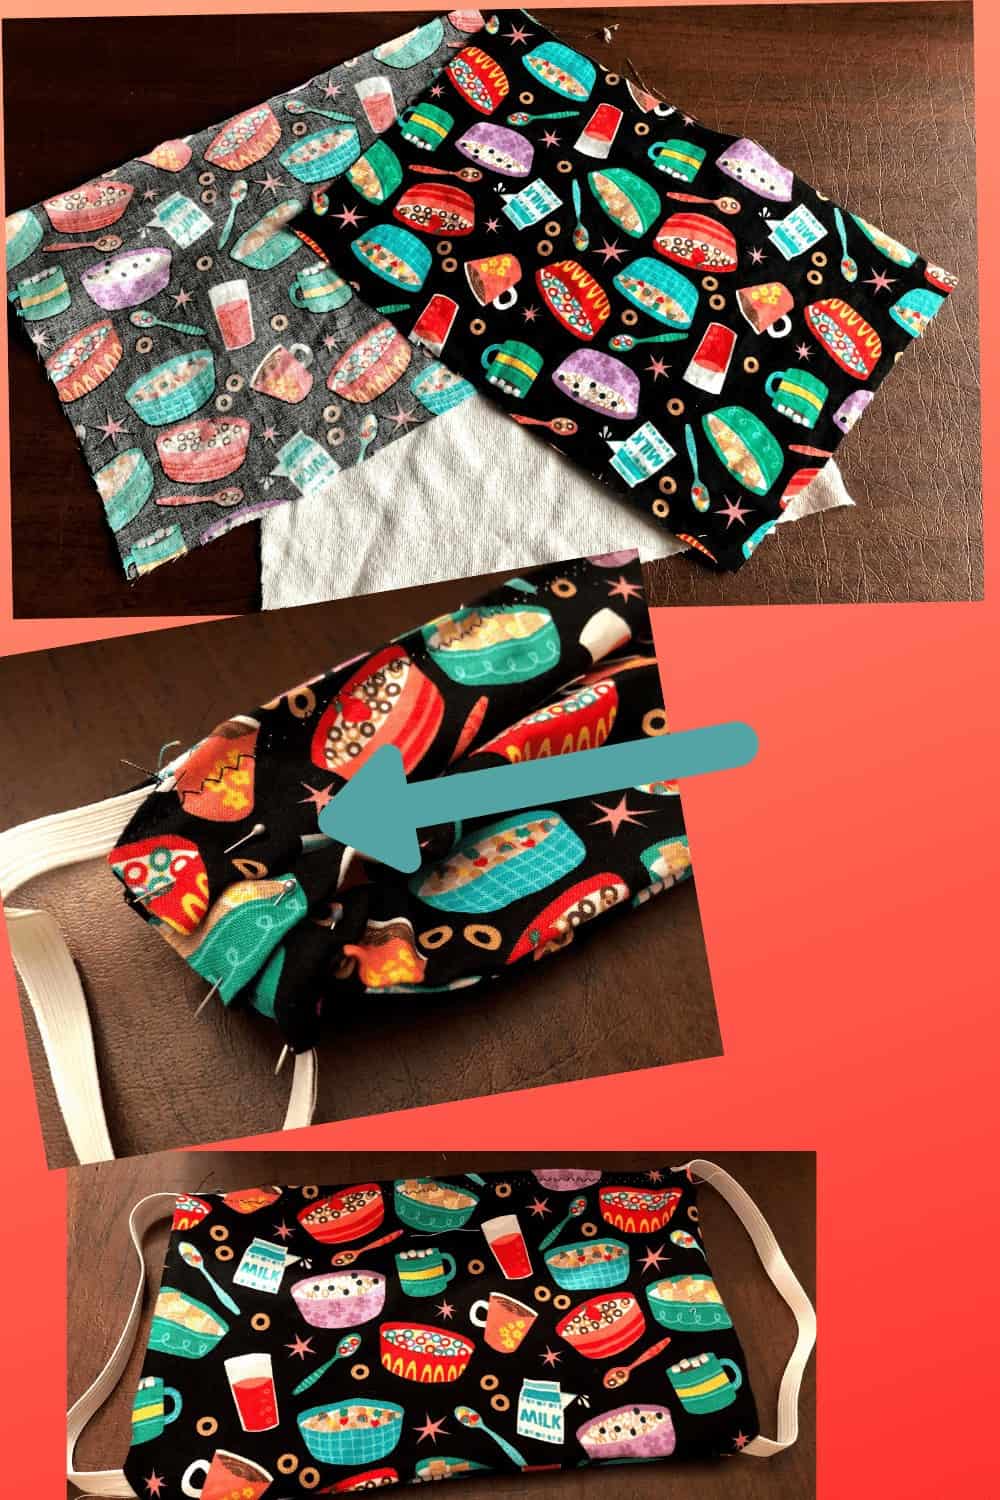
No matter what you do, however, you FOLD the material for pleat ONE fold it for Pleat 2.
Trust me, this is the part that pisses me off.
I must have pinned and repinned and pinned again 40 times and then I figured it out.
Maybe they are 1/4″ or a bit smaller, just make 2 EVEN pleats in the same direction is ALL that matters, we are not pros on mask making right?
Pin close to the edge and when you get to the machine and start down the first 6″ side, do this.
As long as the FOOT of the machine is DOWN On the material release CLIP/PIN 1.
Sew straight down over the pleat.
As you get closer to the next Pin/Clip, hold the material down and take the Pin/Clip off.
Side ONE DONE!
Pivot, and sew the long 9″ side to get to the other 6″ side and stop shy of the Pivot.
6″ Side and Pleats #2
Make sure your pleats are EVEN all the way across and MATCH the other side.
Do make sure to PIN/Clip the pleats, close to the edge.
As you sew, repeat all the above.
When you are done, you are done.
YOu already restitched the long side when you closed the GAP at the beginning.
Here are Tips On The Do’s and Don’ts of using a Face Mask
STOP and ENJOY your face mask
My first one looked like a lop-sided contraption.
I had one that was too small.
Probably because I watched people on YouTube who had NO clue we were a novice.
I’ll tell you right now, 1/2″ elastic makes life so much better as compared to the 1/8″ and 1/4″ they suggested, they are all nuts!
The difference is night and day!
Good luck to you on this, you can do it.
Snap a picture of yours and share it with me here on my Pinterest.
I want to see your DIY! ~ DANA XO
How To Make A Face Mask
Equipment
- Scissors
- Tape measure
- Pins
- Thread
- Sewing Machine
Materials
- 2 Pieces of 7" Elastic 1/2" thick
- 3 Pieces of Cotton material 100% Cotton Flannel (1 and 2 pieces Cotton Fabric)
- Scissors
- Pins or clips
- Thread
- Bobbin
- Tape Measure
Instructions
- Place your three pieces of material in front of you.
- The piece that will be in between (the filtering layer) goes down first.
- Then place the next piece right side up.
- Continue with pinning elastic on each of the short 6" sides.
- Start the elastic 1/4" in and pin/clip it there.
- Then repeat the elastic allowing the elastic to form a smile on the INSIDE of the material.
- Next, pin the bottom piece of elastic on the same side, again about 1/4" from the bottom.
- Repeat the entire process of elastic pinning on the opposite 6" side.
- Now it's time to sew.
- Start with the elastic short side and stitch down from one piece to the other.
- However, do not catch the 'smile' portion of the elastic in the stitching.
- Only stitch each end of the elastic strip.
- Now pivot the material by lifting the sewing foot and proceed to stitch close to the edge as possible until you come to the next short 6" side.
- Once you are at the next side, put sewing pedal up, and pivot.
- Now repeat the stitching pattern for the elastic on each end.
- At the end of this side, pivot the foot once again.
- However, this time only stitch to about 6" leaving 3" open in order to invert the mask right side out.
- Clip thread off of mask and remove the mask from the machine.
- Now, Invert the mask from inside out.
- Make sure to get to EACH corner and push that material out to make a very rectangular mask.
- cing the middle piece down first. (white in image above)
- Right side up, upside down, it does not matter NO one will EVER see that piece.
- Next, if you have chosen material with prints place the print right side up atop the first piece.
- Now, lay the elastic onto one of the short sides (6") side about 1/4" down.
- You will pin that (until you get good enough to go freehand.
- Flatten the mask in front of you and match the Gap together.
- Most likely you will need to turn the material into making a seam.
- Next, put the mask with GAP side under the pedal.
- Start at ONE end of the long end with GAP and stitch all the way from end to end closing the Gap.
- Again, remove from machine, cutting the thread.
- Now it is time to Pin in 2 tucks.
- Place the mask in front of you.
- Tuck the material on one side.
- You want to gather about 1/4" on the tuck and PIN/CLIP it down firm.
- Repeat this one more time in the same direction or the tuck and clip or PIN it down.
- Follow the TUCK straight across and repeat the tuck and clip for the opposing side of the mask.
- Before you return the mask to the machine, make sure that your clips/pins and tucks are secure and that the tucks are straight across evenly.
- If that is all right, then move the mask back to the machine.
- begin on one of the short corners. Stitch forward and track backward one time to ensure the material is tucked and will stay taut.
- Then pivot the pedal, follow along the long side until you get to the next tucked short side.
- PIVOT the pedal and stitch exactly as you did on the opposite side.
- Once complete do not run the pedal down this side as you already have when you closed the Gap.
- Snip the threads, remove them from the machine.
- Try on and enjoy it!

 Start with the middle piece.