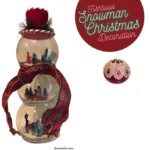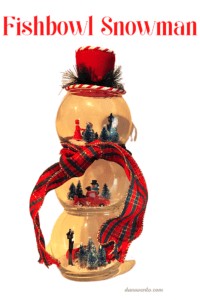
Festive Fishbowl Snowman
DIY.
My favorite three letters this time of year.
Holiday decorations are what make a house a home and so festive.
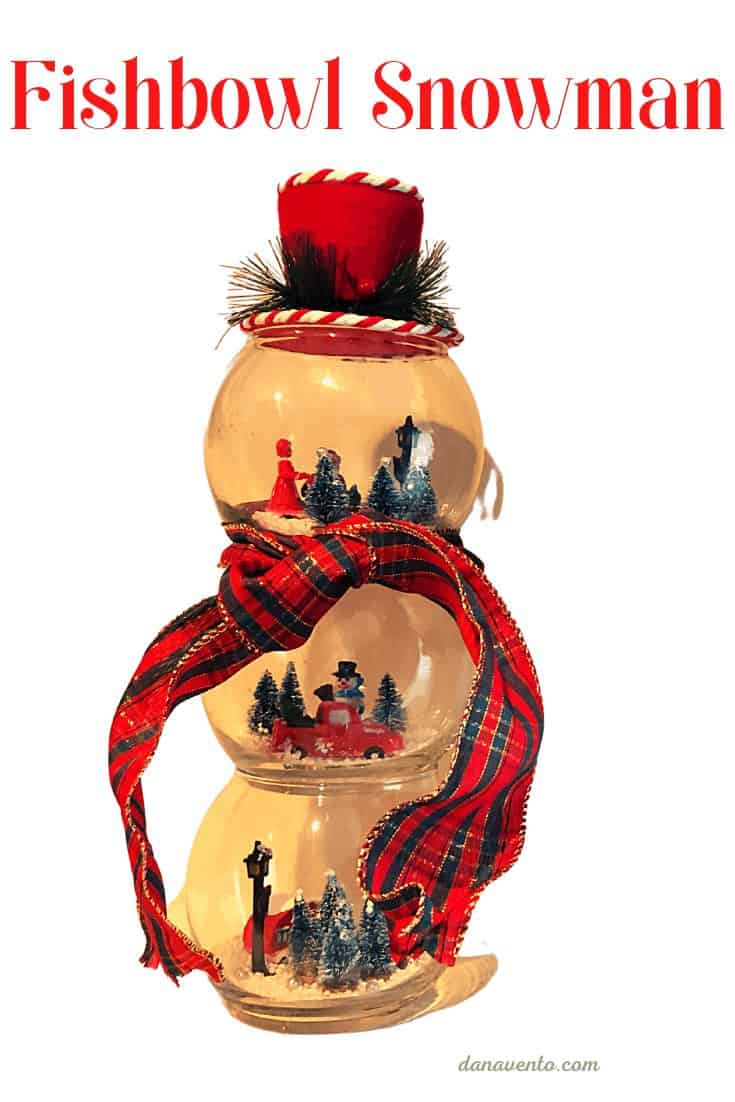
How to Make a Simple and Festive Fishbowl Snowman Christmas Decoration shares how to craft this step by step.
No worries this really is easy and does not take long at all.
Plus, when you craft a festive fishbowl snowman Christmas Decoration, you can gift it, or use it for your own home.
In fact, a DIY fishbowl snowman Christmas decoration is perfect for hostess gifts, teachers, and anyone you want to share some holiday cheer with.
Better yet, the cost of the festive FishBowl Snowman is around just $7 of up to $12 give or take a dollar either way!
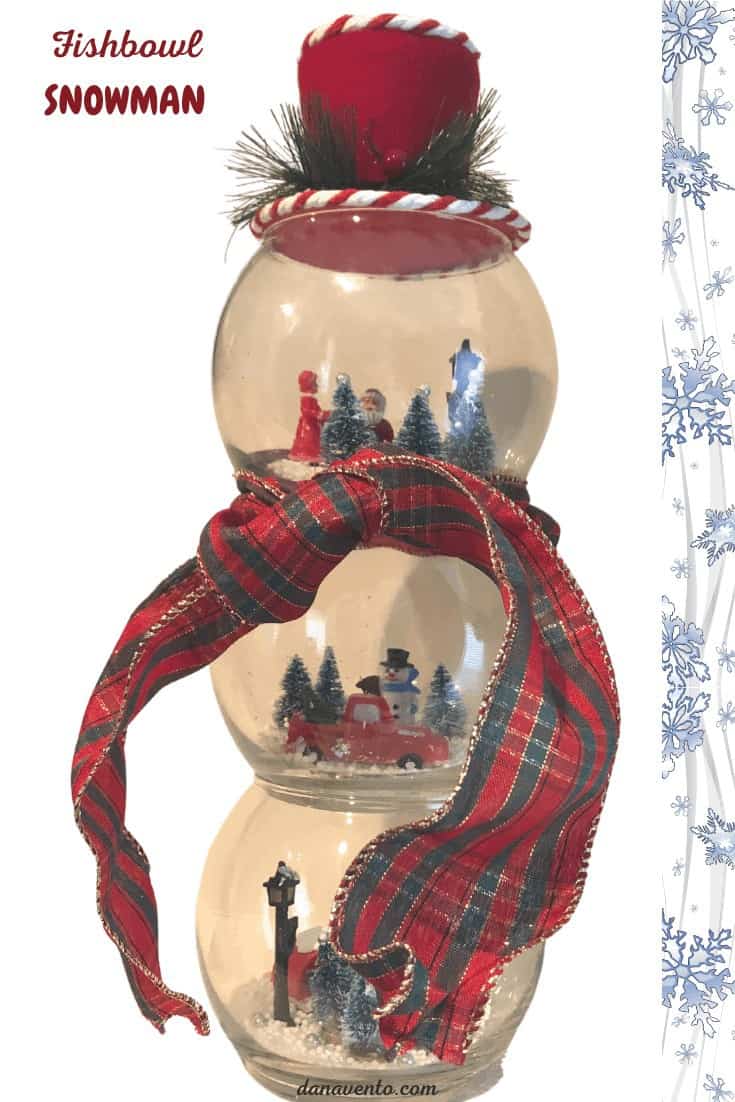
No two fishbowl snowmen look alike, because they are so very personalized with the craft materials you choose.
Yes, I am in fact using real glass fishbowls, not acrylic (but you can use clear plastic too!) and I got everything at the Dollar Tree.
Now, let’s get crafting and in no time, we’ll have a new glass snowman to display in your house.
Festive Fishbowl Snowman Christmas Decoration
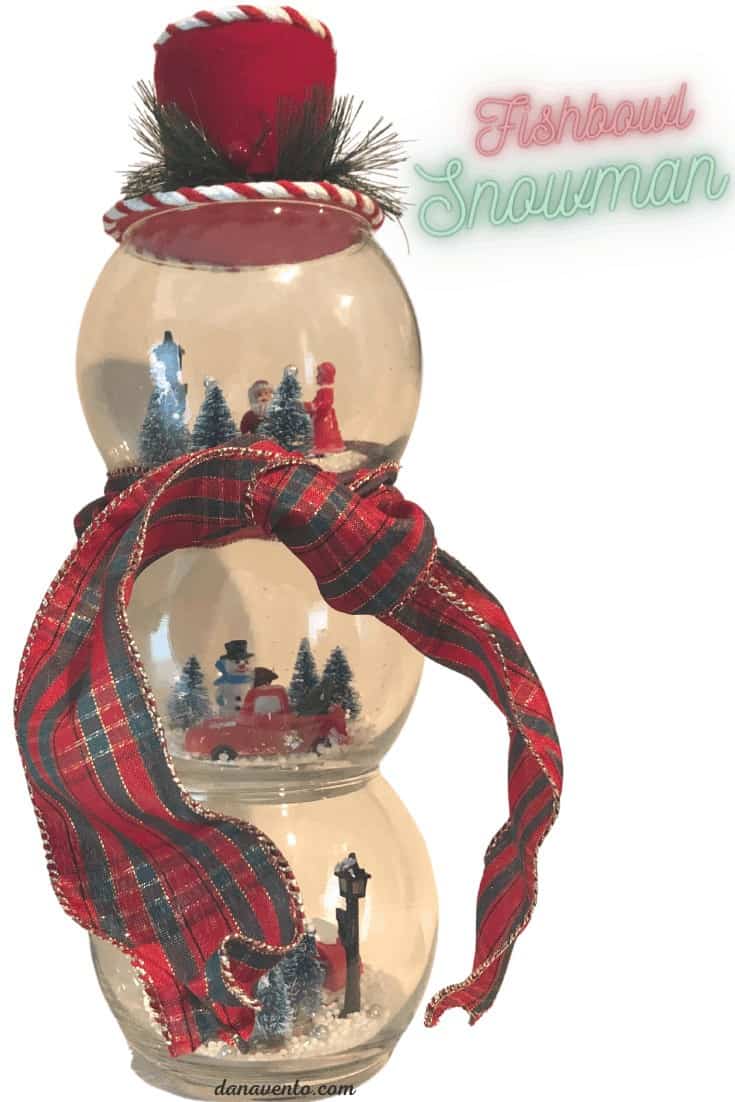
So, when I made my fishbowl snowman, and all the others that I crafted to give away, I themed them.
Why?
Because it tells a story.
Does anyone else notice that I themed the snowman?
Does Making a Theme Matter when crafting a Fishbowl Snowman Christmas Decoration?
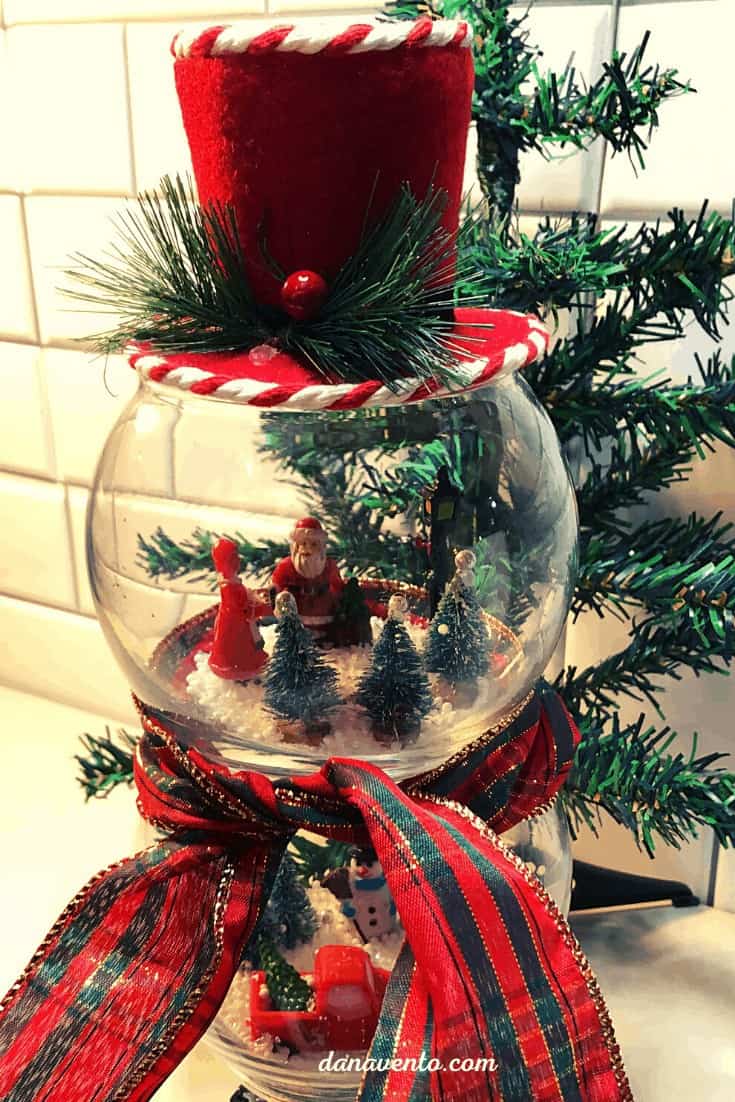
Which tells you to do what you want, and enjoy the DIY.
I crafted a tree farm scenario and then topped it off with the present master… Santa and Mrs. Claus.
Check out these eight easy Christmas Decorations you can easily craft if you are in DIY mode!
Does Size Matter when you craft Fishbowl Snowman Christmas Decoration
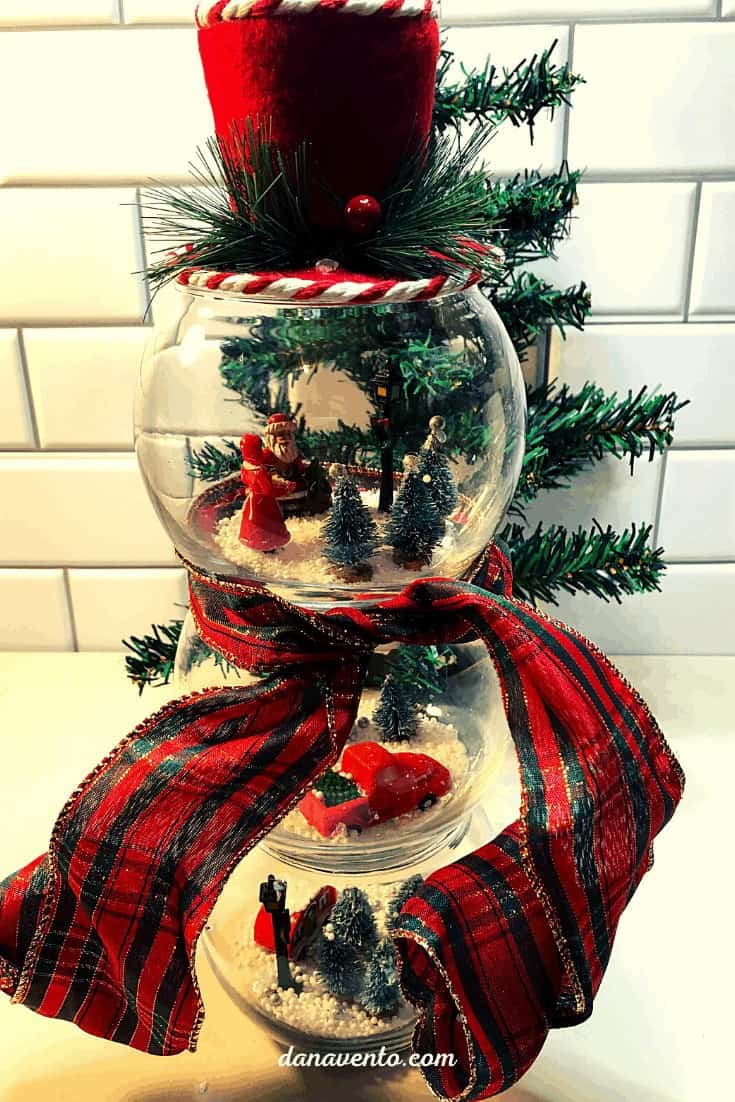
You can stack small to large fishbowls together or all the same size.
Additionally, you can purchase either glass or plastic fish bowls.
Here’s a great deal for 18 Fishbowls so you can make 6 of these for gifts!
Keep the following in mind when you shop.
However, buying fewer then creates a snowman for about $7.
For those that have some of the items already in their holiday stash, even better!
If you do choose different sizes, like larger, you will need more craft supplies and it will cost more than I have quoted here on this project.
However, the end cost will still be FAR less than those glass snowmen purchased in all of the retail stores.
For those who love big snowmen, try out these crystal snowmen!
Shopping For The Craft Supplies To Make a Fishbowl Snowman Christmas Decoration
Here’s the big thing, keep your chin up and your fingers shopping because you may not find the same supplies as I used.
Be true to you, use ornaments, or small village people, different bows, fencing, snow, or glitter in the base.
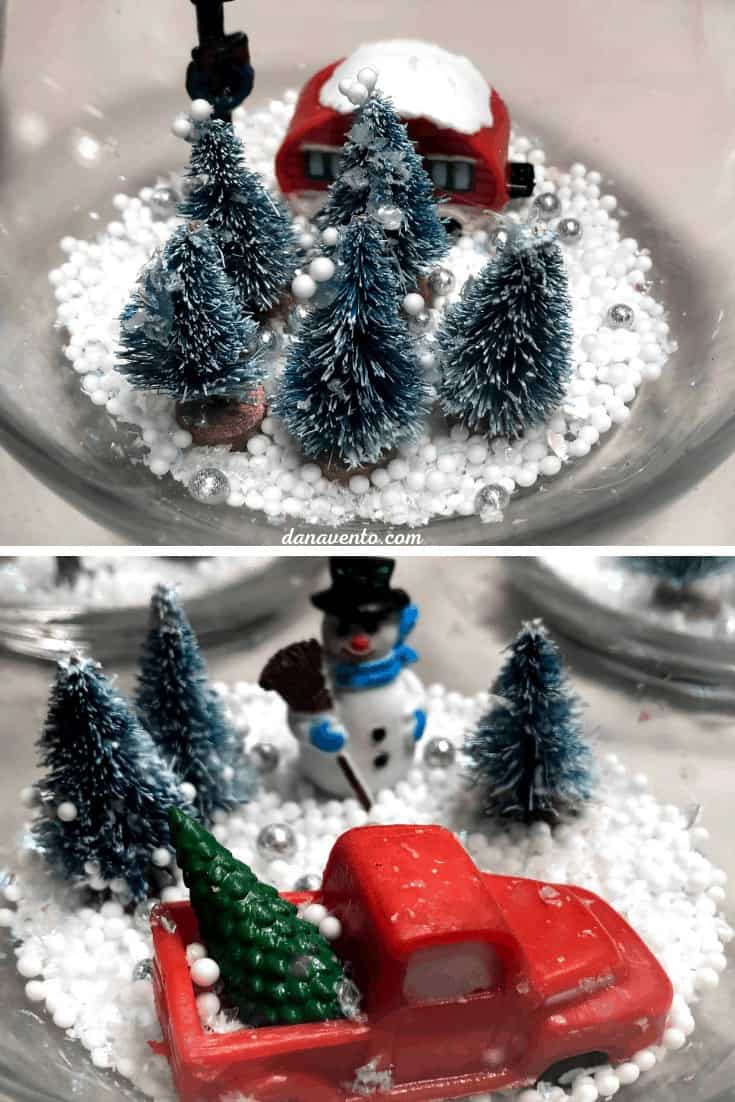
Alright, is it me or does Mrs. Claus in this village set look like a possessed elf?
The fishbowl snowman Christmas decoration you make is yours and should be an extension of you.
Don’t forget to look at the toys you can spray paint a lot of what you find there to make the right snowman for your home.
DIY Tutorial For Crafint a Fishbowl Snowman Christmas Decoration.
Festive Fishbowl Snowman Christmas Decoration
Equipment
- Glue
- Scissors
Materials
- 3 Glass fishbowls tag scraped off, and wiped with glass cleaner ($3
- 2 packs of mini sisal bottle trees mini-village kind ($2)
- 1 Mini Village people or benches, fence, or Santa. ($2)
- Mini Village Vehicle and a lamp post. $1
- Faux Snow $1
- Glitter Faux Snow optional ($1)
- Vase Filler Mini sparkle balls optional ($1)
- 3 ' to 4 ' of your favorite ribbon.
- Ornament for a Hat with the string cut off ($1)
- Hot glue
Instructions
- Place three fishbowls in front of you.
- Take all the items out of their packages (remember this is your Snowman, so you may not have the same items, or you may have more or less as listed above).
- Do a practice layout of what you want your snowman theme to look like.
- Once you have the design you like, I suggest gluing in the main components, especially if you are gifting and taking with you (this way you don't have to set it all up again).
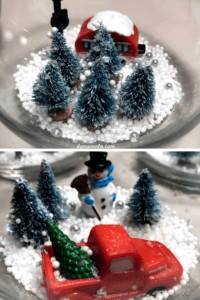
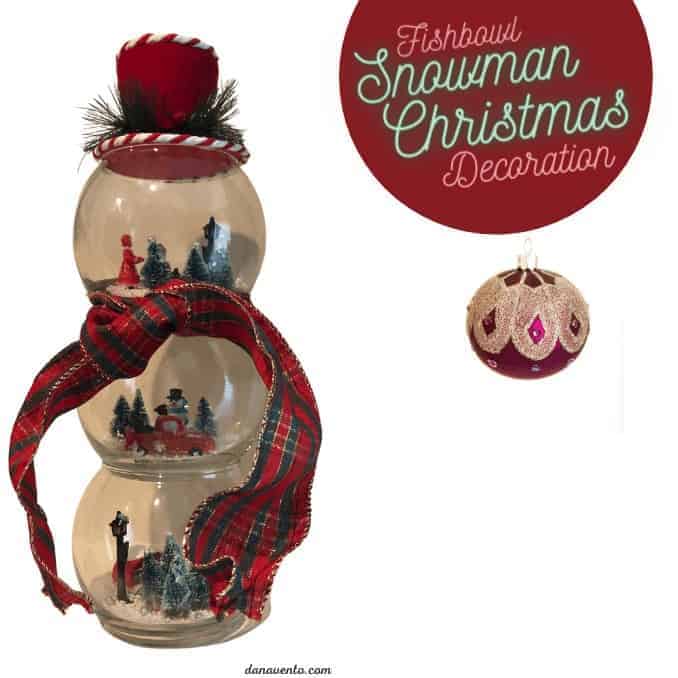
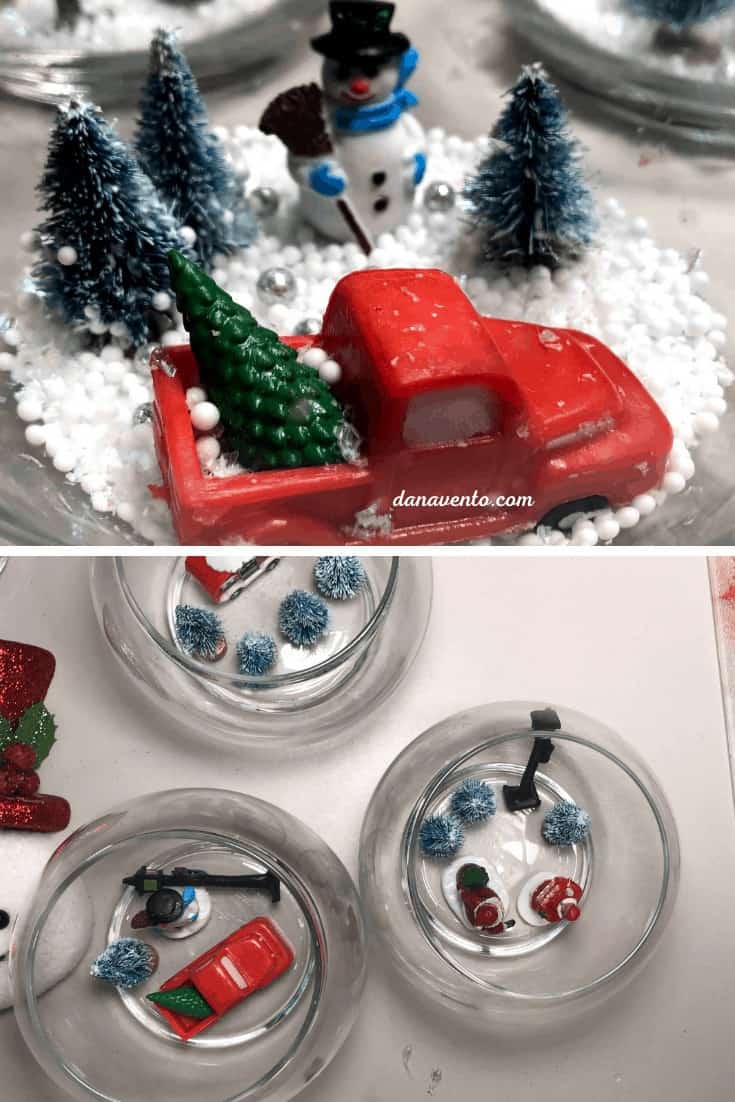
- In the bottom fishbowl, place your tree farm scene if that is what you crafted.
- Glue the trees, one by one and grab any excess hot glue off of each tree and the bowl (it's like a magnet for the glue, eye roll).
- Across from the trees, add the RV Tree Sales Office.
- Additionally, I added a post light for a little more realistic content.
- Then, using shot glasses (or your fingers), fill each shot glass 1/2 way with some of the snows above.
- If you want more glistening snow then add the one that sparkles more than the little confetti balls or vice versa.
- Don't overcoat though or it will look like your tree farm is snowed in, lol!
- Also, you can add a few of those vase filler sparkle balls to add a pop of color if you wanted to, I did.
- Set this first bowl aside and then begin construction on your 2nd bowl, the middle of the snowman.
- Here I simply glued down the truck that had just left the tree farm and added in a snowman that might have been along the path to the snowman.
- Additionally, I added in a few more glitter balls for some more color.
- Then I moved on to the top portion of the snowman which is the head of the snowman.
- Here is where I added Mr. And Mrs. Claus, a few trees, and a post light.
- Next, I added a drop of glue to the three of the trees at the tree farm and then a small glitter ball atop for some color.
- And, I also added in a few glitter balls in the base of the snow for a pop of sparkling color, again totally optional.
- Finally, I stacked each bowl and then added a bow to the top bowl.
- Last, the hat.
- Now it's ready to display or to gift.


