No-Bake Chocolate Chip Cookies are the solution to the days when you want a sweet treat but don’t want to get involved with baking in an oven!
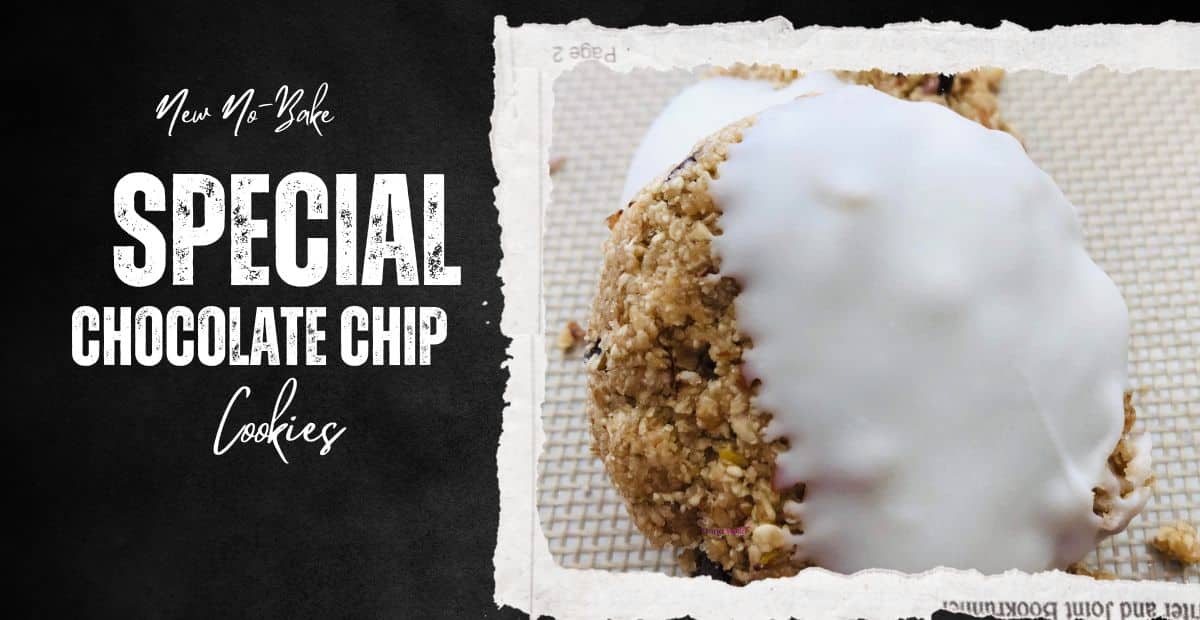
Table of Contents
If you’ve ever been let down by recipes you found online, take a breath and relax – you’re in good hands here. I pride myself not just on my ability to cook and bake but also on creating recipes that are straightforward and delicious. This no-bake chocolate chip cookie recipe is the real deal: simple, and fail-proof. As a mom of a son with food allergies, I know the importance of reliable recipes where deliciousness meets safety. So, worry not; this recipe is as easy as it gets. Let’s get started and whip up some no-bake magic!
My No-Bake Chocolate Cookies AHA Moment
One fine Saturday morning, I found myself staring into the depths of my pantry. You know, the kind of day when the kitchen whispers, ‘Let’s get organized!’ With a waste-not-want-not mantra, I rolled up my sleeves, ready to transform pantry staples into culinary gold.
There, amidst the orderly chaos, lay the treasures for my next no-bake masterpiece: chocolate chips that winked at me like little nuggets of joy, vanilla that promised a scent-sational adventure, and oats that stood ready for a transformation. It was a ‘Eureka!’ moment in Dana’s kitchen – who says you need an oven to whip up something fabulous?
Why No-Bake Recipes Are a Slice of Heaven
I absolutely adore the simplicity of the two words: ‘no-bake.’ There’s a sense of freedom in not having to preheat the oven, especially during those lazy summer days. These super tasty no-bake chocolate chip cookies are a testament to that – no sweat, no stress, just pure yumminess!
No Oven? No Problem! Whether you’re in a dorm room or simply oven-shy, these cookies are a foolproof delight. Perfect for anyone who wants to whip up a treat without the typical baking fuss.
Simplicity is key here, and that’s why I’m confident you’ll fall in love with this recipe. It’s straightforward, hassle-free, and just plain fun.
What’s even better? You can easily tailor these cookies to be gluten-free without compromising on flavor. It’s all about making delicious treats accessible to everyone, regardless of dietary needs or kitchen constraints. So, now I want to share the no-bake bliss and help you discover just how easy and satisfying these cookies can be!
The Advantage Of No-Bake Chocolate Chip Cookies
- Heat-Free Happiness: Perfect for summer or when you just can’t face the oven’s heat.
- Dorm Room Delight: No oven? No problem! Ideal for students in dorms.
- Energy Efficient: Save on electricity – your wallet and planet will thank you.
- Kid-Friendly Fun: Safe and easy for little hands to help out.
- Time-Saver: Quick to make, with no waiting for the oven to preheat.
- Texture Variety: Enjoy a different cookie texture that only no-bake can offer.
Recipe Rundown For No-Bake Chocolate Chip Cookies
I love to think of this recipe for no-bake chocolate chip cookies as more of a springboard for you to build upon.
- Brown Sugar: always pack your brown sugar to get rid of any trapped air. Just pack it into a measuring cup, press down, and swipe across the top to rid of excess. If you have done this right, the sugar will come out of the cup formed like the cup!
- Butter: Room-temperature butter isn’t just easier to mix; it blends seamlessly, ensuring every bite is as decadent as the last. Nobody wants a stubborn butter lump playing hide and seek in their cookie!
- Vanilla: Here’s a sweet secret: using pure vanilla instead of extract in no-bake recipes can elevate your cookie game. It’s like turning up the volume on flavor – each bite sings with vanilla notes!
- Oatmeal: Oats aren’t just for breakfast! In these cookies, they provide a delightful chew and are a sneaky way to include whole grains. Plus, for those on a gluten-free path, oats are your best buddies
- Milk: Whether you’re team dairy or plant-based, milk’s role in these cookies is to bring all the ingredients together in harmony. Think of it as the peacemaker of the cookie world
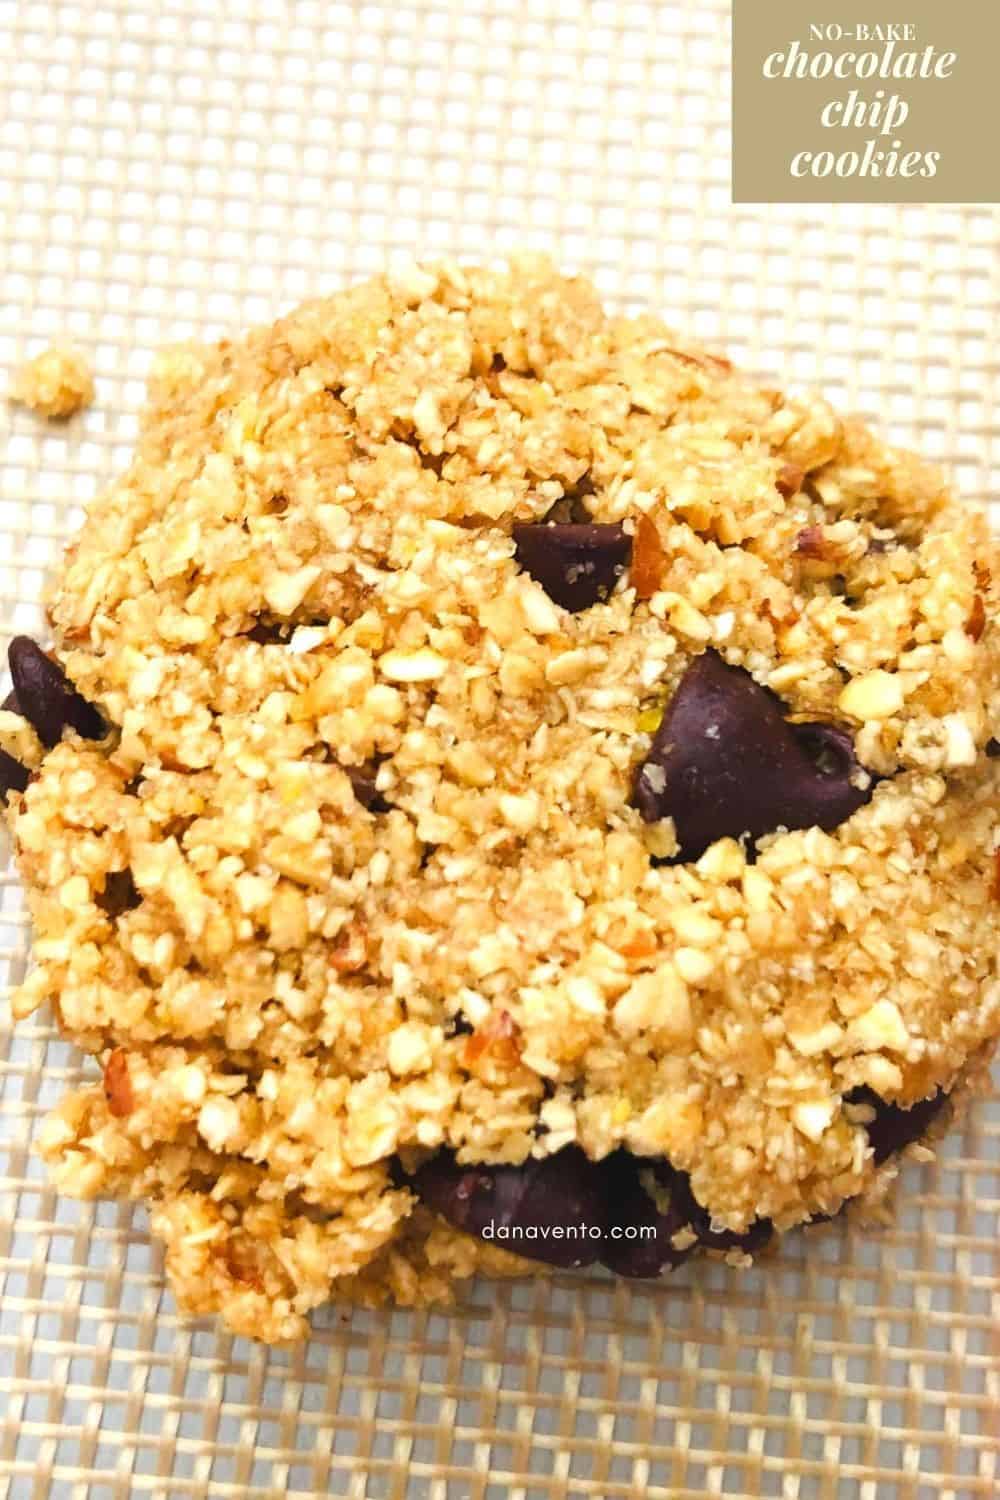
- Chocolate chips: Did you know that the size of the chocolate chip can change your cookie experience? Mini morsels ensure every bite is speckled with chocolate, while larger chips create gooey pockets of joy.
Optional Tips For No-Bake Chocolate Chip Cookies
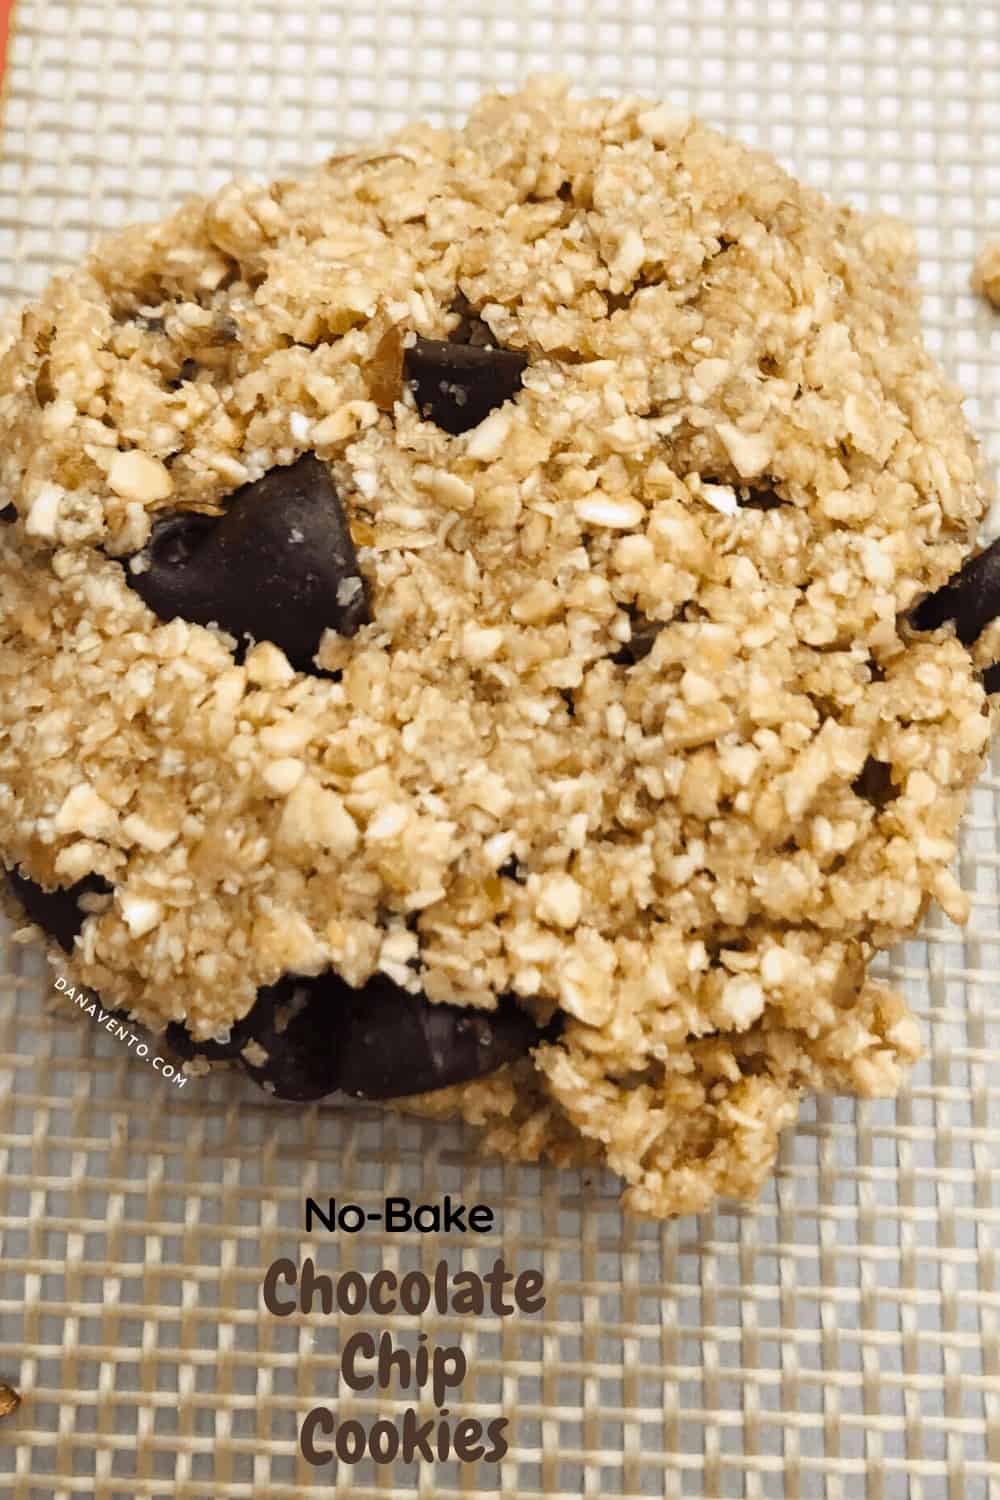
- Your pantry will supply you with optional ingredients and don’t be afraid to use them!
- I’ve used anything from dried cranberries to apricot pieces, prunes and dates (chopped), and other flavors of chips!
- Every single version tastes amazing, just wait and see!
How to Make Easy 1 Bowl No-Bake Chocolate Chip Cookies
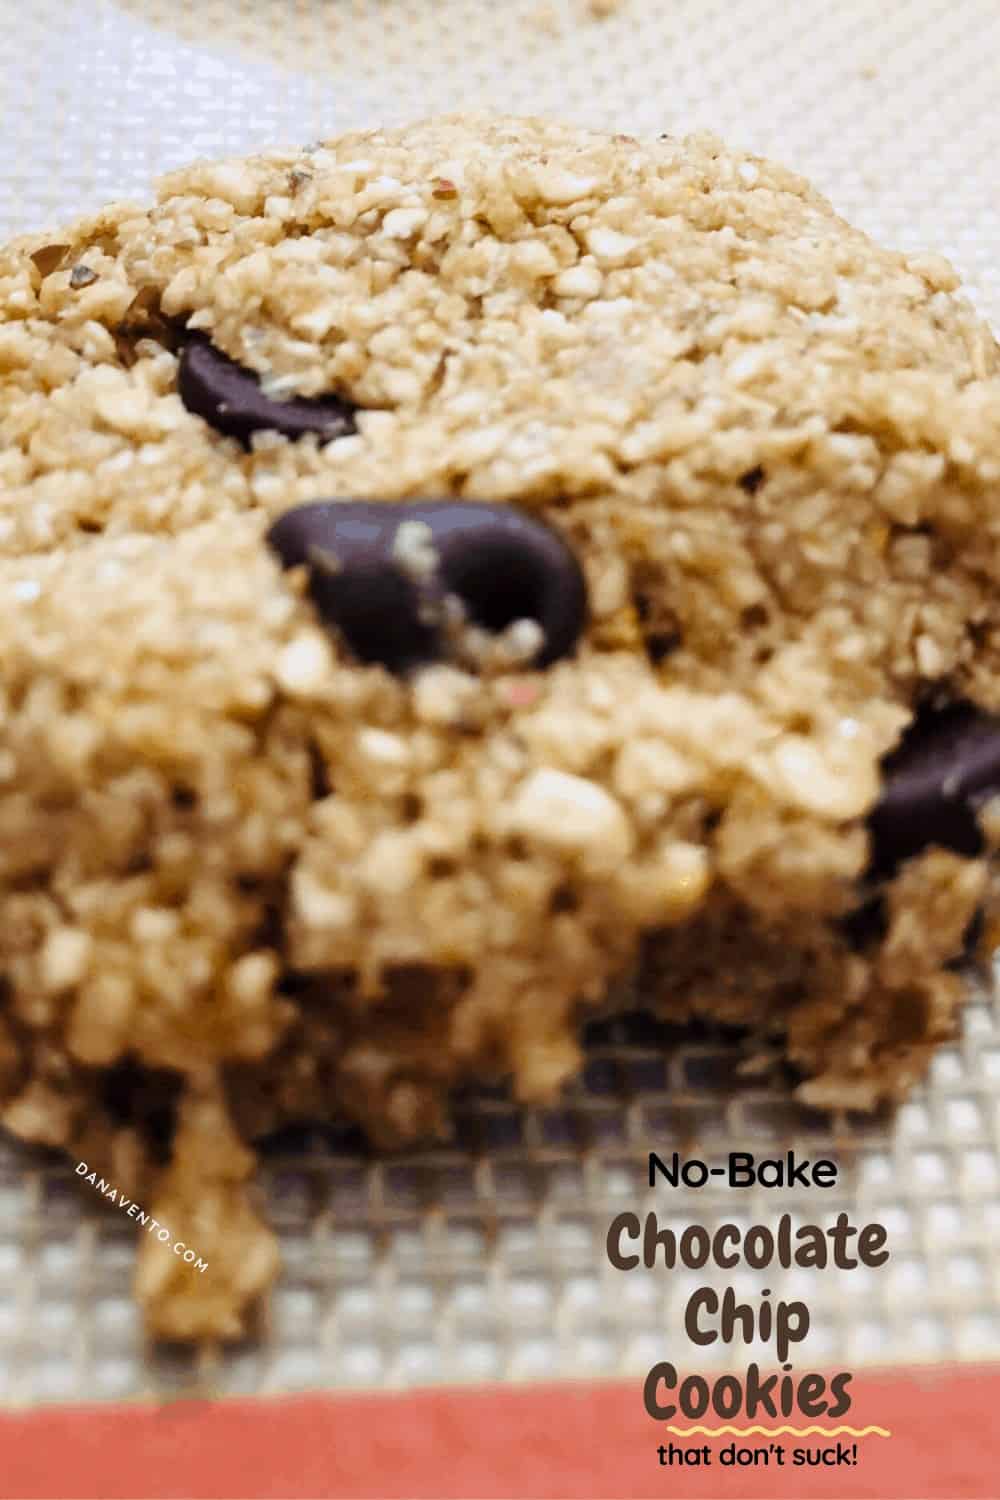
Active Time For Recipe
Making this recipe takes a whole 5 minutes. The hour is the refrigeration time. Active time is about 3 minutes maybe. Also, as I explained before, chances are your pantry is your one-stop-shop for all your needed ingredients! No-bake chocolate chip cookies as made will yield 12 cookies per batch, so double if you want more!
Tips For Ease Of Preparation
- Use smaller baking trays, not the larger baking trays for this recipe to take up less space in the refrigerator. (discount 25% off with my code “inthekitchenwithdana25” at checkout
- Set timers so you remember you made a cookie and put it in the refrigerator
- A good rubber scraper goes the long mile in this recipe. You’ll want that scraper to be very firm on the bottom for cutting in, yet with edges that are flexible so that they scrape all ingredients from the side of the bowl.
- Glass bowls, are perfect for this recipe because you start in the microwave.
The ITEM You Need Before You MakeNo-Bake Chocolate Chip Cookies

One of the most important things you can do for this recipe is to prep a baking tray with a piece of parchment paper. Alternatively, you can use a silicone mat, which I really prefer, but if you don’t want cleanup then use parchment. As you make these cookies you will be placing them on the mat, so that is the most important part of the recipe, lol!
Preparing Your No-Bake Chocolate Chip Cookies
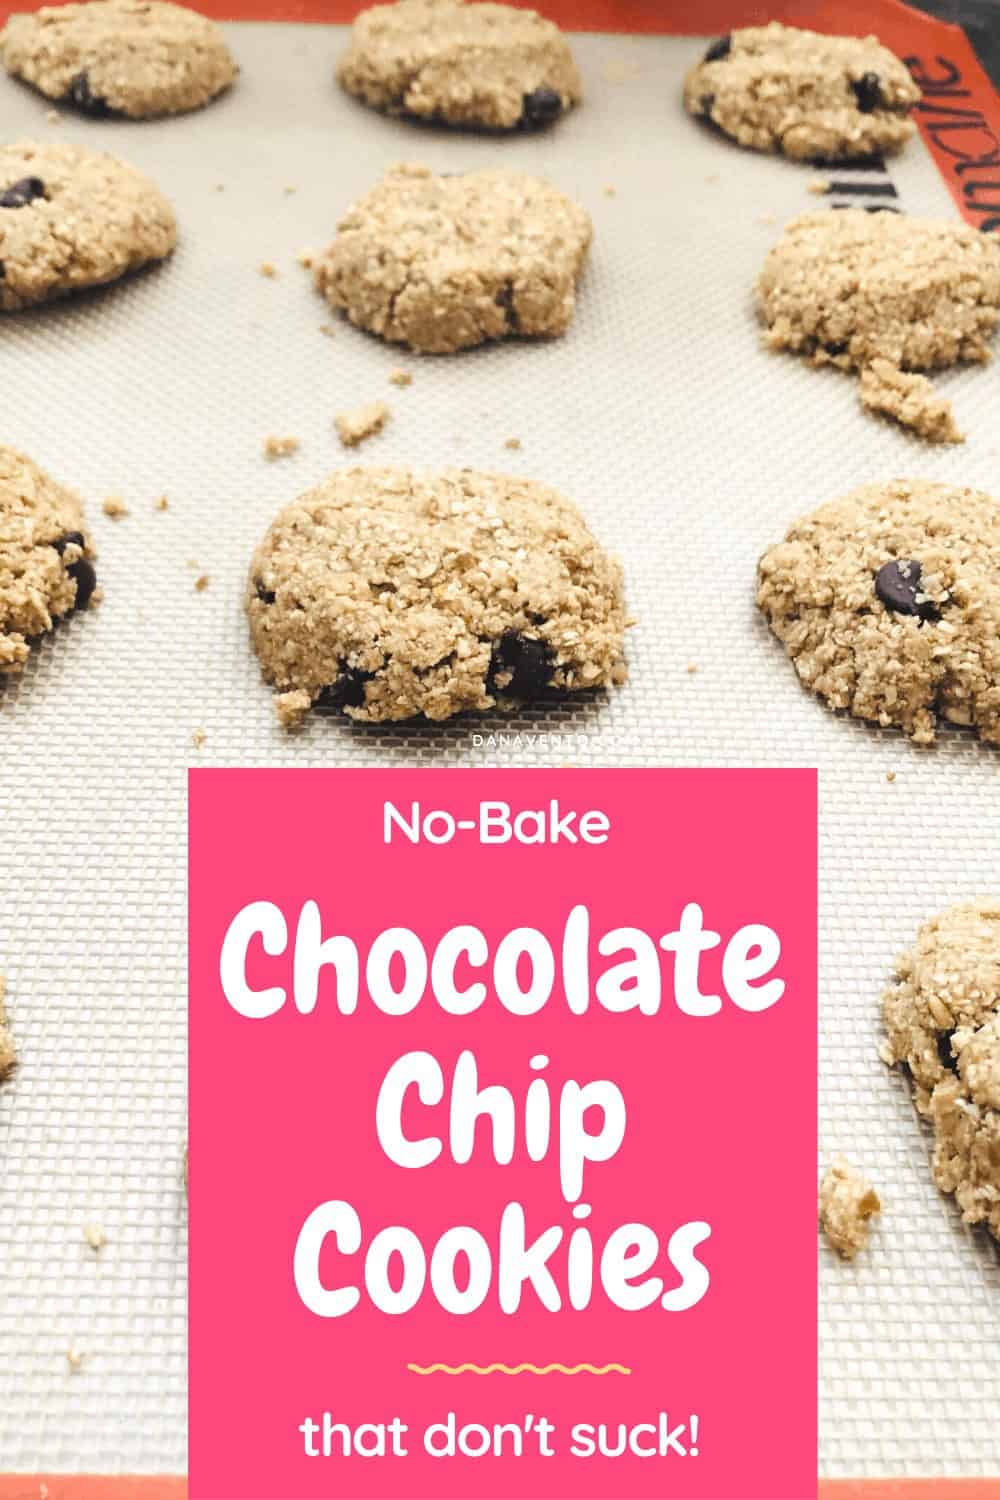
1. Preparing Your Workspace
First things first, let’s get your baking tray ready. Line it with parchment paper – this simple step is a game-changer. For those who prefer an even easier cleanup, a silicone mat is your go-to. Remember, as you craft these delightful cookies, they’ll be resting on this mat, so let’s consider it the unsung hero of our no-bake journey!
2. Combining the Essentials
Now, for the sweetness: we’re going to swiftly mix brown sugar and butter in the microwave. This is where room-temperature butter is your best friend – it blends easily, preventing any need to extend the microwave time.
3. The Aromatic Add-Ins
Then comes my favorite part: adding the salt, vanilla, and milk. This is where the kitchen starts to smell like magic – the enticing scent of chocolate chips is just the beginning!
4. Tackling the Flour
Flour can be tricky – it’s the easiest yet most challenging ingredient. Add it gradually to avoid a floury kitchen snowstorm. Patience here is key!
5. The Chocolate Chip Moment
What’s a chocolate chip cookie without chocolate chips? Here, we stir in those lovely chips, leaving them whole for that delightful texture. Don’t forget to sneak a few for a taste test – I always do!
6. Scoop and Chill
With everything beautifully combined, it’s time to scoop the mixture onto your tray. Then, just cover and refrigerate. This chilling time lets the cookies set perfectly.
7. The Chocolate Dilemma
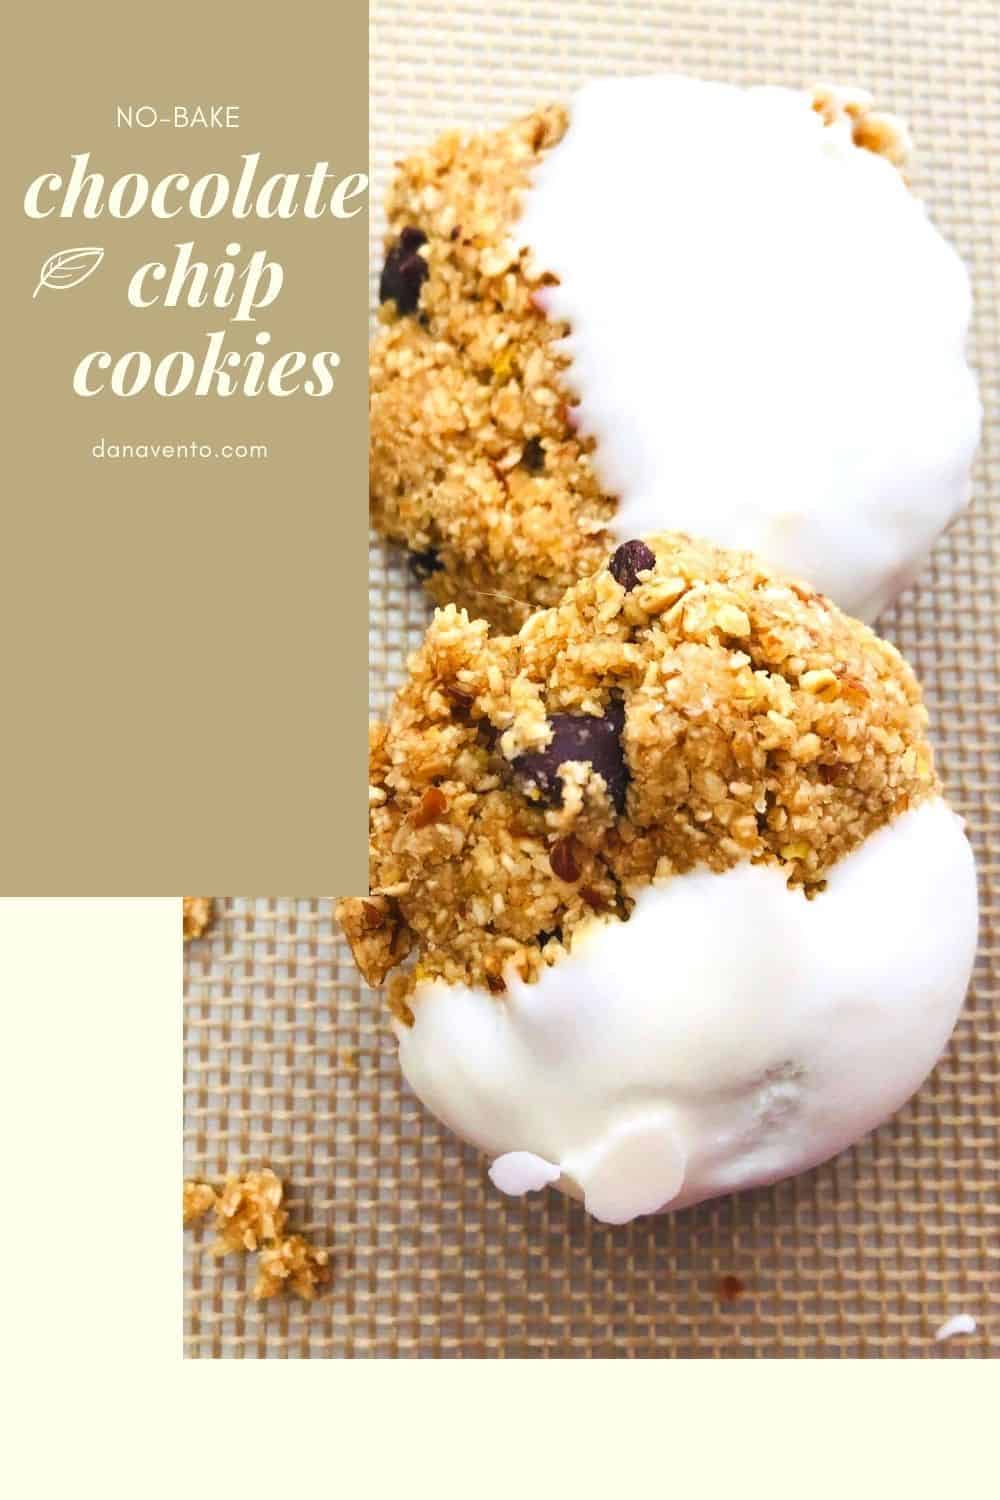
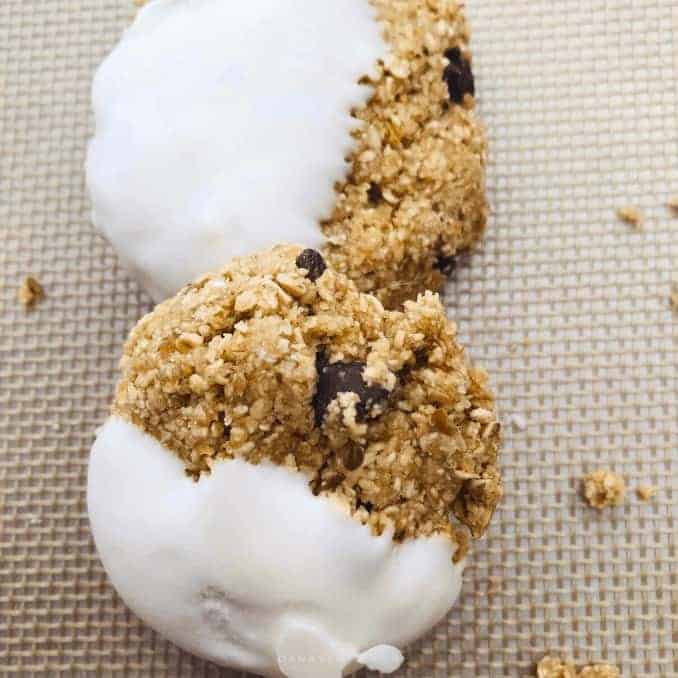
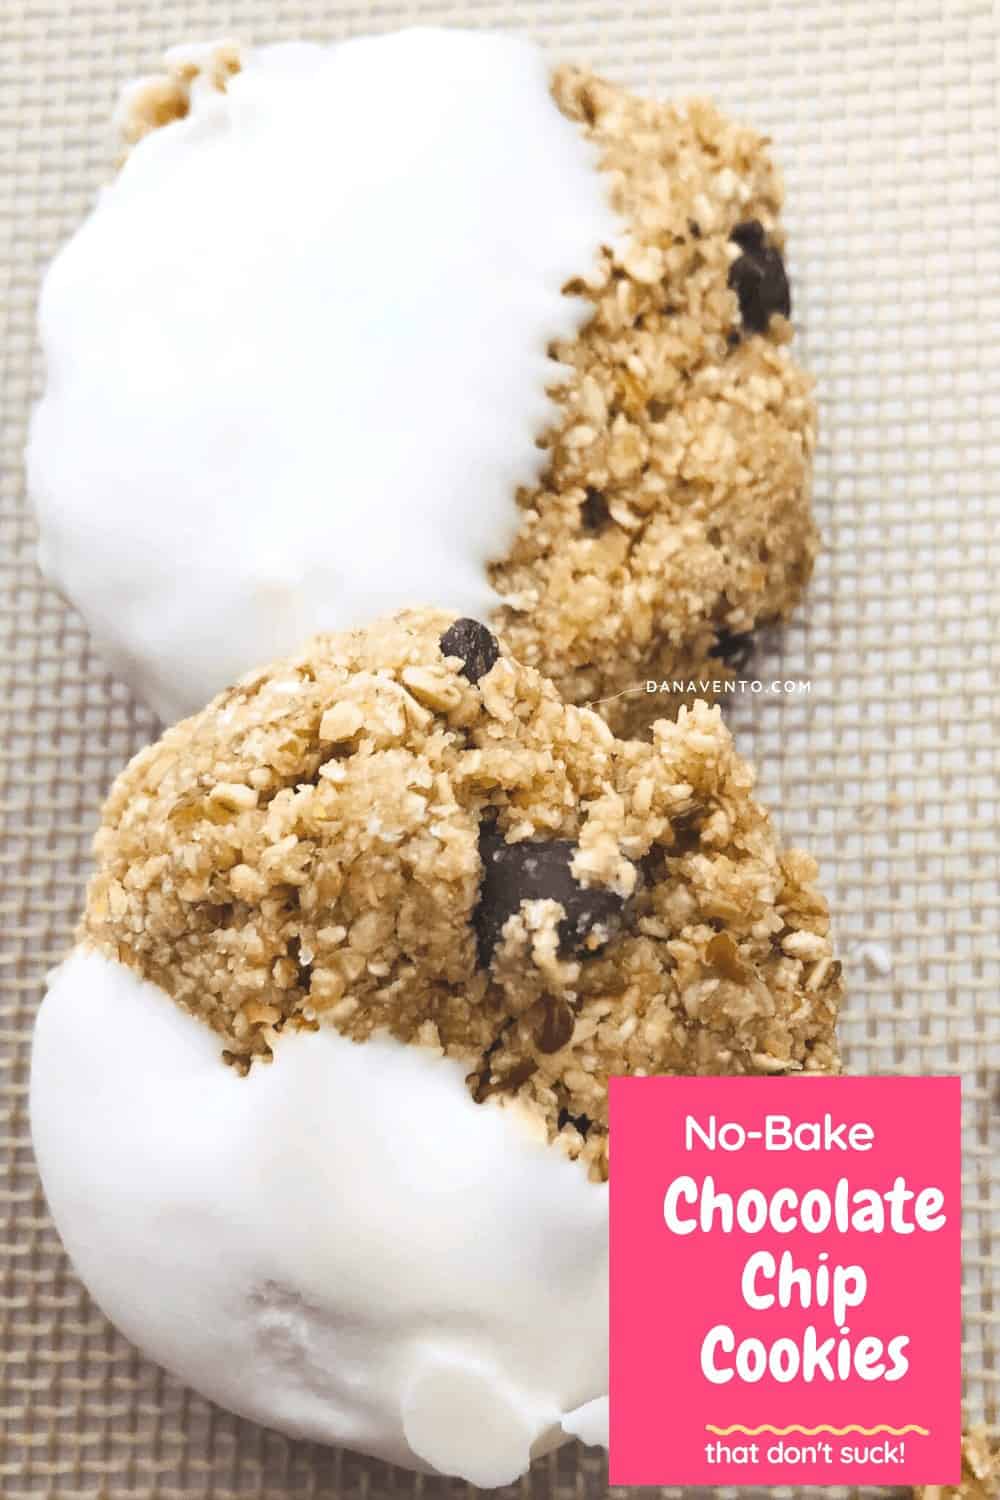
Here’s where you get to decide: to chocolate-cover or not? If you’re feeling fancy, melt some chocolate and give those cookies a dip. Choose from white, dark, or semi-sweet chocolate, or maybe try my personal favorite combo – chopped apricots against white chocolate. It’s a heavenly match!
8. Chocolate Covering Techniques
Get creative with how you cover your cookies in chocolate. Go for a full coating, a half-dip, or maybe just a drizzle on top. Remember, if you’re using a silicone mat, it’s going to make handling these chocolate-covered treats a breeze.
So, what’s it going to be? Are you going for the extra chocolatey plunge or keeping it classic? Either way, these no-bake chocolate chip cookies are ready to rock your taste buds!
Hot Tip: I’ve found that chopped apricots in this chocolate chip cookie against white chocolate are like heaven on earth.
Recipe: Easy 1 Bowl Super Tasty No-Bake Chocolate Chip Cookies
Easy 1 Bowl No-Bake Chocolate Chip Cookies
Ingredients
- 1 Cup Packed Brown Sugar
- 1/4 C butter salted
- 1 Tablespoon Vanilla
- 1 Tsp Salt
- 1/3 C Milk sub in oat milk or coconut milk too!
- 3 C oat flour, almond flour, etc
- 1/2 C mini morsels GF,Nut-Free, etc
- 4 -6 Oz Meltable Dipping Chocolate~ *optional
Instructions
- Prepare a baking tray with a silicone baking mat.
- In a large mixing bowl, combine brown sugar and butter.
- Microwave to Melt butter and then stir to combine.
- Next, mix in milk, vanilla, salt.
- Make sure to scrape all areas of the bowl and the bottom to really mix this up.
- Now, add in your choices of gluten-free flour or any flour if you are not gluten free.
- Again, stir to combine, using a rubber scraper to move ingredients from the bottom of the bowl and the side of the bowl.
- Fold in chips (I suggest mini chips, they are easier to fold and bind easier to ingredients. (in this instance I show regular morsels, but I have used mini.
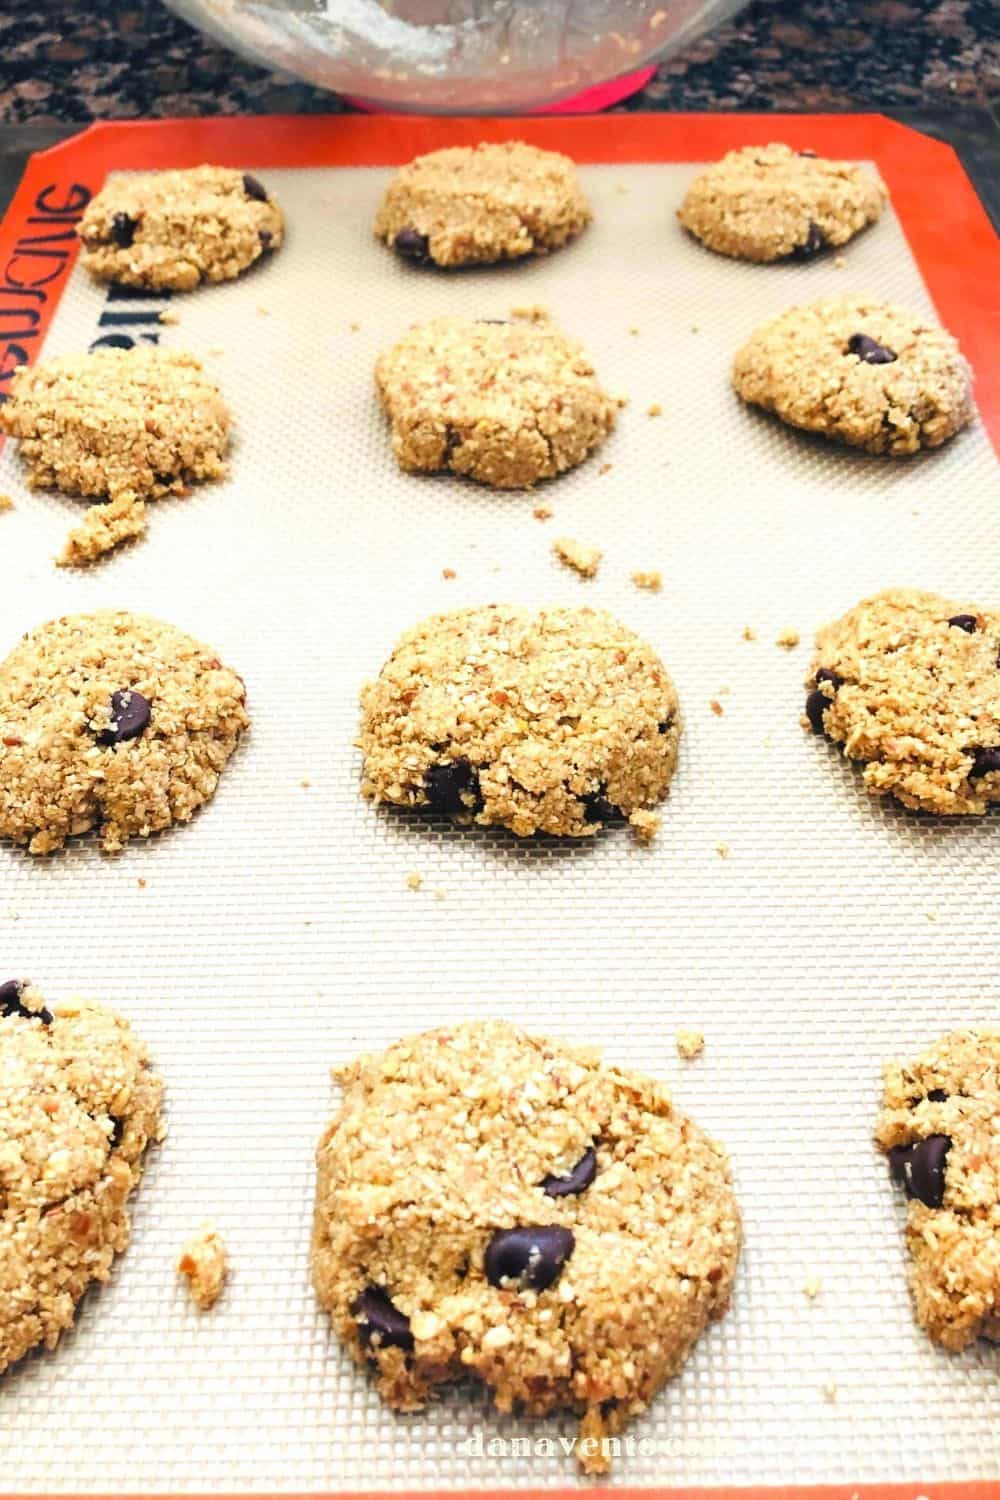
- Once it is a tight mixture, use a scooper (I use my ice cream scooper) to make nice 2" mounds.
- Press lightly and then make sure it is circular in nature (I just round the edges with my hands.
- Cover with Press N’ Seal so no odors transfer.
- Refrigerate for at least 1/2 hour up to 2 hours. (sometimes I get distracted, lol)
- Remove from the refrigerator.
- In a microwave-safe dish, melt dipping chocolate, and stir to make sure of no lumps.
- Dip each cookie in as much or as little chocolate as you like (therefore 4 oz may be enough but 6 oz if you prefer to coat the whole cookie)
- Replace each cookie to tray once dipped and again refrigerate to set.
- About 20 minutes.
- Serve or keep refrigerated for up to 1 week though I don’t think they will last that long.
It’s one bowl, one pan, and a spatula to make super tasty no-bake chocolate chip cookies that don’t taste awful.

