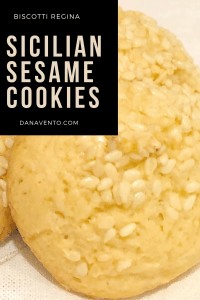
For as long as I can remember sesame seed cookies were a staple in my nonna’s home.
My Nonna Santa would say this to me, “Dana, these are cookies fit for the Queen, called, Biscotti Regina (Regina Biscotti translates roughly to Queen’s Cookies) but since you are a princess you also are welcome to them!”
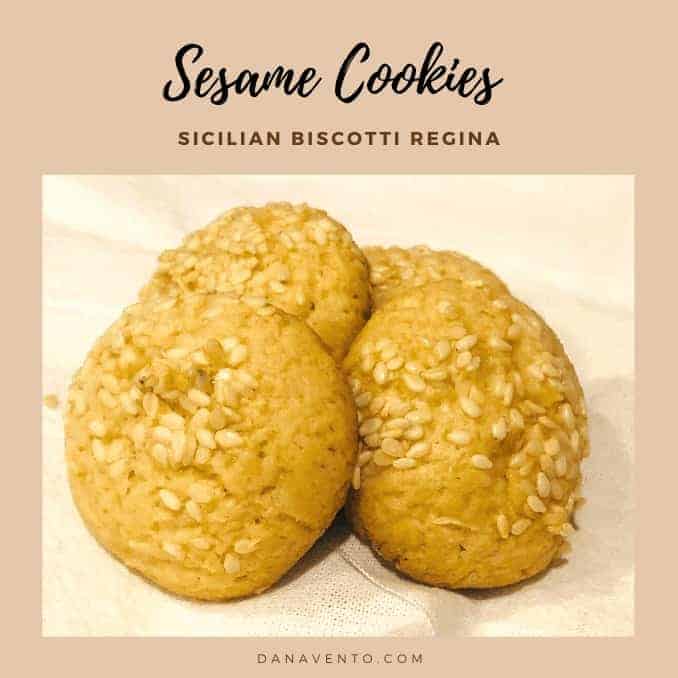
I believe Queen Margherita of Savoy was a total foodie: pizza was named after her (Margherita Pizza) as were cookies, and a Panforte, and the Regina Biscotti are Queen’s Cookies.
My Nonna Santa used to tell me that the queen had something of a sweet tooth, and actually traveled to the bakery herself to get the sesame seed cookies she loved so much and forever after they became known as Biscotti Regina.
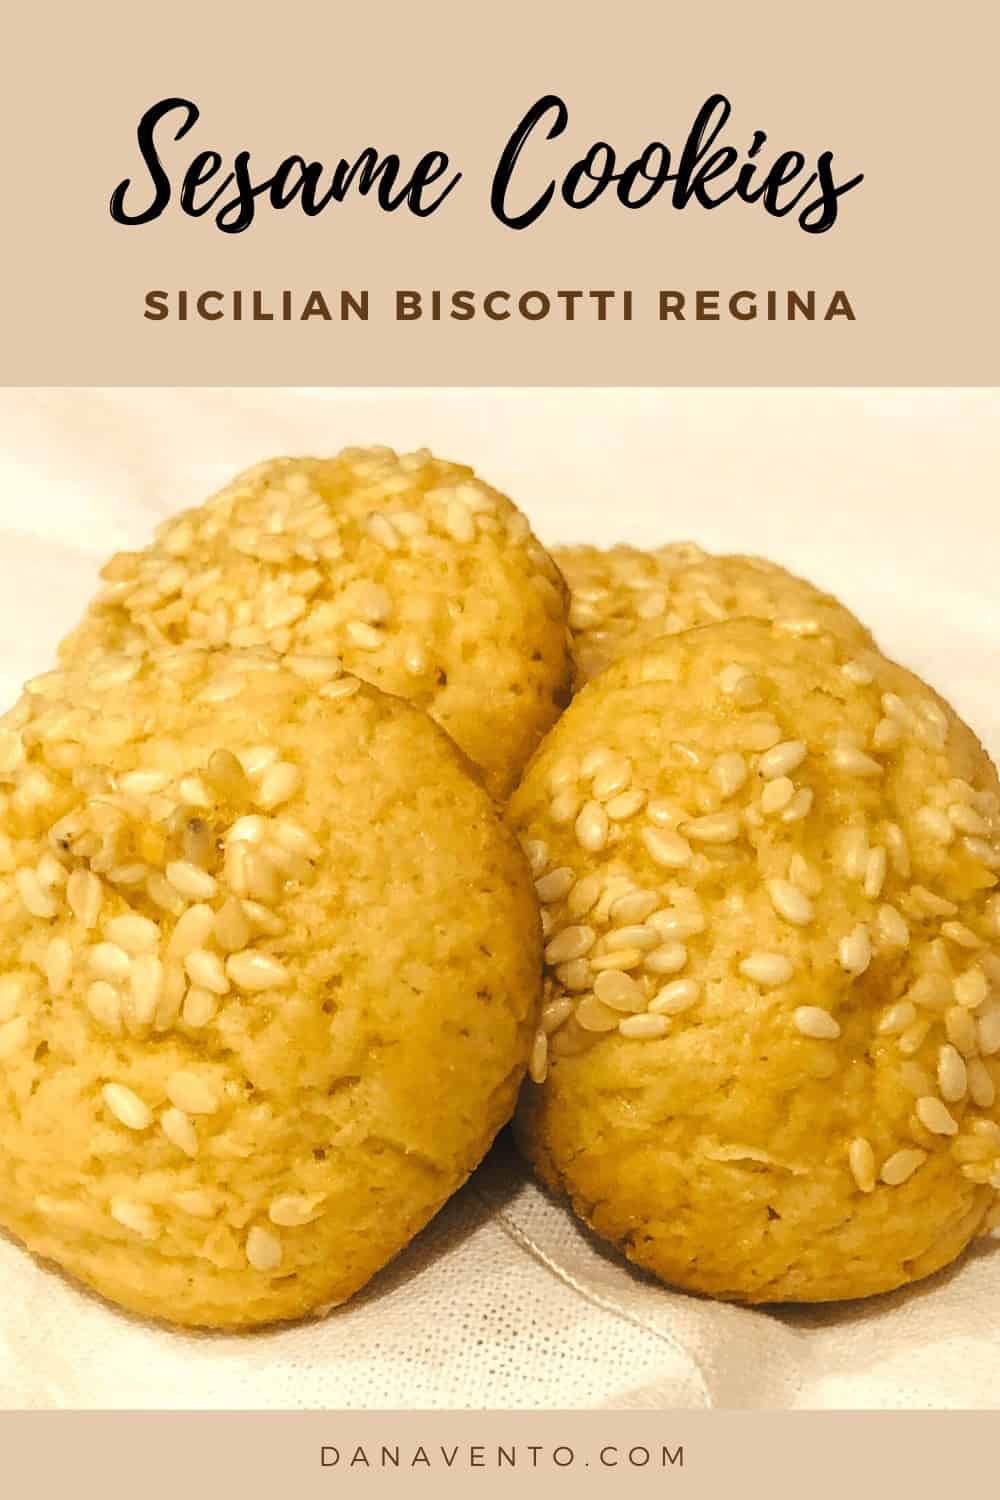
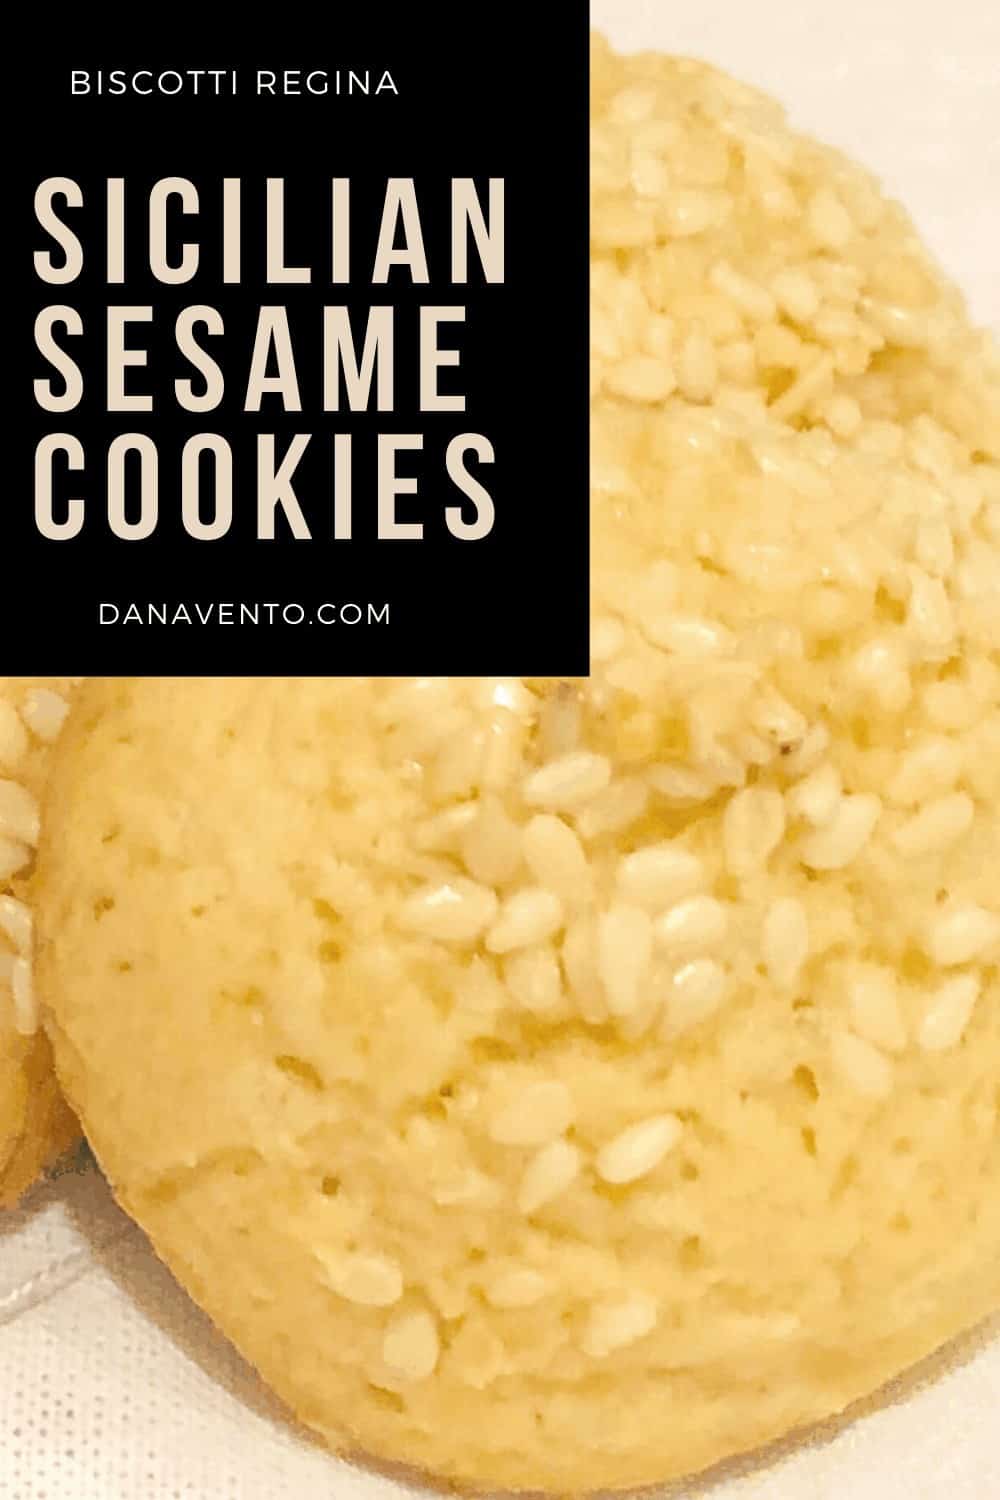
The cookies she sought after offer a crunchy texture on the exterior and many sesame seeds per cookie, and an interior that hints at orange or lemon depending on what you use as your ingredient.
IS there any merit to the story? I am not sure if my Nonna was just telling me a story or if it was true!
However, Queen Margherita of Savoia I will say had a few foods named for her, and since, the Regina Biscotti has reigned supreme as a very popular cookie in Sicily and the United States.
Classic Sicilian Sesame Seed Cookies: the overview
After I read through my nonna’s cookbook, I sat and pondered how to upgrade, shortcut, and make the cookies a bit easier.
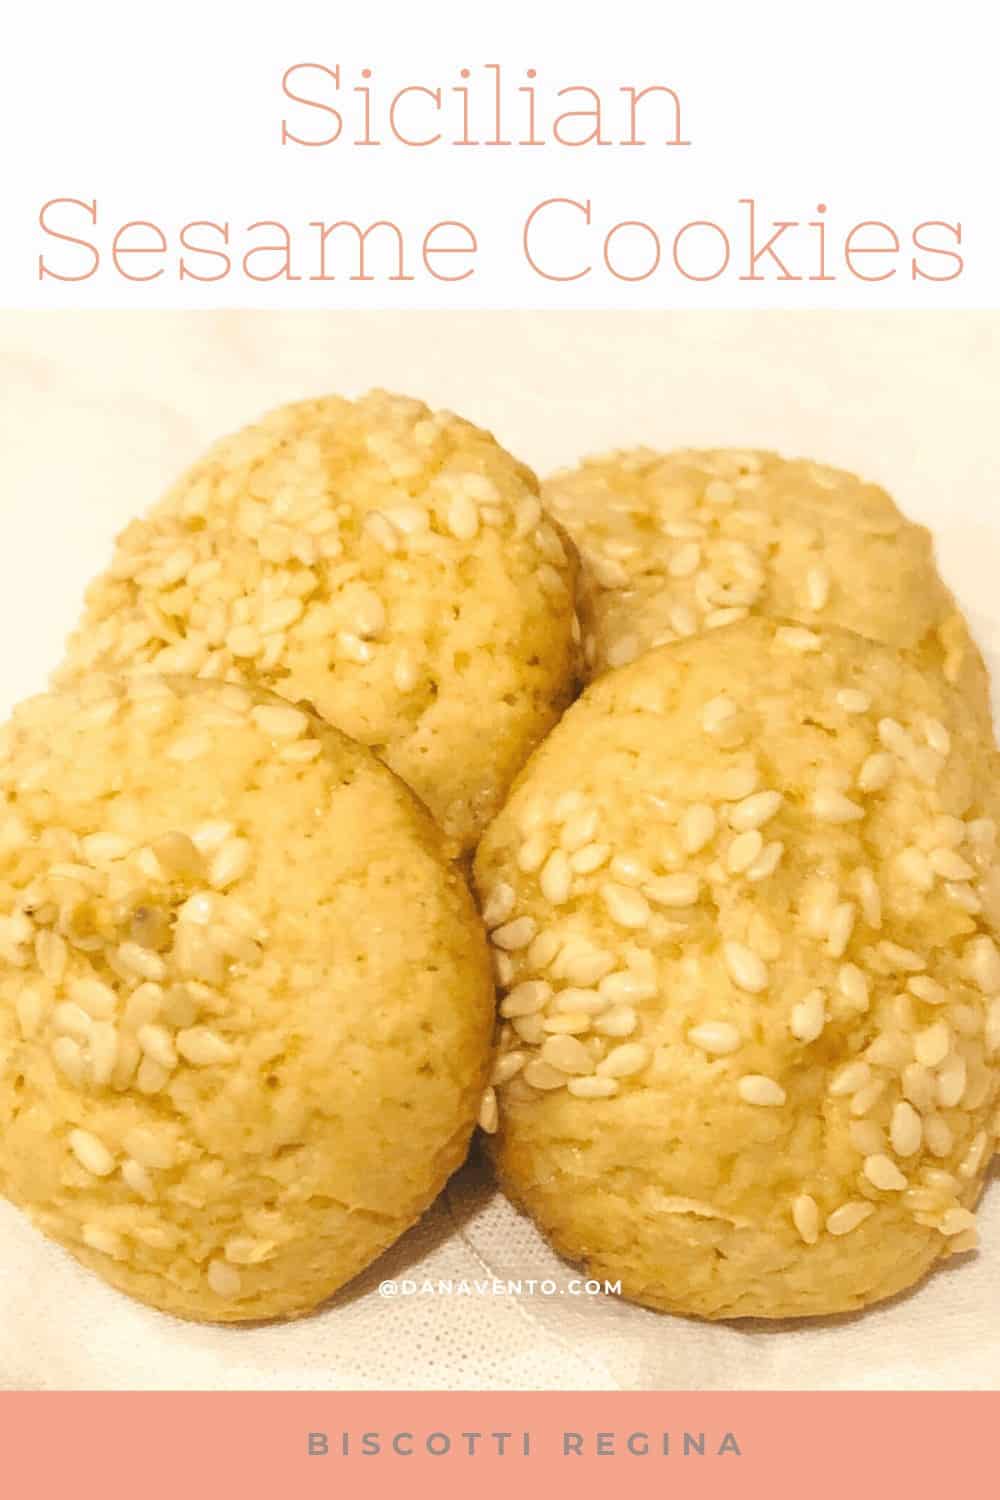
Biscotti Regina, classic Sicilian sesame seed cookies are truly just small biscuits coated in sesame seeds.
The dough is easy to work with, offers a sweet-tasting, and a lightly salted flavor, with a ‘nutty’ finish, and often can resemble what I call a hybrid look of a mini loaf of sesame seed bread!
That description sounded as though I were describing a glass of wine from start to finish, didn’t it?
Speaking of wine, these make great dippers for wine, and coffee (espresso) as well as tea!
Do You Know You Can Create Multiple Variations of These Classic Italian Cookies?
The many different looks and tastes of these classic cookies.
Each time I make Sicilian Sesame Seed cookies I find a new way to change them up.
First, I used to shape these as little logs, but I also do create them as a drop cookie, or sometimes I make them long and skinny.
When I want to appease my children, I add a bit more orange or lemon zest and top them with sprinkles accompanied by sesame seeds.
Other times, I’ve added a little bit of honey to the recipe and I know that my mom actually uses anise in them sometimes.
I am not an anise fan, so that is not an option for me, but I am throwing it out there for you to know and consider in case you love Anise!
Versatility in Size and Shape
Perhaps one of the grandest things about a Sicilian Sesame Seed cookie is that it can be shaped in so many ways.
One thing is for sure, no matter what shape you create for your Biscotti Regina, they will taste great and the taste does not change with the shape!
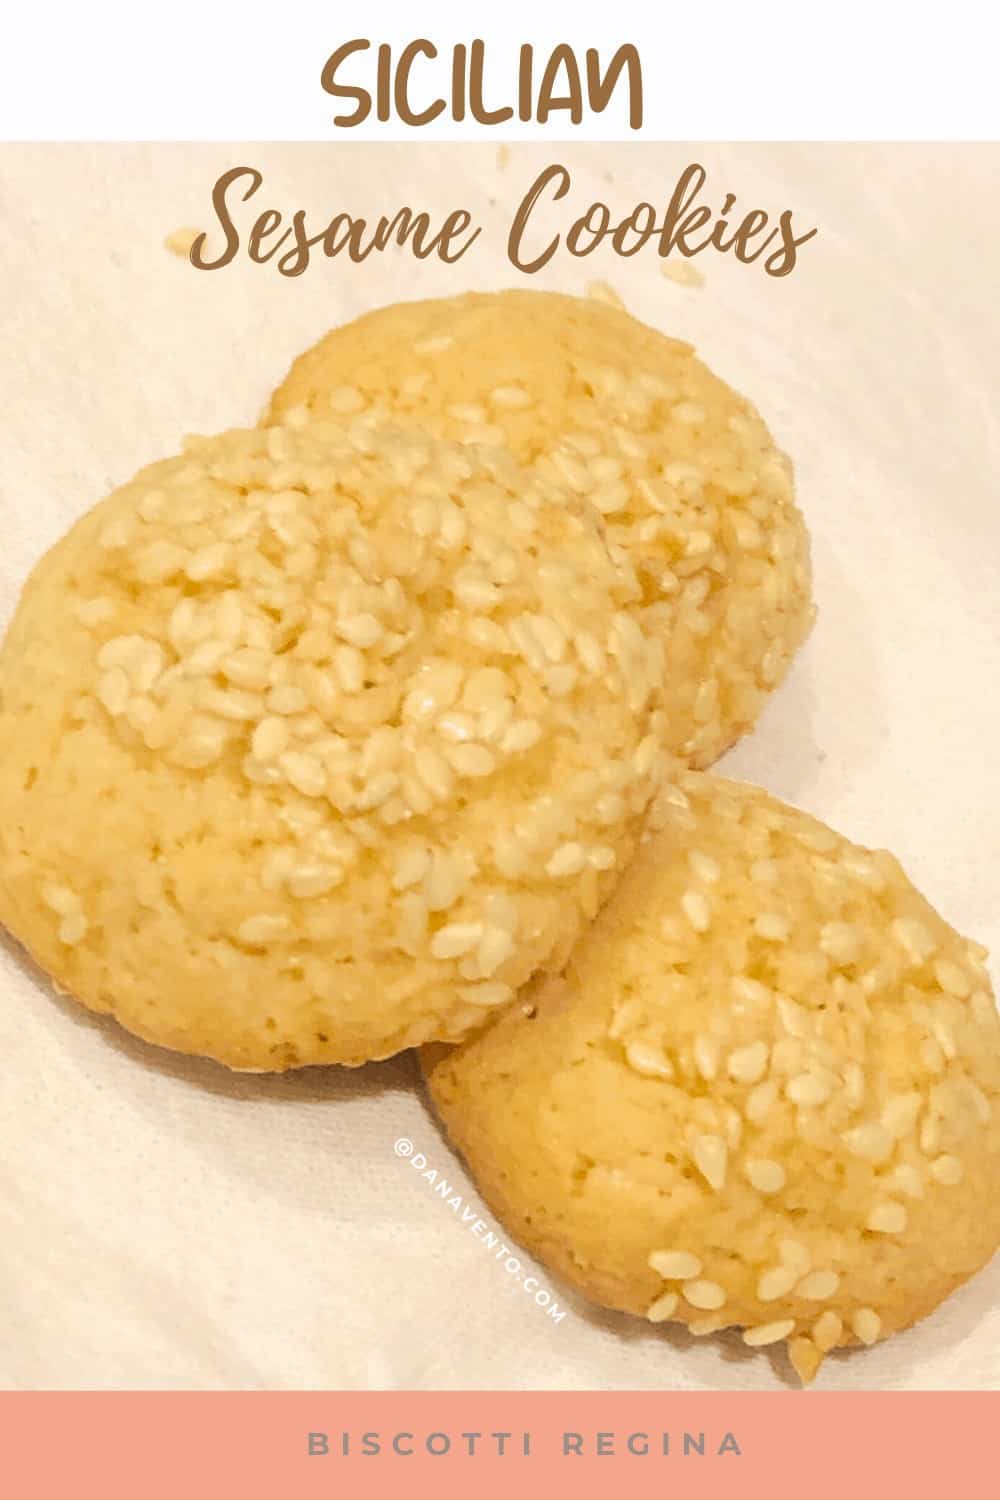
I’ve divided the dough before and made logs out of balls, but my favorite shape hands down are balls.
Ask me what I prefer?
I like the ball-shaped cookie for the demi-sized dessert platters.
Why do I prefer the rounded cookie over the logs?
I feel that the 1″ round sesame seed cookies are perfect in every way, as you can eat one and follow it with 2 more.
Suddenly, you’ve eaten as many as someone who has eaten a longer biscuit, yet somehow feels more satisfied.
Maybe it’s trickery or maybe I just like bite-sized when it comes to sweets.
You’ve got to use baking powder…
Nonna Santa always used baking powder and her classic Sicilian cookies turned out perfect every single time!
You want a healthy-looking cookie.
It should have a bit of a crinkly top and the seeds should be ON the cookie.
Generally, when you see one of these Sicilian classic cookies they are either in the form of a log or a ball.
Do note that over-working the batter in any way, will lead to nasty hard cookies.
Sesame Seed Tips For Sicilian Sesame Seed Cookies (Biscotti Regina)
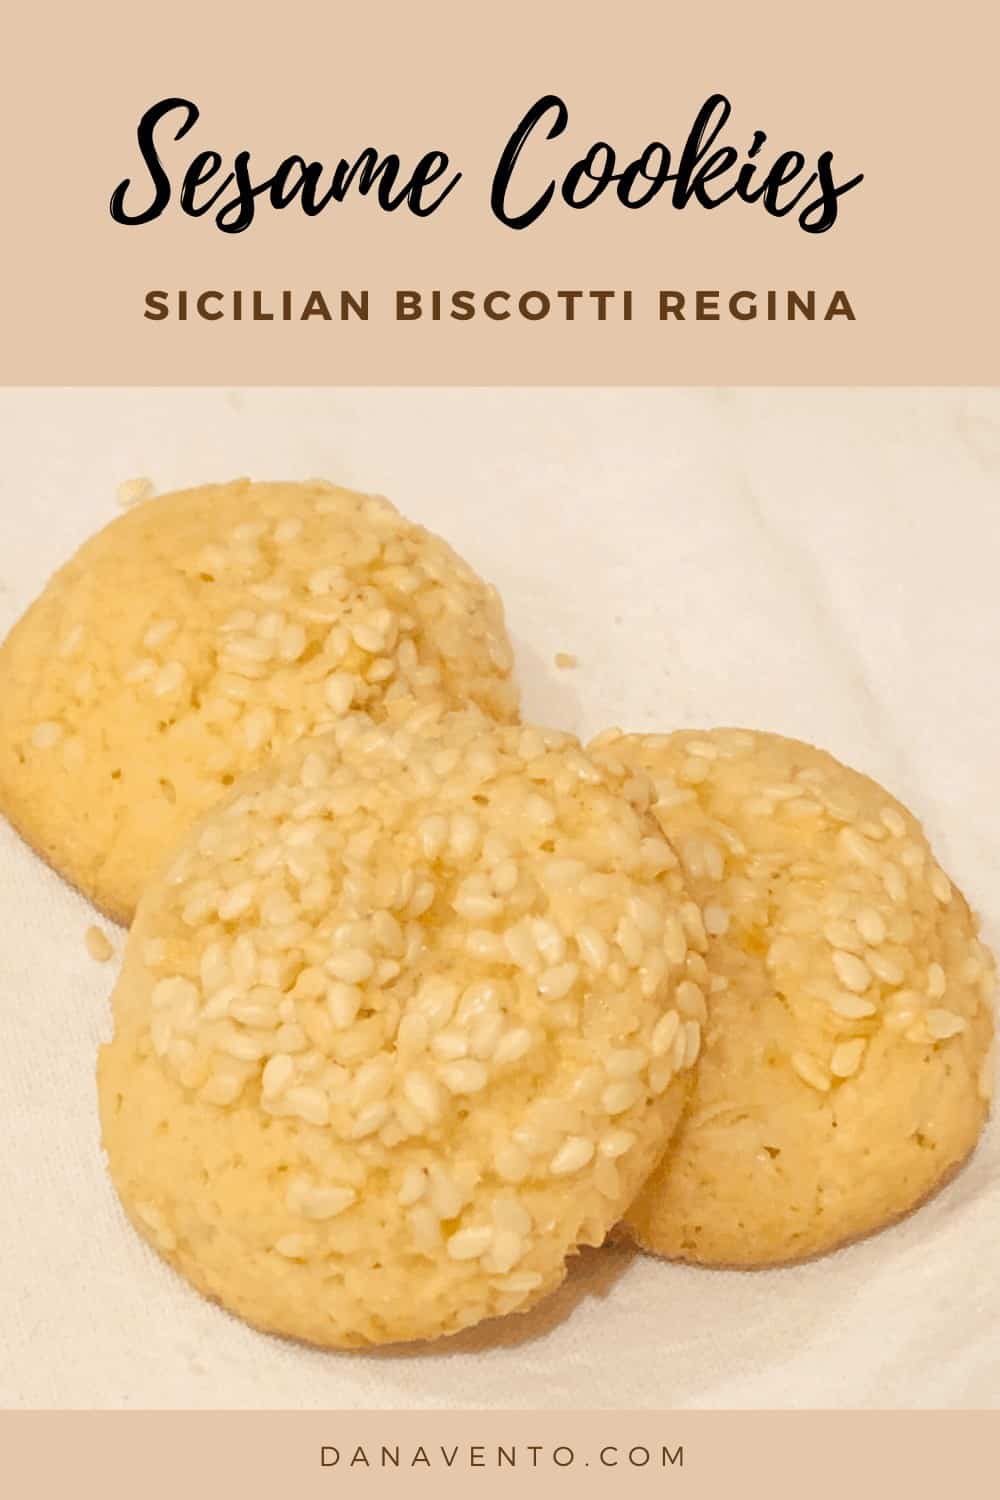
We’ve Topped Sesame Seed Cookies with
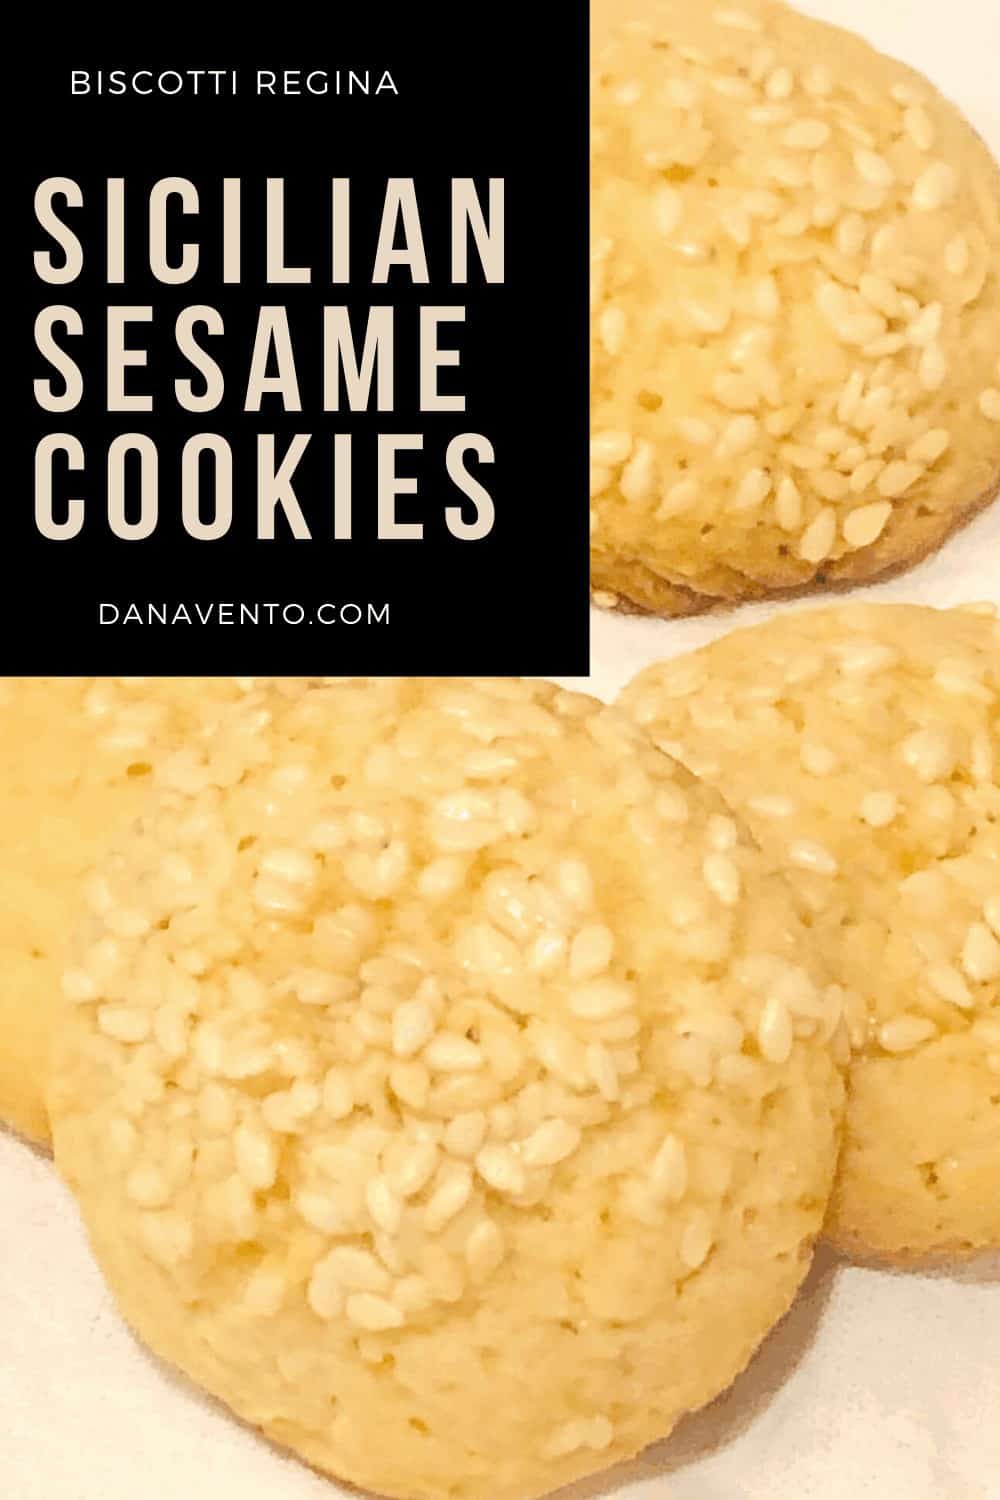
I’ve actually not only had sesame seeds atop my Sesame seed cookies, but I’ve gone as far as to let them cool and then sprinkle them with confectioner’s sugar.
Now, this may not be for everyone, but I will say it adds a sweeter dimension to those cookies.
Wowza is all I can say.
As aforementioned, a few times, I’ve made non-traditional biscotti Regina and used sprinkles atop instead of sesame seeds.
It’s true and it’s yummy.
However, then the Sicilian Sesame Seed Cookies are not truly Biscotti Regina anymore, but they are yummy!
Sicilian Sesame Seed Cookies (Biscotti Regina)
Cook these one tray at a time, and use the middle rack, I’ve had my best success doing such.
Always time the cookies and you can add more time if needed.
Keep an eye on these as they can go from golden to burned in a micro-second.
However, if you have not used heavy whipping cream, you won’t experience a fast burn, it’s ONLY when you use the cream.
Parchment and silicone mats will be your best friend for these cookies.
Why?
When you brush the cookies with heavy cream (and again, you don’t have to) the cream will run off even with a controlled brush.
Don’t use basic milk on the tops, it burns and makes a watery mess on the trays.
We’ve misted with water, but I don’t like how that turns out either.
Plain old, traditional sesame seeds work the best!
Now, do you want to try?
Here’s the Recipe is below.
If you make them, tag me on Pinterest (@dana_vento) or use #danaventofoodie @dana.vento
Classic Sesame Seed Cookies (Biscotti Regina)
Ingredients
- 3/4 C Sugar
- 1 Large Egg
- 2 Tablespoons of Butter room temperature not MELTED
- 1/8 Teaspoon of Salt
- 2 Tablespoons of Shortening
- 1 A teaspoon of Vanilla)
- 1/4 Milk 2% or Whole (110° F)
- *Optional Zest of Lemon or Orange
- 2 C All-purpose flour
- 1 Tsp Baking Powder
- Heavy Cream 4 tablespoons *Optional you REALLY Don’t need this ingredient no worries
- 1/4 C Sesame Seeds not toasted
- Basting Brush
- 2 Small Bowls will only need ONE if you opt-out of heavy cream!
- Basting Brush
- Silicone Mats or Parchment paper
Instructions
- Preheat oven to 375 ° F
- Prep 2 baking pans with silicone baking mats or parchment paper.
For Mixing Stand or Hand Mixer Do the Following:
- Combine egg and sugar.
- Mix very well.
- Next, add in the butter and the shortening and salt.
- Now add vanilla and milk.
- Allow the mixer to combine ingredients.
- Place baking powder into mixing bowl and then add in flour, 1/2 Cup a time.
- Once all the flour is combined with the wet mixture, remove the bowl from mixing stand.
- Use a spatula to scrape the sides to gather all the dough spatter.
- Cut batter spatter into the main batter and bring it all together into one large mound.
- Transfer the mound of batter, onto a lightly floured (dusting) workspace.
- You can either roll these by the teaspoon or divide the dough into shaped logs and cut.
- Alternatively, you can take rolled balls and turn them into mini logs.
- The options are endless for formation!
- Pour heavy whipping cream into one small bowl and sesame seeds into another bowl.
- Once each ball (log, triangle, whatever you form your batter into) is formed)
- Next, place them on a baking tray.
- *Optional Step here >, brush it with heavy whipping cream or don’t. I did not.
- Just add the sesame seeds, either way, it works well!
- Adding sesame seeds can be done with your fingers or by holding a cookie inverted in your hand and pressing into the seeds in the bowl.
- Bake in the oven for about 15 minutes (differs for each like balls is 15 minutes, logs are 18, etc)
- Once they are golden brown on the bottom, remove from oven and allow them to rest on the tray for about 10 minutes.
- Then, transfer to a cooling rack.
- Serve fresh from the oven, or package in an air-tight container for up to 2 weeks.

