Got French Doors and struggling with privacy? We’ve been there too. Discover our #1 secret to French door DIY window treatments that strike the perfect balance between privacy and natural light!
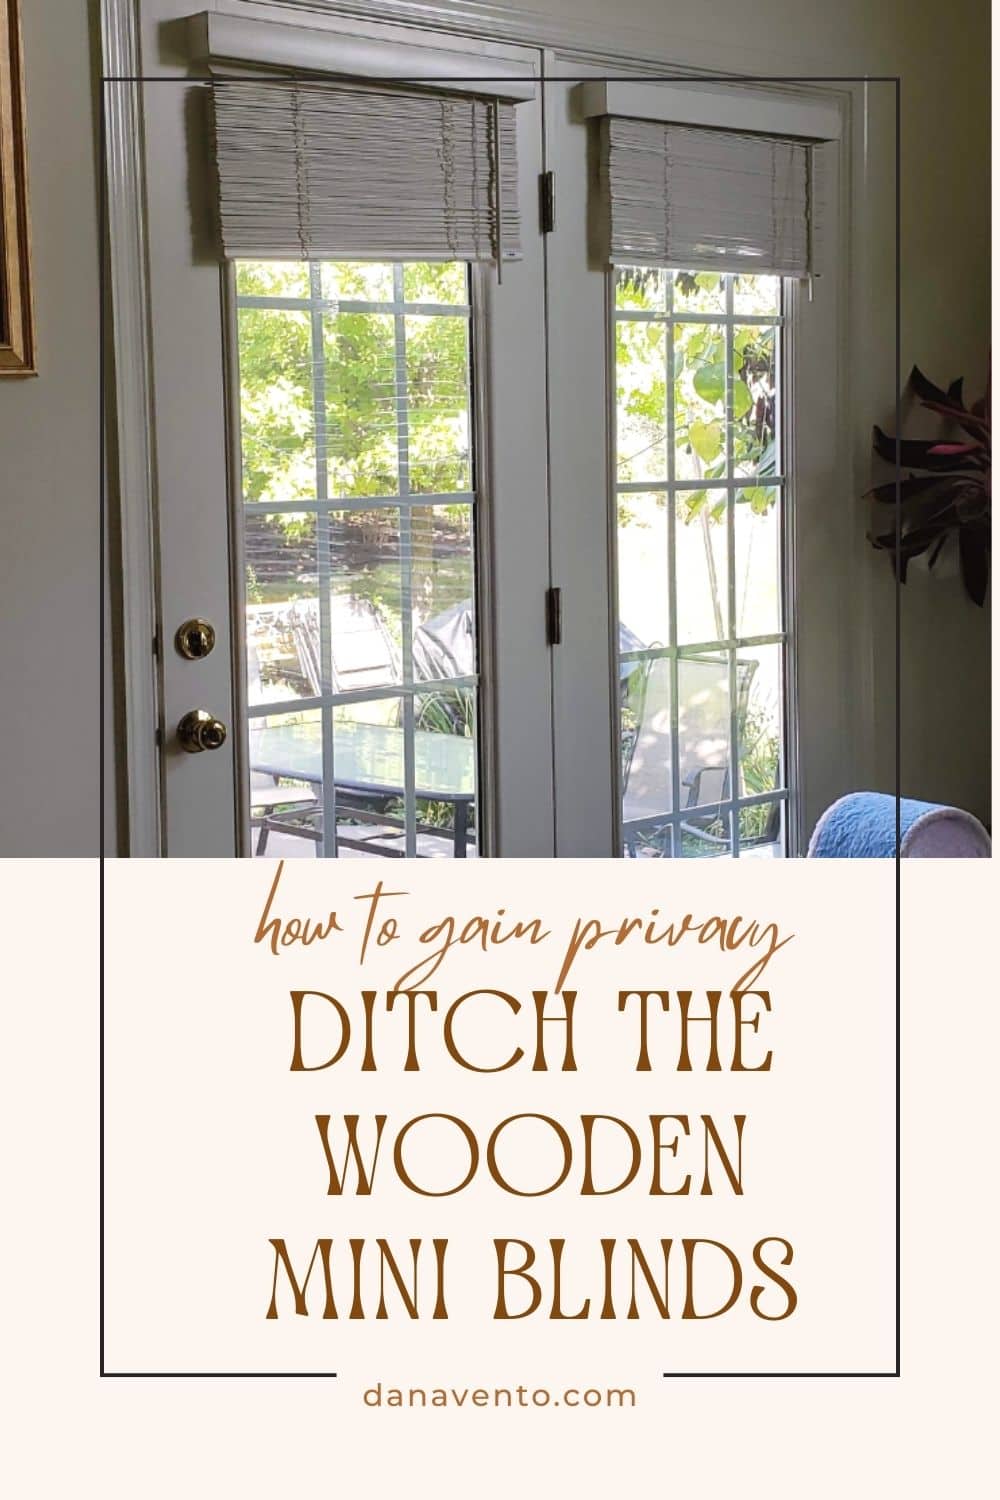
Table of Contents
Our French Door Window Issue: PRIVACY
When I’m not juggling my busy life, I channel my energy into transforming our home, one DIY project at a time. It’s not just a pastime; it’s my creative outlet.
Recently, Michael and I tackled an issue that’s been a bit of a head-scratcher: our French Doors and their less-than-perfect current window treatments. They were letting us down, big time and they were constantly clanging against the door every time we opened and closed that door (which is a lot!)
Our story today is simple. The current French Door window treatments we have are not effective. We were seeking a solution that was simple DIY, privacy mandatory, and cost-effective
The highlight of this project is that I am not taking you to a store but instead having what I need to be delivered to my doorstep so I can literally just tackle it on the day it arrives. No hauling, no special trips, just super simple French door DIY window treatments that give privacy without clanging and banging!
I am about to reveal the secret to French Door DIY window treatments that you have been searching for and never found until now! The secret is just a few more paragraphs away.
The end cost, coupled with the ability to install the French door DIY window treatments ourselves really make this DIY solution the best.
The Secret to French Door DIY Window Treatments
If you have French Doors, you’ve probably struggled with finding the right window coverage. I’ve got a secret find that’s been a game-changer, and I can’t wait to share it with you all!
French doors, in my experience, are a double-edged sword. They let in beautiful natural light, making our breakfast room a delight. But come nightfall? Hello, privacy issues, which is why we went looking for French door DIY window treatments.
Now, throw in three kids, a curious cat, and some less-than-ideal blinds that constantly jangle and shift with every door movement – it was enough to drive anyone mad.
That’s why we turned to Fauxwood. It’s not just a window treatment; it’s a lifesaver. Here’s how our DIY installation of French Door Fauxwood Plantation Shutters changed everything.
Our Current Situation
Let me paint a picture of our doors before the transformation. Standard French doors with mini blinds, you know the type – 1/2″ slats that never stay straight, no matter how often you yank that cord. Every morning was a struggle with these blinds.
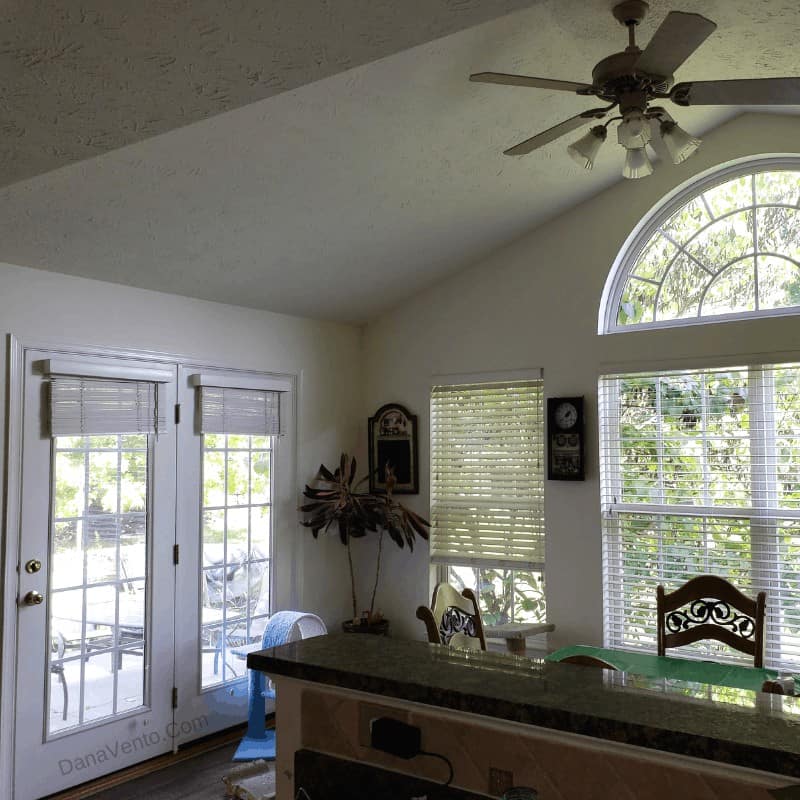
And it wasn’t just the look – it was a daily battle. The blinds swayed and got caught every time the kids dashed in and out to the patio, not to mention Bella, our cat, who’s got her own agenda with the chipmunk outside. Plus, let’s not forget the endless cleaning of those dirt-attracting slats. It was a hot mess that I just couldn’t stand any longer.
Now, you’re probably wondering how we went from this chaotic scenario to a more serene and stylish setting. Well, hang tight, because I’m about to dive into the heart of our story – the transformation that revolutionized our French door experience.
Journey to the Perfect French Door DIY Window Treatments
When we decided to revamp our French doors, the quest wasn’t just about aesthetics; it was about practicality and peace of mind. We dove into researching and stumbled upon a brilliant solution: Fauxwood Plantation Shutters.
The Transformative Effect of Fauxwood Shutters
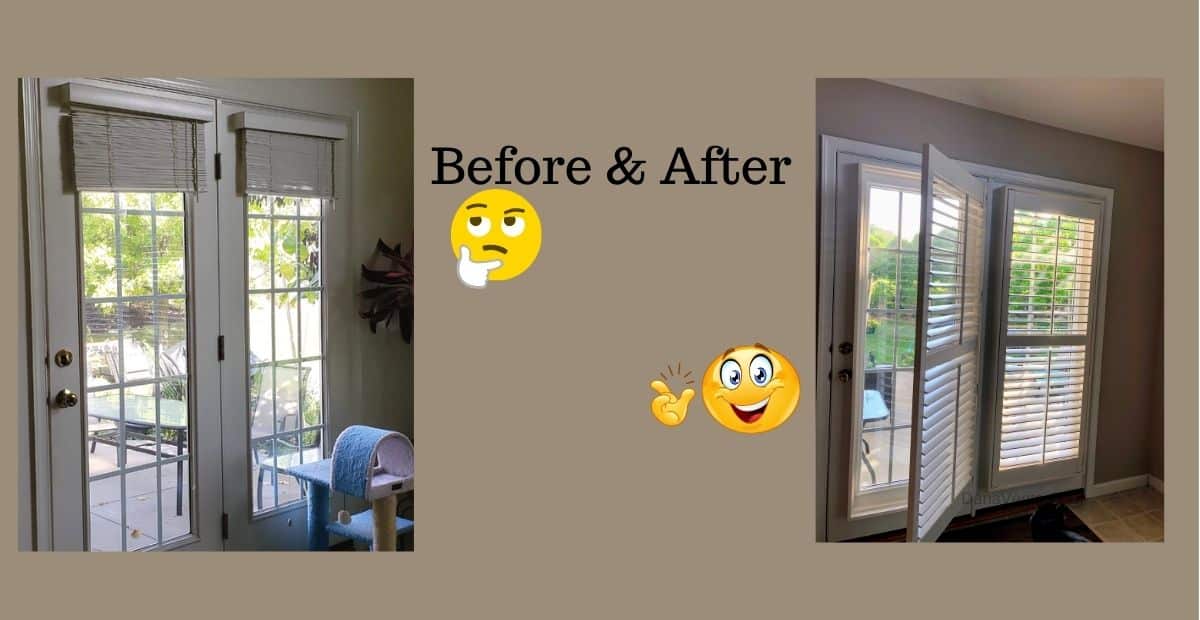
I can’t begin to tell you how much these shutters have transformed not just our windows but our entire living space. We discovered these stylish shutters that offered just the right mix of privacy and elegance. And the best part? They were delivered right to our door!
Installation: A Family Affair
The installation turned out to be a breeze. Michael took the lead, and even our son, Niko, chipped in. It was more about precision and ensuring everything was perfectly level. The shutter frames were straightforward to assemble – all it required was a clear space and some basic tools.
As we fitted the first shutter, the room’s look transformed instantaneously. It was astonishing how such a simple change could so dramatically alter the feel of a space.
Functionality Meets Style: French Door DIY Window Treatments
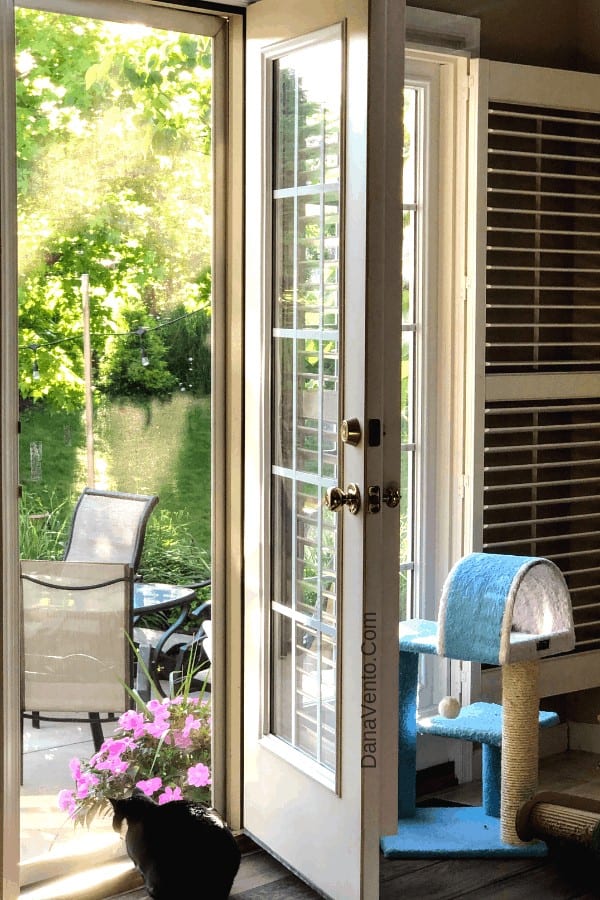
What I adore about these shutters is their versatility. Whether you have two doors that open or just one, the design is clever enough to accommodate your space. They swing open effortlessly without interfering with the door handles or anything else in the vicinity.
The Fauxwood material was a no-brainer – not only do they look chic, but they’re also moisture-resistant, making them perfect for any room. Cleaning them is a dream – just a quick swipe, and you’re done.
Why We Fell in Love with Fauxwood Shutters
Let’s talk about the benefits of four new French door DIY window treatments. These Faux wood shutters aren’t just visually appealing; they’re practical and cost-effective. The difference in price compared to traditional wood shutters is significant. Plus, the shutters add an extra layer of insulation, keeping the room cooler in summer and warmer in winter.
But the real selling point? The complete privacy they offer without sacrificing natural light. We finally found the perfect balance, and our French doors have never looked better.
How to Decide If Fauxwood Plantation Shutters Are Right for Your French Doors
Considering a DIY window treatment solution for your French doors?
Here are a few questions to guide your decision:
- Do both doors open, and is there enough space for the shutters to swing open?
- Will the shutter frame interfere with your door handles or any other fixtures?
Why We Love Fauxwood Plantation Shutters
- Cost-Effective: The price difference between traditional wood and Fauxwood shutters is significant.
- Versatility: Perfect for any room, thanks to their moisture-resistant nature.
- Easy Maintenance: Cleaning is a breeze – a simple wipe-down does the trick.
- Two Functional Positions: Fully closed for privacy or slats open to let in natural light.
- Energy Efficient: Helps in insulation, keeping the room warm or cool.
- Aesthetic Appeal: Enhances the room’s ambiance both from the inside and outside.
- Privacy: Offers full privacy when closed, with no side gaps.
Installing Your Fauxwood Plantation Shutters: A Quick Guide
- Measurement: Accurately measure your French doors to ensure the shutters will fit perfectly. Include both the height and the width for precision.
- Assembling the Frame: Start by assembling the frame which will house the shutters. This process is straightforward and requires a clear space on the floor for assembly.
- Leveling: The most crucial aspect of installation is ensuring the frame is level. This might be the most challenging part but is essential for the proper functioning of the shutters.
- Attaching the Frame: Once the frame is assembled and leveled, attach it to your French door. It’s important to ensure that the frame is securely fastened.
- Installing the Shutters: After the frame is in place, install the shutters into the frame. They should fit snugly and swing open and closed smoothly.
- Inserting the Pins: The shutters are connected to the frame with pins. Insert these carefully to ensure that the shutters are well-anchored and operate correctly.
- Adjusting for Space: If you have two doors that open, make sure the shutters don’t interfere with the opening and closing of the doors. Also, check that the shutters don’t obstruct the door handles or other fixtures.
- Final Checks: After installation, do a final check to ensure everything works seamlessly. Open and close the shutters to check their functionality and ease of use.
The Transformation With French Door DIY Window Treatments
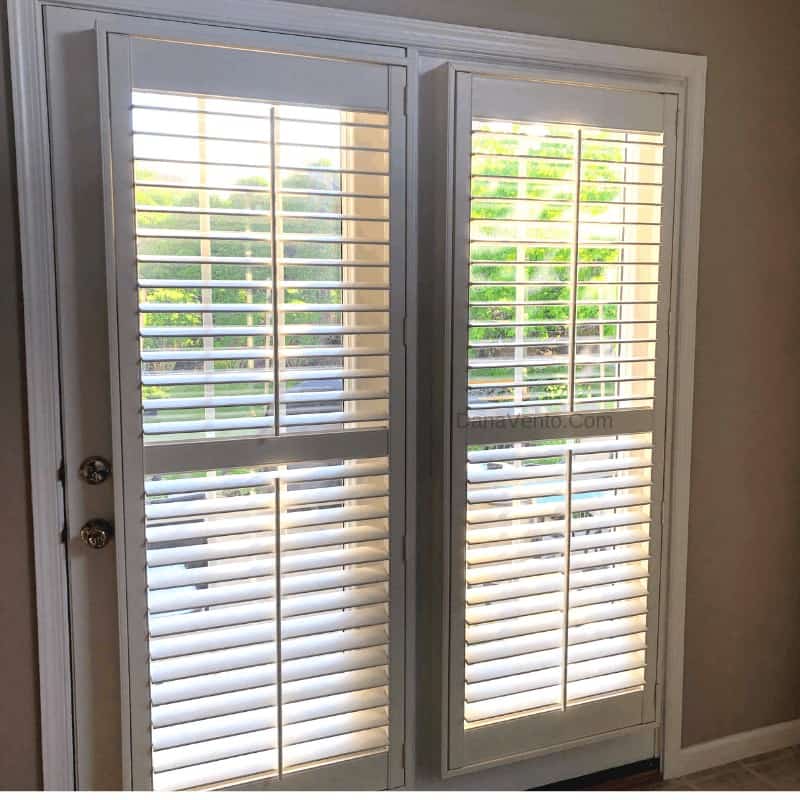
Our experience with these shutters has been nothing short of transformative. From the chaotic annoyance of our old blinds to the serene and stylish functionality of the Fauxwood shutters, the difference is night and day.
Installation was straightforward, requiring just basic tools and some handy teamwork. The entire process took about two hours, but the impact will last for years. And for our cat Bella, these shutters have been a major hit!
Our DIY Journey – Your Inspiration
Our journey from standard, ineffective blinds to these fantastic Fauxwood shutters was a true DIY adventure.We struck gold with our French door DIY window treatments. No store trips, no scheduling hassles – everything was done online, from selection to ordering. The shutters arrived right at our doorstep, ready to transform our space.
Now, our French doors not only look fabulous but also function exactly as we need them to. We’ve gained control over light and privacy, and the room’s overall look has significantly improved.
Remember Challenges Can Be Tackled With DIYS
Your home’s challenges can turn into opportunities for improvement, just like ours did. These shutters weren’t just a purchase; they were an investment in our home’s comfort and happiness. The solution for French door DIY window treatments is easy and makes a great difference!
If you’re pondering over French Door DIY window treatments for your home, consider these points:
- Ease of Installation
- Resistance to Humidity
- Simple Maintenance
- Right Pricing
- Privacy and Light Control
Here’s to enhancing your home’s functionality and style with the right DIY solutions! You’ve got this!~DanaXO

