
The Ultimate Organized Entry Closet
The Ultimate Organized Entry Closet
Open the door.
Fast close it.
Did everything you’ve jammed in there fall out on you?
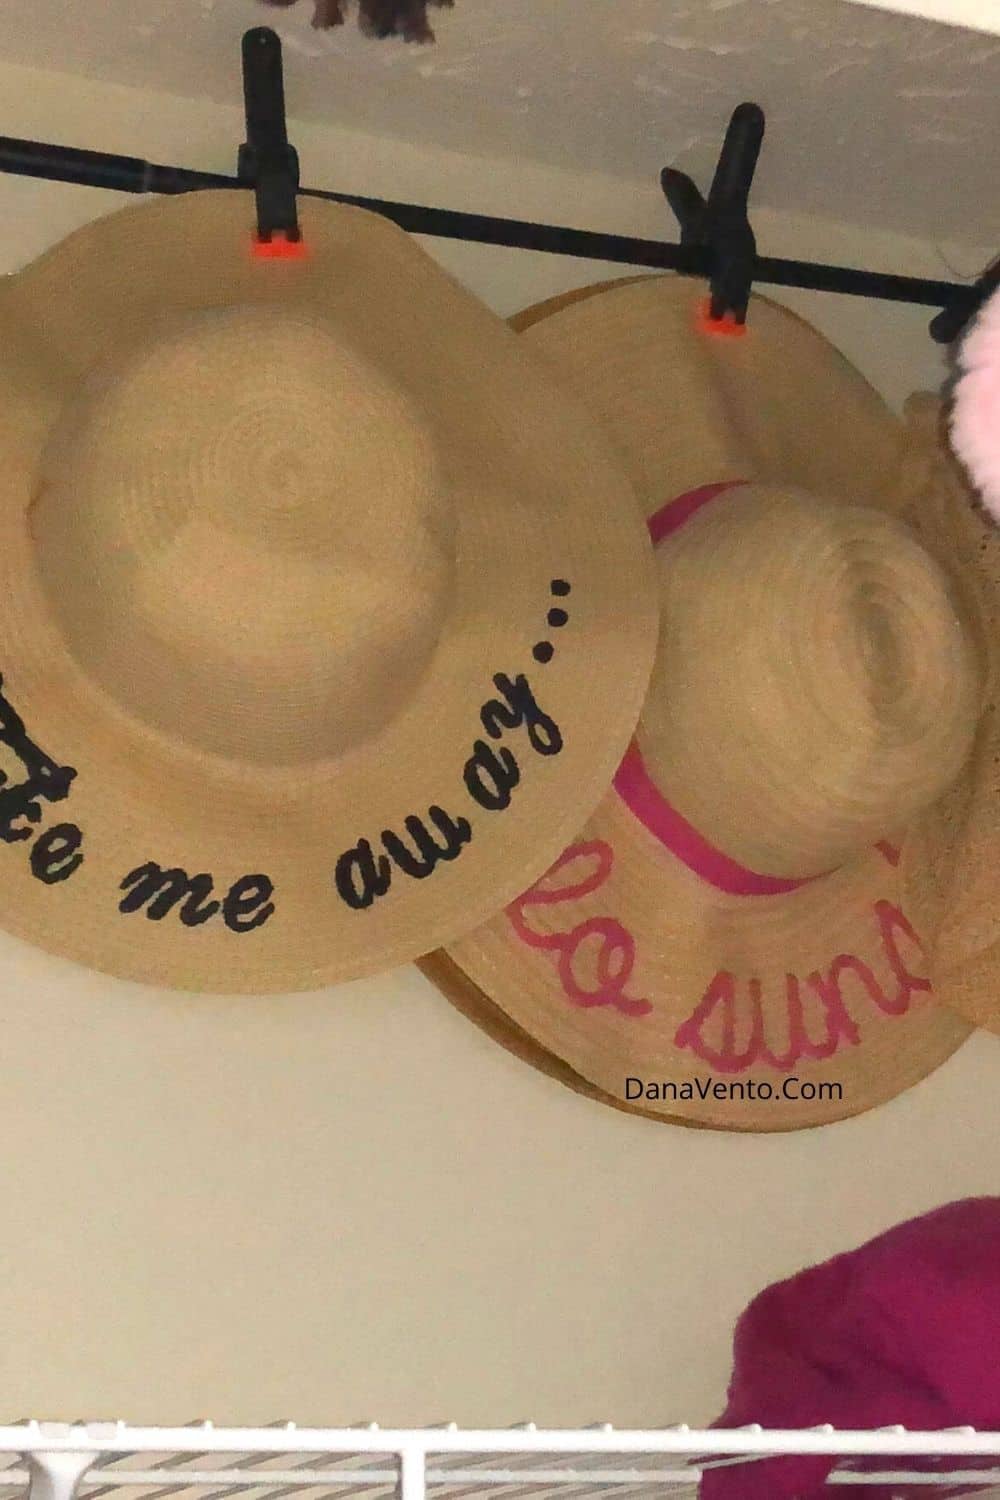
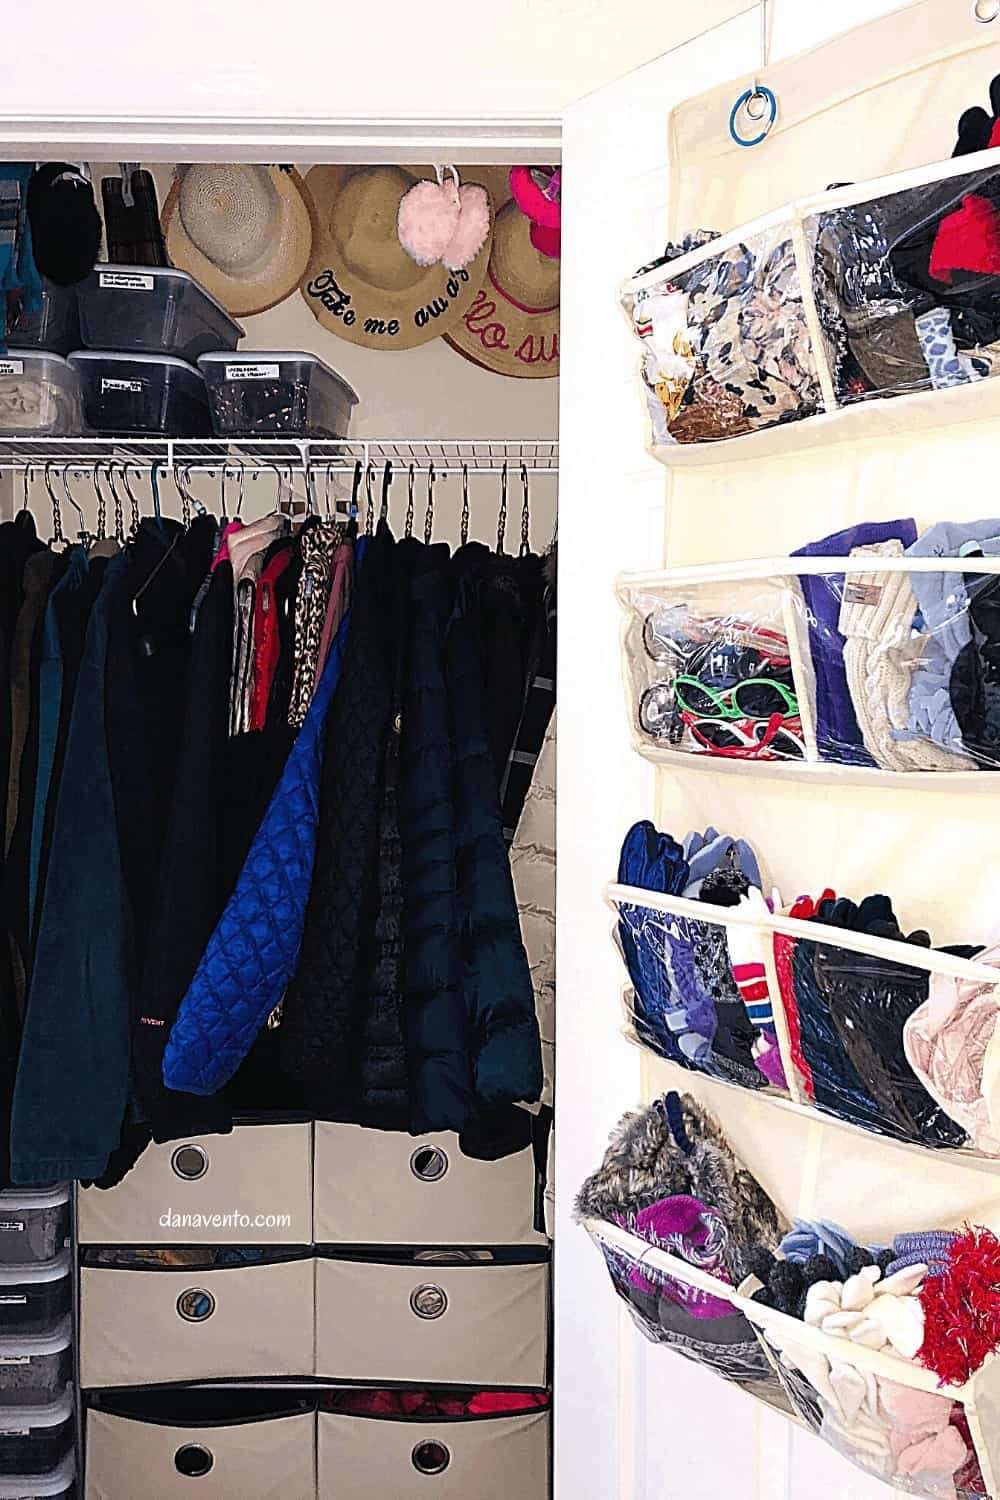
Ultimate Organized Entry Closet hats
The famous too-small, never big enough entry closet.
Is there really any way to maximize your space and create the ultimate organized entry closet?
After all, when guests come over, there should be space to hang their coats right?
There also needs to be room for everything outdoor, like hats, gloves, and scarves.
Can you even see your hanging rack?
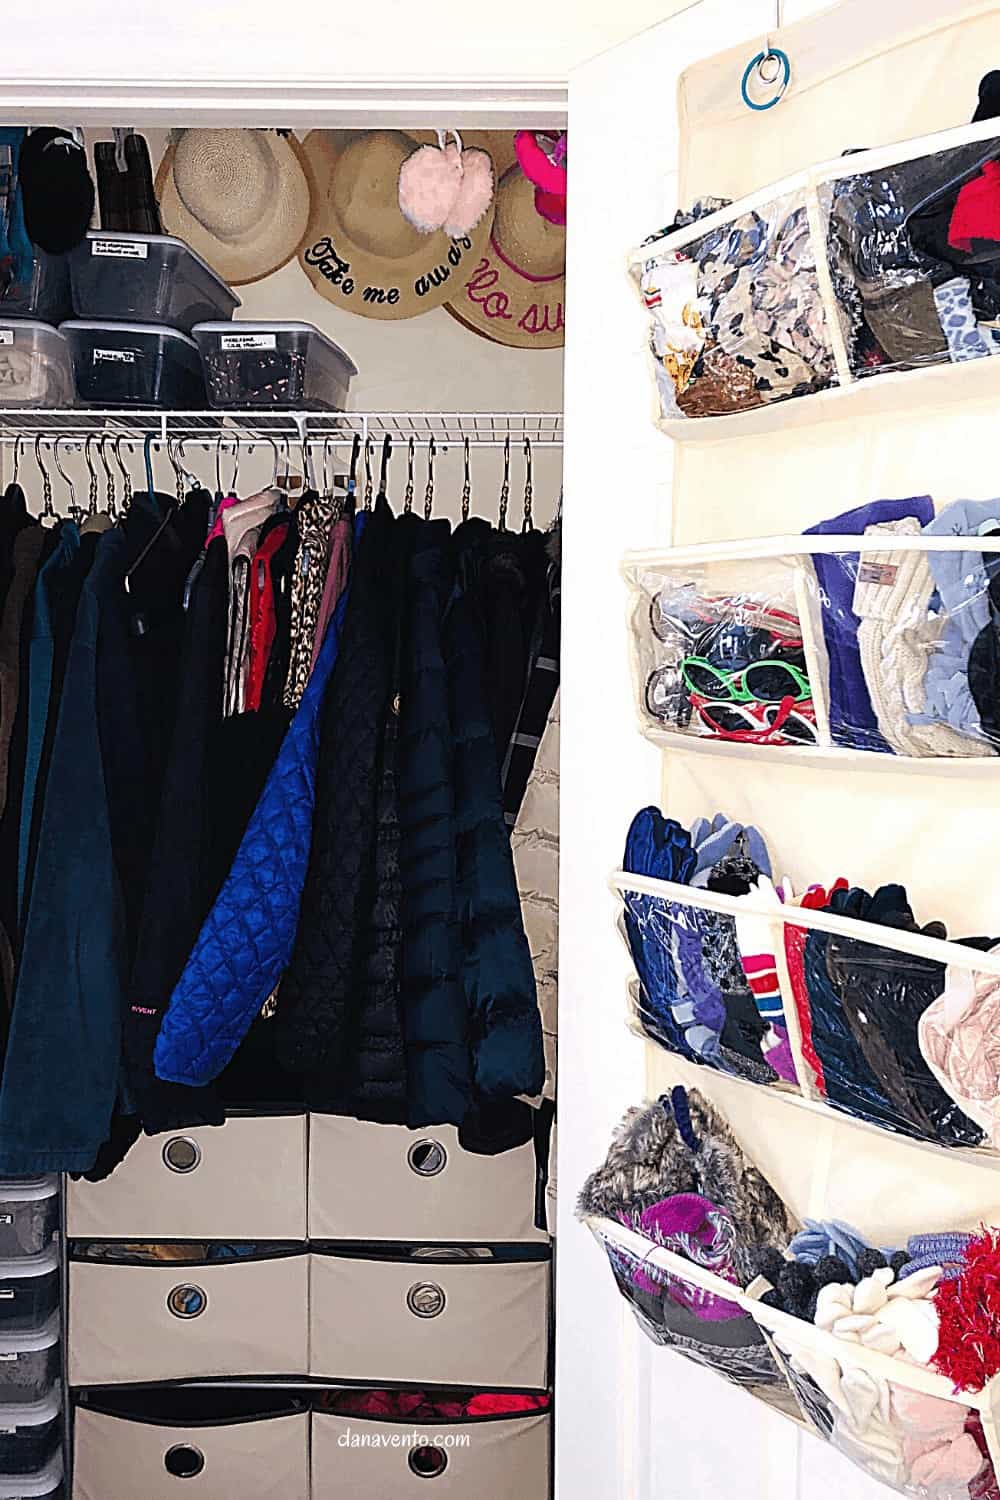
Getting the Ultimate Organized Entry Closet
You Don’t Have The Ultimate Organized Entry Closet!
Can you even see the floor in your entry closet?
Odds are, your entry closet is anything BUT organized and it should be.
When I set out to create the ultimate organized entry closet, I wanted it to be the best version of what it was!
What I learned is that you gotta take the mess ALL out and really go in deep!.
You’ve got time, I’ve to the organization tips for this simple DIY.
Now, Are You Ready To Get the Ultimate Organized Entry Closet?
Are you ready to put an end to that dreaded too small, unorganized entry closet?
I’m ready to share with you how to maximize your space and create the ultimate organized entry closet.
You Can’t Have the Ultimate Orgaznied Closet If You Do This Too!
I had walked by this closet so much and had just literally written it off.
When I finally organized it, I could have kicked myself for not doing this sooner.
It was not hard to do this DIY.
Nor was it time-consuming.
Instead, It was fun and now it’s useable!
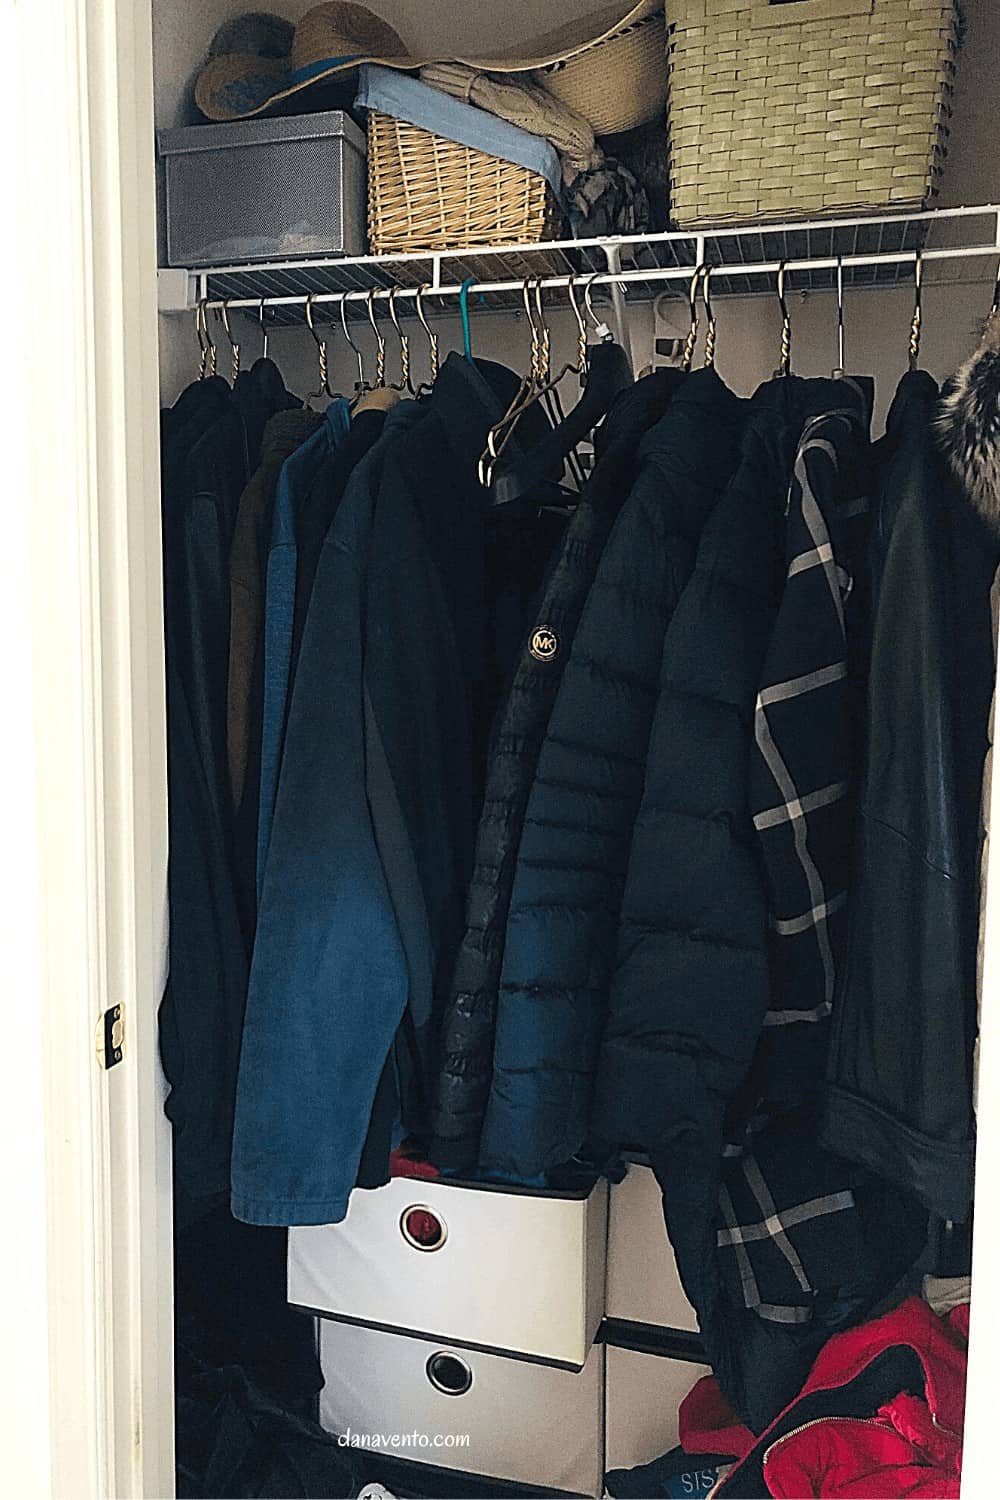
Before getting the ultimate organized entry closet this was disorganized
Your DIY For the Ultimate Organized Closet Will Start off Uphill!
I’m not gonna lie, it’s not pretty at the beginning.
When I opened up our entry closet, I just started shaking my head.
Either I committed to the process or I needed to walk away.
I committed to the process.
The process would take a few hours and when it was done, well, all I can say is, ‘It’s Organized Through and Through!’
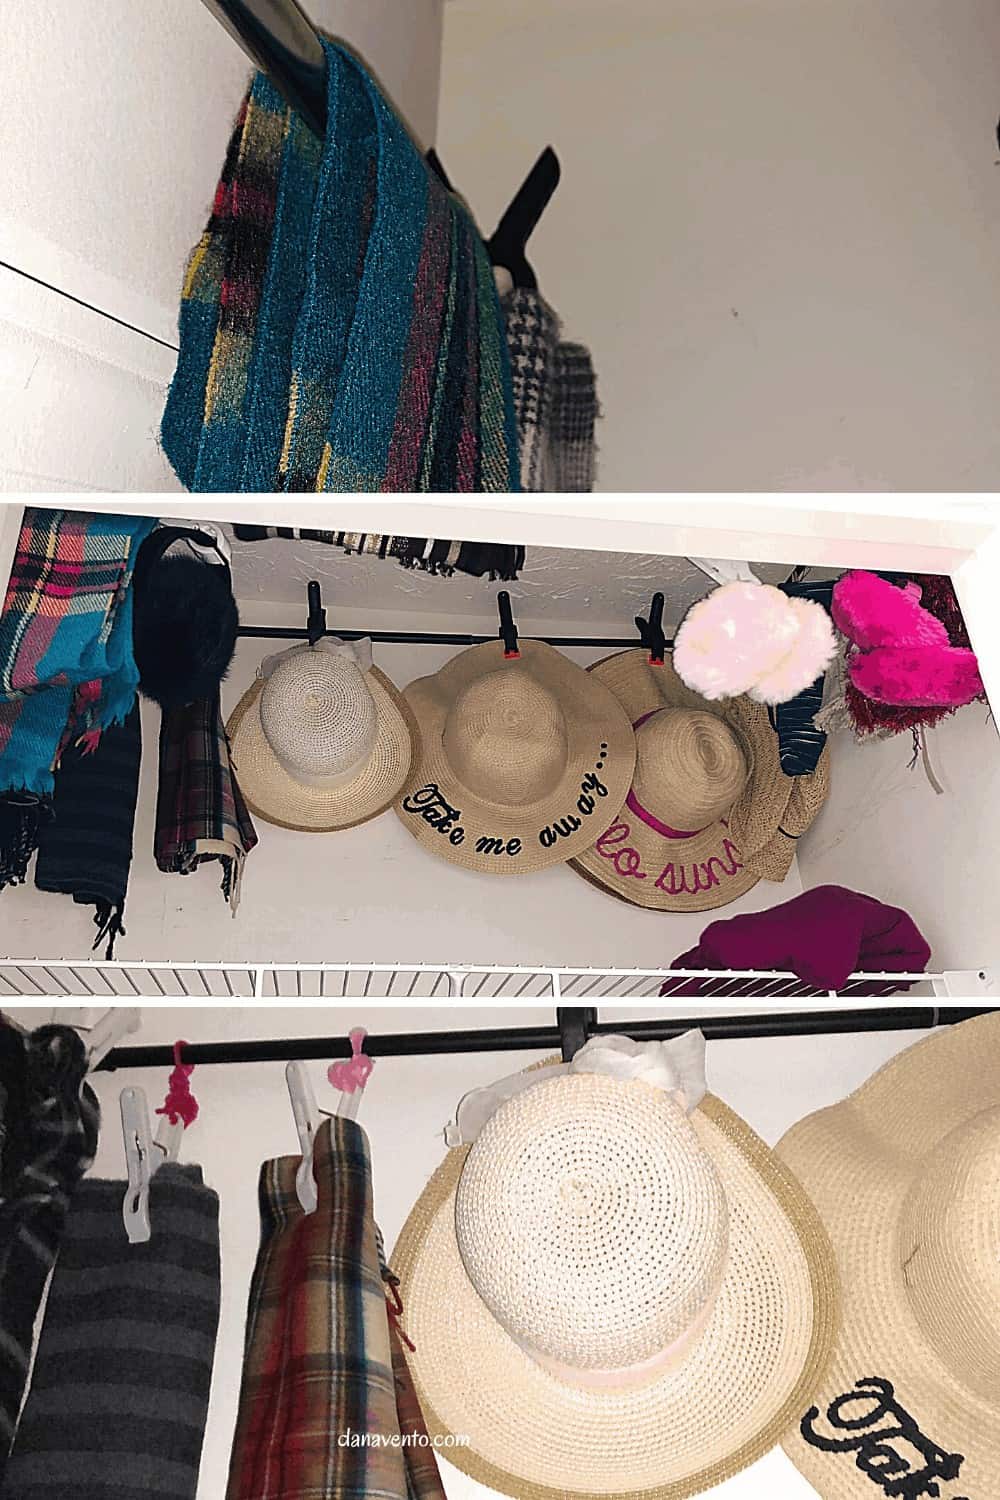
Tension Rods create a new hanging surface in my ultimate organized entry closet
What Happens After You Create The Ultimate Organized Entry Closet?
Can I find everything I own?
Yes.
Did I unearth things I never knew we had?
Yep!
What did I do with all the stuff we didn’t need or want?
I donated it.
In fact, what I found is that that unorganized, overloaded, entry closet was actually bigger than I ever imagined.
Simply stated, it could be organized, functional, and very useful when I employed my organizational skills.
So that you don’t have to remake the wheel, you can use my tips and tricks to create one incredibly organized closet.
Chances are, once you are done with the overhaul, you will walk by and open the entry closet door just to admire your DIY work!
1. Go In Deep to Create the Ultimate Organized Entry Closet
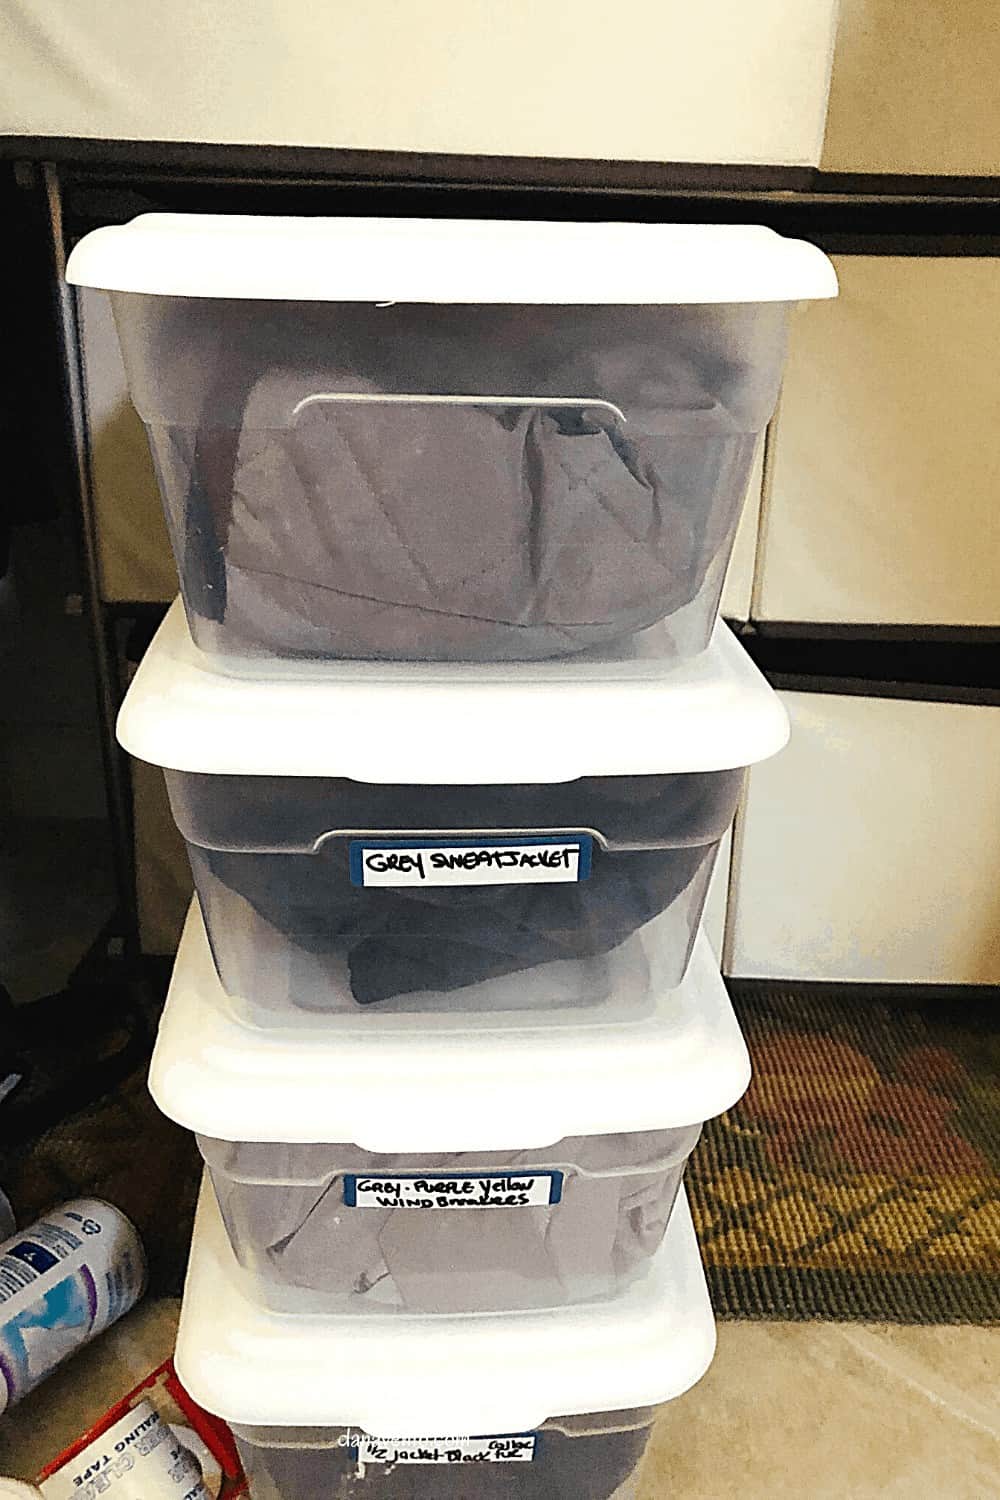
organization starts with labeling
Take EVERYTHING and I mean Everything OUT of the entry closet.
Stack it into piles if you can.
Jackets, coats, hoodies, gloves, scarves, etc.
Awesome! Ultimate Organized Entry Closet Underway!
Get in front of a mirror and try all your stuff on.
Yes, that includes hats, and gloves, our bodies change, our tastes evolve and you need to toss what is NOT you.
Grab a box or a bag and mark it donate.
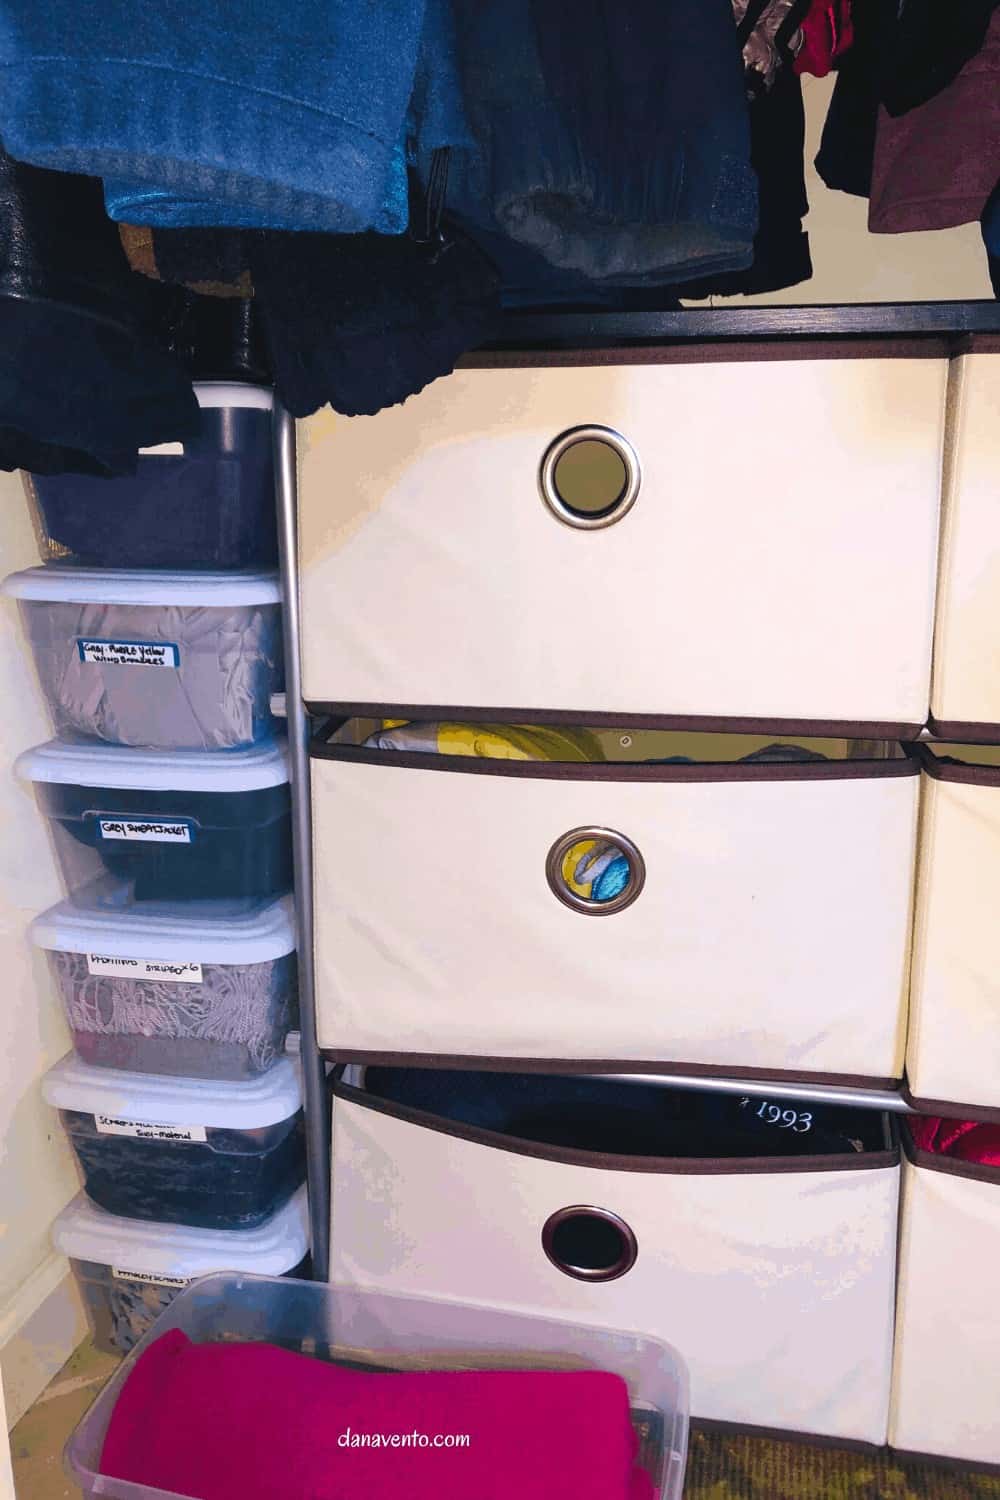
Storage and labels create organization in the entry closet
Anything that fits awful, donate.
Don’t hold on to anything for sentimental value.
Repeat after me, “I am here to purge and clean and make space!”
Share. It works
If you have kids, let them try it on.
Have friends with kids younger than yours?
Share the items they might need, and donate what they don’t need.
Alternatively, you can try to sell the jackets, coats, etc on OfferUp, Facebook Marketplace, etc. if you feel so inclined.
Churches have donation bins, Vietnam Veterans of America Pickup and Goodwill has drop-off almost all day long in certain locations.
Again, try-on, toss or donate.
2. Sorting is the next step to the ultimate organized entry closet.
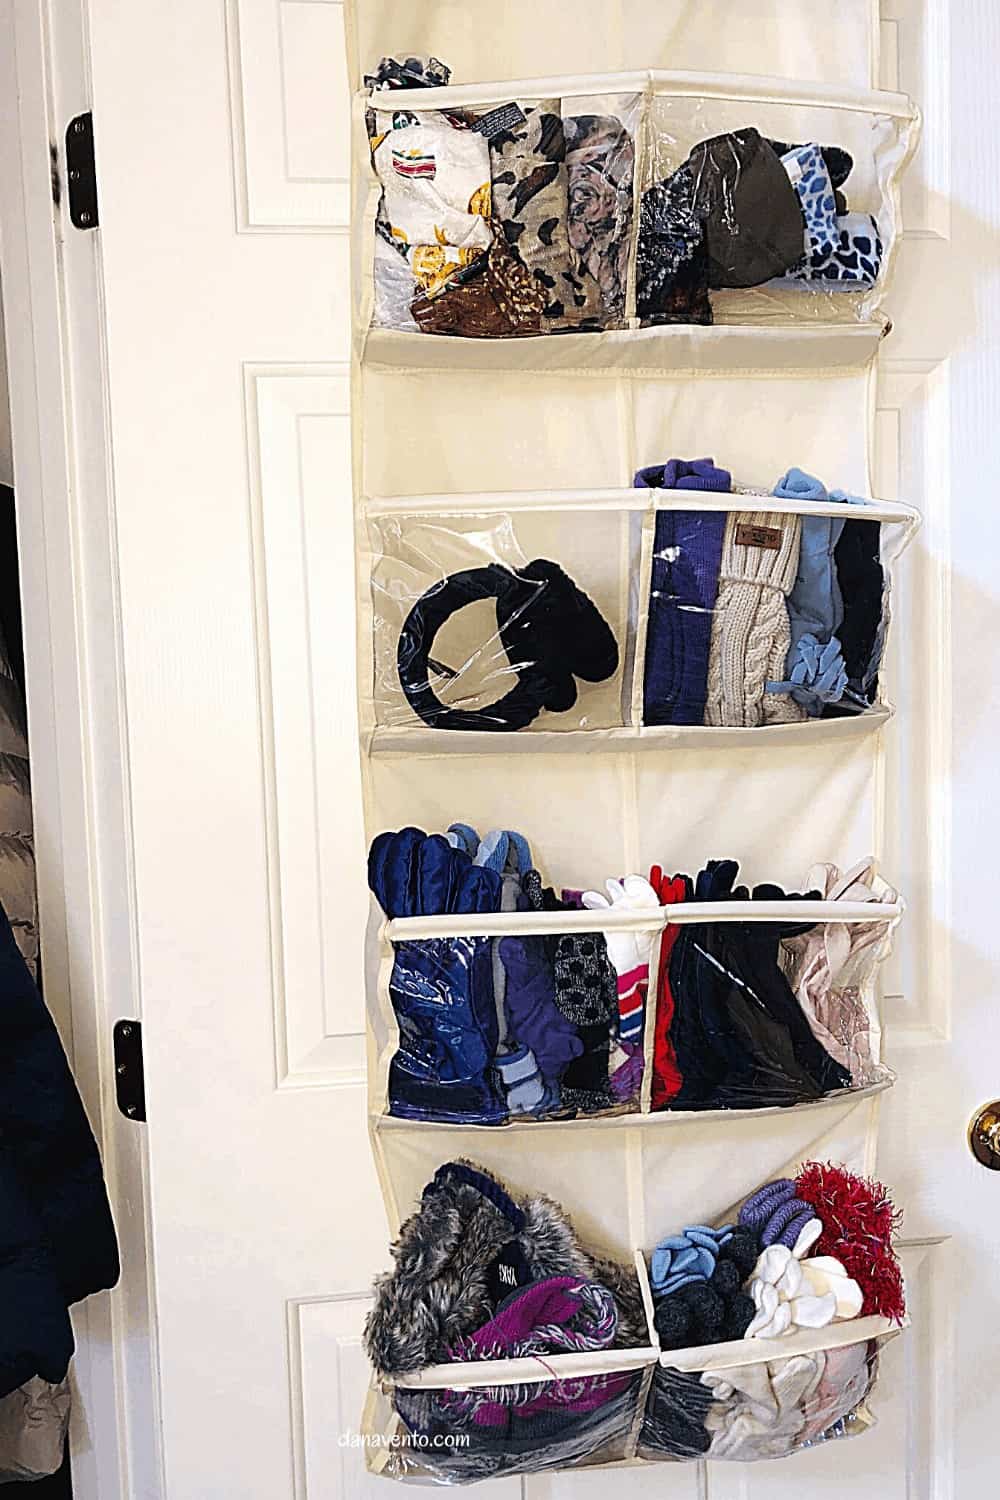
Over the Door Hanger for Ultimate organized entry closet
Now that you have had your try-on party, sort everything if you have not done so.
Sort gloves, hats, scarves, shoes, jackets, coats, whatever is in there.
Pairing Makes Organization Better
Then start the pairing down the process.
Match up every glove and hat set.
Pair all things that go together.
If you have a jacket you always wear ONE particular scarf with, put the scarf on the jacket or in the pocket.
Next, go through all your stuff, what do you wear the least and the most?
If you are keeping a few things you wear ‘seasonally’ they need to go to a pile as well.
Put all of your hats together, and your more popular scarves.
Last, place all of your gloves and mittens together (once paired).
Golden, you’ve come far.
3. You are about to make Bank while you create the ultimate organized closet
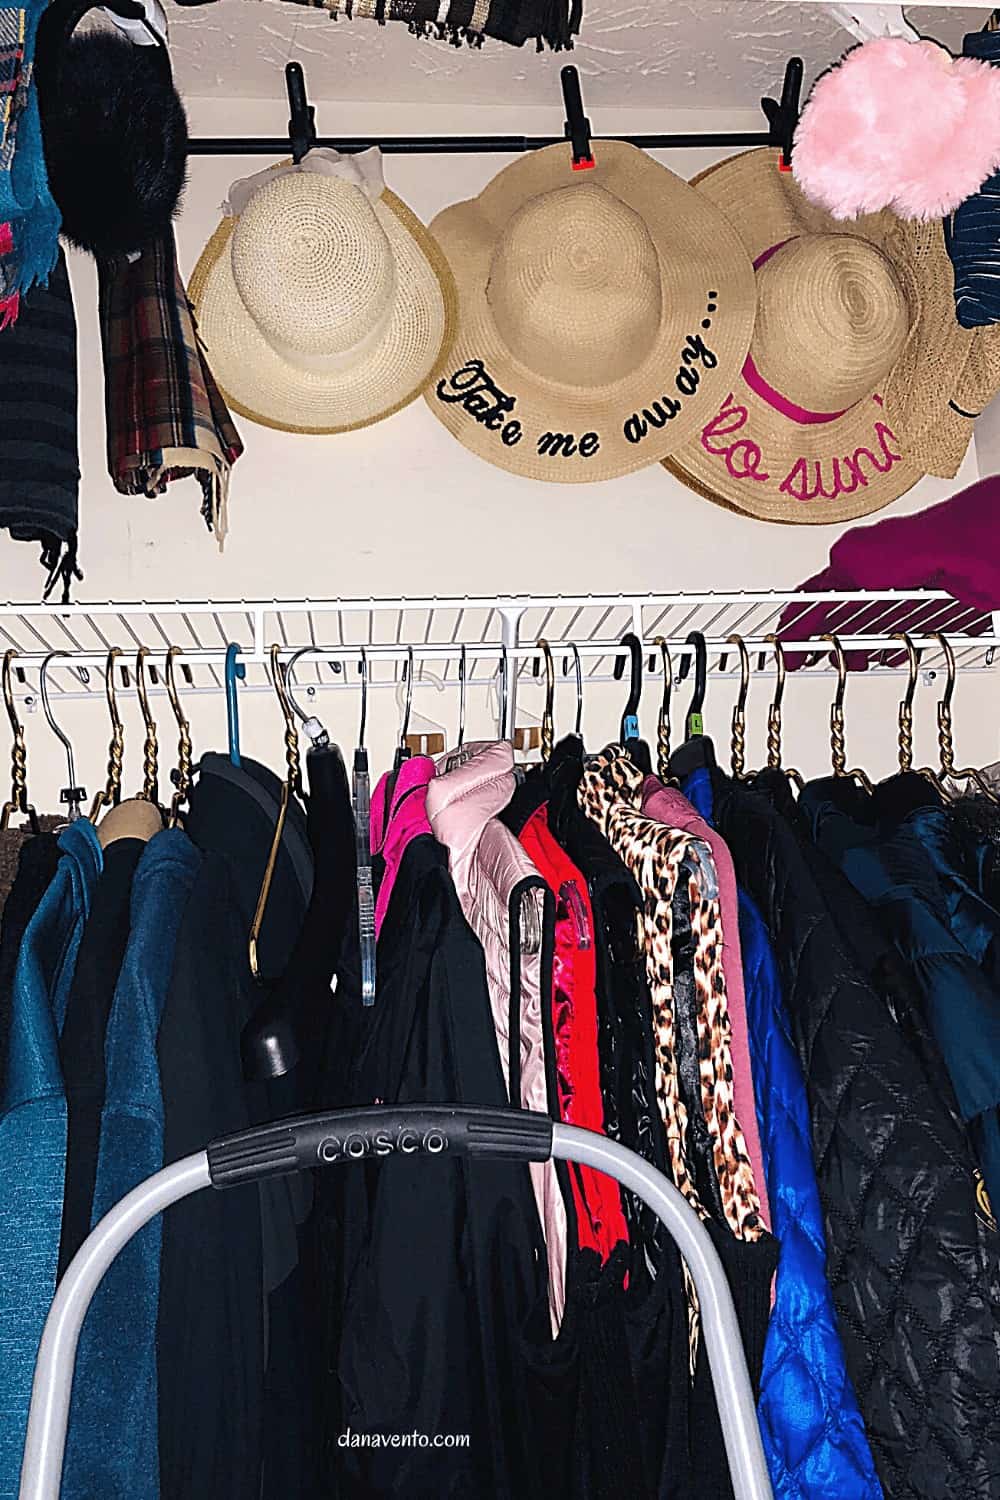
Everything has a hanging space in the ultimate organized closet
We are now about to play discovery.
I considered it the game, ‘Finders Keepers!’
Ready to make bank?
Well, you may not make that much, but I bet you make at least a penny for your effort.
So what are you waiting for?
Go through every single pocket of every coat, jacket, trench coat, whatever you have in there that has a pocket.
Check every pocket and earn some cash.
I’m infamous for stashing cash and coin so I earned as I worked.
There’s a red-hot incentive for you, lol!
4. Tie it Off, Move it Out

Ultimate Organized Entry Closet
Hooray, you’ve pitched, tossed, and prepared donation bags.
You’ve also gained a little coin or cold hard cash! Yeah.
Next, move those to your car if you are taking them to a local bin for donation.
Otherwise, jump online and schedule a pickup and move those to the garage (make sure to label them!)
5. Clean Out The Entry Closet
Clean the baseboard, walls, and hanging bar.
Make sure to cobweb and vacuum as necessary.
Wipe the handle of the door and don’t forget to also wipe the light plate switch if you have one.
Wash the floor and allow it to dry.
Don’t restock anything just yet.
6. Eye Up Your Closet Space Without Anything in It.
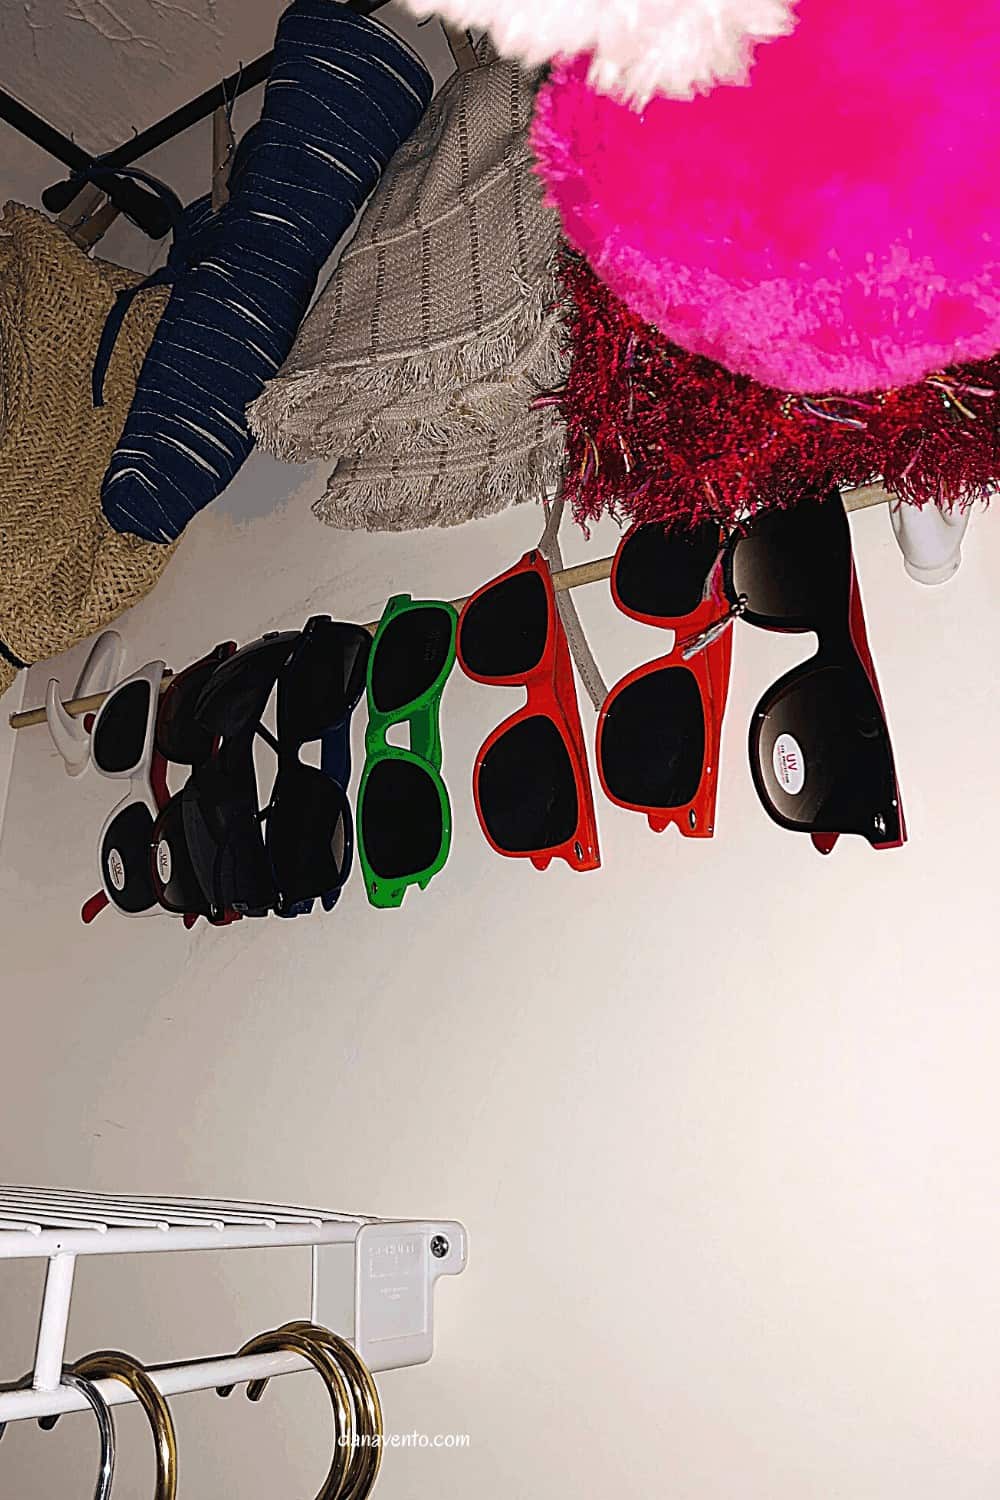
Hang sunglasses on an organization bar
Well, you can’t leave it like that, but you can put everything back in an organized fashion.
Now, I’ll share my list of everything you need to make this happen!
Buy your supplies, then tackle and organize.
You’ve already cleaned out the closet so putting it back together won’t take much time!
I am so happy I did this project, and you will be too!
DIY Supply and How-To List for the Ultimate Organized Entry Closet
How To Maximize Your Space and create the Ultimate Organized Entry Closet
Equipment
- Scissors
- Tape
- Sharpie Markers
- Step Ladder
Materials
- 4 walls = 4 Tension Rods (measure the side of your wall to side then buy the right size.
- Refer to my post to see what I used and how it looked.
- Heavy-duty clamps that actually have a little rubber on the clamp part.
- Again my post has links for you to check out what I purchased.
- Hot Tip -- Remember you don't want the clips to be too heavy, because that tension rod is thin, lol!
- A set of Drawers- these are similar to mine so you have an idea just remember where you longest coat has to touch.
- Shoe Boxes as many as you need to complete the job Just make sure to remember coats pack well in here as well as shoes.
- Permanent Sharpie Marker
- Labeling Tags with Clear coating so they stay put! If you happen to just get regular labels no worries, because I'll share what to do to make them stay one and keep the printing!
- Over the Door Organizer as big or as small as you prefer refer to my post for example
- Some colored construction paper
- Clear Packing Tape
- Heavy Duty Coat Hangers are vital to making sure your coats stay put and the shoulders stay well-placed.
- Step Ladder. You will need this to get to the top of the closet with ease so you can really use all that space. It's for hanging the tension bars and putting the clamps in place.
Instructions
- First, with everything out of the closet, sort your stuff.
- Put all the gloves and mittens into a pile.
- Next, find all the hats.
- Then scarves.
- Toss shoes into a pile and then pair them.
- Sort your coats and jackets.
- Make sure if a jacket is packable it is packed up.
- Earmuffs need to be sorted as well.
- Place all of your sunglasses together.
- First, load all of your hanging coats and jacket in on those heavy-duty hangers.
- I separated my stuff from my husband's.
- Also, I took into consideration that I will be using drawers, so the longest stuff is on the EXTERIOR Part of the hanging rack.
- Start by working at the very top of the closet.
- You will want to put the tension rods in the wall to the wall.
- Do this on each wall.
- Remember to pull them out enough that the clamp will fit for hanging.
- Don't over-extend or you will run into each of the other tension rods and the spacing will get jammed.
- Start with all of your beach hats, floppy hats. I ran mine against the back wall, you can use any wall, I just had a lot of them. In fact, some are even double stacked.
- Now that these are all clamped on, move to the next tension rod.
- The one that is right above my door, I placed ear muffs on clamps, as I had the fewest of those.
- Therefore I could clearly see right to the back of the closet, as I was trying to get organized and not block the view of anything I owned.
- Again, affix the tension rod, add clamps, and put your items on this rod.
- Then, work on the 2 sidewalls.
- You can choose what you want up there.
- I actually used clothespins with wires to get that rack to function best.
- There I hung more hats. I could have used clamps, but I ran out, since this photo, I have replaced all the clothespins with clamps.
- On the opposing side, I put scarves. Again, your closet, your style, I am just showing you want works.
- Shoe Boxes are so helpful for light jackets.
- I ordered plenty of those ahead.
- Use your stickers and marker and mark each one.
- If your stickers are not sealed with clear plastic, use packing tape to top-off the writing.
- Next, I worked on the floor level.
- The drawers gave me a lot more space, but they aren't clear.
- Therefore I marked each drawer using a piece of construction paper, topped off with clear tape after I marked what was in it.
- You can ROLL whatever clothing you are storing and you will have more room than stacking. (TIP)
- Use the over the door hanger for those tuck-in scarves, mittens, gloves, and hats. It's so easy to find what you need and put it back!
- Enjoy your closet ~ Dana XO


