We had lived in our newly built home and I loved everything about it except the banister and balusters.
I decided to take this project on and I completed a DIY adjustable iron baluster installation!
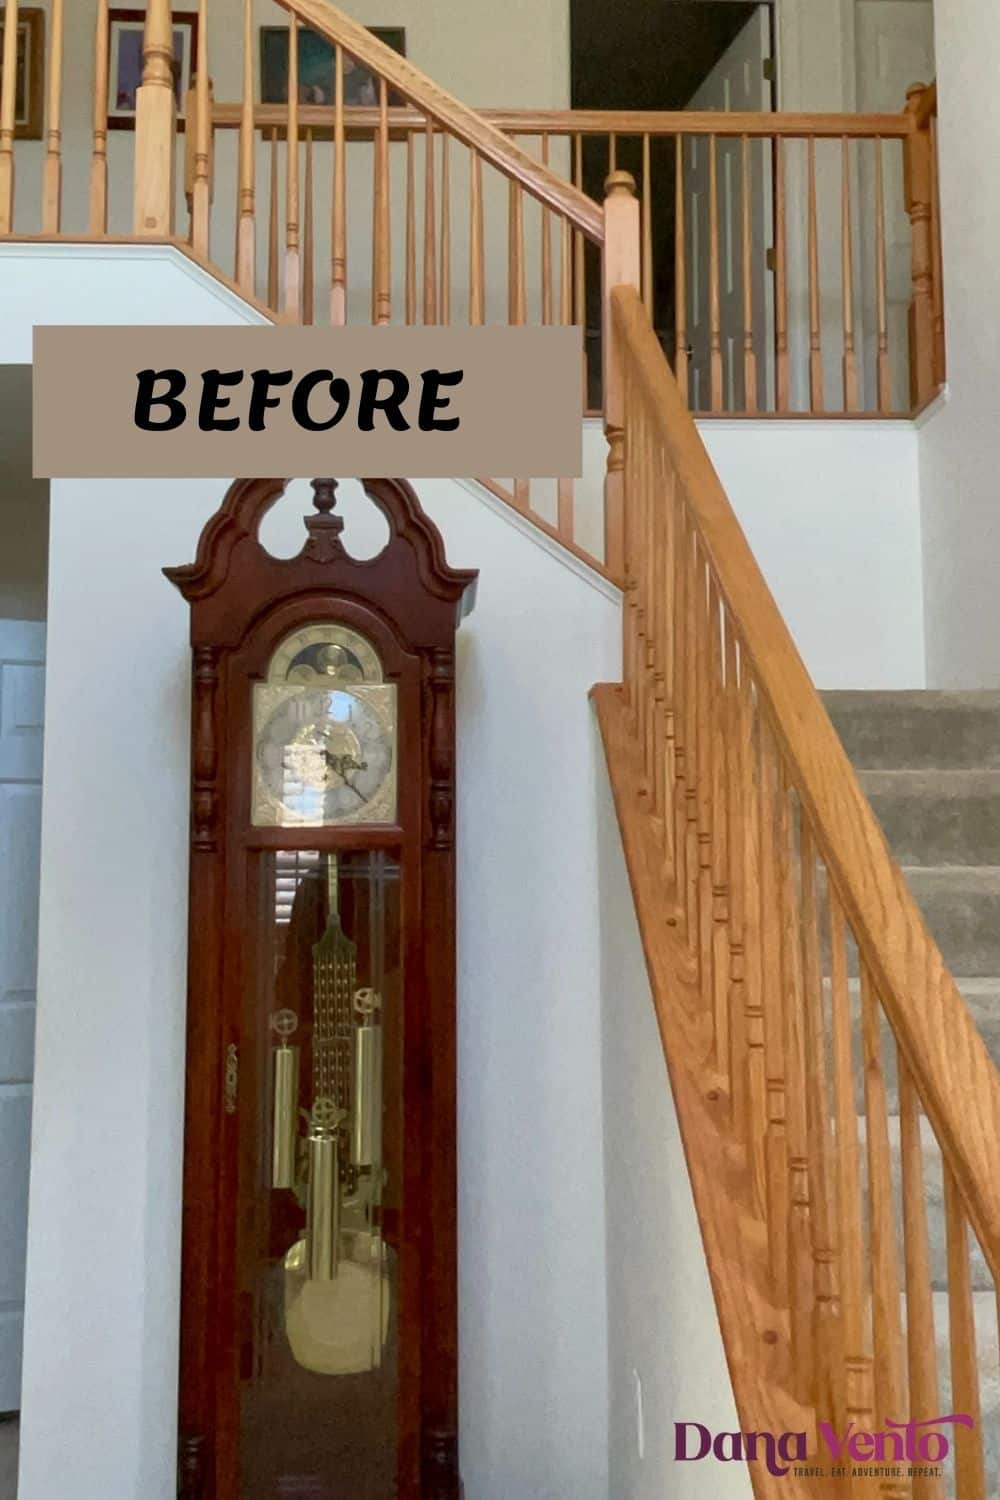
Now I will share my adjustable iron baluster installation
However, I didn’t just overhaul and remodel the old wood honey-colored spindles, nor did I paint them.
Instead, I went ALL in and I stained the banister taking off that ugly honey color, and then I snipped those wooden spindles off it too!
Then, I did my adjustable iron baluster installation!
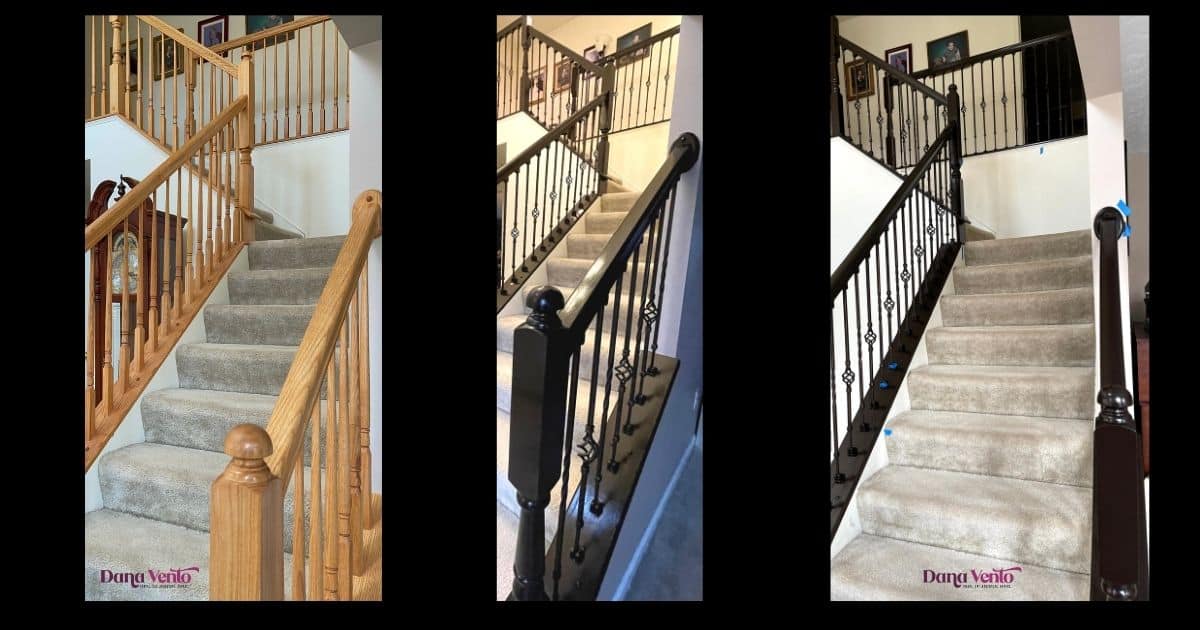
I really overhauled my banister and wood spindles, plus, I painted the entire 2 story-foyer to bring the project full circle.
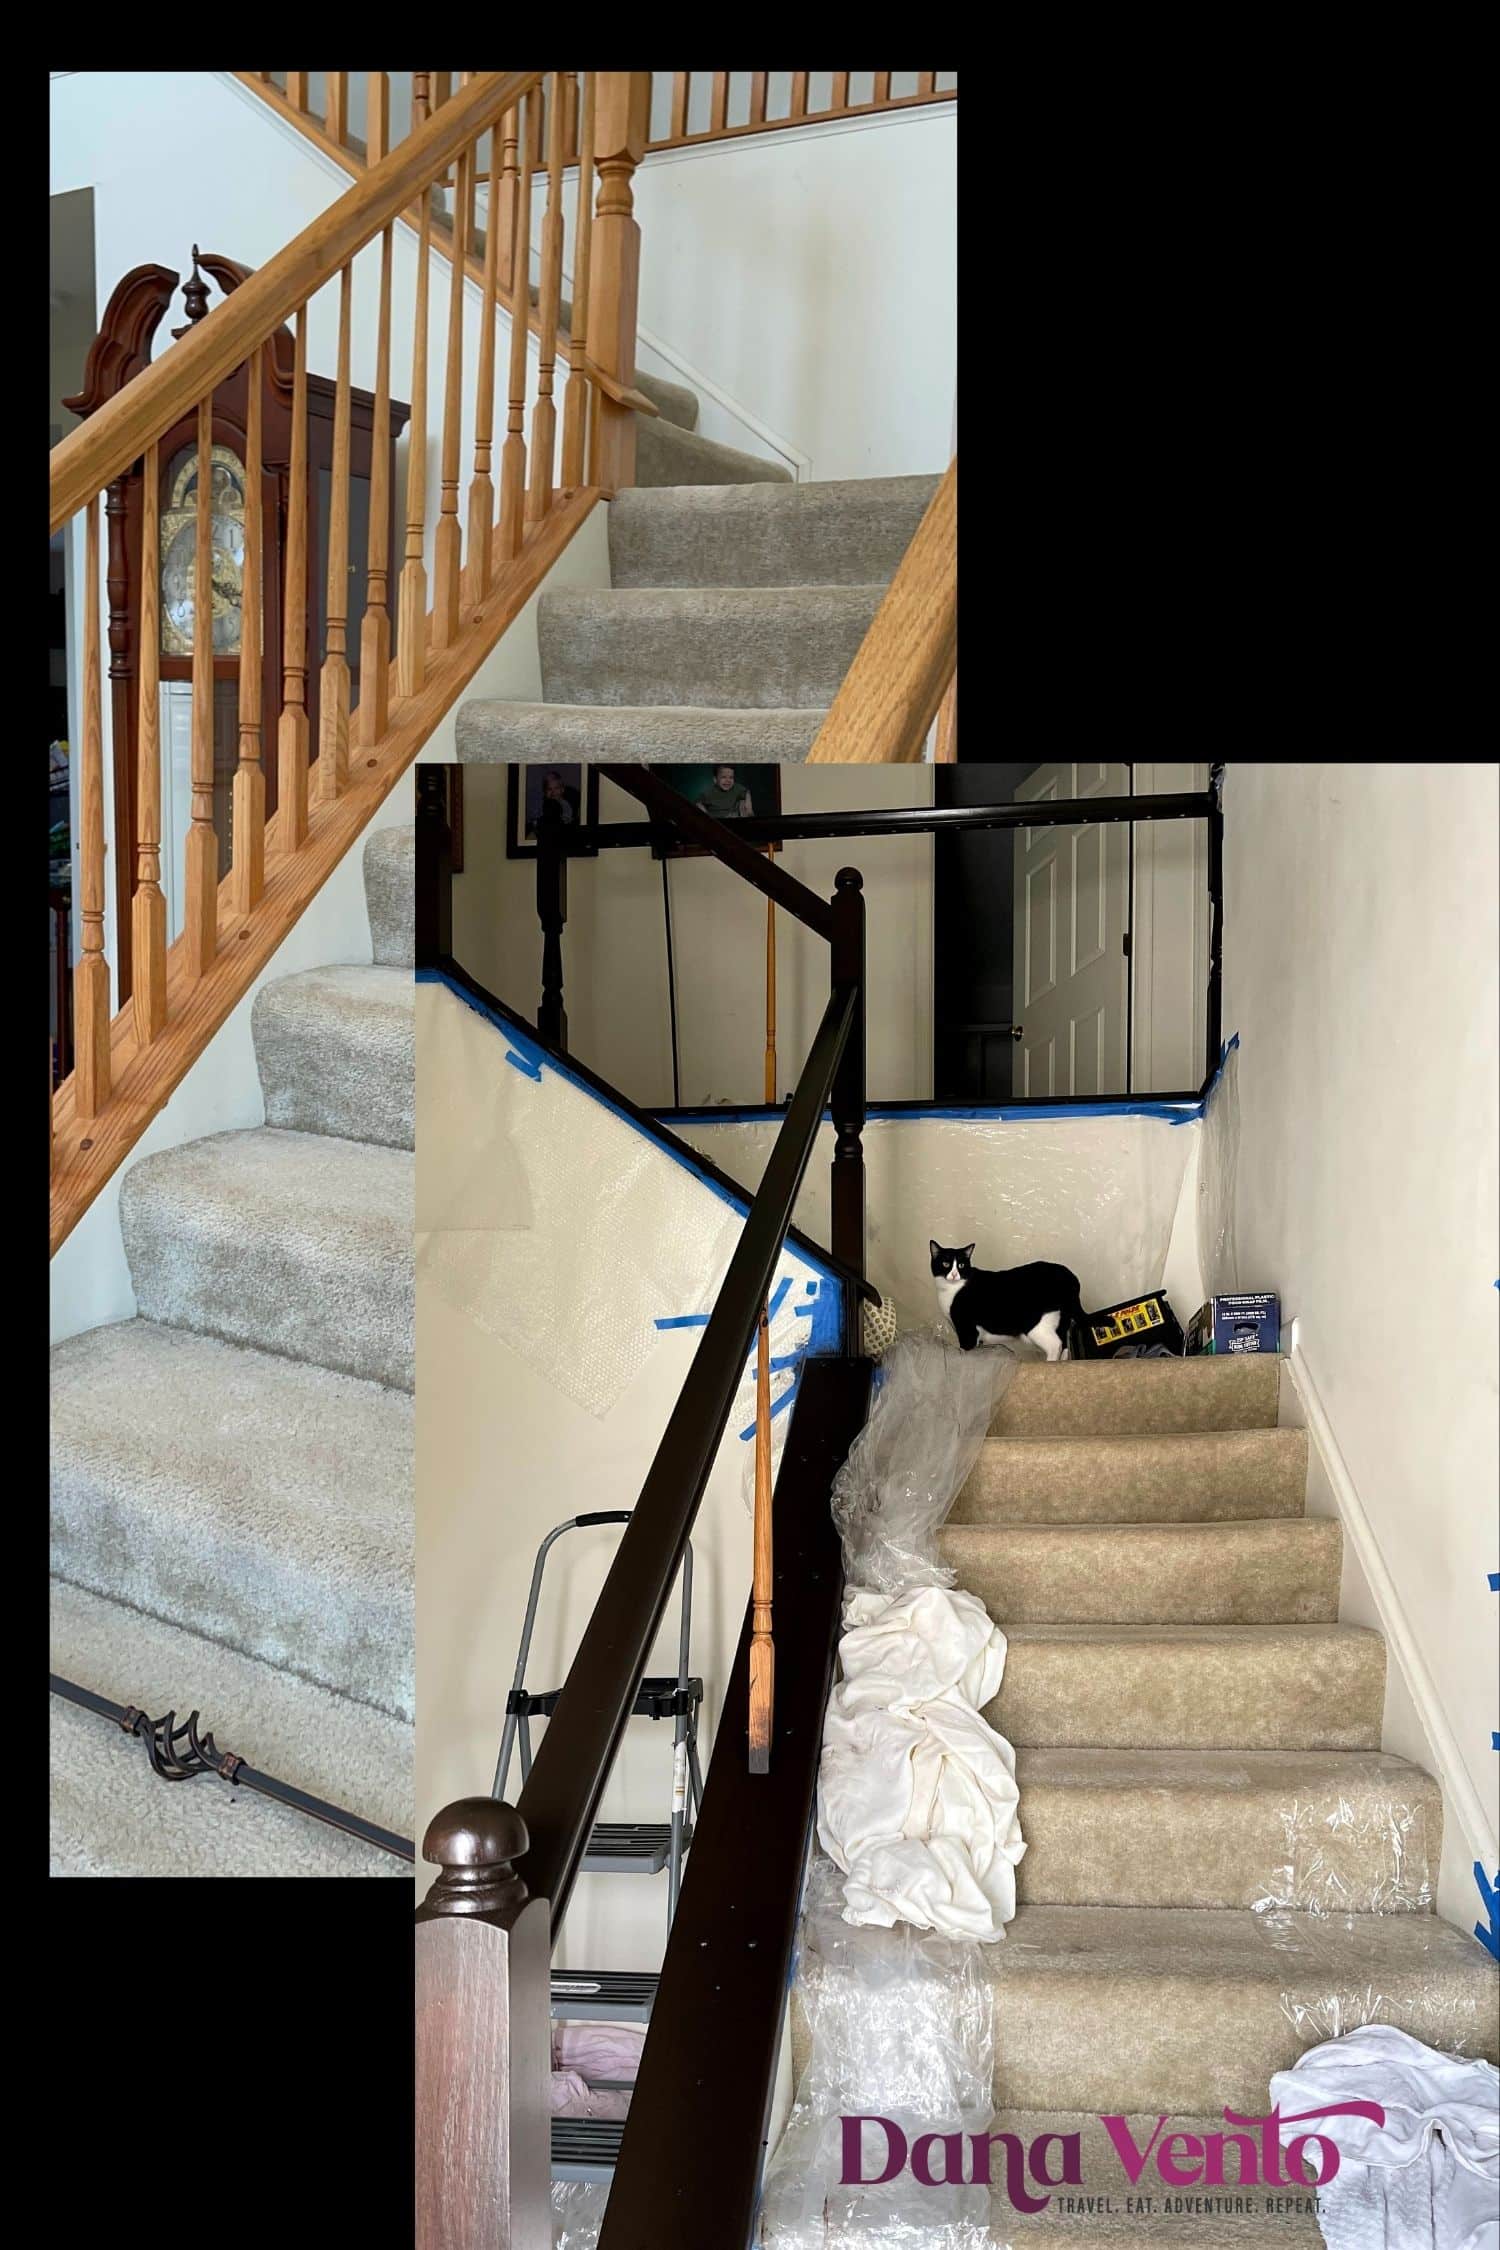
So in doing this, IMO, I took this staircase and went from OW to WOW!
My Staircase remodel + the reveal of the adjustable iron baluster installation
Today, I am sharing how I took out the wood spindles on my banister and then did an adjustable iron baluster installation.
While the whole project (overall may not be for light-hearted, I will tell you that I saved myself over $3000 dollars and we’ve had painters walk in the house asking if we had our banister done recently because it looks amazing!
I wanted to do this adjustable iron baluster installation for a long time and now it is happening!
Before The adjustable iron baluster installation, let the staining begin!
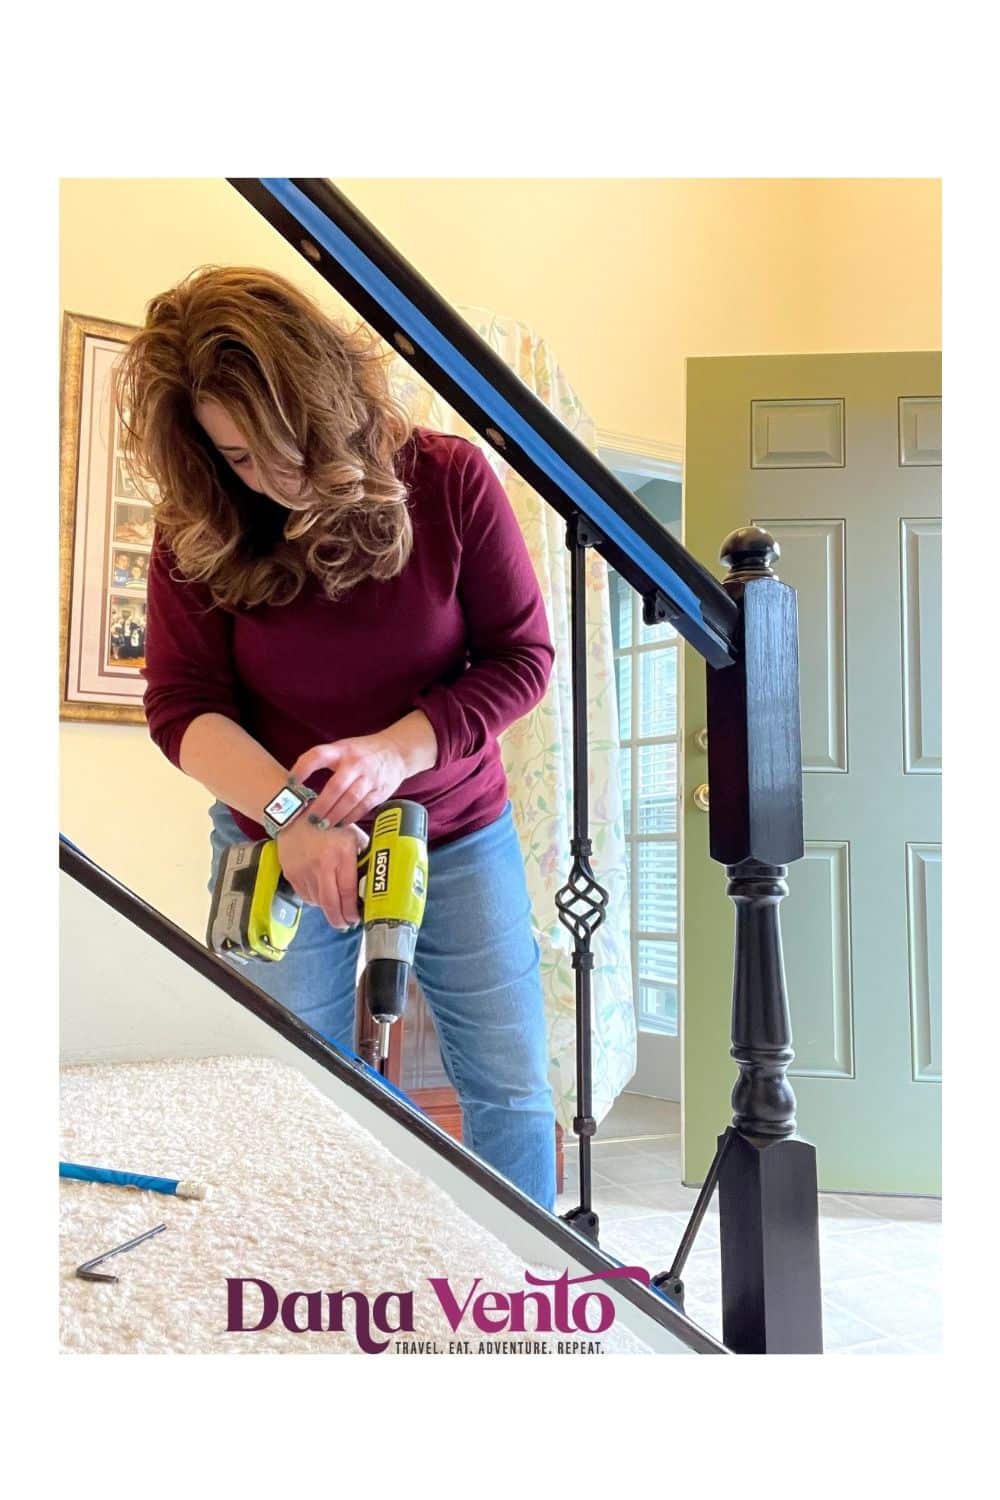
Yep, that’s me in a weird photo because at points, before getting to the fun stuff (the iron balusters) I would get slap-happy from staining, and fighting sunlight that Pittsburgh seriously lacks!
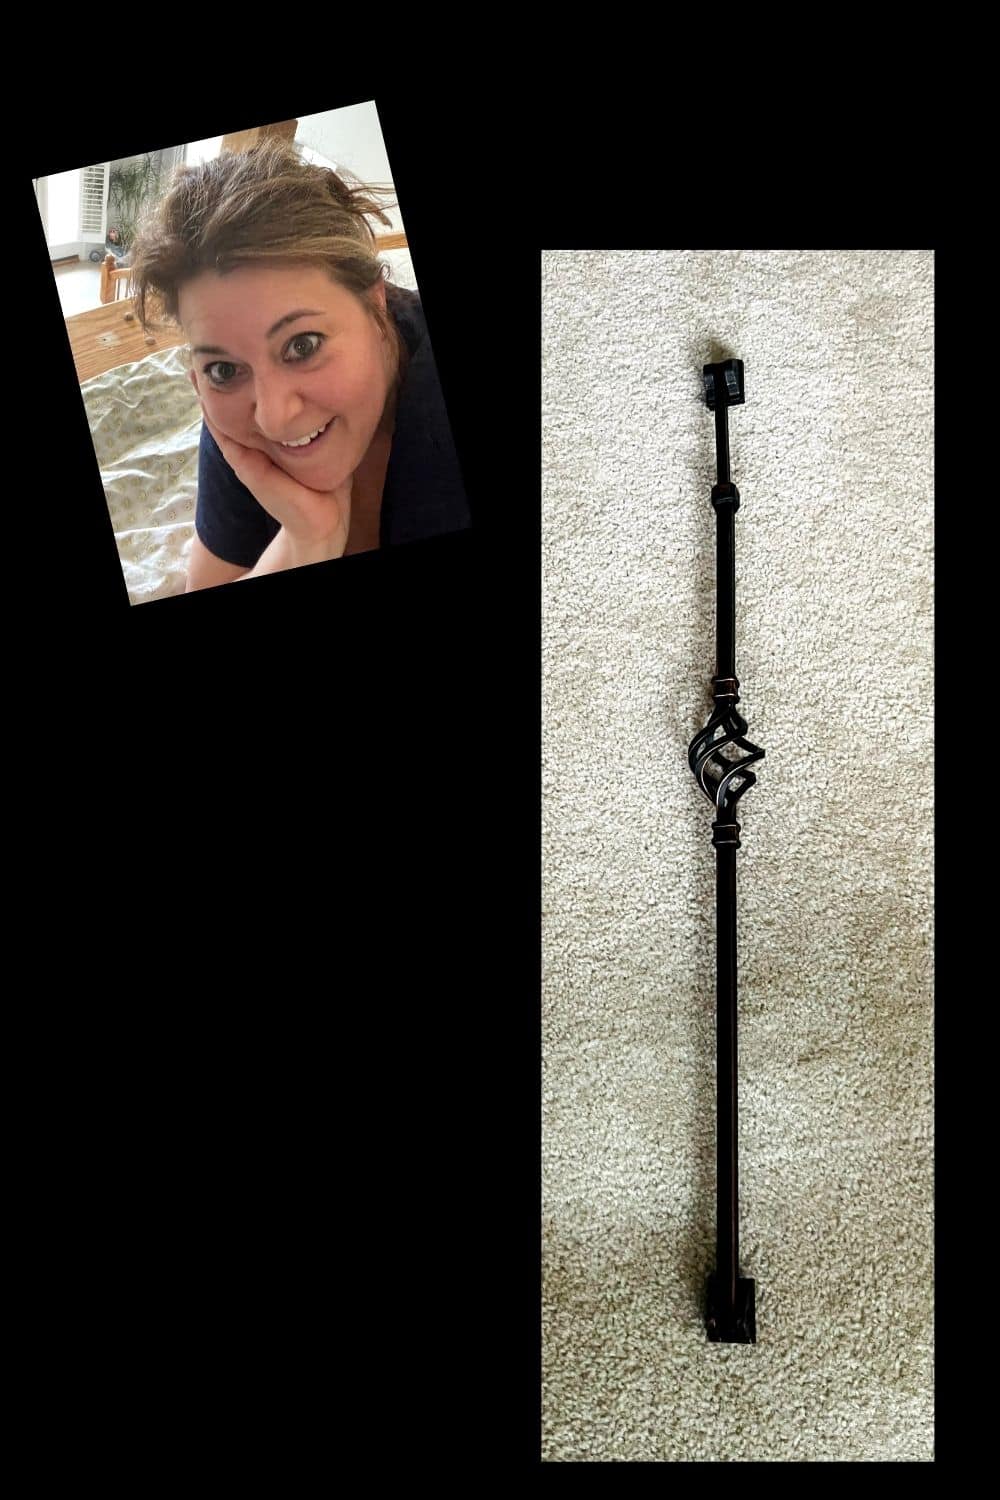
More importantly in this photo, you can see the basket twist adjustable iron baluster I will be using in the near future.
Behind me, you can see that I was working on staining and just counting the days and hours until I got to the baluster installation, meaning I was closer to DONE!
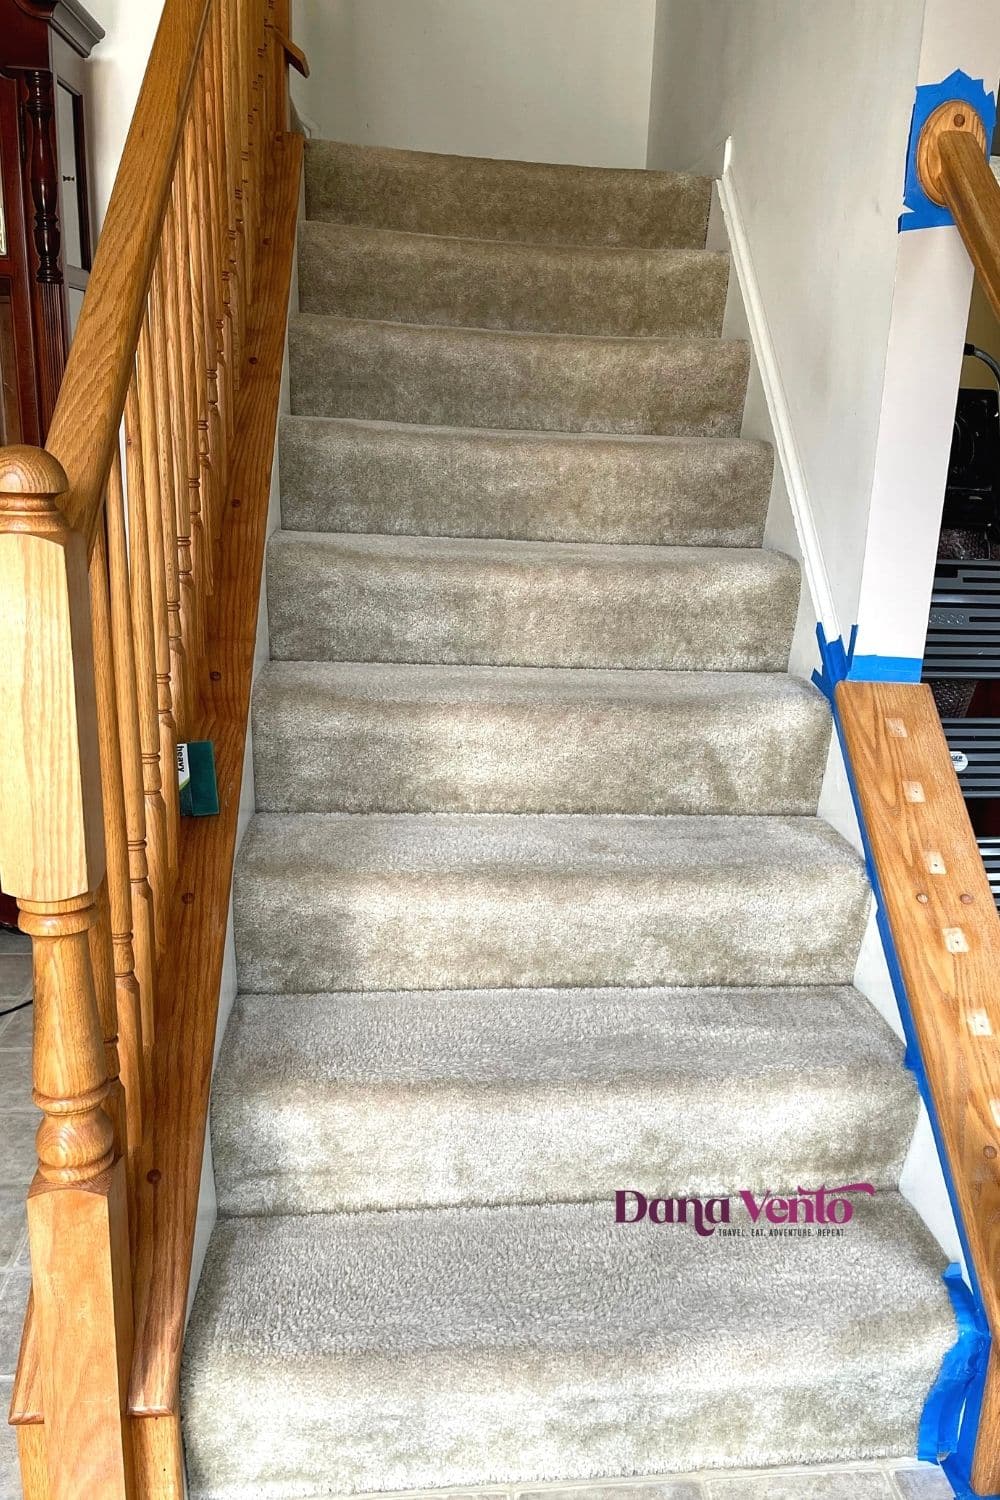
The Reason For The Staircase Remodel
The honey color of the banister and the wood spindle changeup to iron balusters would look so much better in my opinion.
Why? Well, the honey color that you see here was simply not coordinating well with the rest of my home as we moved along through the last few years.
Additionally, I chose a more authentic traditional dining room set that was also darker and upgraded my older piano taking it from dungy to more traditional dark cherry.
The fact that the other rooms all flowed, until you walked into the entrance area of the house left a raw eyesore and it was time to fix that.
I had decorated the surrounding rooms with darker colored leather, dark-framed mirrors, and granite that I loved.
So it’s from wood spindles to iron balusters
An adjustable iron baluster installation made great sense and the after WOWED us, but I am getting ahead of myself so let me jump back into my current story!
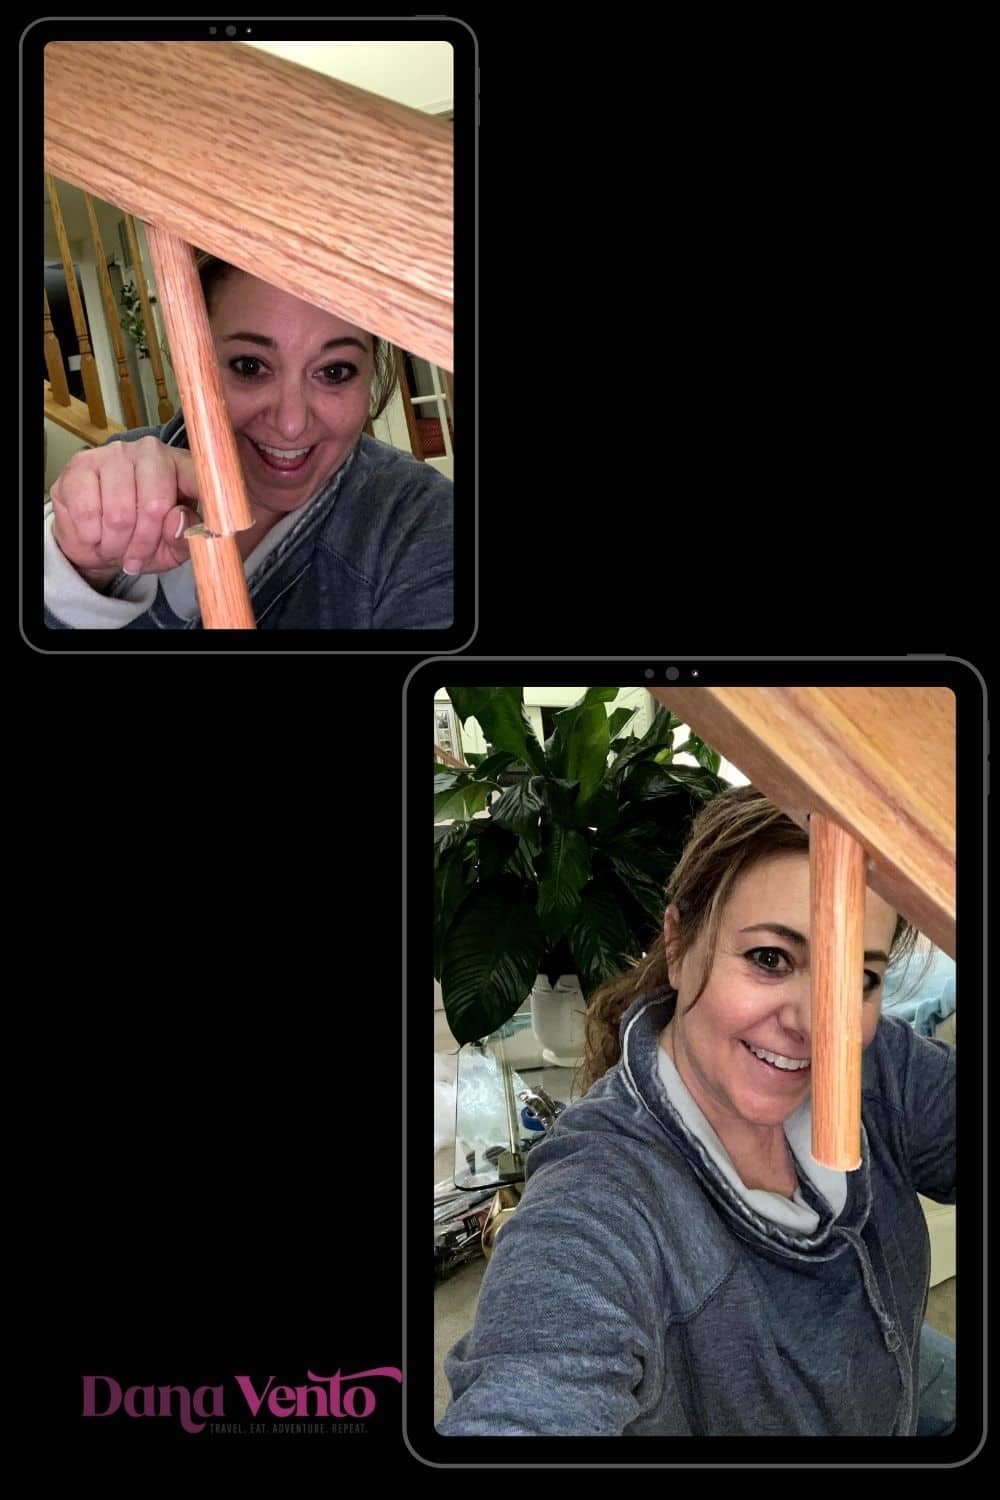
First I had to unassemble the current wooden spindles from the banister.
Yes I was very happy with myself, and I got to cut these off, all 68, one by one, knowing that with each cut I was one step closer to the adjustable iron baluster installation!
I initially worked in sections because I have teens and a cat and I didn’t want any issues.
Then, I decided I just had to get done, as the project was sprawling over a few months.
Instead of working in just small sections, I went ALL IN and snipped each spindle out except I left a few for support in case someone used the unfinished sections of the banisters to travel down the staircase.
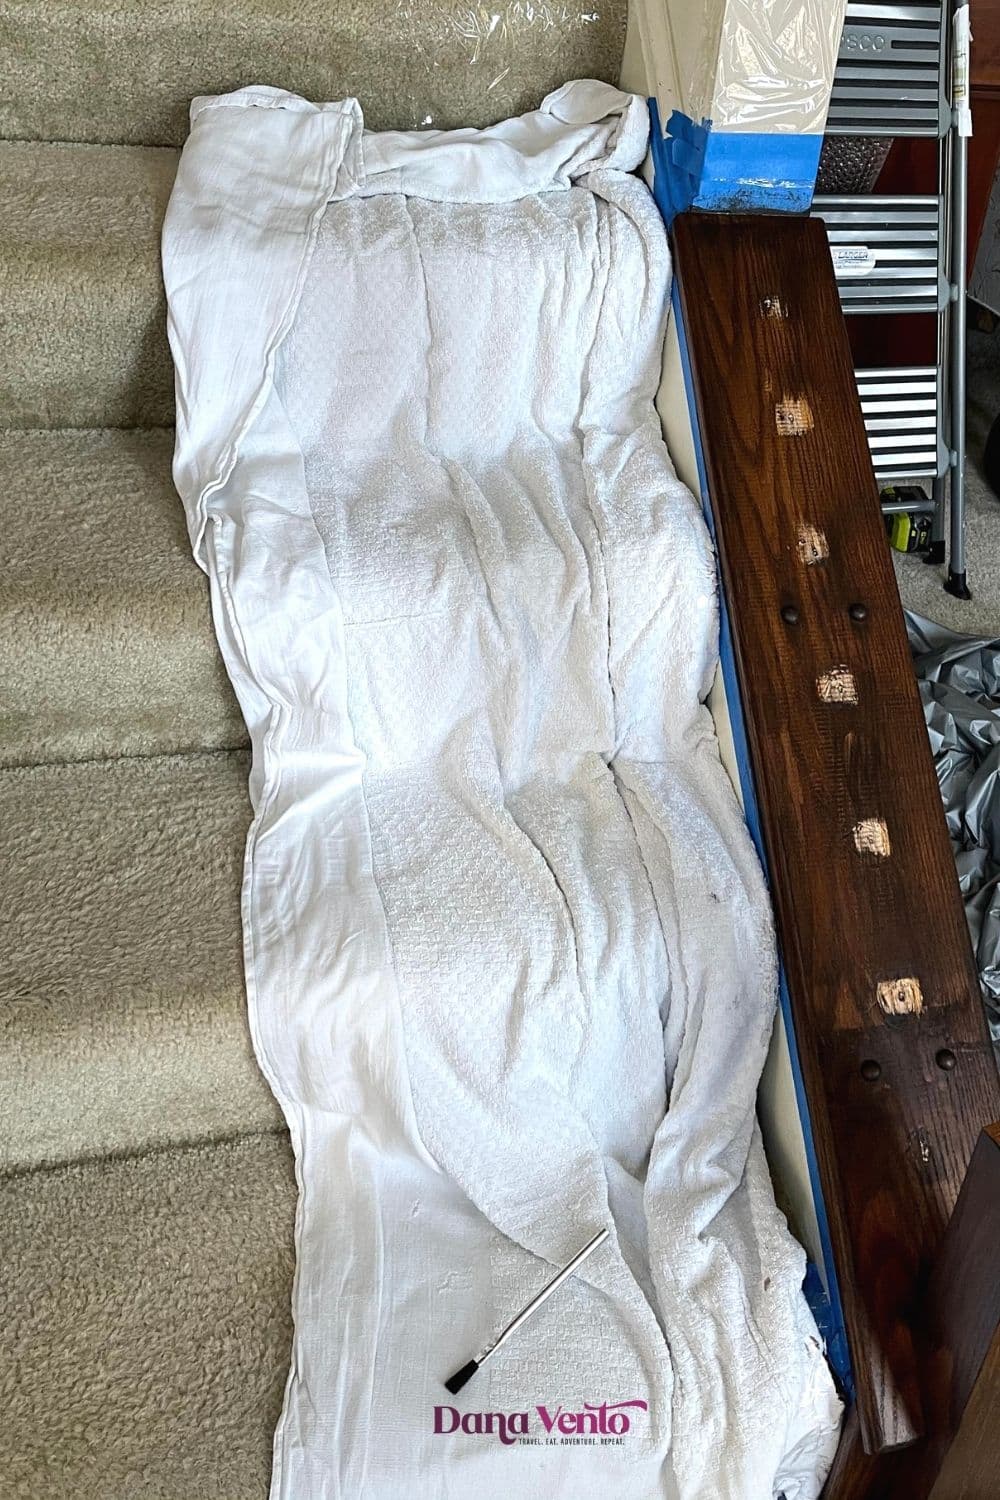
Staining the Banister was its own project and definitely is something to complete before doing an adjustable iron baluster installation or you change getting gel stain on the new iron balusters!
You can read my entire journey of staining before and after in my other post HERE!
To answer a few questions on this before you check that post out on my staircase remodel
Yes, I would stain it again, it was a pleasure seeing the before and after results
In fact, I would use the same gel stain brand because it is durable and easy to work with.
What I might change are a few methods but that is neither here nor there my banister is done and the transformation before and after is stunning IMO.
The Balusters + what we ordered
I chose both twists and twists with baskets to change from the wooden ugly spindles.
The durability and classic look of cast iron surpasses the mellow look of wooden spindles and adds oomph and the WOW factor I was going after.
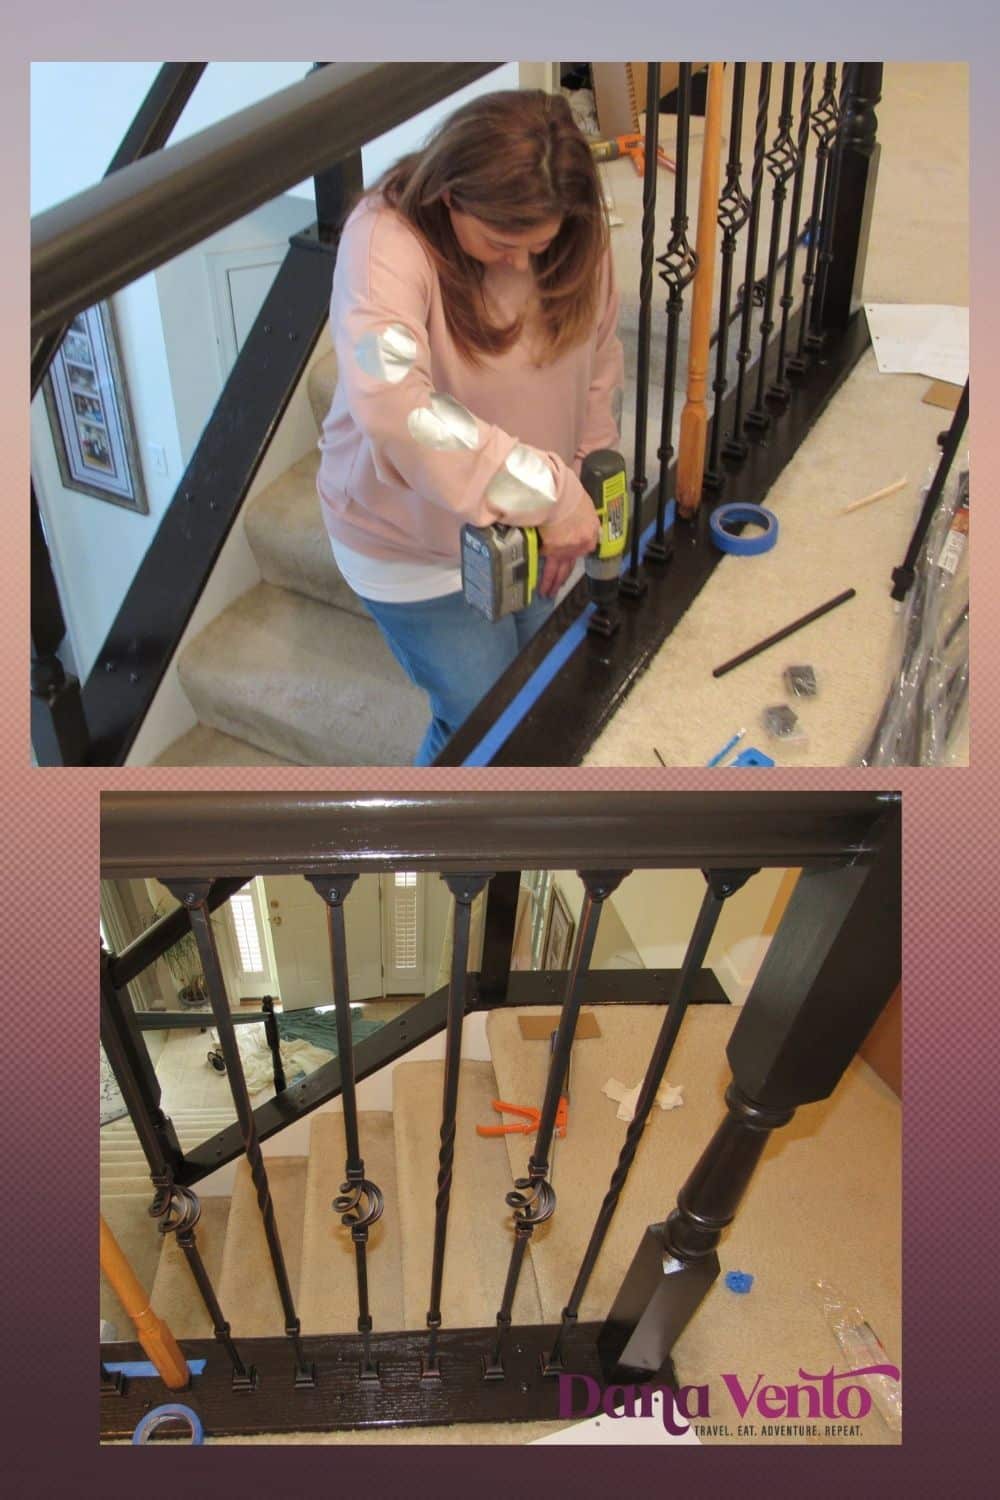
- 15 Ole Iron Slides 1/2″ Square x 29 1/2″ =38″h – single twist adjustable iron baluster oil-rubbed bronze
- 15 Ole Iron Slides 1/2″ Square x 29 1/2″ =38″h single basket adjustable iron blasuter (ISBAS) oil rubbed copper
- 20 Knee wall series Ole Iron Slides – 1/2″ Square x 26 1/2″-32″H single twist adjustable iron balusters (KW-ISTW) oil rubbed copper
- 18 Knee wall series Ole Iron Slides 1/2″ Square x 26 1/2″-32″H Single basket adjustable iron baluster (ISBAS-KW) oil rubbed copper
The Difference Between Knee wall and straight areas & more
Based on our order above, you will note that we had 2 different knee walls to work with and then 2 straight areas.
You will also notice in our order that we alternated the pattern between single basket adjustable iron balusters and single twist adjustable iron balusters to create a pattern.
Do note that you don’t have to order different designs, you can order all Single twist adjustable iron balusters or all Single basket adjustable iron balusters.
Additionally, I chose a color in mine and there are different color options.
You’ll note above that I picked oil-rubbed bronze and oil-rubbed copper, which tied into the colors.
Order Right based on your staircase build: adjustable iron baluster installation
When ordering the ‘ole iron slides’ you need to make sure you order the right adjustable iron balusters.
This means that if you have a knee wall, you will need the adjustable bottom and tops for the iron balusters, so you need to order the Knee wall series as listed above, just like we did. The adjustable bases and feet do come with them.
Conversely, the non-knee wall series do not come with the adjustable foot and top.
However, the height is adjustable on both the Old Iron Slides Straight and the Oknee wall series.
Do note that some of our iron balusters were 1/2″ Square x 29 1/2″ =38″h, whereas some were 1/2″ Square x 26 1/2″-32″H.
So you have ‘play’ to adjust how high or low you need to go in your baluster runs.
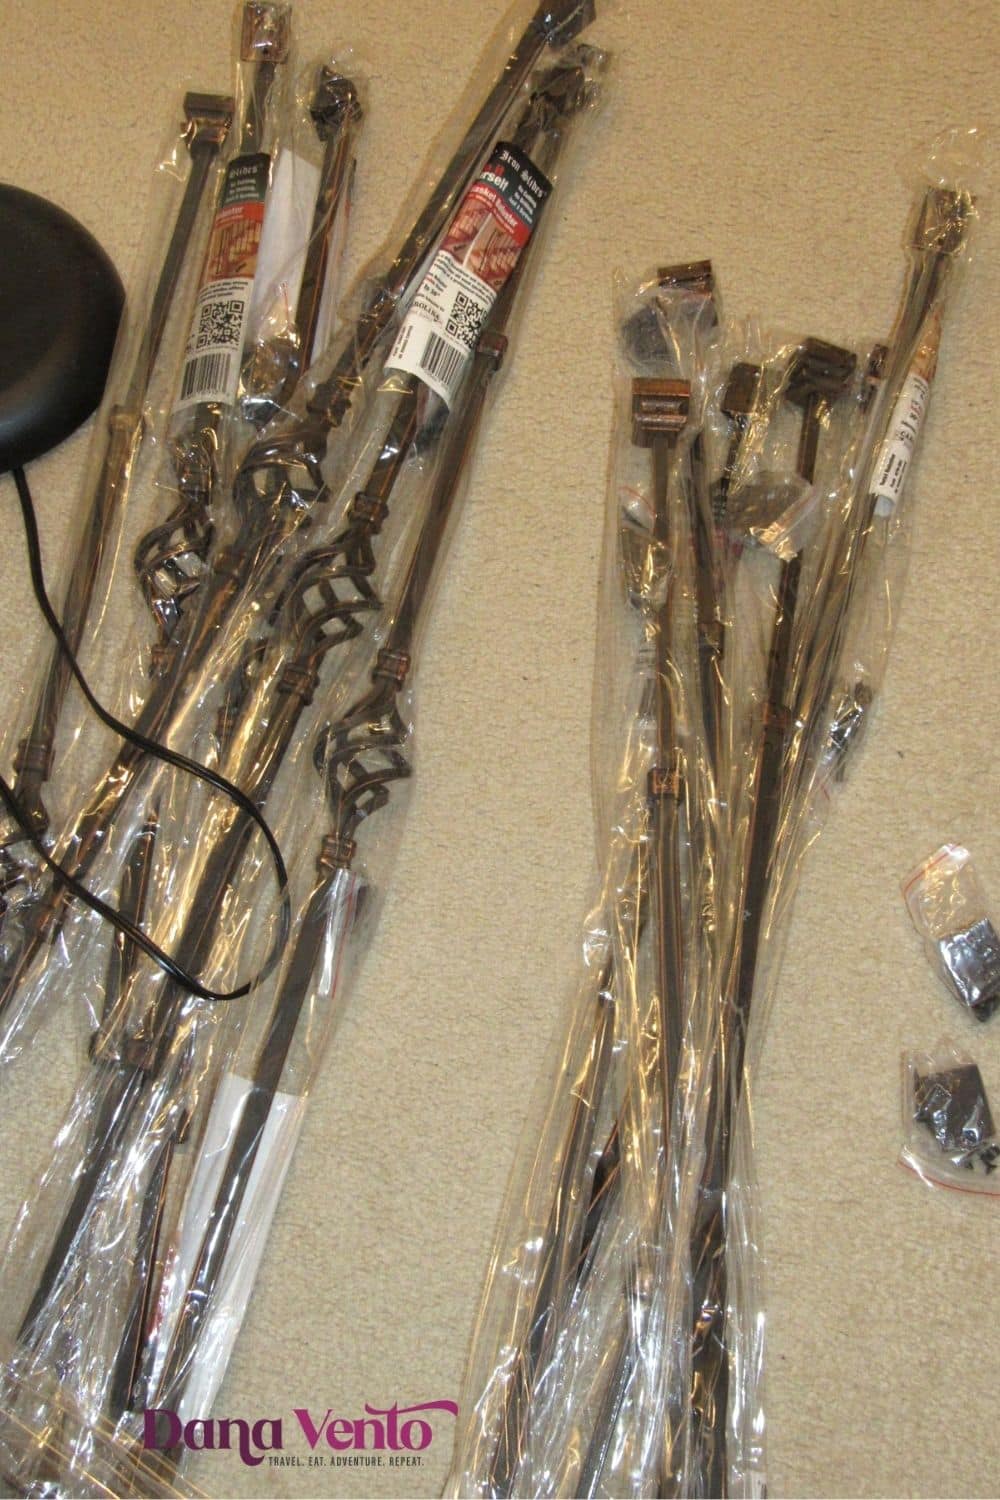
Yes, I did install a row at a time, as time allowed, as I work my full-time job, and was shuffling my one son to ice hockey games.
To Install: Tools You Will Need
Level
A drill
Tape measure
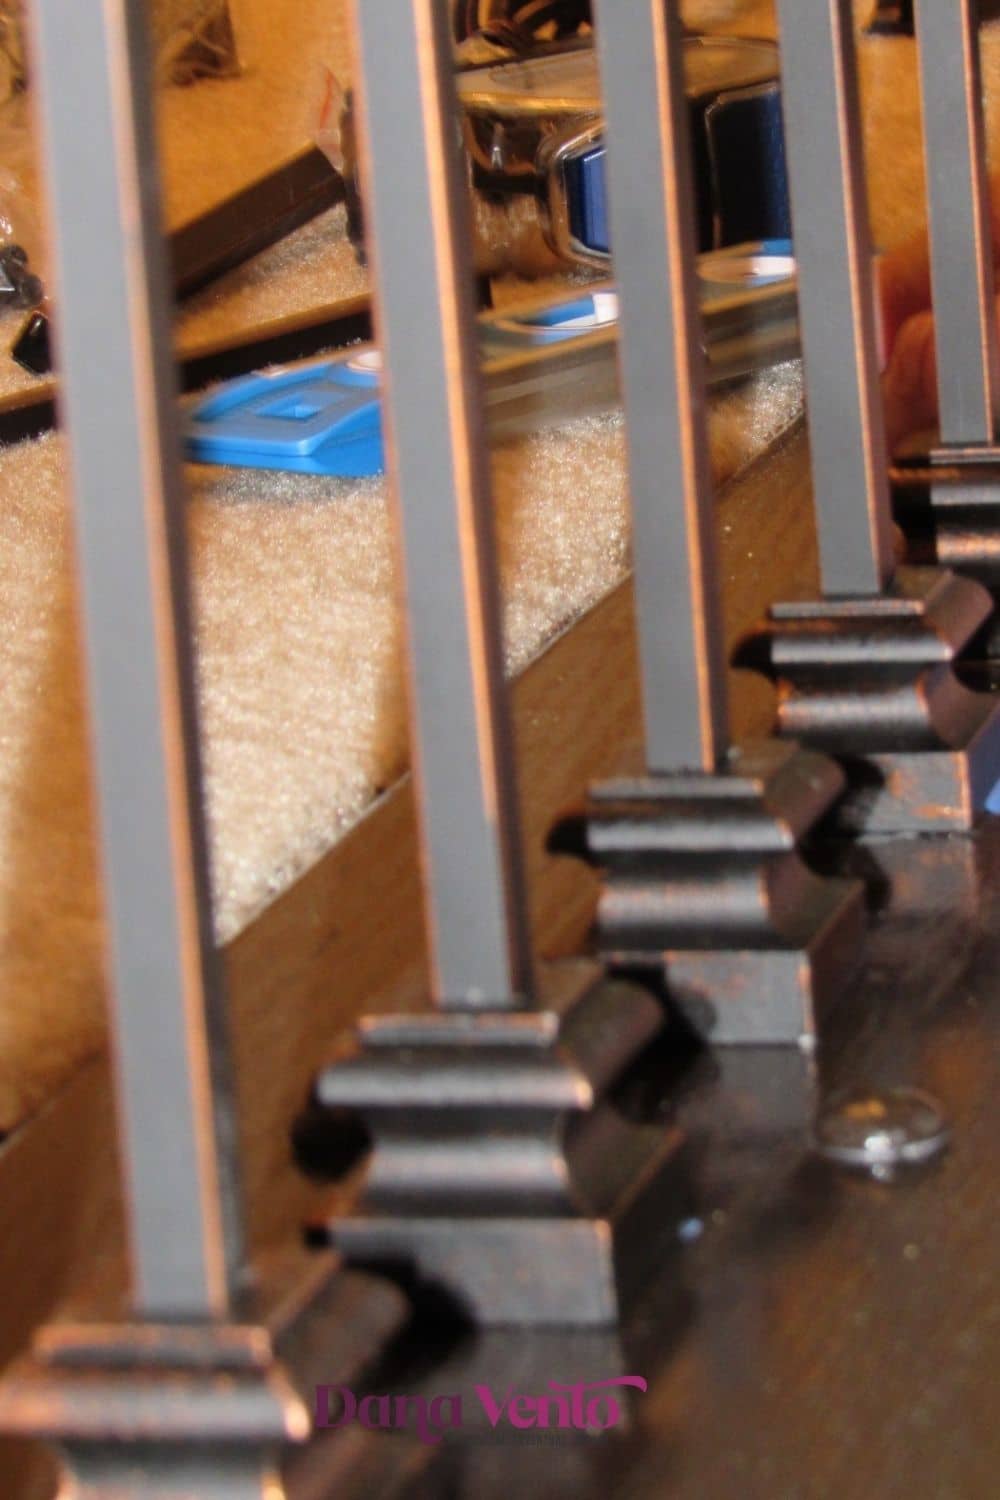
Plus you will need a block of time to work through each section.
‘Blue tape
Pencil
Allen wrench (supplied with the adjustable baluster)
Pliers (to pull out the old nails from the wood spindles)
Hand saw (to cut out old wood spindles)
Were there challenges installing the balusters?
Honestly, I didn’t meet any resistance when installing and truly no issues,
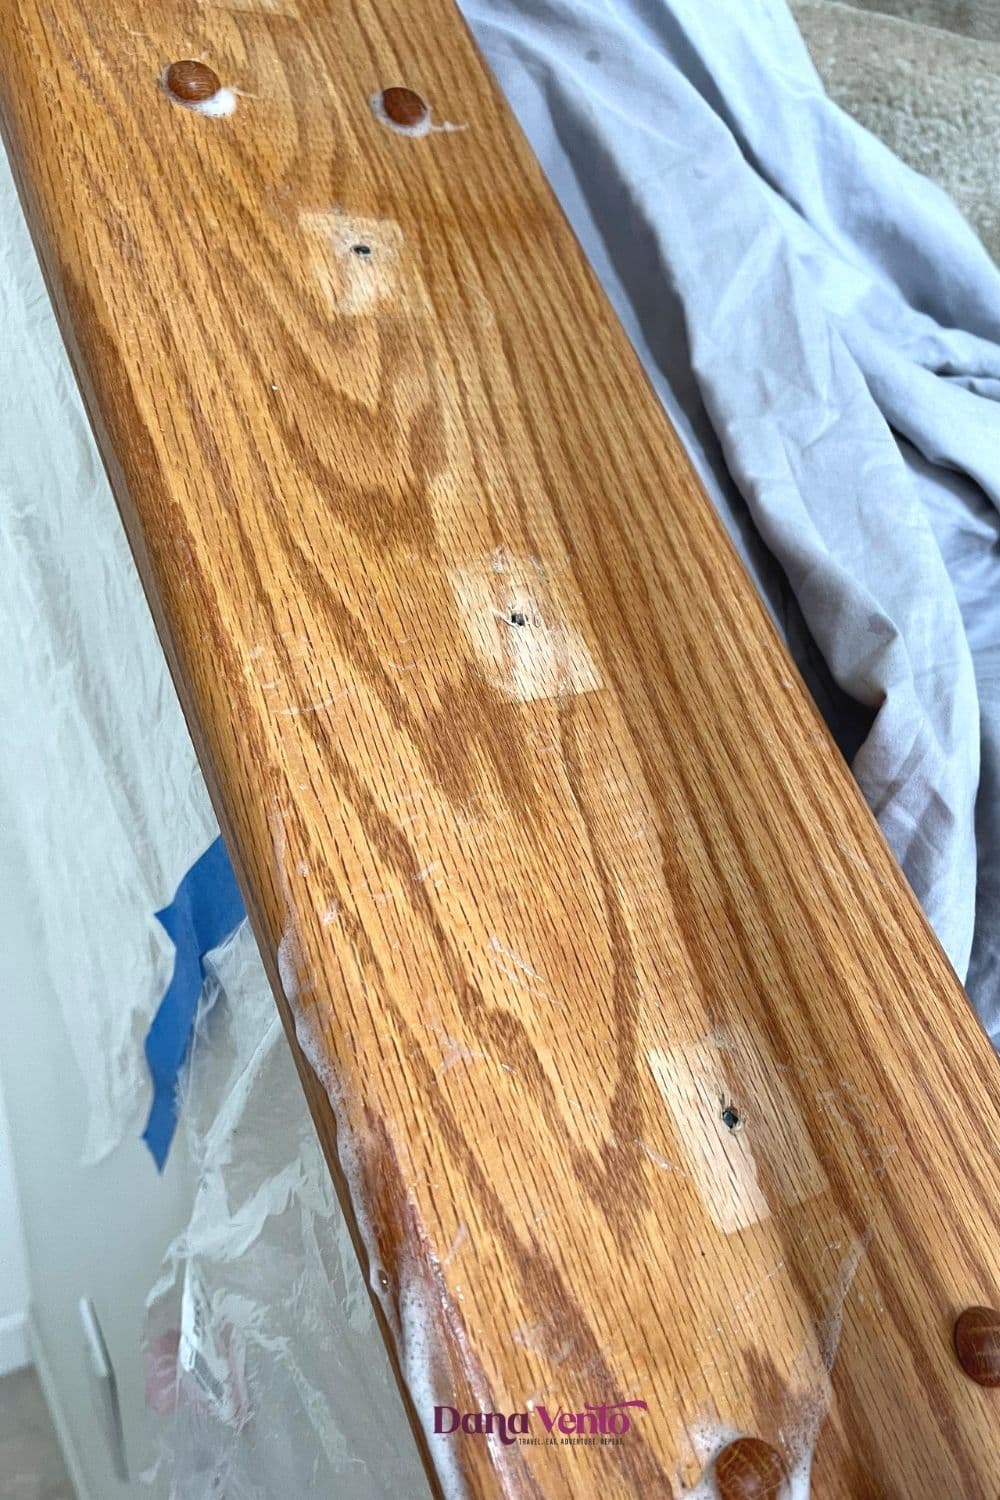
The thing you have to do is make certain to leave that area rough when gel staining or stain around the former wooden spindle area.
Other than that is a basic take most of the old spindles you have out, leaving a few in for support, and then replace them after you have finished staining if you are staining.
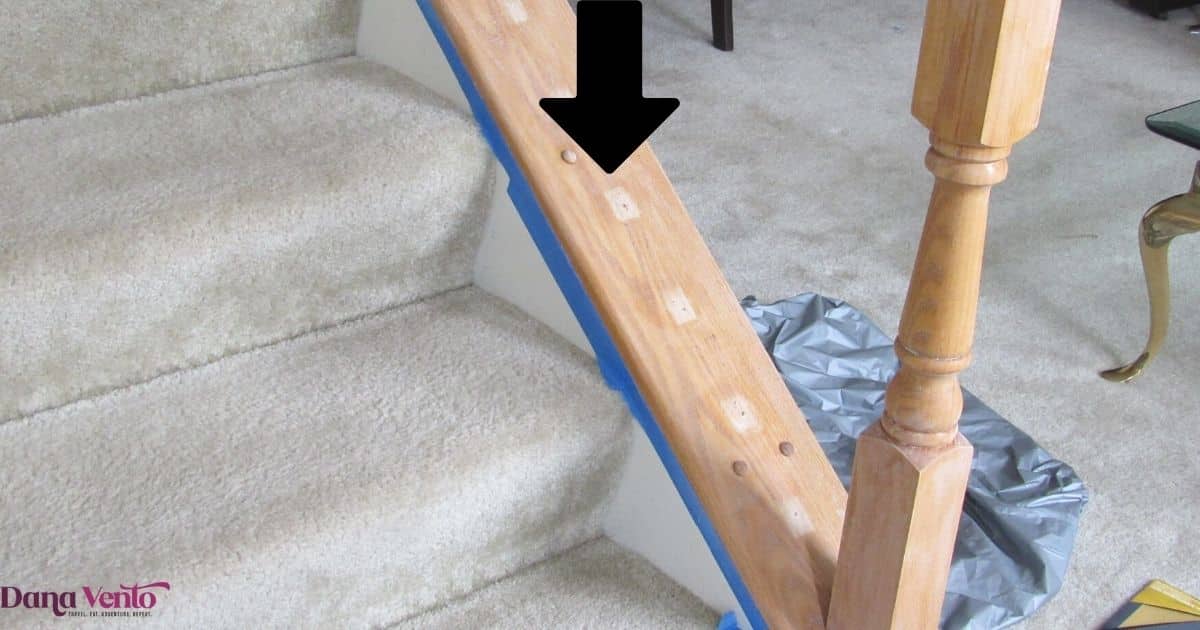
The reason to leave the area where the old spindles were attached is to keep the new installation on center with ease, rather than having to realign and figure it out.
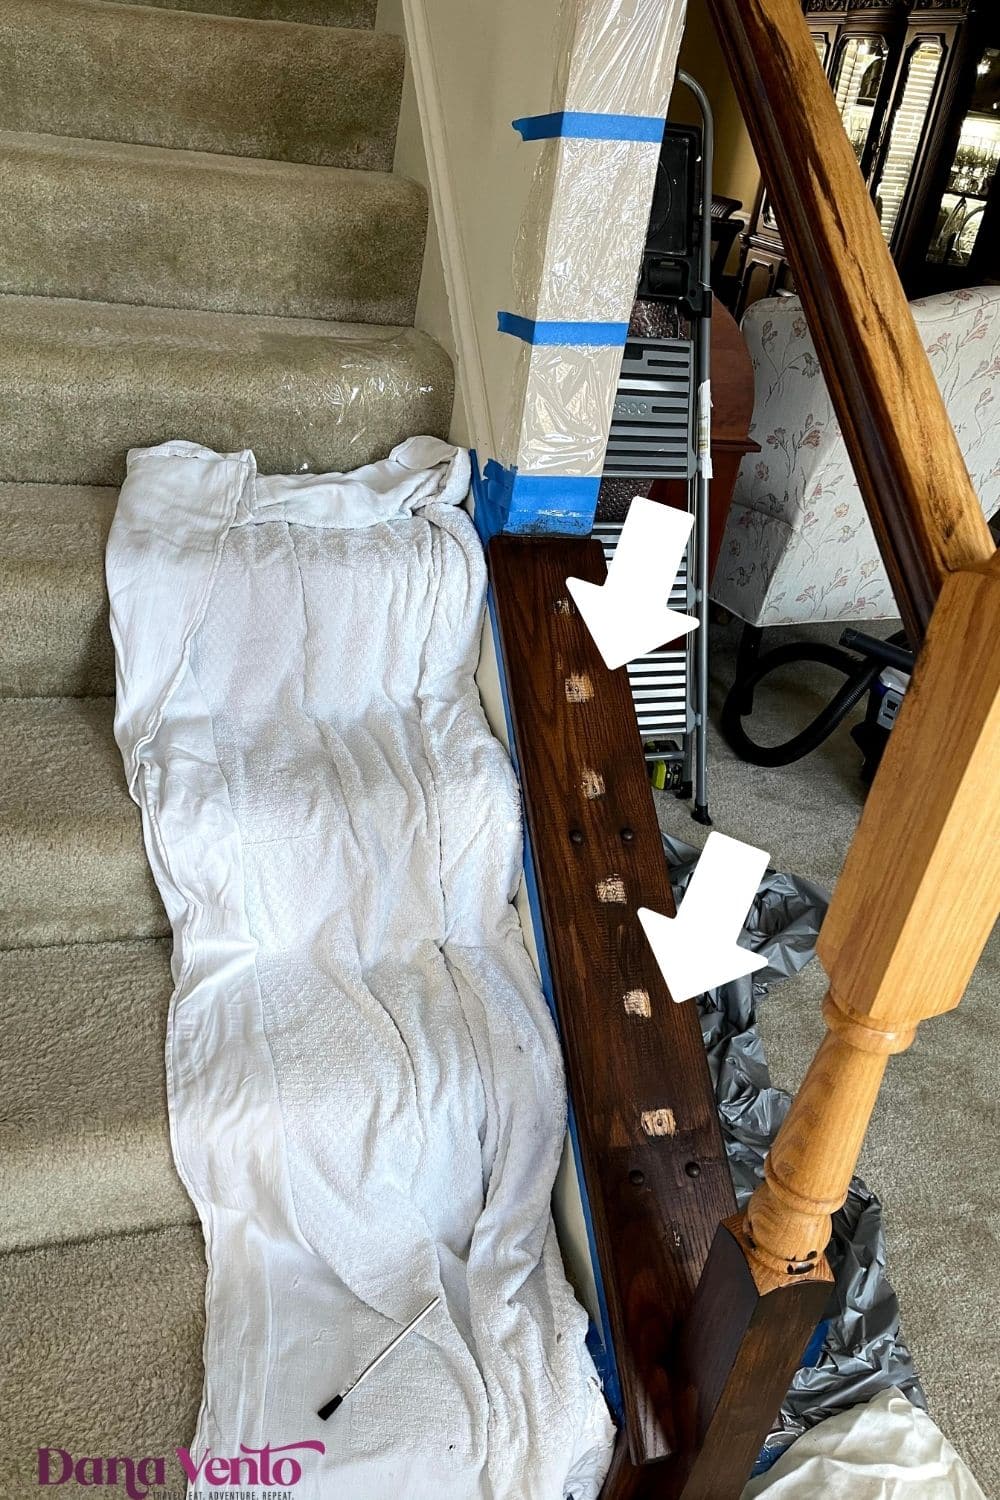
In other words, the old spindles were the blueprint for the new adjustable iron baluster installation!
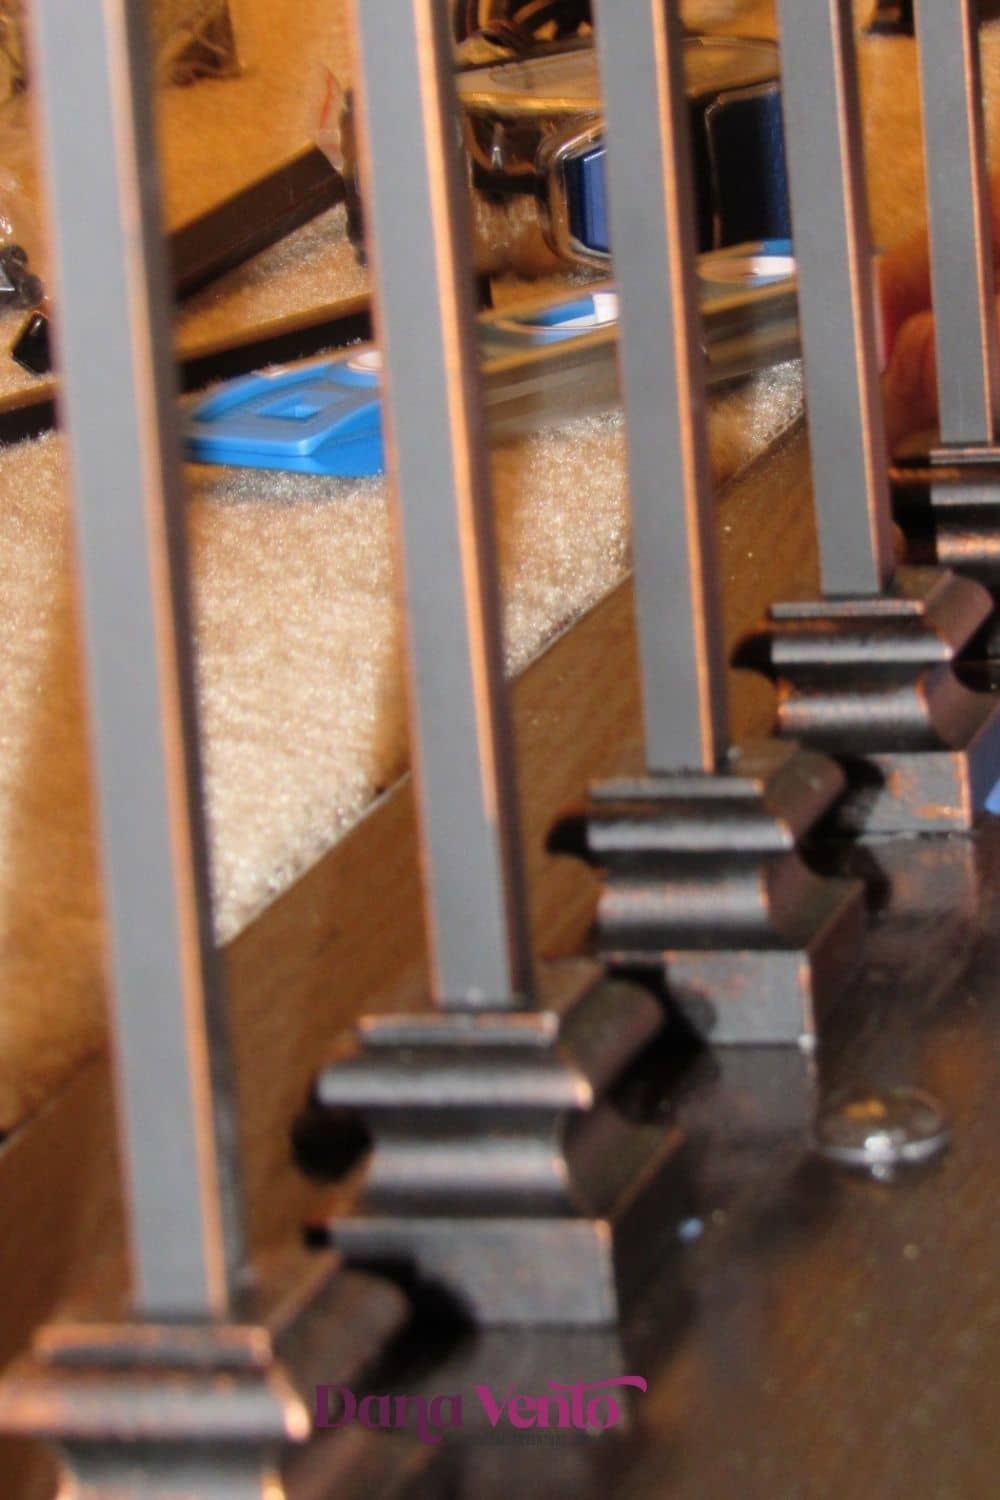
Tips For Installation
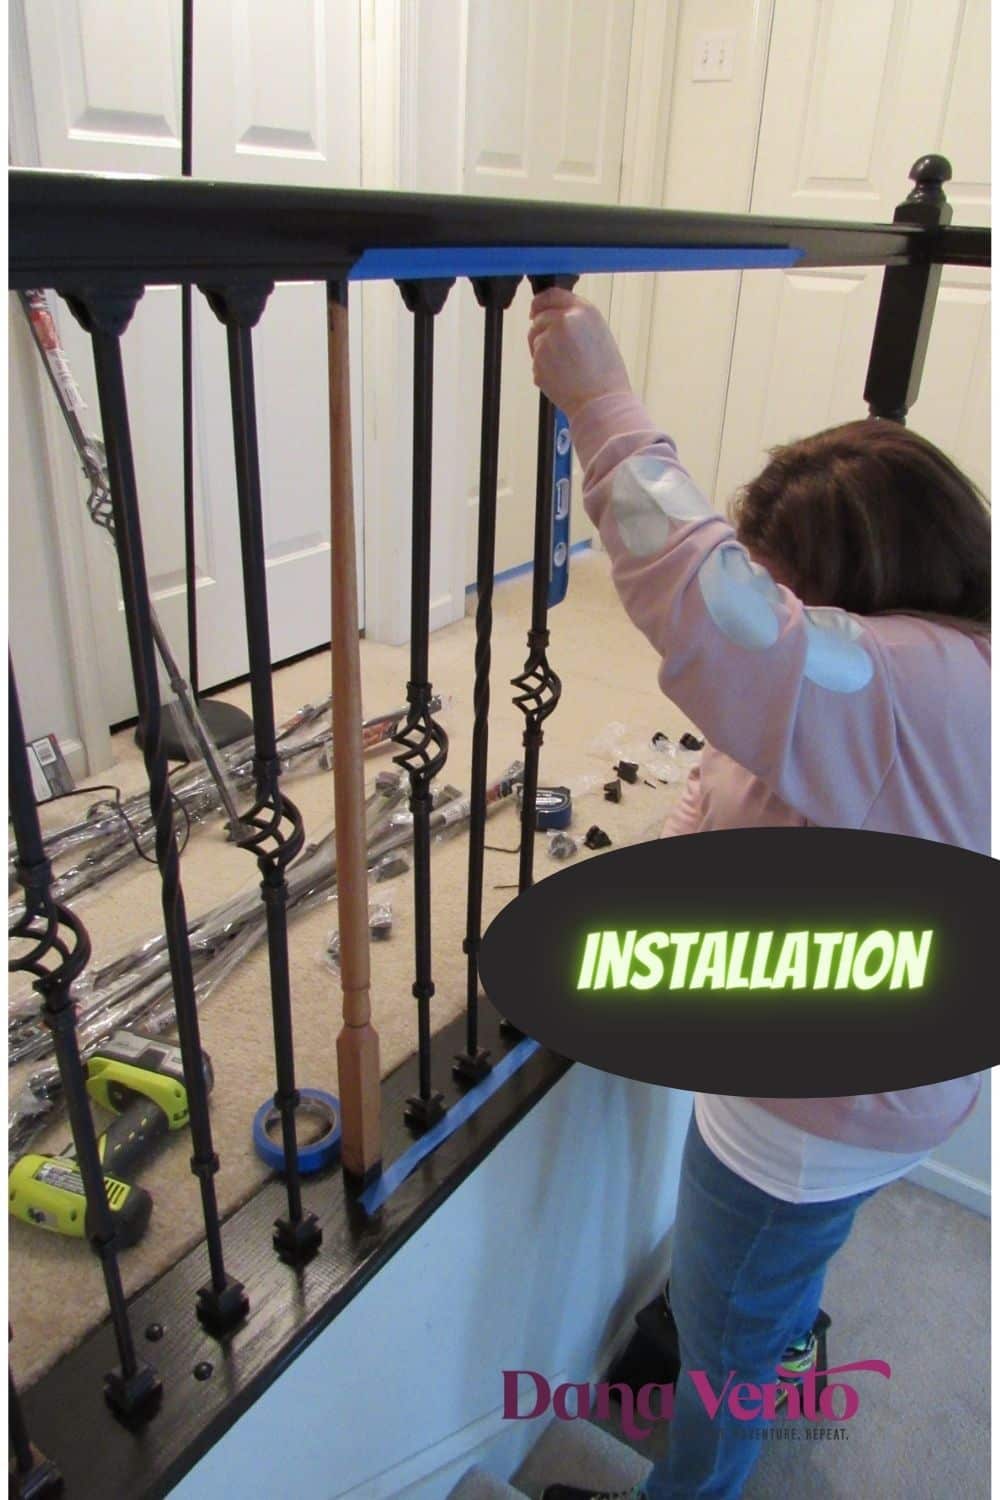
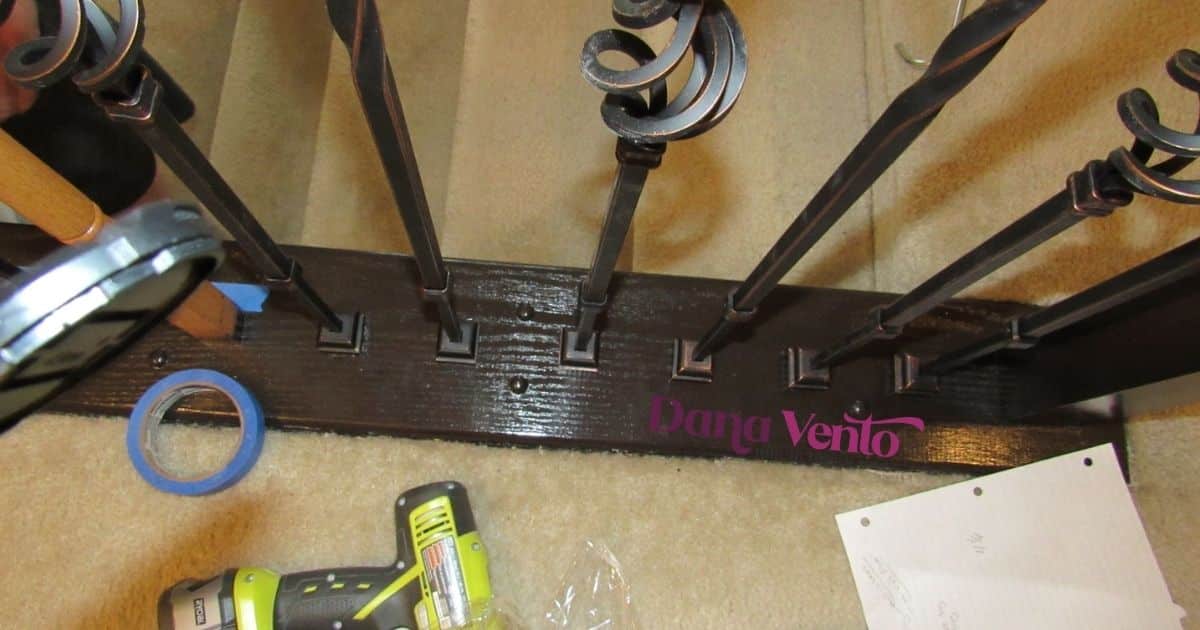
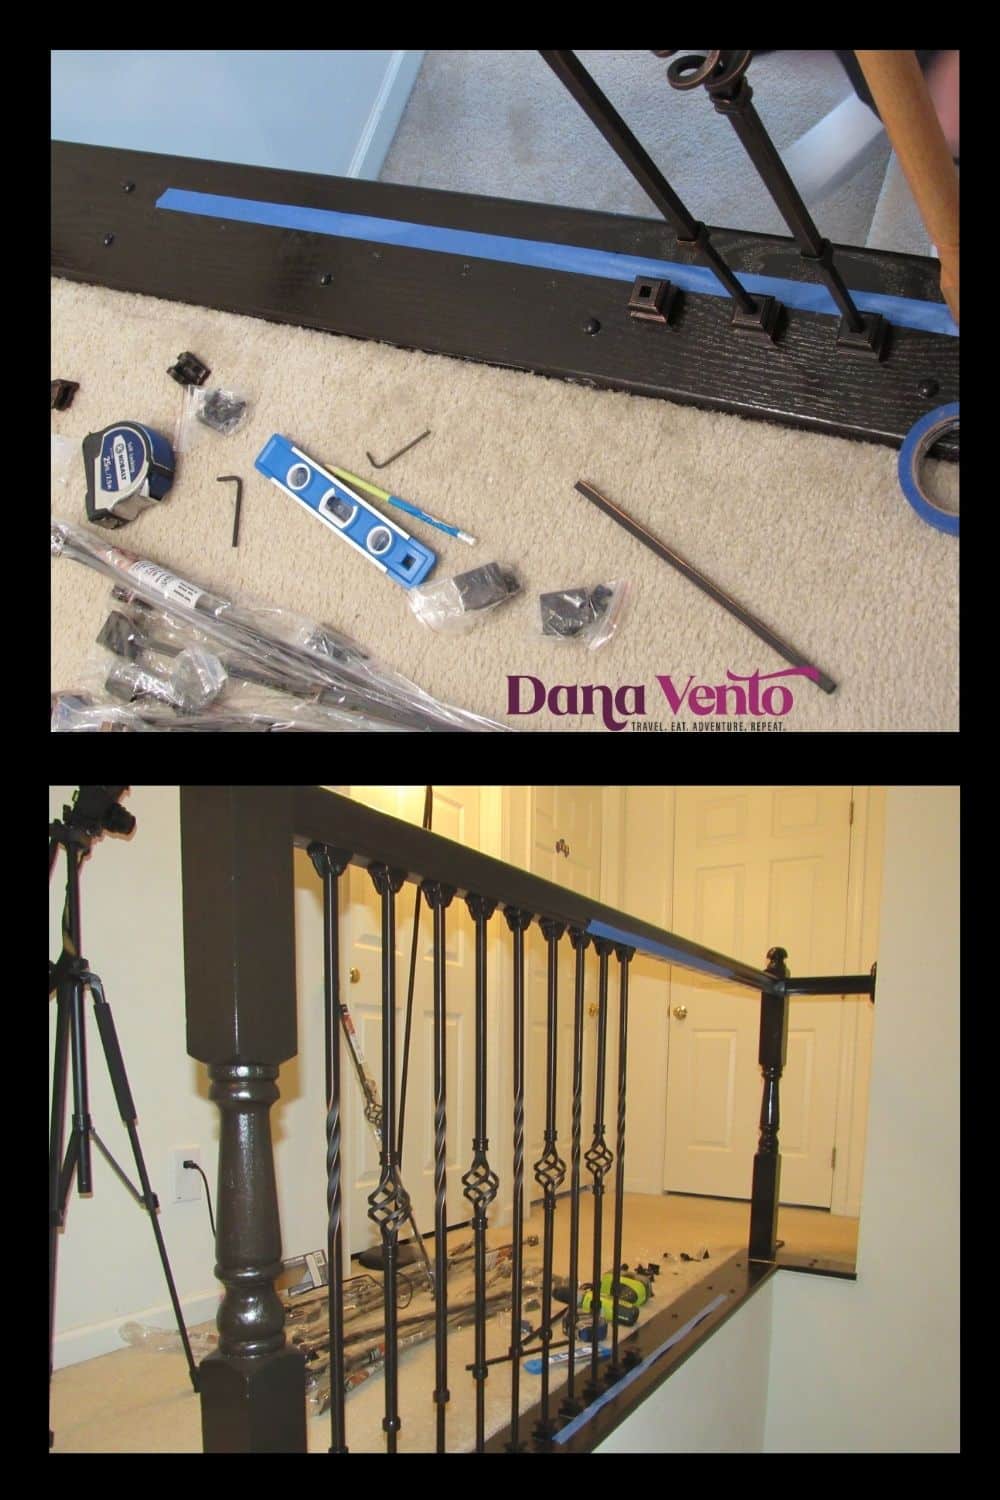
First, to get the right spacing from baluster to baluster, you can see we lined the area with blue tape.
These are the foot base installed on the flat run. This is not on a knee wall.
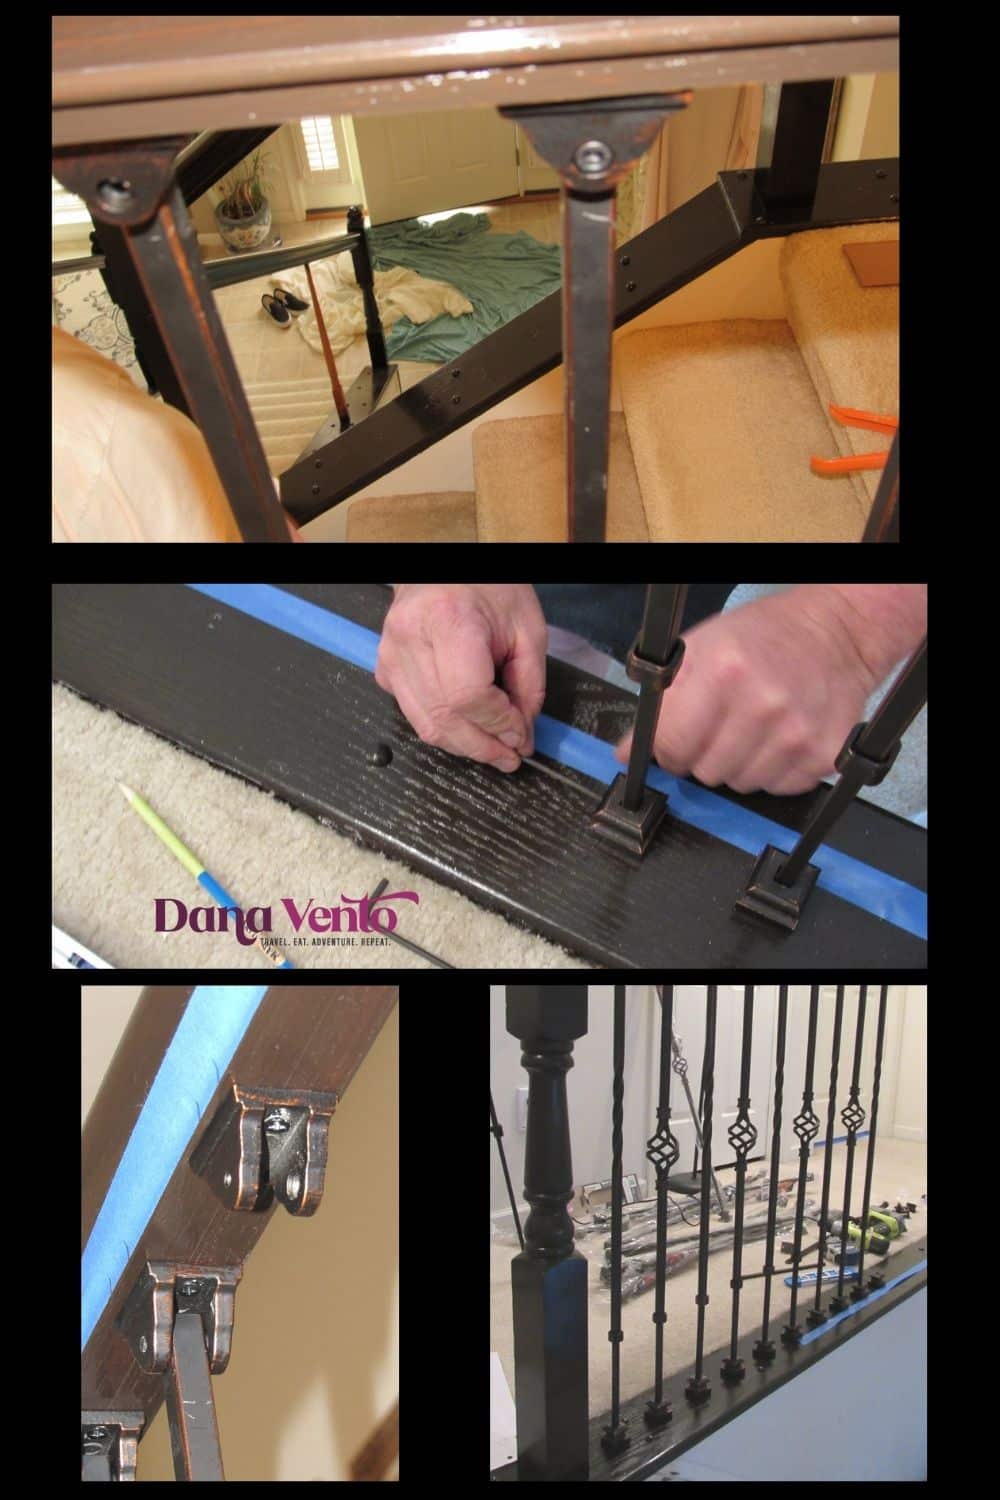
When working on a straight run on a staircase remodel
On this straight run, we are using the following:
- 15 Ole Iron Slides 1/2″ Square x 29 1/2″ =38″h – single twist adjustable iron baluster oil-rubbed bronze
- 15 Ole Iron Slides 1/2″ Square x 29 1/2″ =38″h single basket adjustable iron blasuter (ISBAS) oil rubbed copper
Again, we alternated a single twist with the single basket iron baluster.
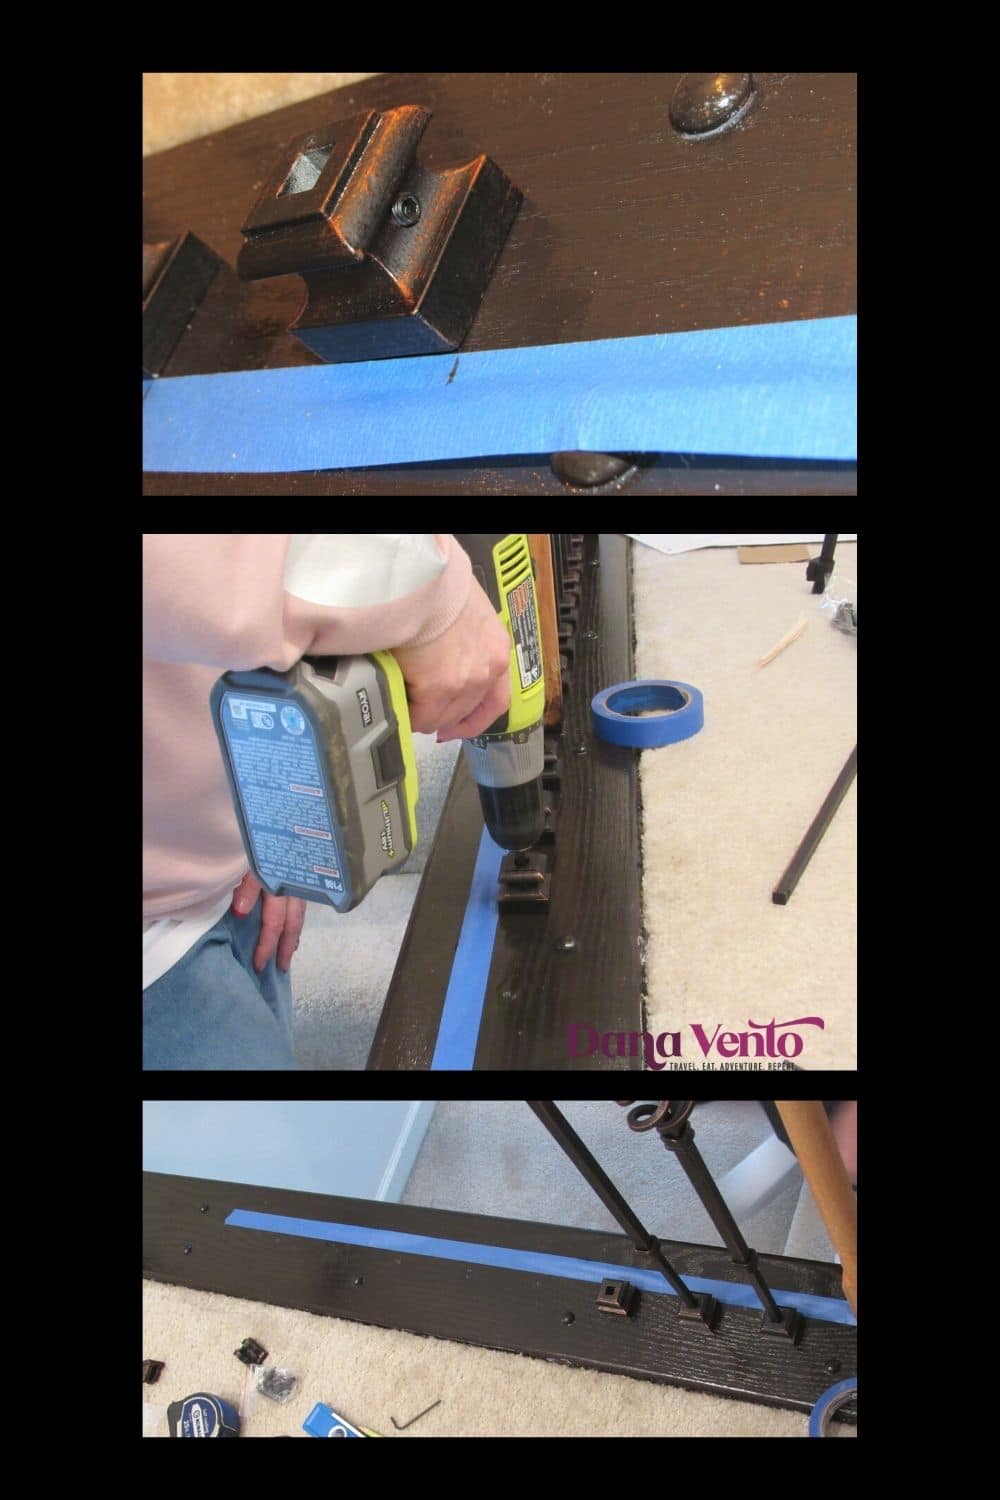
This was a way to make sure we didn’t lift the stain, and to make pencil marks where to attach the adjustable iron baluster feet (both knee wall and straight runs).
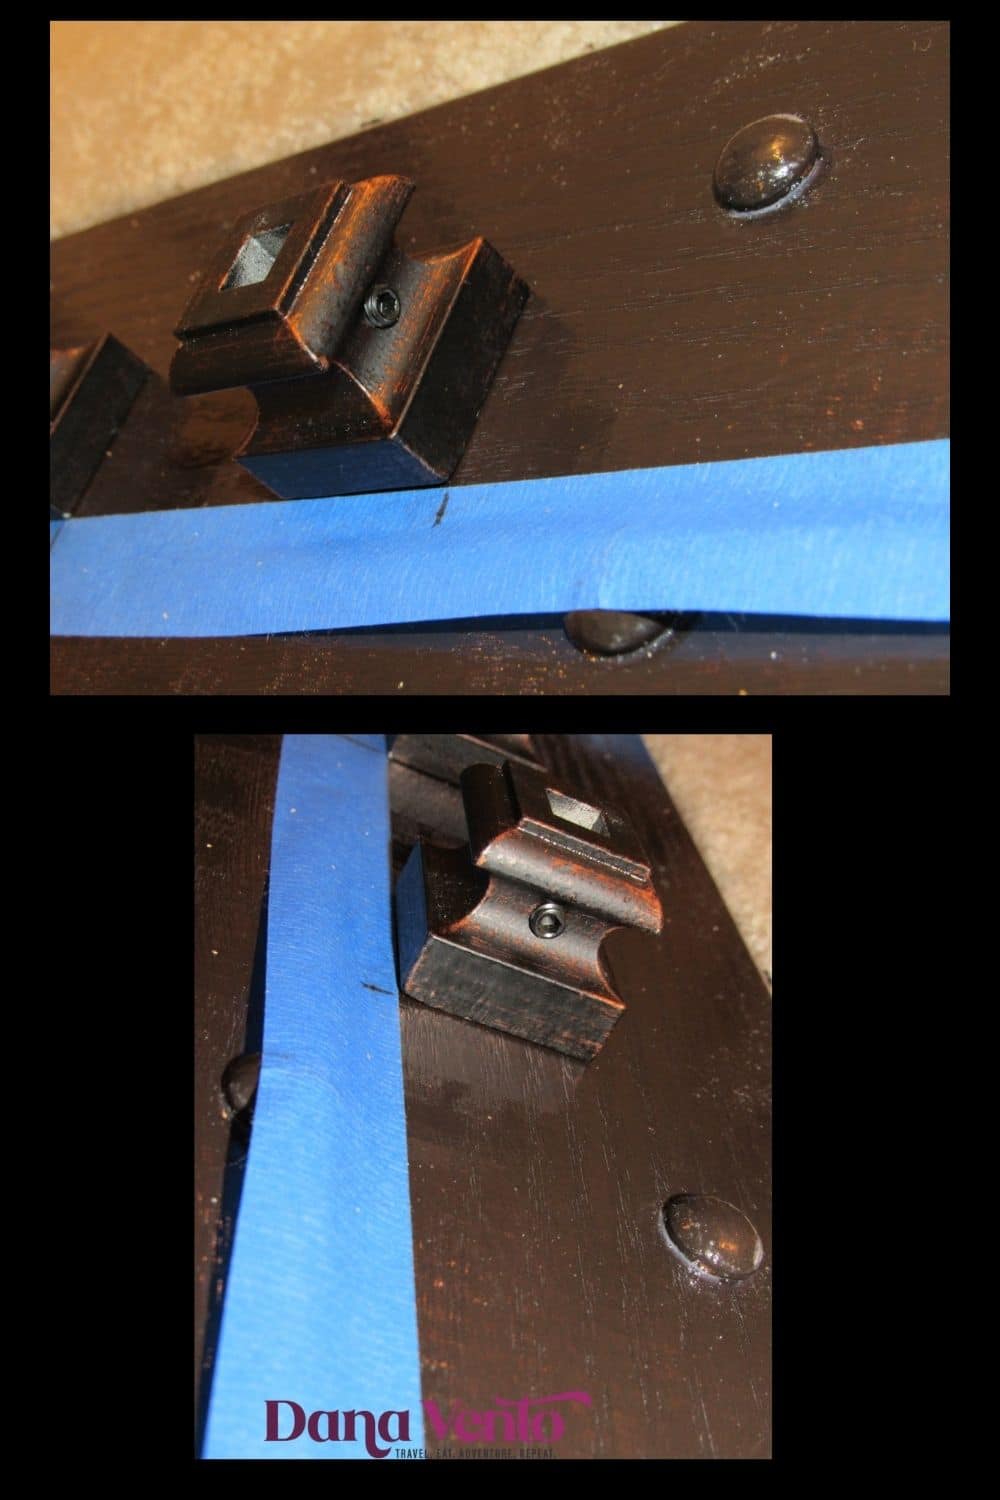
The blue tape also assured me(us) that we kept each adjustable iron baluster line straight.
The Knee Walls – the slanted runs that your spindles are on
Below you can see our knee walls, while I was in the process of turning the banister from honey to gel stain.
Just so you get an idea of the slant, in case you are not familiar with the terminology.
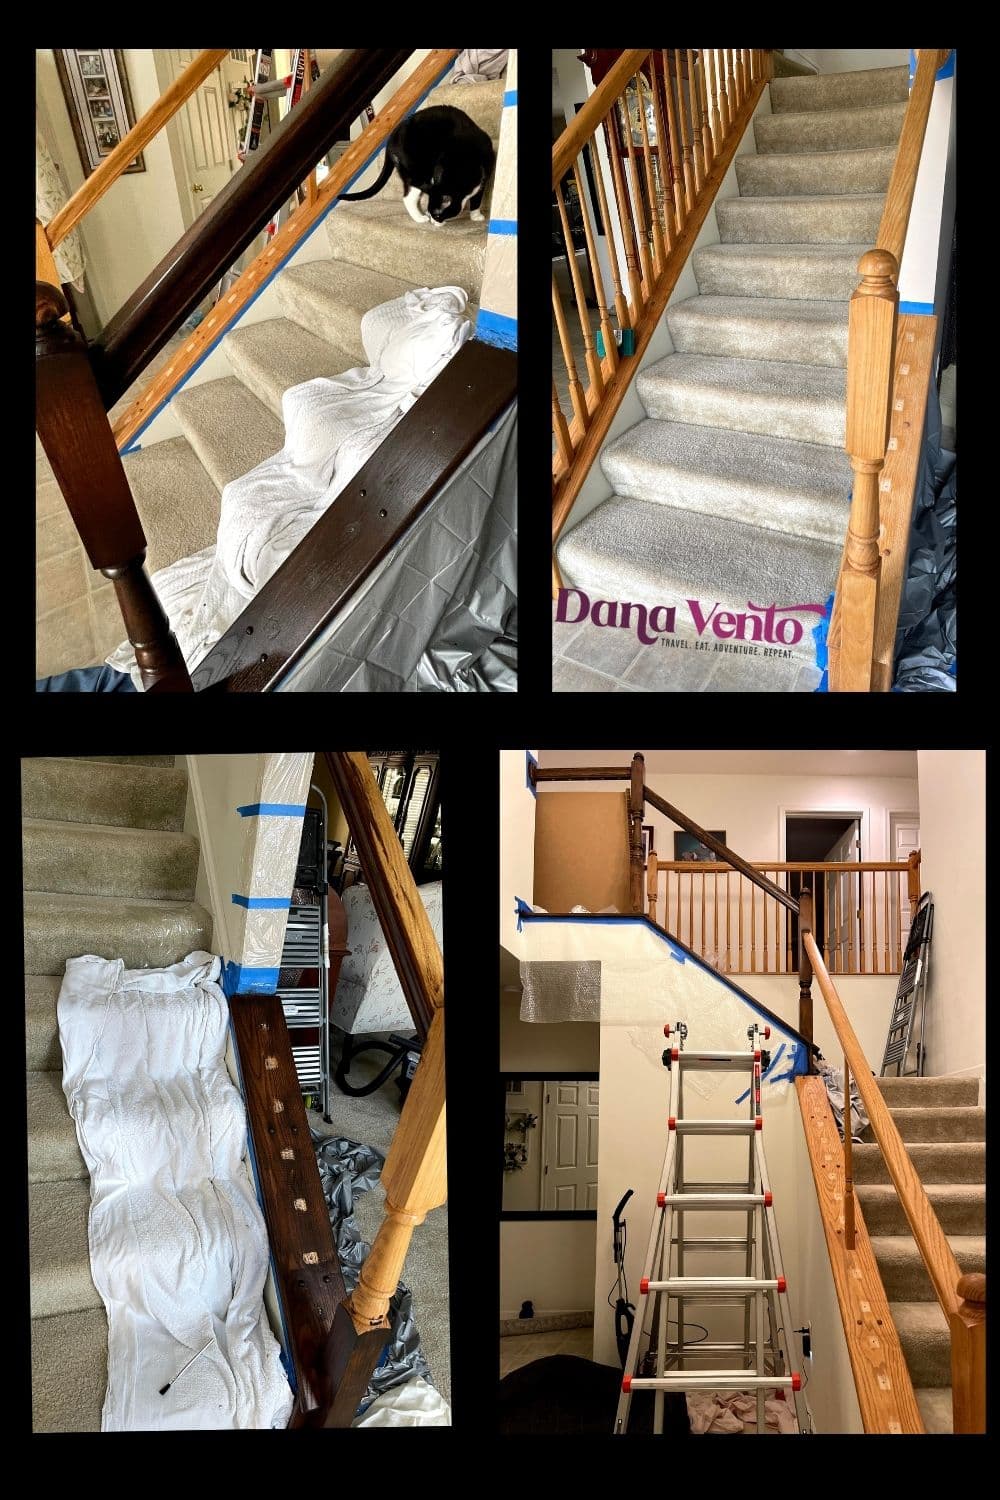
As previously mentioned we had 2 knee walls and on these knee walls, we used the Knee Wall Ole Iron Slides.
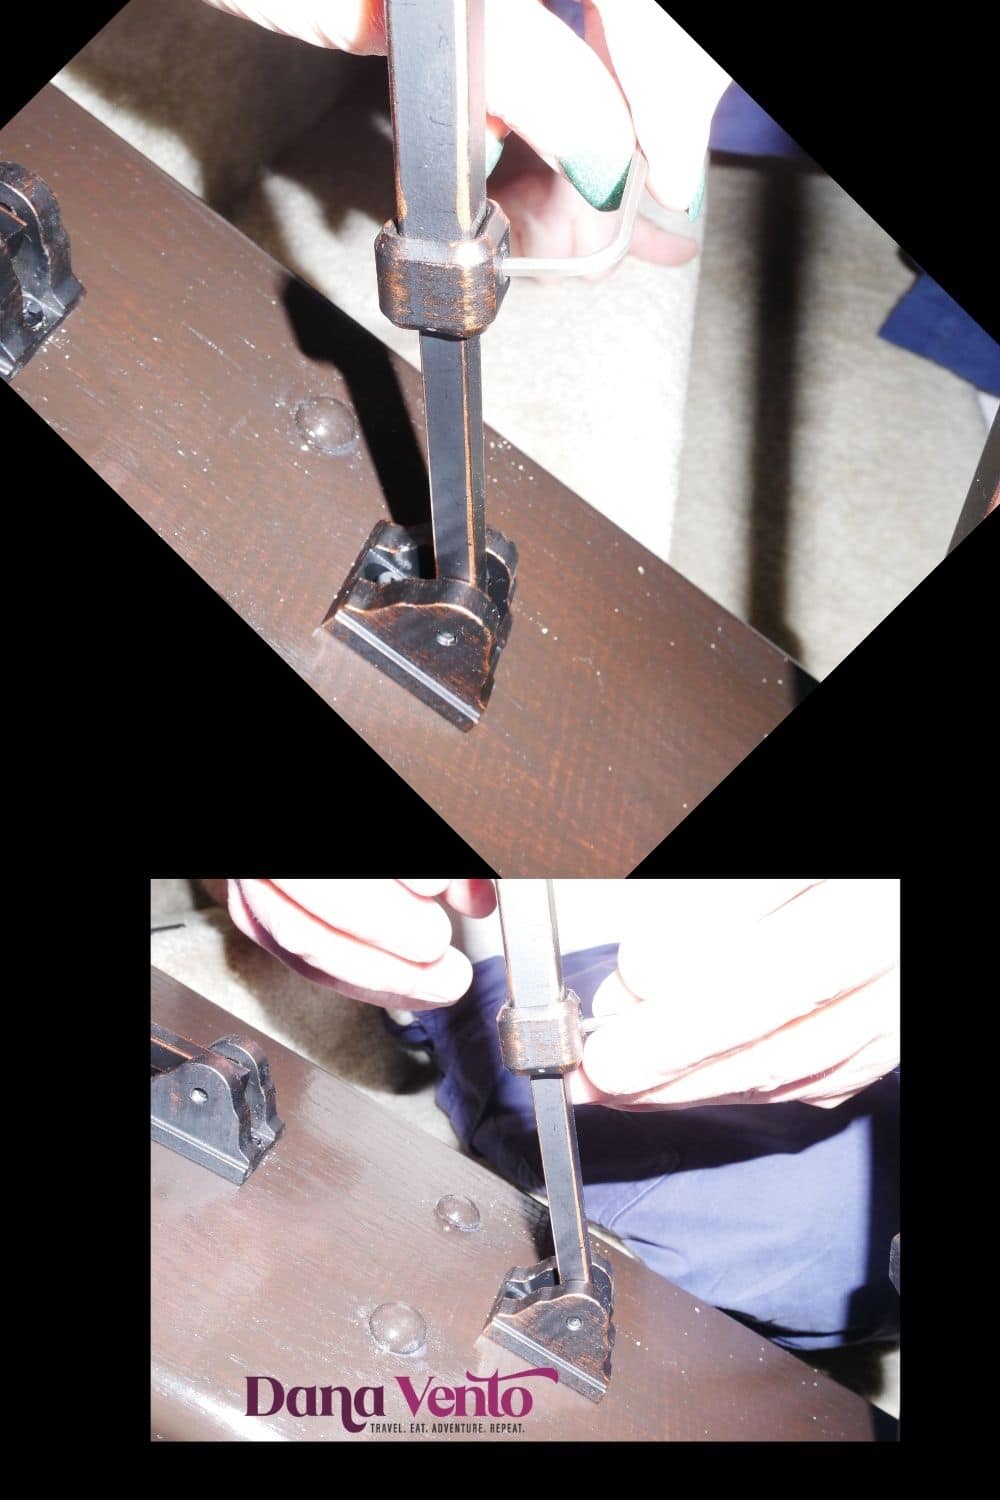
These are the balusters we used on our knee walls
- 20 Knee wall series Ole Iron Slides – 1/2″ Square x 26 1/2″-32″H single twist adjustable iron balusters (KW-ISTW) oil rubbed copper (you can see the copper color in them in the photo!)
- 18 Knee wall series Ole Iron Slides 1/2″ Square x 26 1/2″-32″H Single basket adjustable iron baluster (ISBAS-KW) oil rubbed copper
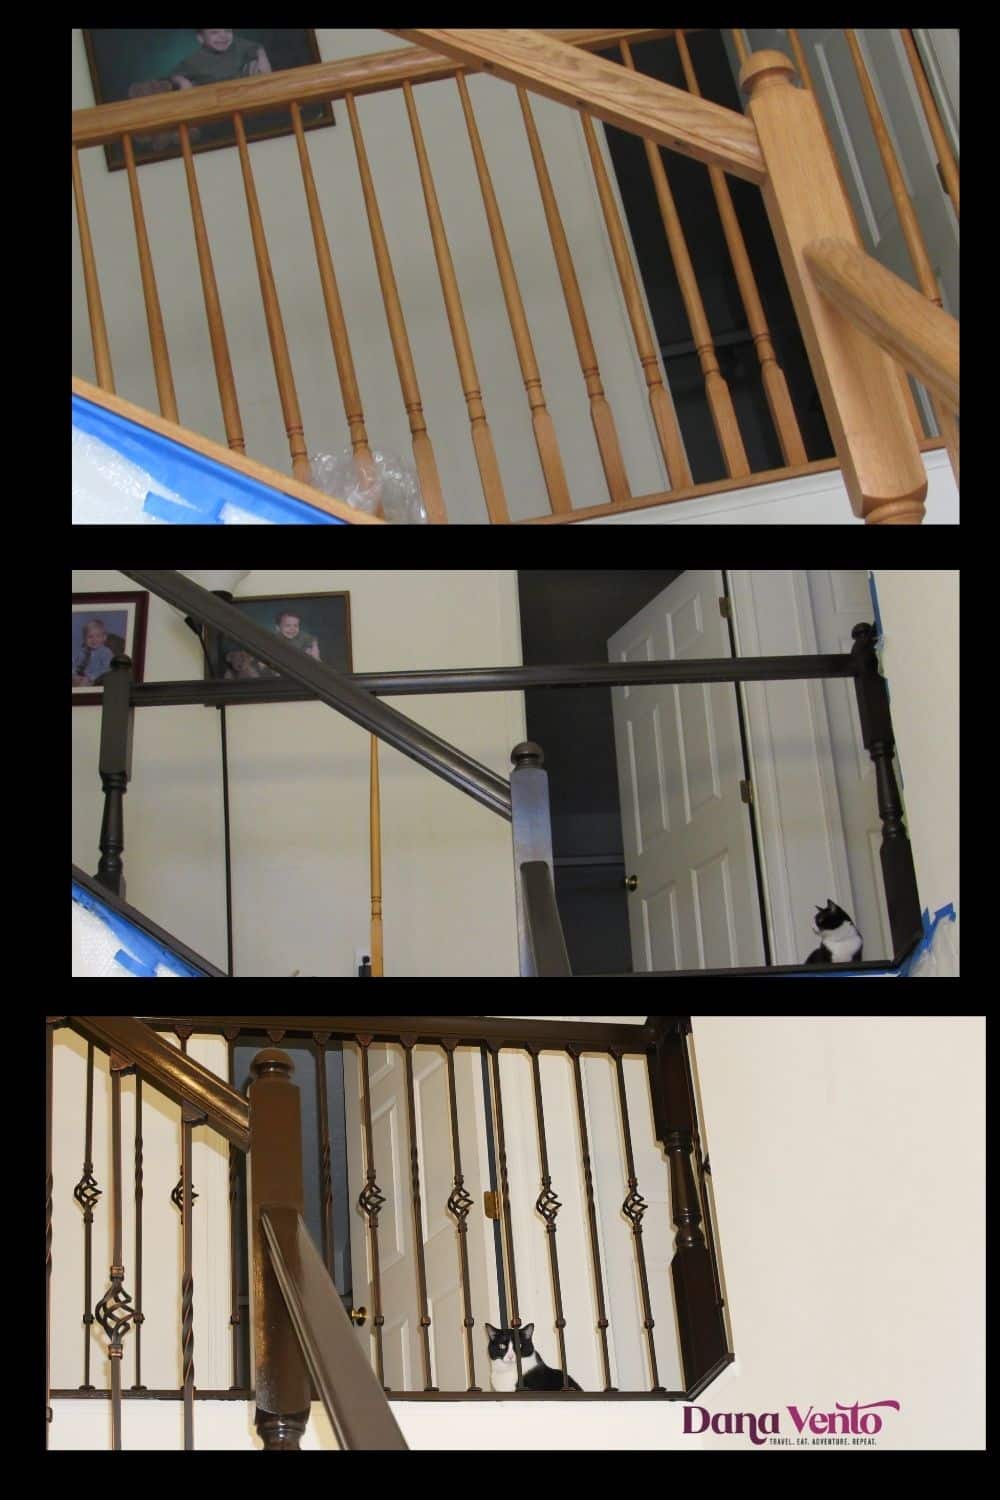
Now, I’ve got to show you the before and after
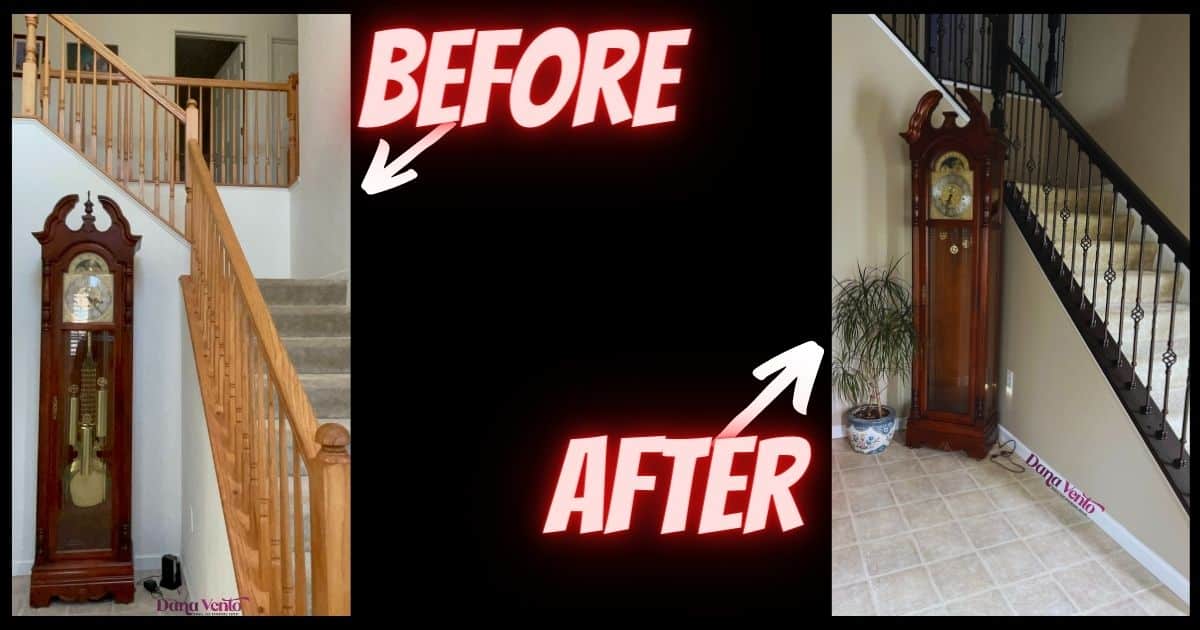
*products were provided, work is my own. All photos are subject to copyright as is this post!


Leave a Reply