Instantly your home cook skills are about to change because you have found the most authentic Italian pizza dough recipe!
‘Deceptively Easy’ is how to best describe the recipe for the most authentic Italian pizza dough, so stop worrying and start mixing!
Most authentic Italian Pizza Dough Recipe From my Nonna
Today I am sharing an authentic Italian pizza recipe from my Nonna Santa’s Recipe Book for exceptional pizza dough, that uses minimal ingredients.
To champion the ease of prep, I want to state that this recipe for the best pizza dough will blow you away with taste, yet it will be ‘expertly crafted while created for the beginner home chef.’
Using my Nonna’s basic recipe (from Italy where she came from), I’ve converted it to faster and more efficient.
Pizza Dough Recipe (authentic as it gets!)
Don’t think for one second that I am short-changing flavor for a shortlist of minimal ingredients! The authentic Italian Pizza Dough will provide a ‘WOW’ with each bite.
Incredible-tasting, DOUGH FOR PIZZA for the Novice Cook is the best way to describe this.
Oh and just because I am Italian does not mean I am excluding any ingredients (you know the old tradition of those handed-down recipes, lol!)
Home cooks from beginners to pros will enjoy the success of creating this authentic Italian pizza dough.
Bonus: Successful Proofing Tips
The tips I am going to include will ensure that your dough doubles in size if you follow the steps.
Now, preheat your oven, your pizza stone, your outdoor brick oven, or grill, and let’s make this to enjoy now!
Traditional. Authentic Italian Pizza Dough. Nothing Else
Pizza, the carb I can’t and won’t live without, and the pizza dough matters a lot! Perfect rise dough is hard to achieve if you don’t have a few steadfast rules.
I’ll be the first to admit, when I watched my Nonna Santa make this 5-ingredient recipe for the authentic Italian pizza dough, I was always in awe.
A few ingredients packed in a bowl created a perfect crust always!
She’d prepare the simple recipe in minutes, and kneaded it by hand in about 10 minutes.
In fact, she never pulled out a recipe and if I turned my back for a minute, it was already formed and being kneaded!
Fast? Yes! Simple? Oh definitely.
Magic After Mixing the Ingredients
Then, magically, the pizza dough doubled in about 2 hours and before I knew it, the morning had turned into the afternoon and this fabulous authentic Italian pizza dough was about to appear on my plate!
What made the dough so incredible?
Nonna used what she learned from her family and adhered to them every time so the best pizza dough became one of her signature recipes!
The Authentic Italian Pizza Dough: from Beginner to Pro
I learned that the simple recipe is for home cooks from beginner to pro. How?
The Neighbor Who Knew Troppo Piccolo (too little) Soon Learned Much!
My Nonna Santa’s next-door neighbor, Juleah, had a few kids (to say the least) of her own and she often was at my Nonna’s house.
Juleah was impressed by my Nonna’s Italian culinary skills and often asked for recipes and naturally, Nonna Santa was all too happy to share.
Well, Nonna Santa told me after Juleah left each time that she was more of a ‘Kitchen Wizard of Frozen Skills’, I had no idea what she meant but figured it out later in life.
From Beginner Cook To Pro Pizza Dough Recipe
Juleah couldn’t cook a lick, and she had growing boys with a growing grocery bill and therefore the frozen, prepared food section, which was totally inadequate.
To make a difference, she basically stopped in to learn recipes, and Nonna Santa was her culinary teacher.
No more frozen food trips, instead, Juleah made the recipe provided by Nonna.
My point, with beginner cooking skills, Juleah made this recipe with ease, so then, can you!
Juleah learned through Nonna that to get the authentic Italian Pizza dough was easy and it was all about the perfect rise and just a few ingredients.
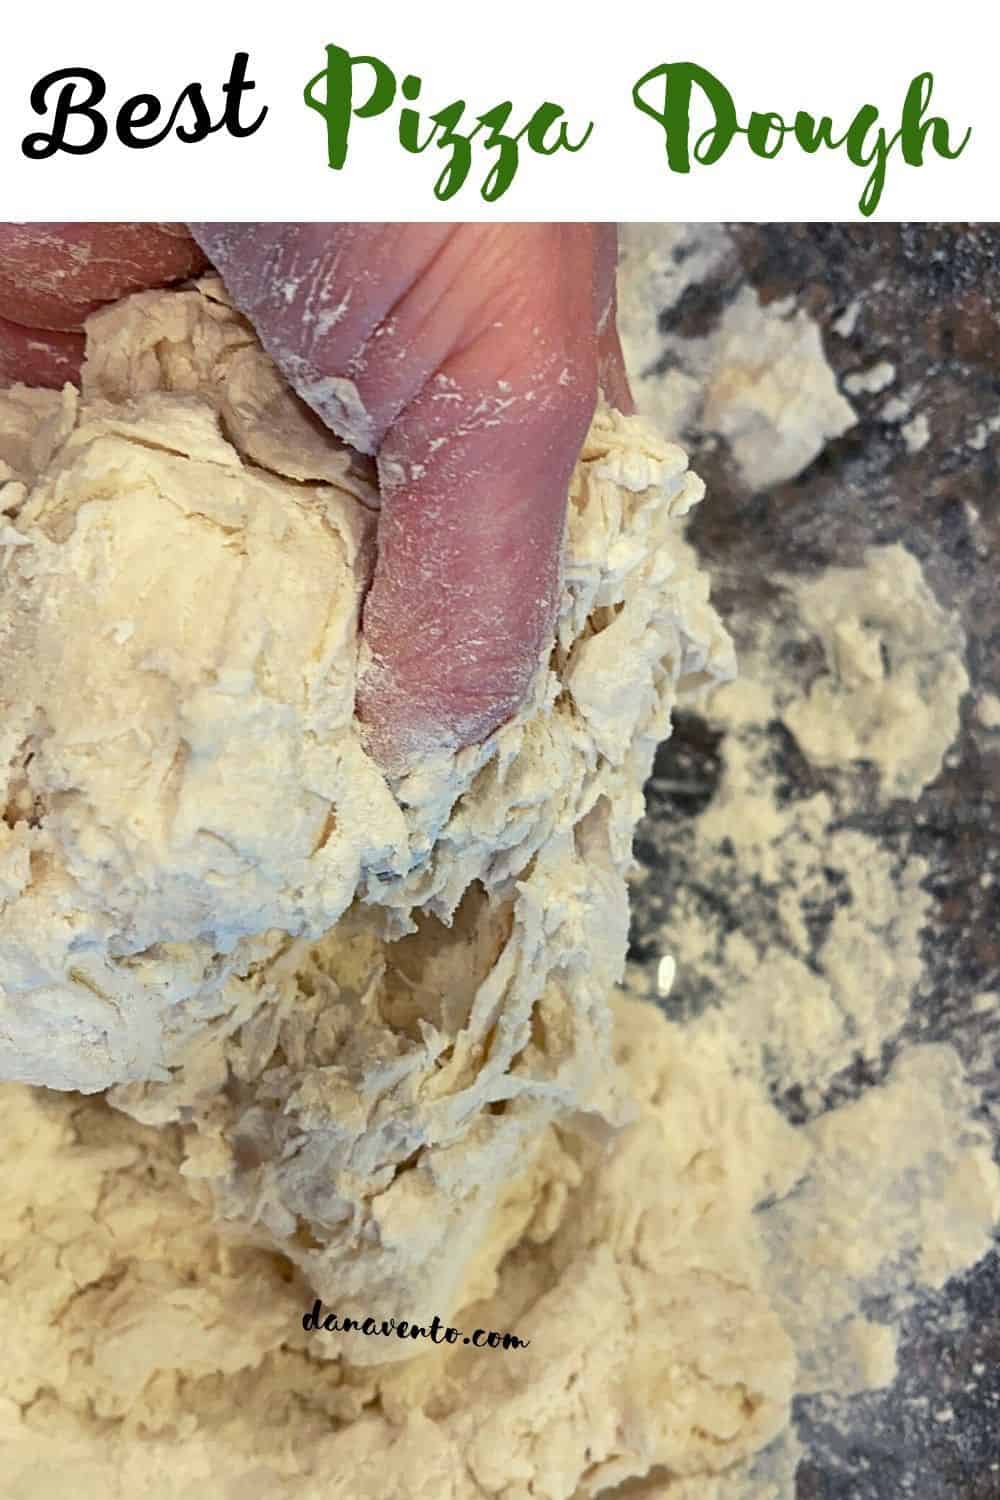
However, this dough does need to be kneaded, whether, by hand or mixer, you will knead.
In order to get a smooth dough, that is how it happens.
For those that don’t want to knead the dough, or deal with yeast try my 2-Ingredient Pizza it’s awesome!
Let’s Talk about Getting the Dough To Develop
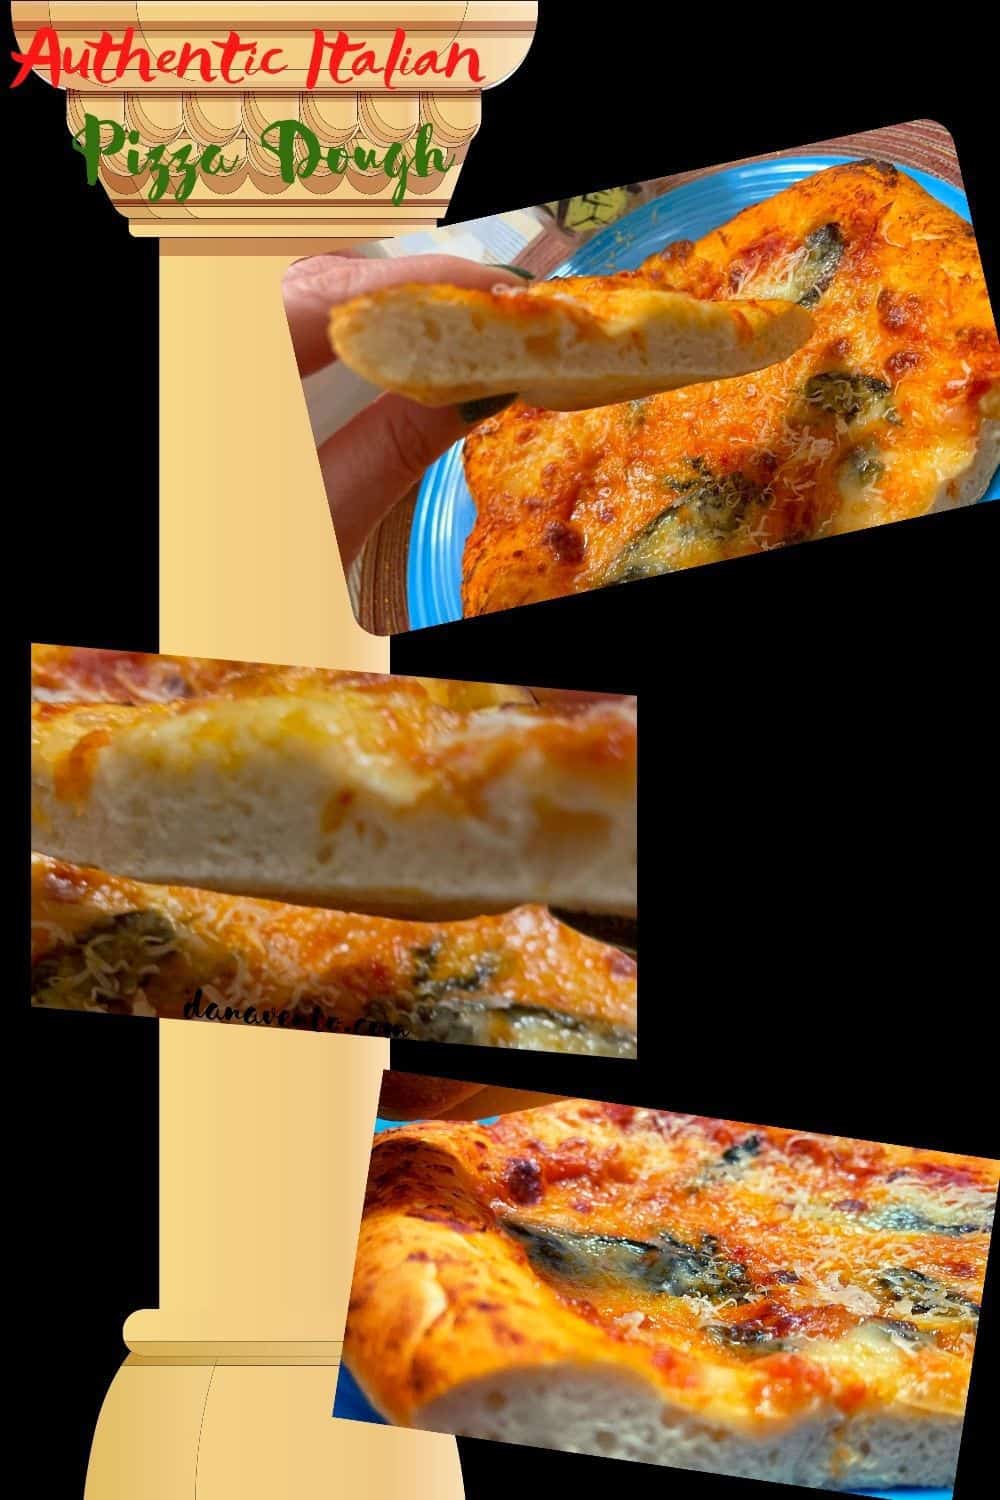
To end with a dough that offers a crunchy crust, yet is chewy towards the middle, you’ve got to get the proofing right.
Practicing my Nonna Santas authentic Italian pizza dough challenged me and I experimented with so many versions of her recipe.
Then remembering and skimming through her recipe memoirs, it hit me, all those recipes are wrong!
It’s what she did in between ingredient mixing and oven baking that made the difference!
So with flour on the counter, and my sleeves rolled up, I reinvented Nonna’s Recipe and used HER method.
Now, each time I make what I term the ‘best pizza dough’ it’s due to successful proofing.
Protein Matters To Achieve a Perfect Rise Which makes Authentic Italian Pizza Dough as though you are in Italy
No.1: Your flour choice matters.
The protein of choice in this recipe should be at the very least bread flour.
Bread flour is high in both gluten and protein.
Each of these creates fabulous results creating the best pizza dough recipe or as I refer to it the most authentic Italian pizza dough you can enjoy short of being in Italy.
Therefore your crust will be crunchy and the thinner part (inside the crust) will be so chewy!
No.2: Do not substitute all-purpose flour, it changes the consistency, end of the story.
No. 3: If you want to go all-in to make the effort to find Flour Type “00” but bread flour is perfect too! Find it online and at upgraded supermarkets.
Never Mix These Together: Your Dough Will Fail
No. 4: Salt and yeast should NEVER be directly mixed.
However, you can put flour and salt together first, then mix your Yeast with water! Add that to the flour and salt!
It’s Warmth to the rescue, but NOT too warm!
No Hard Crust During Rising is your goal. To avoid a crust forming on the rising dough you must have a warm area to get the dough to rise.
You can heat your oven for a few minutes to 180°F. Or, I love using the microwave with warm water (see the recipe for details).
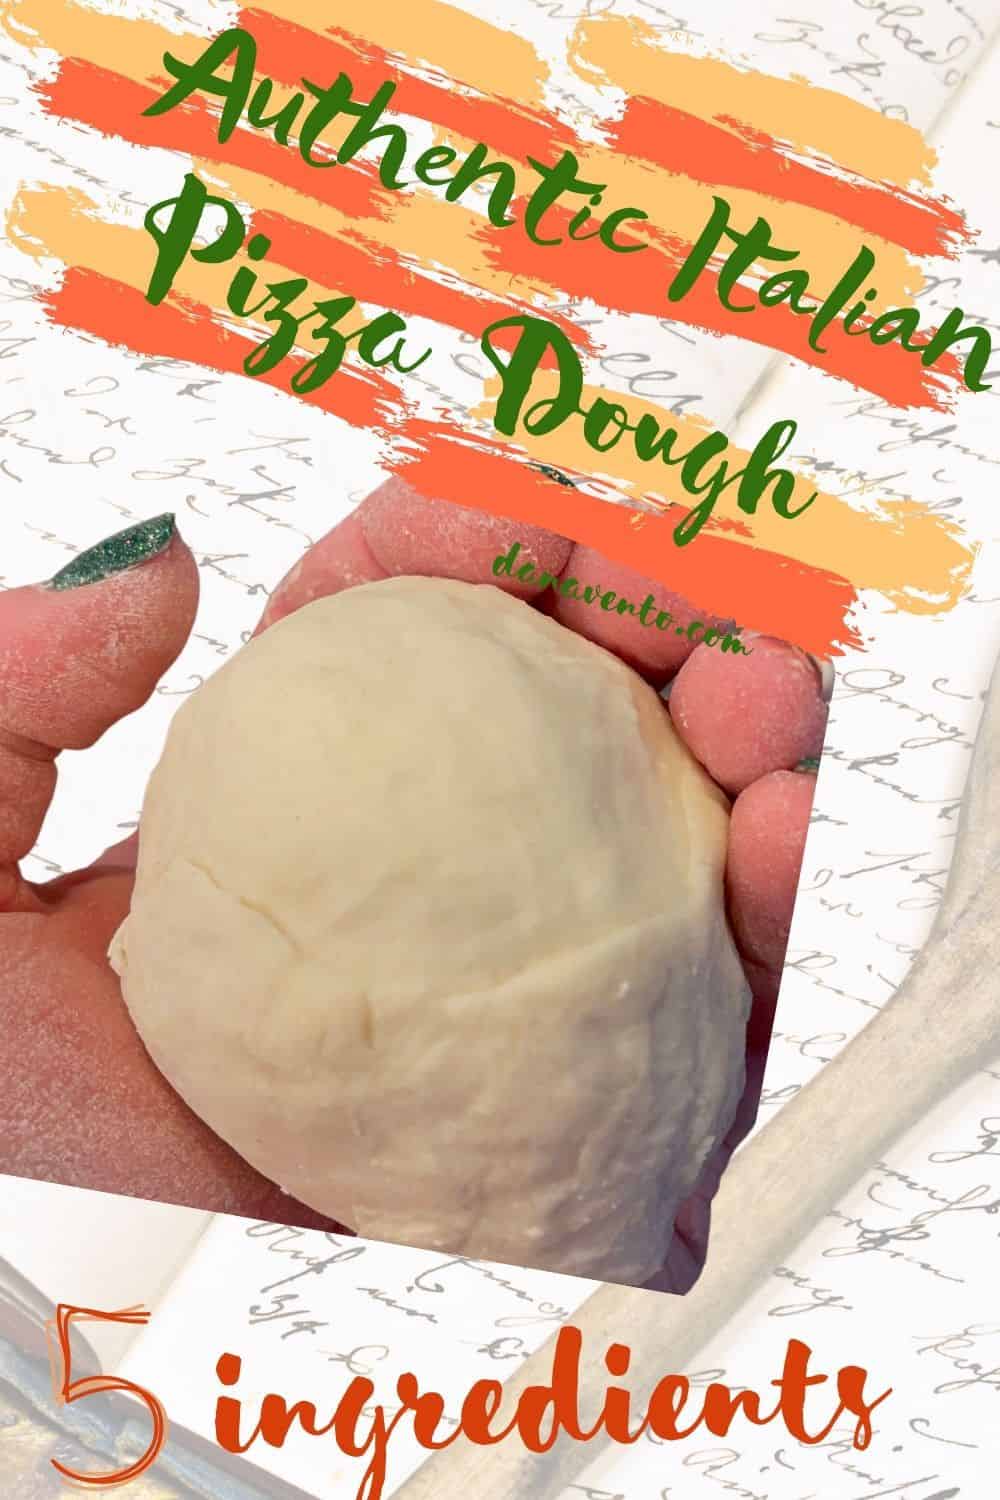
Do you see that dough ball in my hand? It’s smooth as smooth can be and it’s a result of working the dough (Kneading).
You will push the dough away from you and then towards you and stretch and pull. Before you know it, the dough will look like what is in my hand.
In fact, you will get FOUR Balls from this batch. 4 pizza crusts!
Authentic Italian Pizza Dough Headed Your Way. Recipe below!
The recipe is easy to follow and quick to make.
Make and bake the same night! Enjoy!
Italian Pizza Dough -Like A Pro!
Ingredients
- 1 1/3 C Warm Water 130°F no warmer (from faucet)
- 2 1/4 Teaspoons of Rapid Yeast Single Packet of Rapid Rise Yeast, Active Dry Yeast, Instant Yeast or bread machine yeast in a jar
- 3 3/4 C Protein Flour Bread flour or Double Zero Flour
- 1 Teaspoon of Salt sea salt, Kosher or Iodized
- 1/4 C of any of the following semolina flour, brown rice flour, cornmeal
- TOPPINGS FOR PIZZA
- You can top these pizza crusts with anything you like.
- My pizza was topped with the following:
- 3 Tablespoons crushed tomato sauce per pizza crust.
- 4 presliced ripped pieces of fresh mozzarella per pizza crust
- 3-4 Basil leaves ripped or whole per pizza crust
- Up to 2 tablespoons of freshly grated parmesan cheese.
- Drizzled Olive Oil up to a tablespoon.
- Or you can use ANY other toppings and sauce you prefer.
Instructions
- MIX BY HAND METHOD
- Prepare a small pan 9 x 13 inches by sprinkling with either semolina flour, brown rice flour, or cornmeal and set aside.
- Using a measuring cup, place measured faucet warm water into a measuring cup.
- Add yeast.
- Stir to dissolve.
- Set aside for a minute.
- In a second bowl, place flour and salt.
- Mix to combine (best with hands see below for mixer kneading method.)
- Turn out onto flat surface.
- Continue to knead the dough until it is smooth about 12 minutes. (then jump to # 13)
- IF USING A MIXER ...
- Follow all of the same instructions above except, combine ingredients into the stand mixer to mix it and then choose mode Knead (No.2 on KitchenAid Mixer)to knead the dough for 2 minutes and then dump onto a lightly floured countertop and follow the steps below.
- You will push, pull and fold the dough as you work to ahieve smoothness.
- Do not add too much flour or you will DRY the dough out, use as little as possible to make sure the dough does not stick, yet it is smooth.
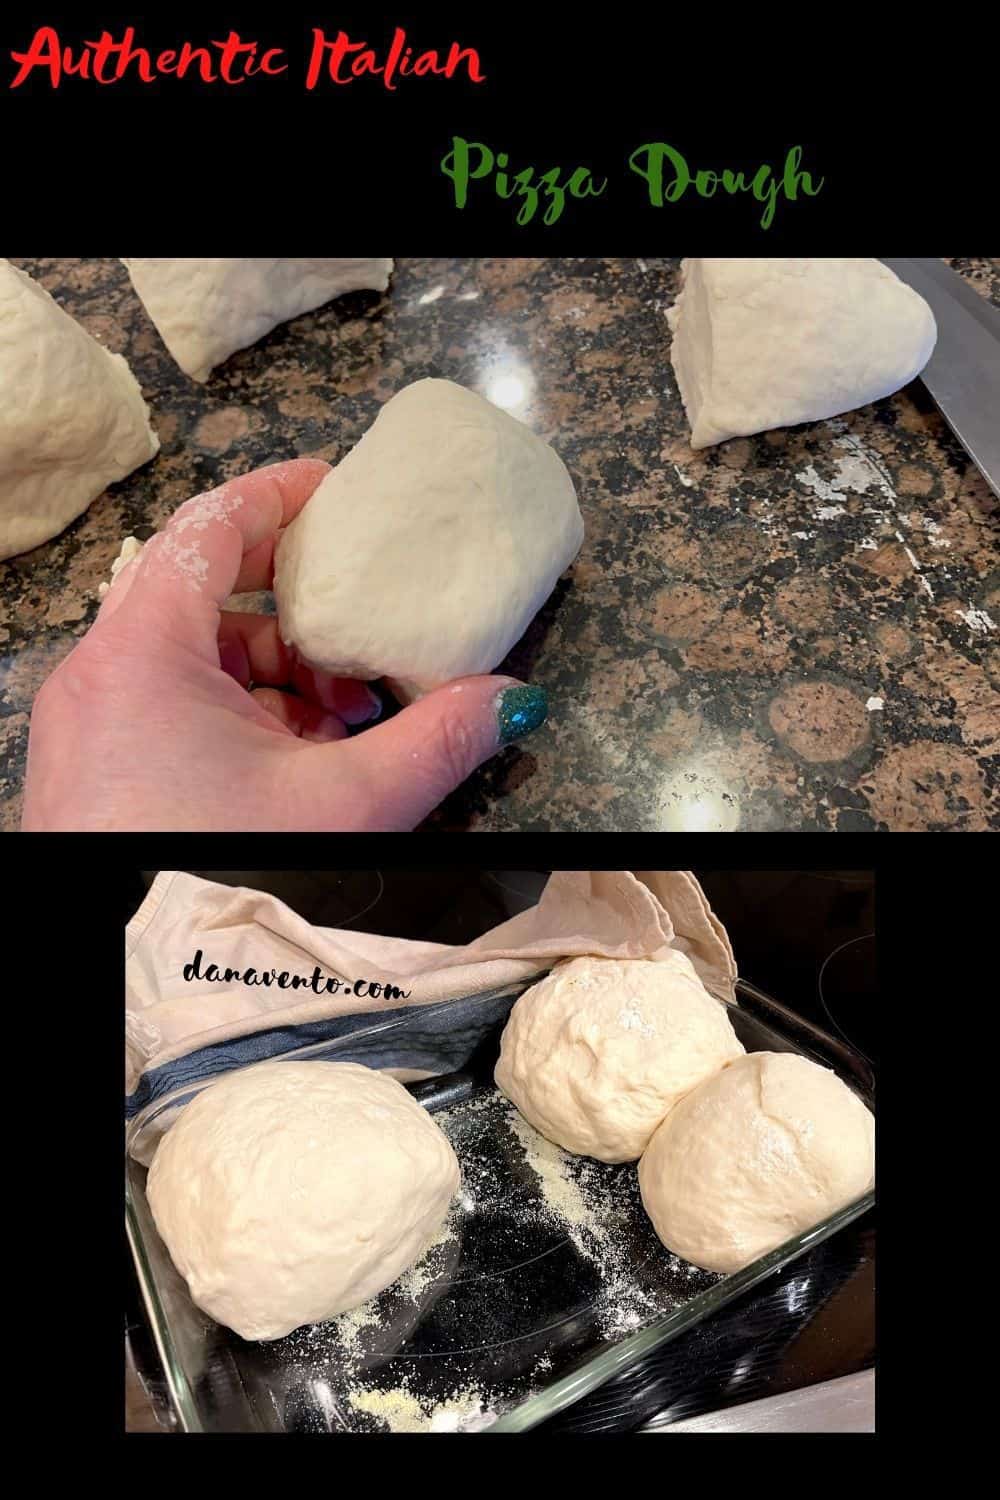
- Once you have achieved smooth dough, roughly roll into a log that you can cut into 4 portions.
- Work with each portion for about a minute to roll it into a small ball.
- After you've achieved a small ball, place it on the prepared tray and continue to form the additional 3 balls.
- Cover the tray with all 4 dough balls with either plastic wrap or a damp towel.*
- Place in the microwave per instructions below* or you can preheat your oven for about 2 minutes to 180°F and then shut it off and place the covered tray in the oven. (if using the oven I suggest the damp towel)***
- While the pizza dough is proofing, follow the instructions below to preheat your pizza stones.***
- OVEN BAKING INSTRUCTIONS
- Preheat oven to 450°F with pizza stones for 30 minutes before the dough is done rising. Dough rises for 2 hours so at 1 1/2 hours put the stone in the oven to preheat.
- PIZZA STONE ON GRILLING INSTRUCTIONS
- Preheat grill with pizza stone to 500°F (every grill is different it takes ours almost 45 minutes to achieve this heat)
- Therefore 1 hour and 15 minutes into dough rise, it's time to preheat the grill and stone together.
- Once the dough is done rising (proofing) about 2 hours it will be doubled in size.
- Work with the dough, from the inside of the ball to the outside of the crust.
- Pushing from the interior portion.
- Leaving the edges all around thicker.
- Once you have crafted a round 9" or so pizza crust, you will want to transfer it to the pizza stone which wll hav been removed from the oven (which will be HOT!)****
- OVEN PIZZA PREP****(notes below)
- Here you can go ahead and add sauce, cheese and toppings.
- Then bake in your preheated oven on the preheatd stone for7-8 minutes on 450°F.
- Remove the pizza to a plate and enjoy~ Dana XO
- GRILL PIZZA STONE****(notes below)
- Or if you working on a pizza stone on the grill you will want to place the dough on the stone, while it's on the grill and work quickly to top the pizza dough.
- Then allow the pizza to cook for about 7 -9 minutes until you've achieved a golden bronze color on the crust and the cheese will be melted.
- Remove the pizza from the stone and enjoy. ~ Dana XO
Notes
- **In a microwave, place 1-2 cups of water in a microwave-safe cup.
- Program the microwave to come to create boiled water.
- Once achieved, take the covered tray, open the microwave, move the cup to the back and place the covered tray inside.
- Close the door and allow the pizza dough to rise for 2 hours (it will double!)
Make a Margherita Pizza
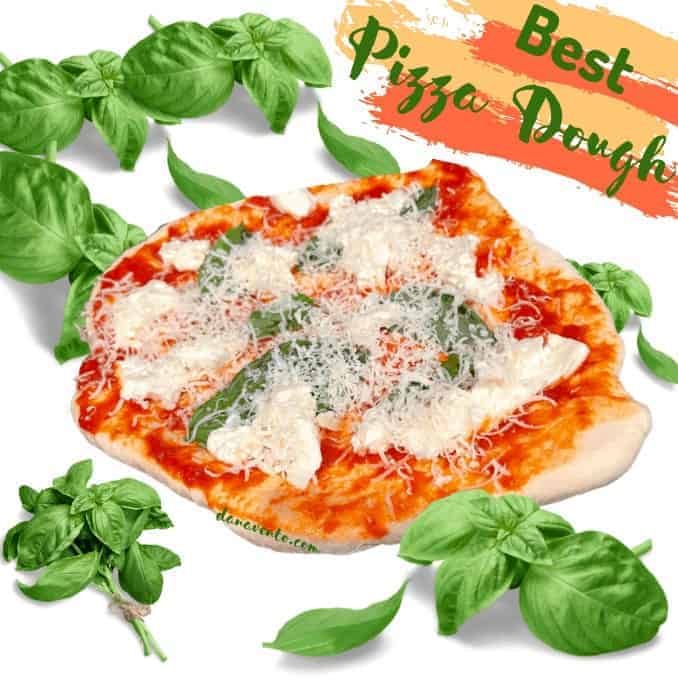
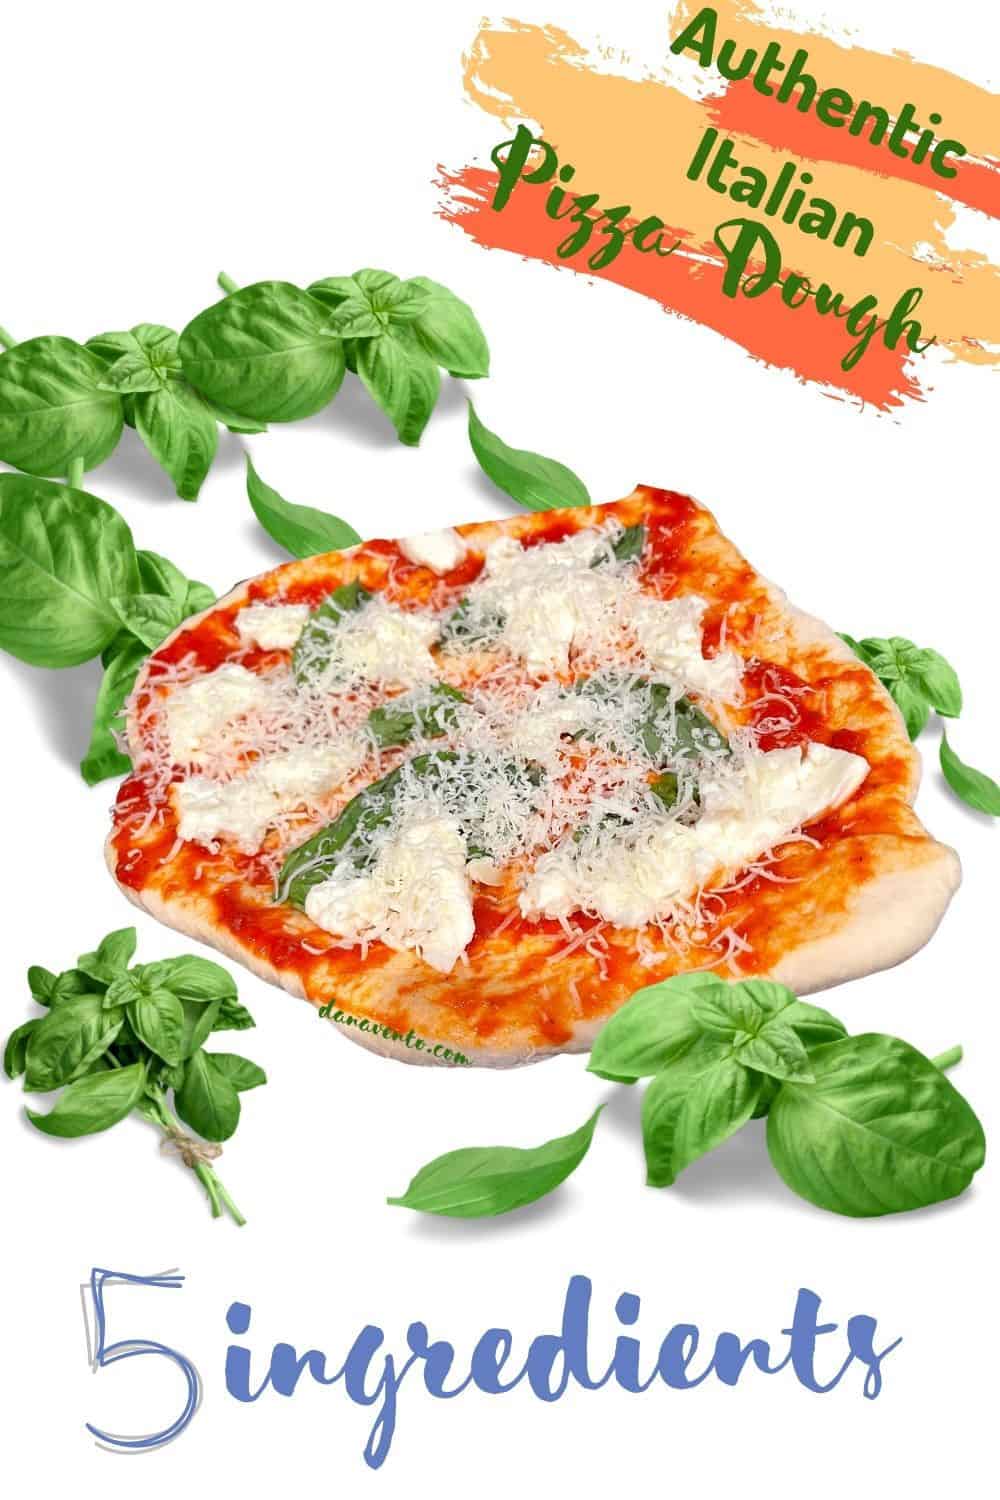
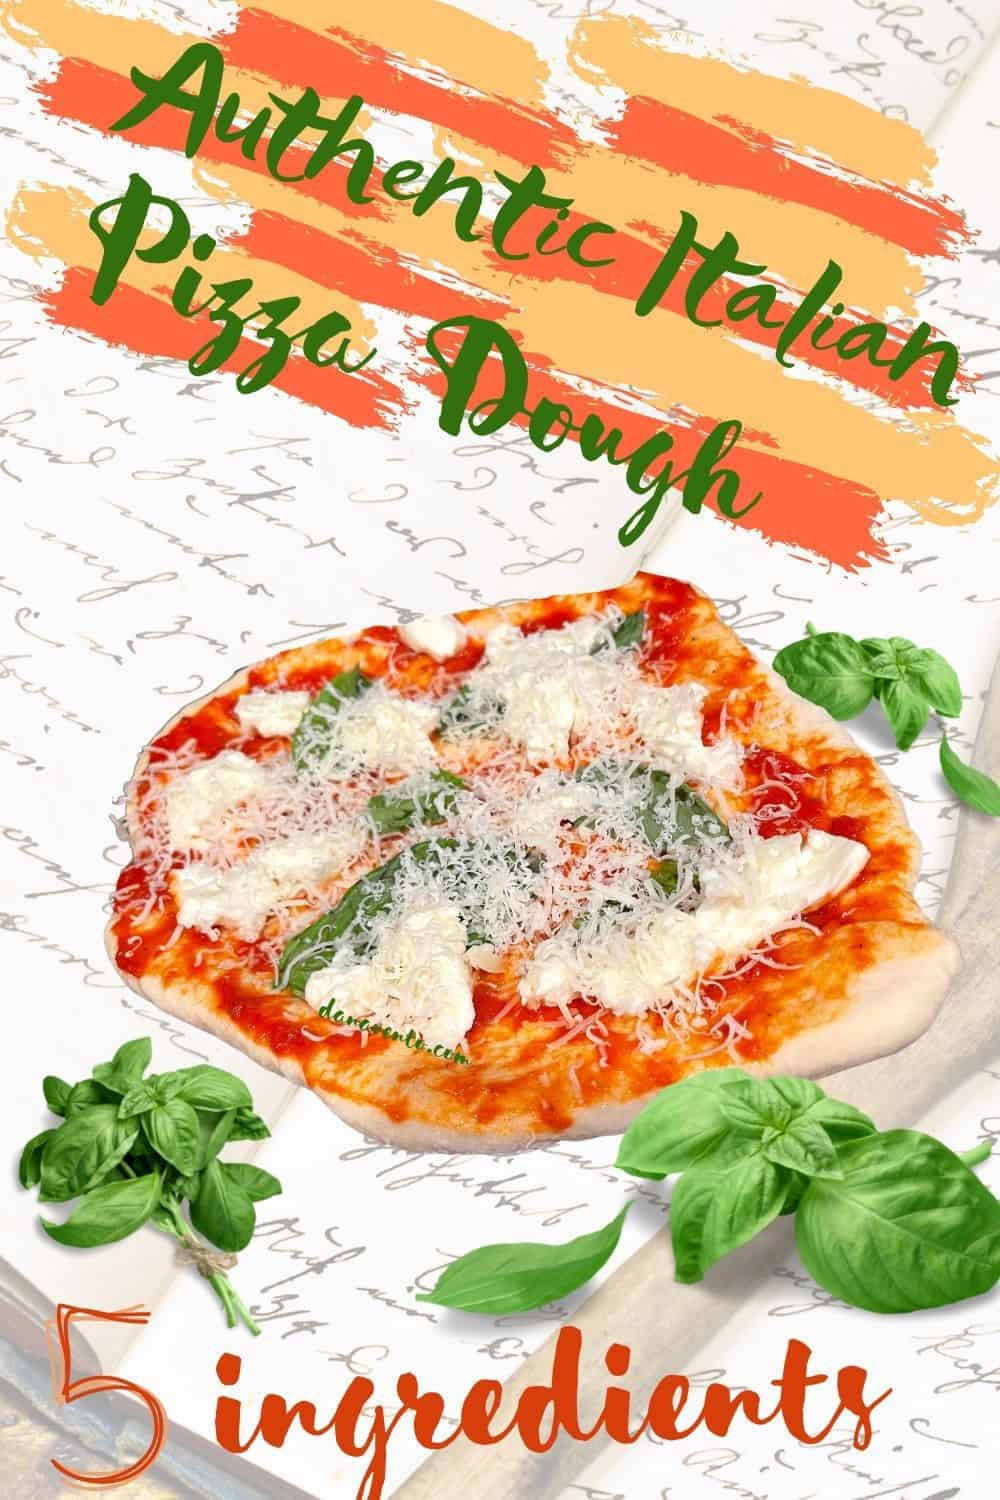
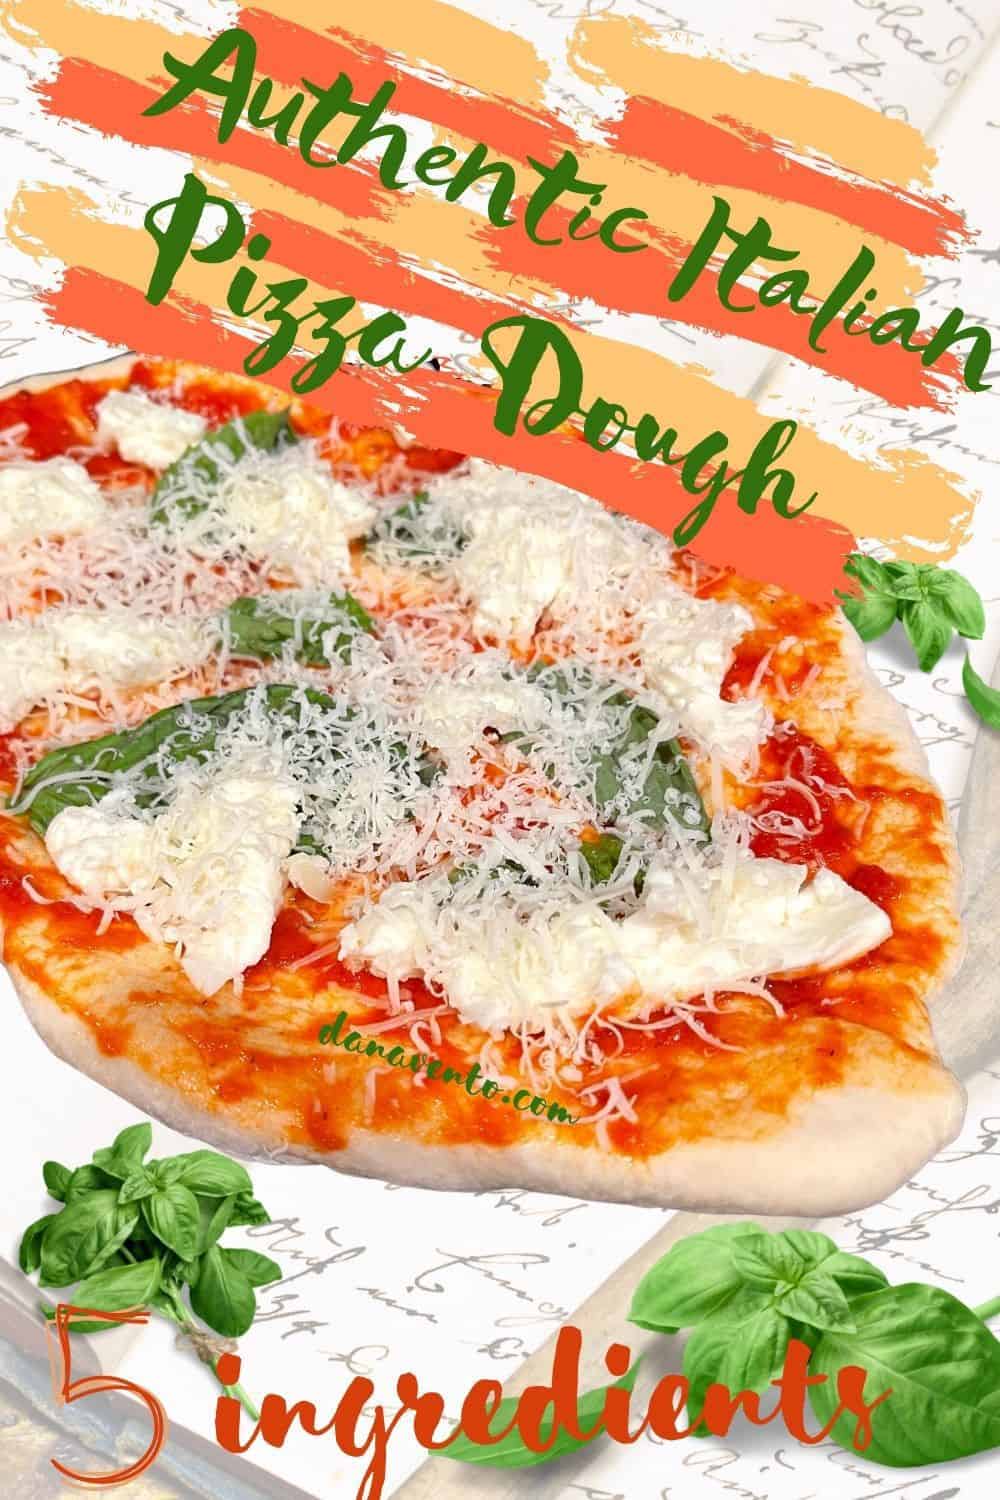
Now that you’ve successfully had a perfect rise, with successful proofing, and have mastered the perfect pizza dough recipe, top it and bake it!
Enjoy. ~ Dana XO

