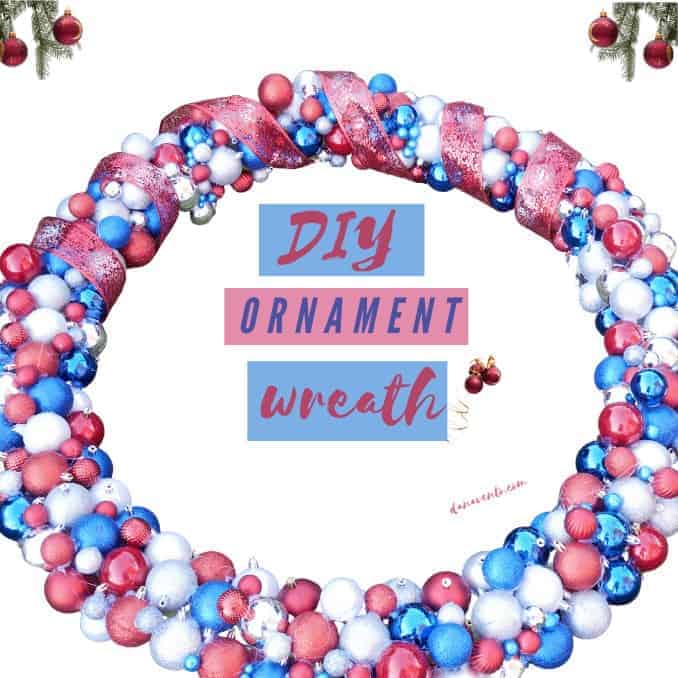
Christmas Ornament Wreath
DIY decor for Christmas is often easier to make than you might think.
In fact, those bigger pieces that truly add eye-popping appeal are the best DIYs to tackle.
Today I am going to share a stunning Christmas ornament wreath that is simple to make and is quite large (36″ ).
However, you could scale this back to half-size and actually make a smaller one.
Either Christmas ornament wreath large or small truly spreads holiday cheer when hung.
To that end, there are a few things you could actually upcycle if you have them in your home to create the Christmas Ornament wreath.
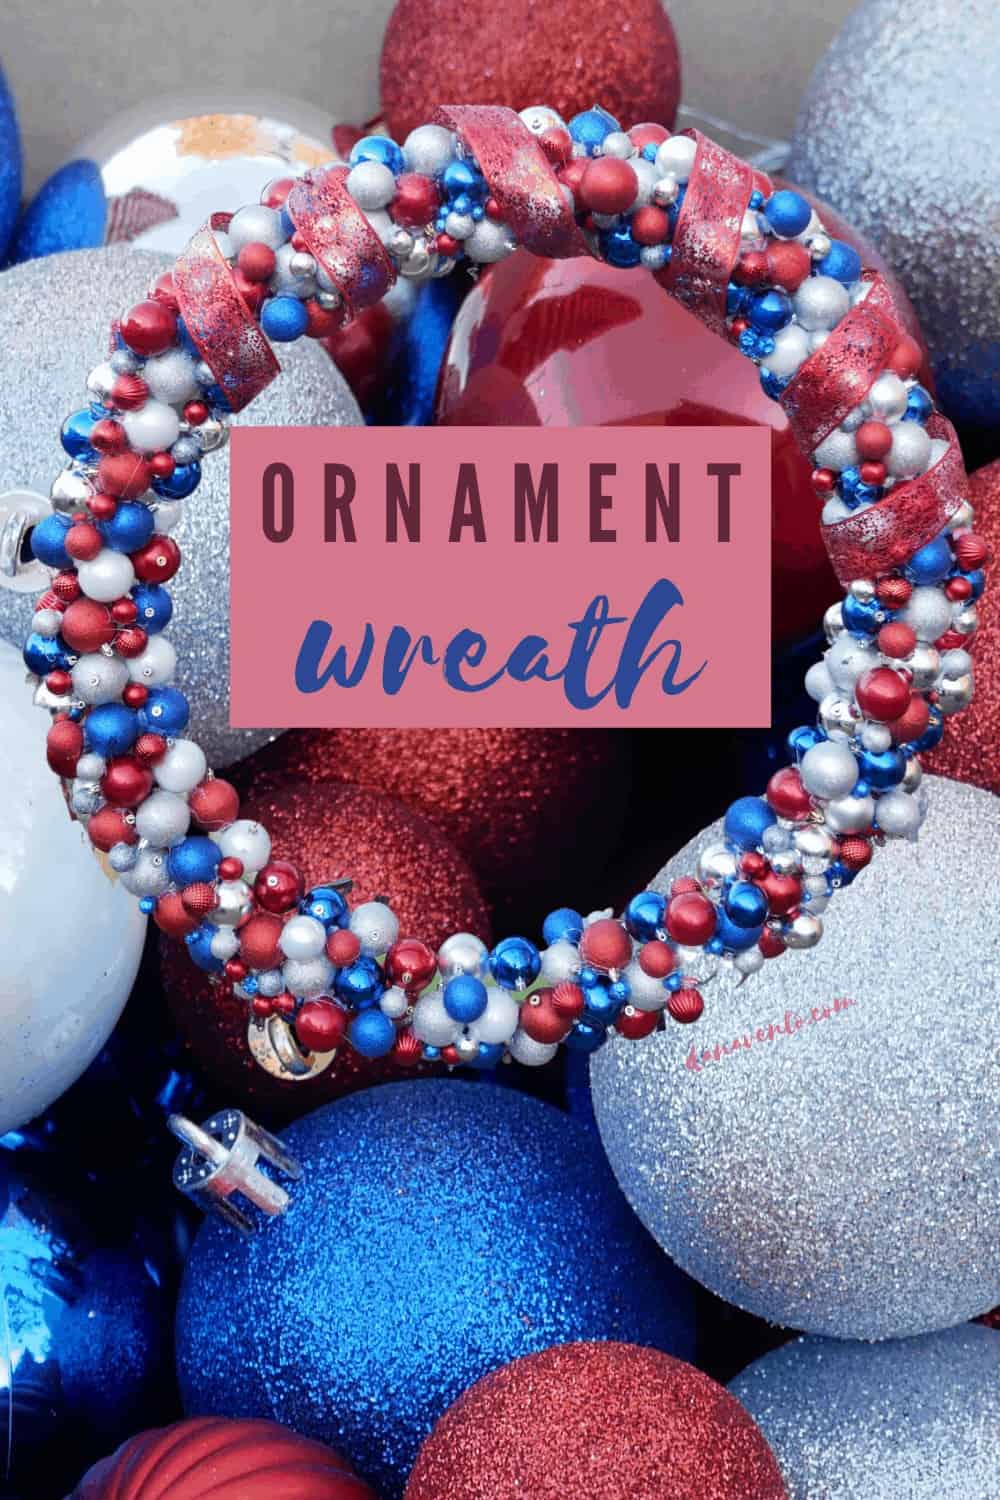
Creating this DIY large Christmas Ornament Wreath is very easy and I am sure you will love how yours turns out!
Now, let’s get this DIY started so you can have yours ready to hang before the end of the day.
Large Christmas Ornament Wreath

When you find a wreath you love and store from year to year, and it begins to fade away and items disintegrate it’s time to update!
We’ve often purchased live wreaths which are not exactly my favorite.
I’ve made other types of wreaths but, to date, this is my favorite.
To that end, over the last few years, I have been making these large Christmas ornament wreaths and selling them to so many I can hardly keep up.
One person refers to the next, to the next, and so on.
What makes them so special?
The wreaths last and are colorful and different than most sold in stores.
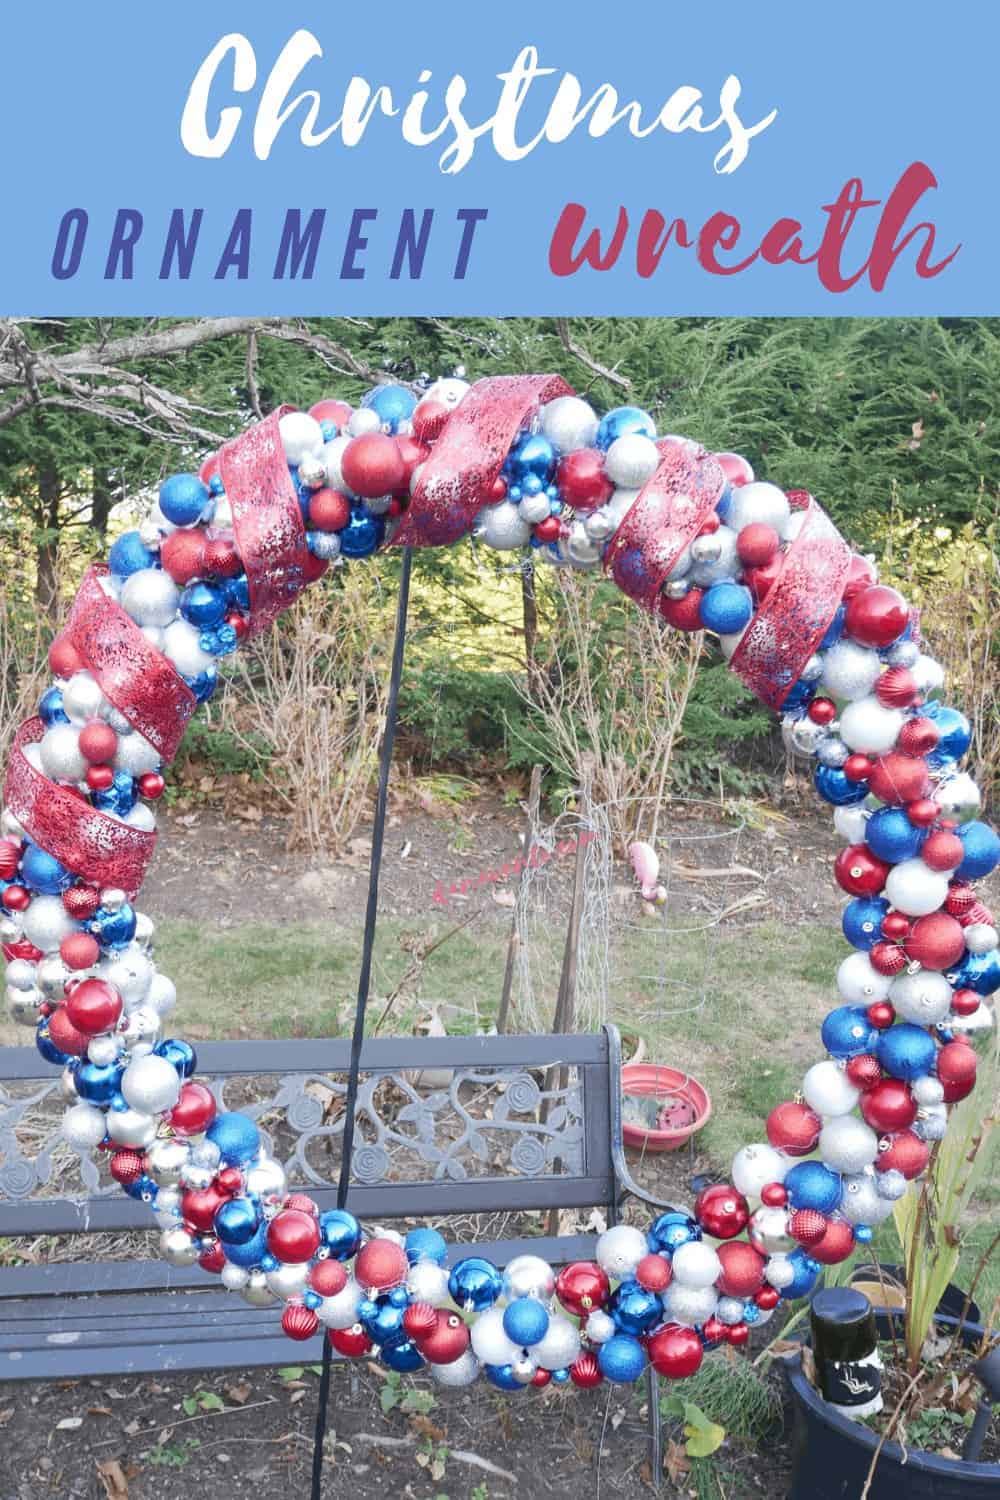
I just finished this one, patriotic red, white and blue for the Holiday Season.
Do you love Snowmen? Try this easy craft to make your own ‘crystal-like’ snowmen.
Colors of The Holidays
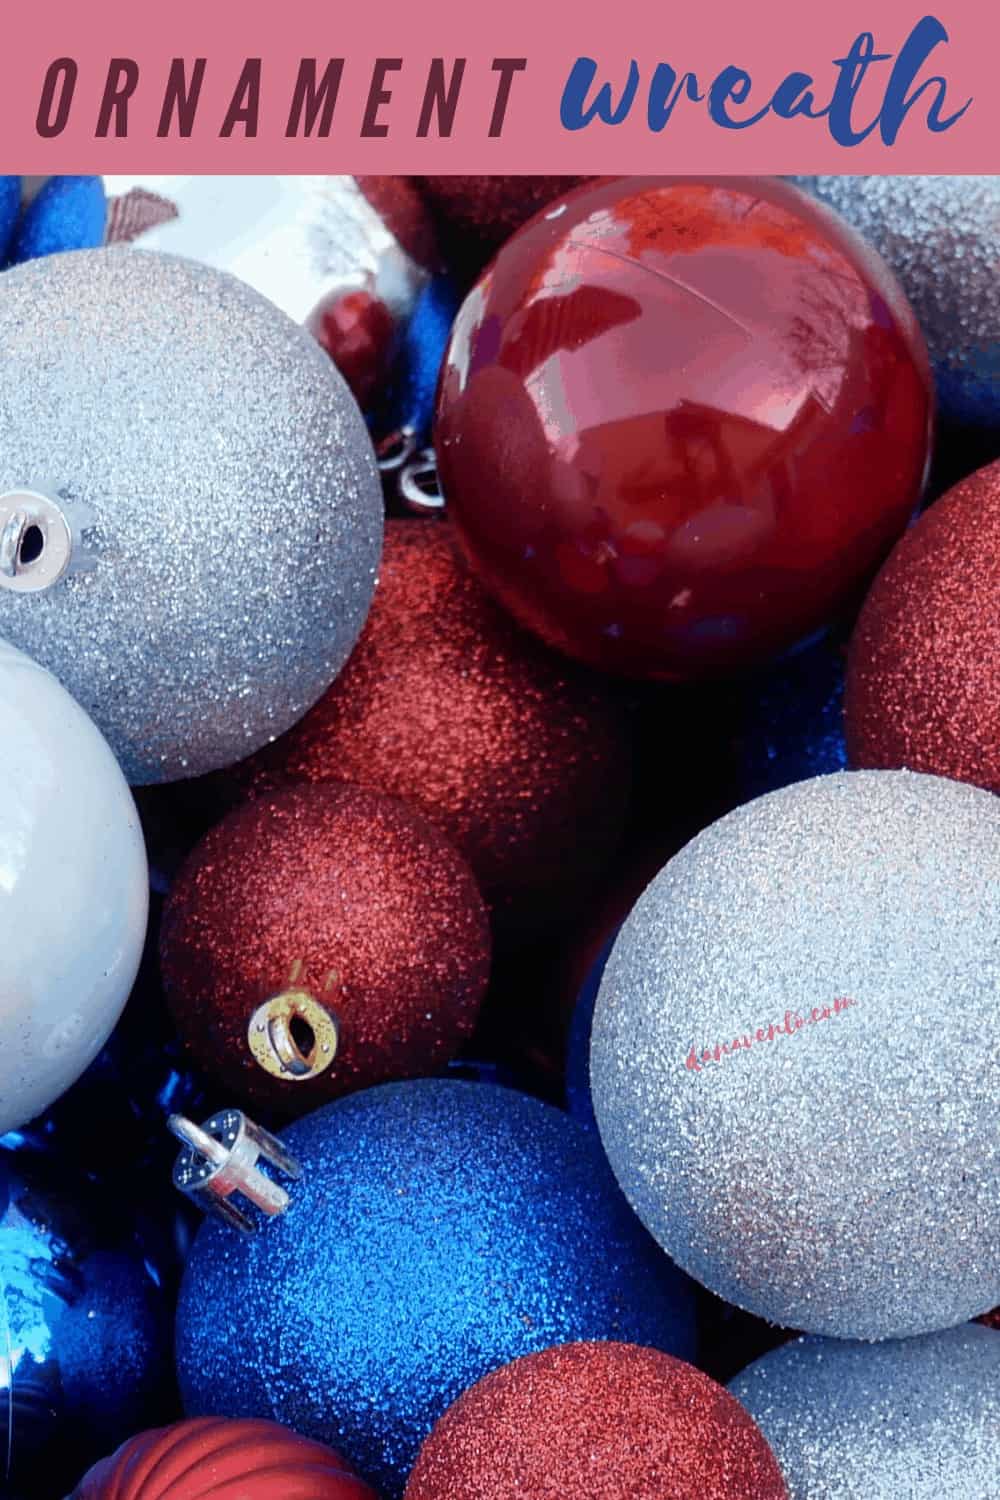
You can do buffalo plaid, a play on blue and white, silver and gold, pinks and golds, or traditional hues of the holiday.
The choices are endless and can be as individual as your taste.
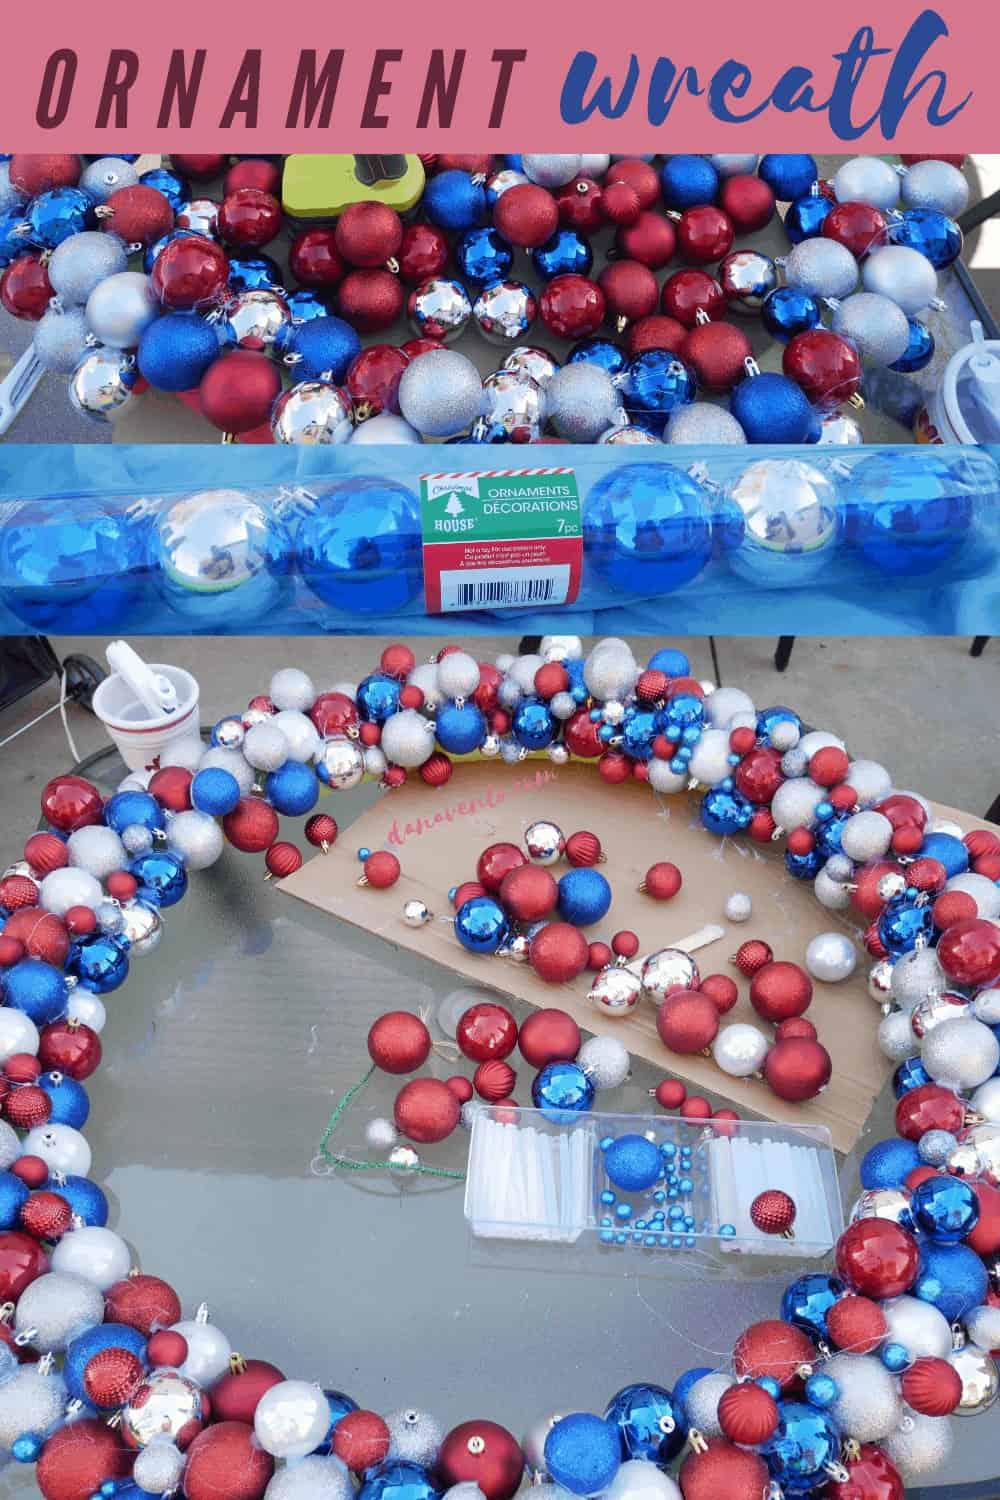
What colors strike you?
Do you see a coordinating ribbon?
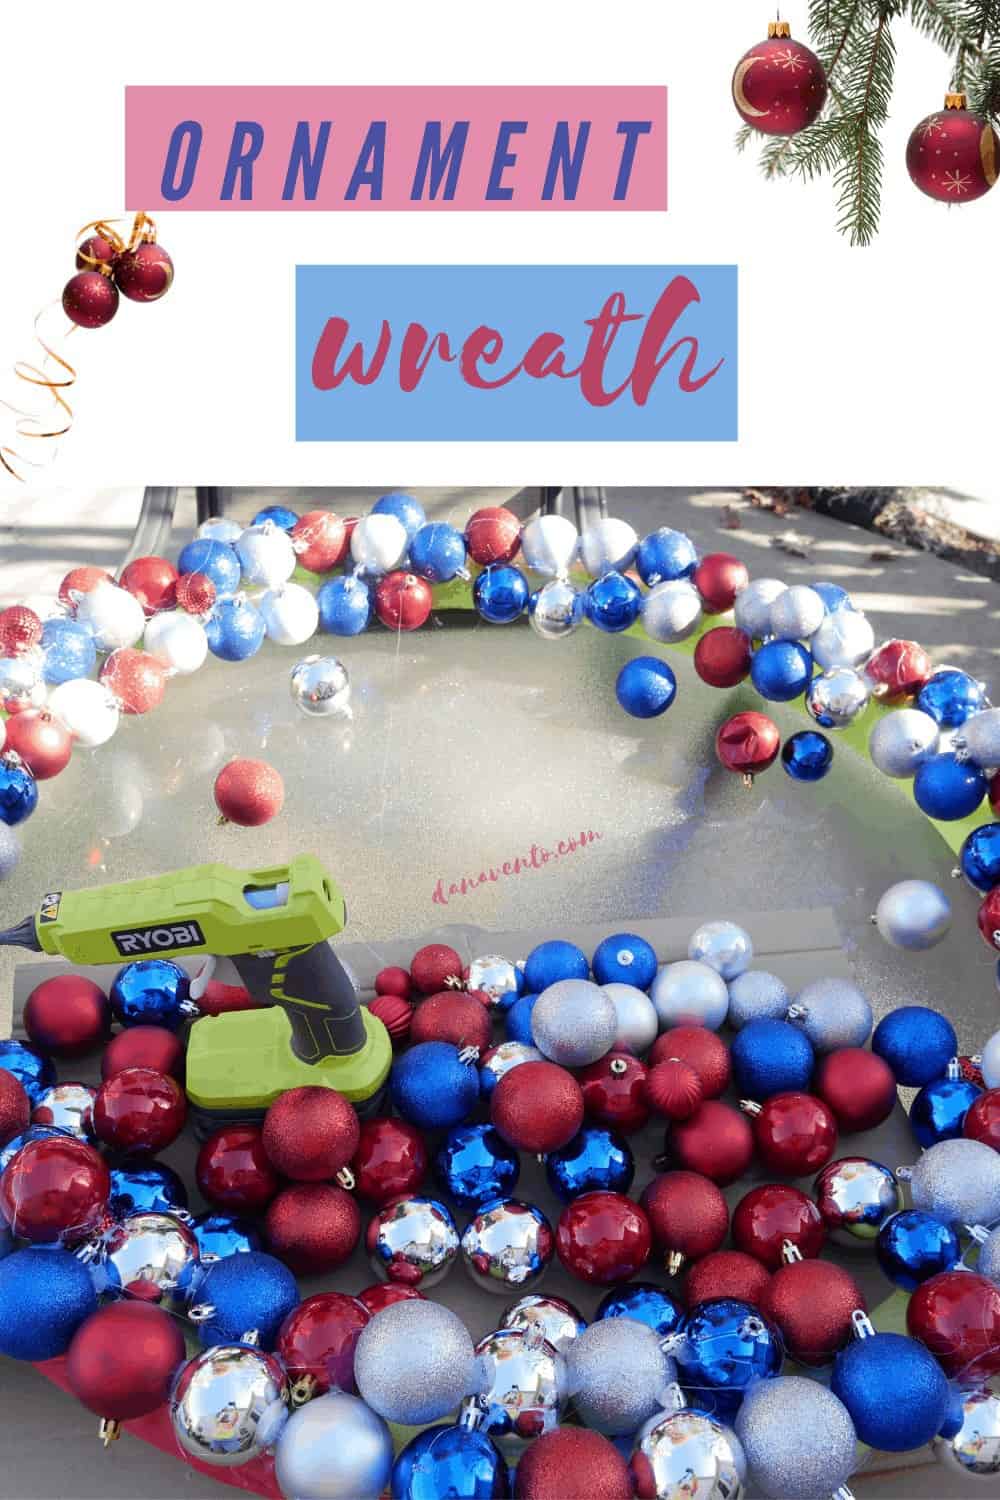
If you can’t find the ornaments you like there, Google online and find a bucket of shatterproof ornaments.
Have you ever wanted a Tabletop Christmas Tree? Here’s how to make one for UNDER $5
Shatterproof Ornaments and Glitter.
While I will be the first to tell you, go for the shatterproof ornaments, if you don’t I would not hang it outside.
I have found that when using both non-shatterproof as well as glitter, spraying with a clear finish spray resists the elements as well as a loss of color and glitter.
Glue guns are essential to the whole process.
DO note that a hot glue gun is not your bestie on this project.
I do recommend a low heat glue gun as your frame is a styrofoam pool noodle.
For those that love gold and blue, this bucket of ornaments is another to consider, but buy a few you will need at least 70 of this size.
The Wreath
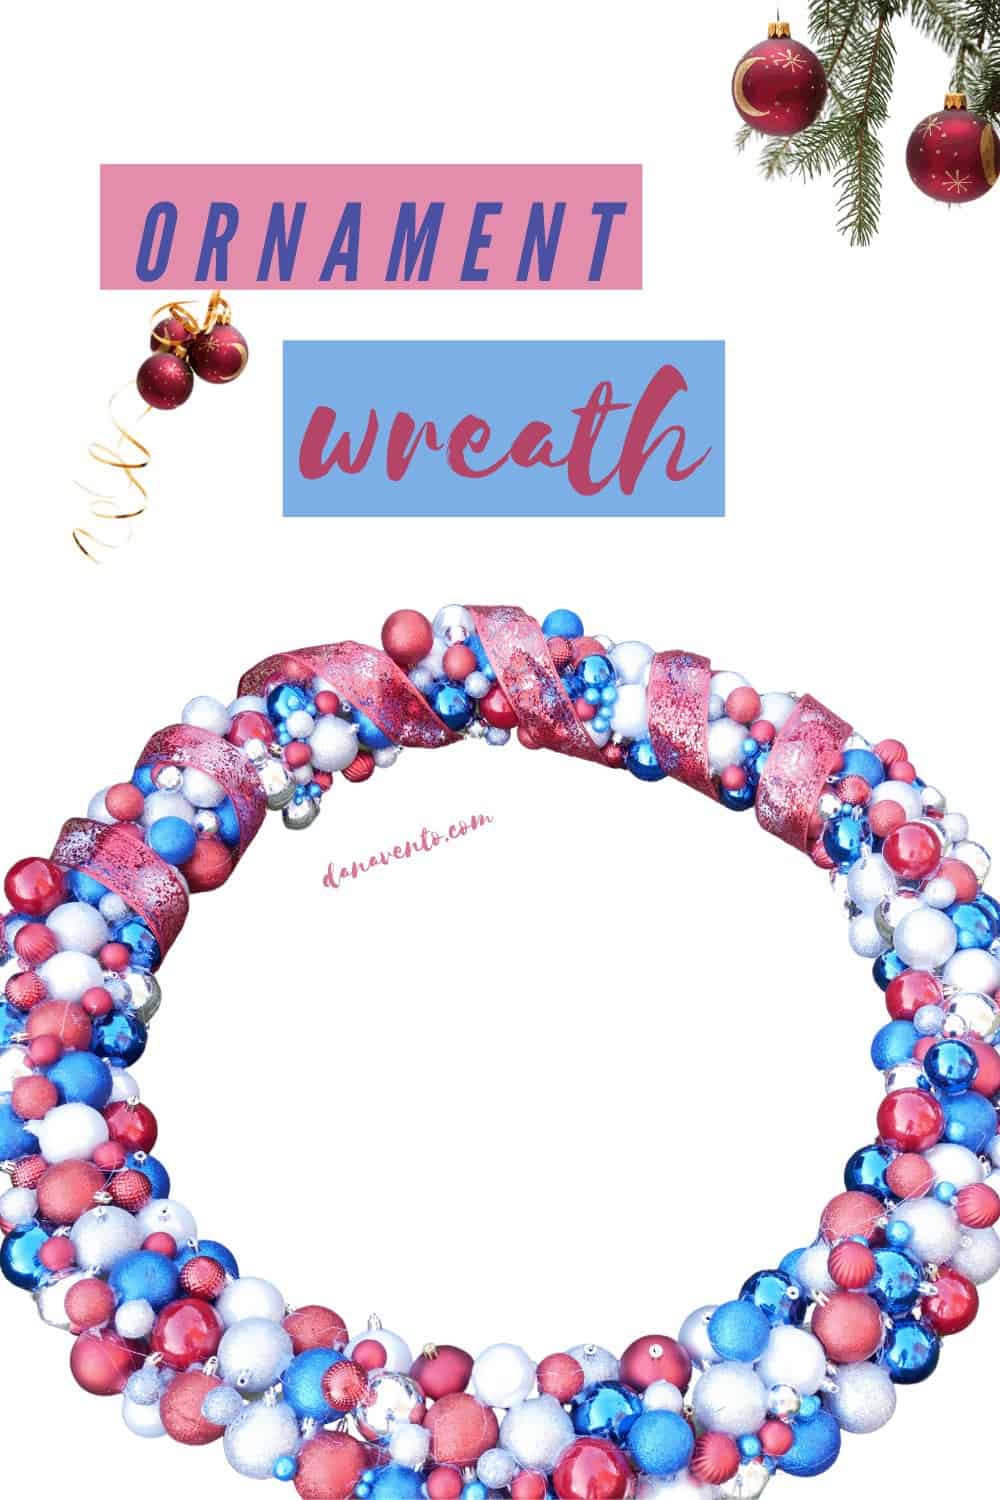
You might find yourself obsessing over placement or color, but just make it fun.
Purchase the colors you love and let them be mixed.
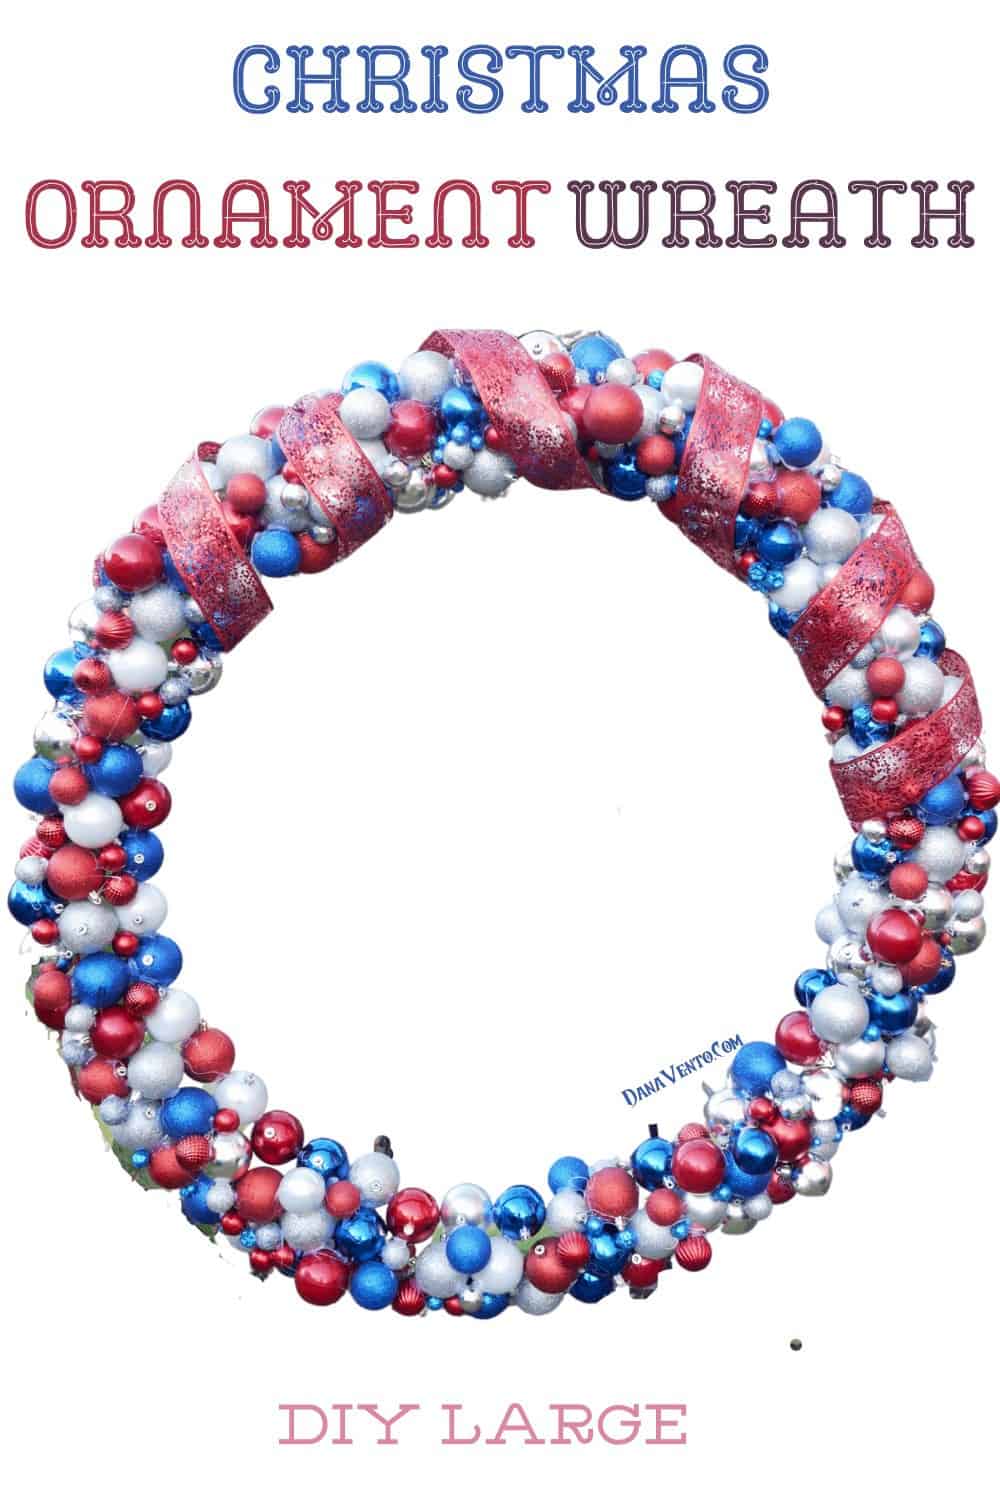
Don’t forget, that your wreath shape is going to come from a set of noodles.
You might need to add material to them to make the back non-exposed.
Here’s the How-To
DIY LARGE Christmas Ornament Wreath
Equipment
- Duct Tape
- Scissors
- Glue for Glue Gun
- Cool Temp Cool Gun
- Ornaments
- Outdoor bow
Materials
- 2 Pool Noodles 5 ft
- Ornaments at least 114 2" bulbs
- Ornaments small a few packs of 12 (2) for fill
- Glue sticks for glue gun 24 small or 10 large
Instructions
- Place your pool noodles together.
- Secure with duct tape.
- Repeat for the other end.
- Make sure to match the ends up perfectly before taping.
- If you are going to cover the base (the green or whatever color pool noodle you have used) affix material.
- I have done this in the midst of the project as well, really it is how comfortable you are maneuvering the wreath once you have a base layer of bulbs on.
- Personally, I would suggest doing this now, it's so much easier to work on.
- Next, place your ornaments on the interior of the wreath for a basic design.
- Also, try placing a few ornaments on and seeing how they look BEFORE you begin gluing.
- Once you start, you will do so on the top portion.
- Glue down each bulb.
- I alternated bulb top to the front and one to the middle of the wreath but this makes zero difference.
- Once you get around the whole wreath, you then begin the interior or exterior whichever you feel like working on.
- Continue all the way around, filling each area you can see with the right-sized bulb.
- Sometimes the bulbs will need to be bigger, other times smaller.
- Your eyes will be your guide I'm figuring out what bulb to affix.
- Continue this process until both the inside and outside of the wreath are covered with bulbs.
- Allow this to set up and dry overnight.
- Realizing you used hot glue and it dries rapidly, I still allow it to dry.
- Once it is set, pick it up and see if anything falls, and if it does, glue it back on.
- You can fill in any spaces with holiday embellishments such as sparkle flowers, poinsettia pieces, ribbon, tulle, etc.
- Don't forget to spray the wreath bulbs and allow to dry (if you used glitter or non-shatterproof bulbs) before you hang.
- Then, display your wreath wherever you choose on your front door, or inside the house.
- Enjoy!


