Each person gets just ONE birthday per year, so let’s make it count! We’re here to show you how to go big with a simple DIY Birthday Tree. Deck it out with decorations that scream ‘It’s YOUR special day, Happy Birthday!’ Ready to convert an everyday Christmas tree into a birthday tree?
Today, I’m thrilled to share a unique project that’s both eco-friendly and fun – a DIY that’s not just a game-changer but a literal party starter. We’re talking about converting that Christmas tree, yes, the one you probably have tucked away, into a dazzling Birthday Tree.
You’ll find that this is a great reuse of something you already have without breaking the bank on party decorations. Plus it is well-received as a birthday heartfelt symbol of affection, love, and celebration by every age! As a bonus, I’ve even attached a Free Birthday Celebration Tree Theme Printable so grab it and print it to help bring on the inspiration!
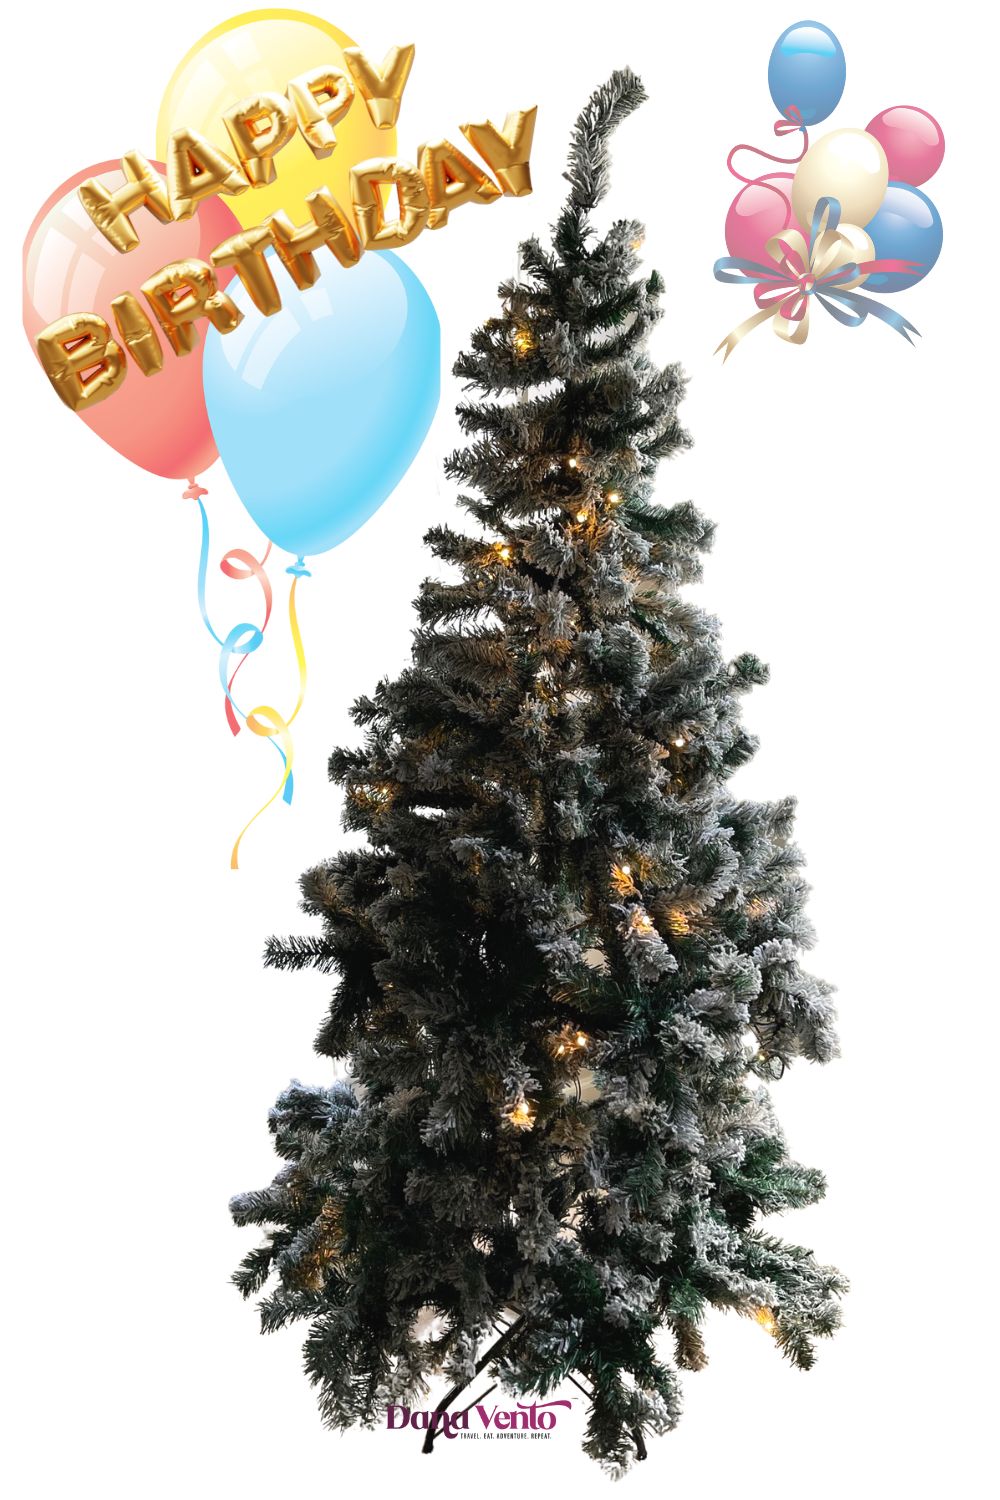
Table of Contents
What is a Birthday Tree?
Alright, before we dive into the how-to, let’s talk about what a Birthday Tree really is. It’s not just your regular tree decked out in a couple of balloons.
A Birthday Tree is a simple DIY that allows you to use a birthday decor you might hang on walls or other places on a tree to celebrate a friend’s or family’s birthday. Converting a Christmas tree to a Birthday tree is a relevant idea keeping true to the concept of upcycle while in storage.
You’ll add color, personality, and party flair to the tree to help celebrate a birthday occasion. The best part? It’s surprisingly simple to create using everyday ornaments, a dash of creativity, and a sprinkle of DIY magic.
When Can You Use A Happy Birthday Tree?
So, when’s the perfect time to flaunt this fabulous tree? Anytime, really! It’s all about celebrating those special moments, big or small. In my family, we have a cluster of birthdays rolling from June to July, and our Birthday Tree is the star of the show each time. It’s a versatile, all-inclusive party piece that suits any age and every theme.
So Use A Birthday Party Tree For Any Of These “Whens”
- For each person’s birthday in your family
- If a birthday falls during Christmas it will help to alienate the season and focus on the birthday
- Use it for large birthday celebration parties, or make more than one to decorate a yard
- Anytime you want to add a pop of color or a special theme to a birthday party you should use this festive party tree
Why You’ll Love Using The Birthday Tree To Celebrate
The Birthday Tree isn’t just another party decoration; it’s a simplistic DIY created especially for celebrating birthdays.
Here’s why you’ll fall head over heels for this DIY project:
- Eco-Friendly Reuse: It’s a perfect example of repurposing, where your Christmas tree gets a second life as vibrant birthday decor. For more on creative reuse, check out my thoughts on practical reuses for things you might toss out.
- Simple and Quick Decoration: Decorating your Birthday Tree is quick and easy – a perfect last-minute party setup.
- Flexible Theming: Whether it’s a favorite color, character, or hobby, the Birthday Tree can be themed to reflect the personality of the celebrant.
- Redesign with Ease: Want a new look? Simply change the ornaments! It’s as easy as that.
- Size Versatility: Whether your space allows for a small, medium, or large tree, there’s always a perfect fit for your Birthday Tree.
- Budget-Friendly Option: No need for an extra tree – just wait for the post-holiday sales or find great deals at places like Dollar Tree.
- Advance Preparation: You can prepare the DIY well ahead of time, ensuring a stress-free birthday celebration.
- Personalization at its Best: The real charm of the Birthday Tree lies in its ability to mirror the personality and preferences of the celebrant. From a kaleidoscope of color schemes to a variety of themes, each aspect of the tree can be tailored. For instance, if you’re throwing a party for a flamingo lover, why not check out how to throw a pink flamingo-themed party for some flamboyant inspiration? The possibilities are endless, making each Birthday Tree as unique as the person you’re celebrating.
- Affordable Ornament Options: Finding ornaments for your Birthday Tree is easy and wallet-friendly, especially with stores like Dollar Tree offering a plethora of choices.
- Convenience in Storage: Once decorated, you can store the tree as-is for each person, ready to be brought out and celebrated year after year.
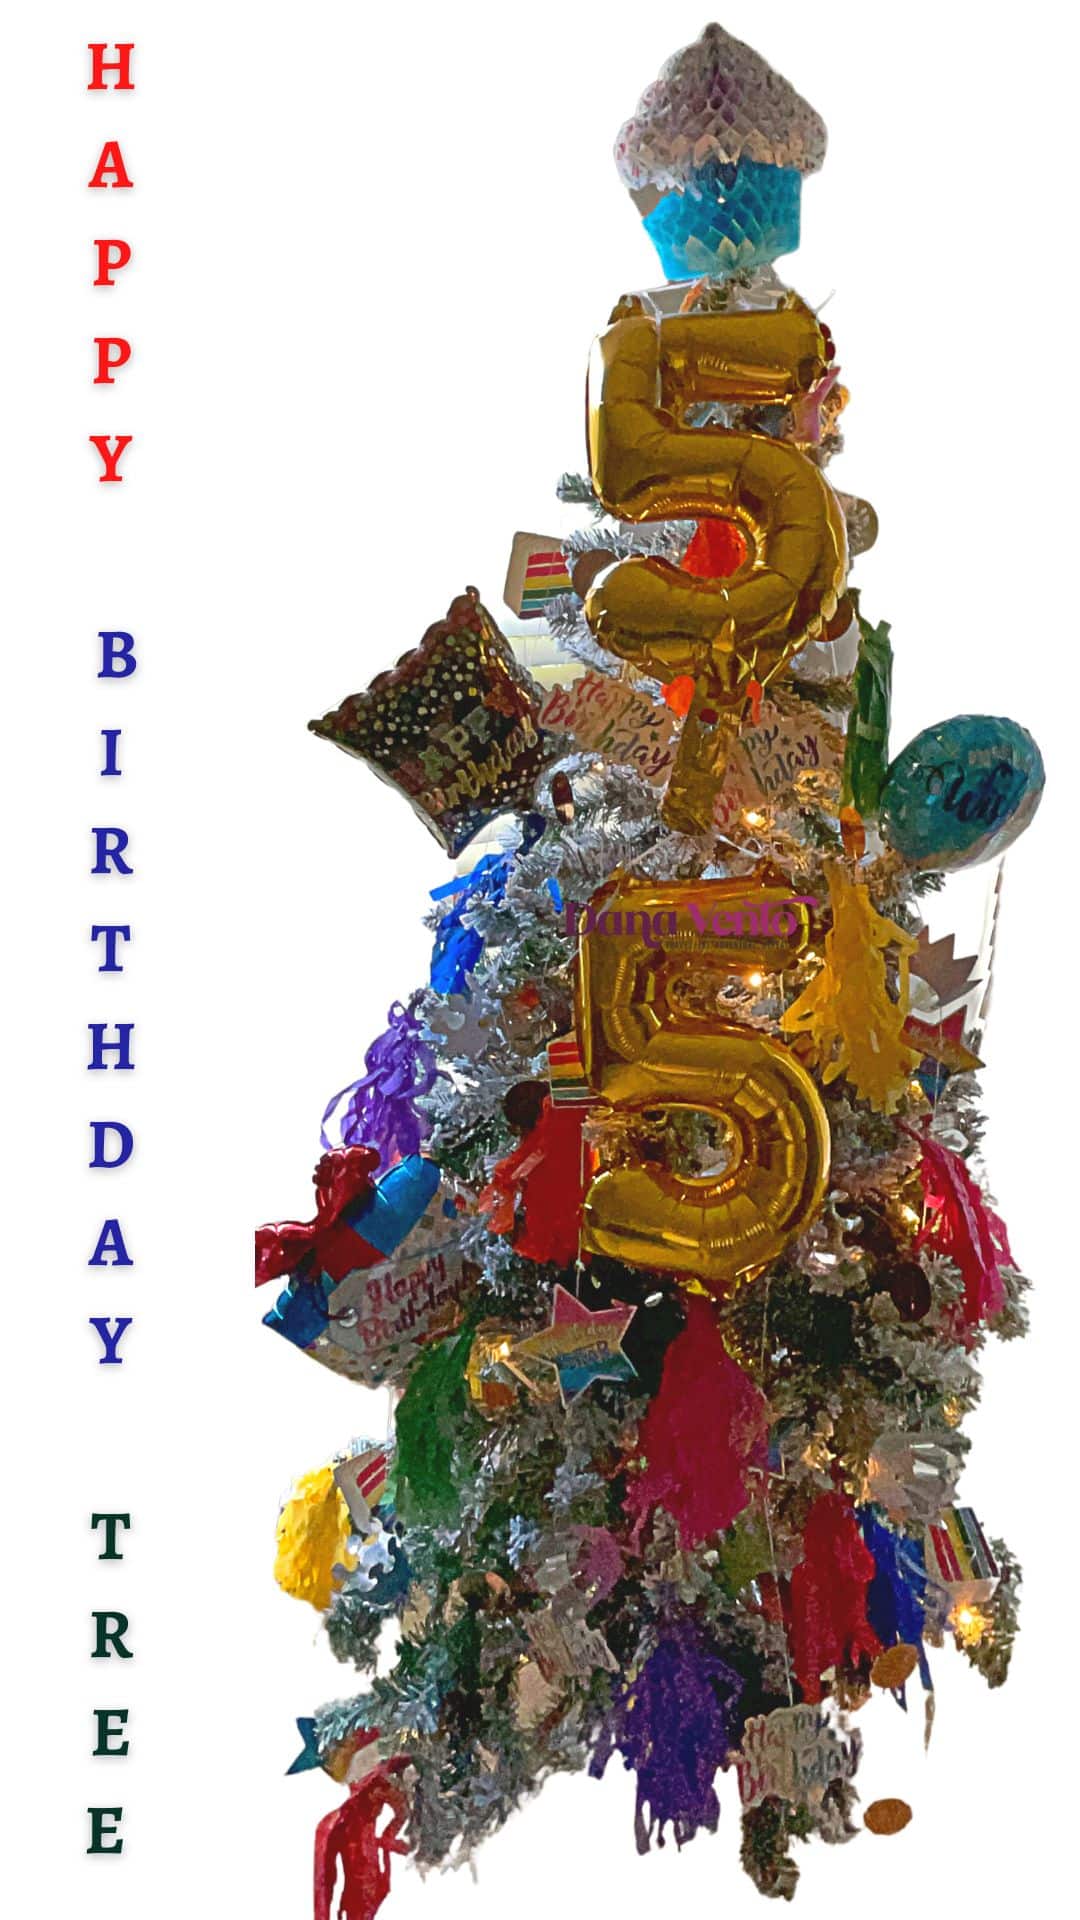
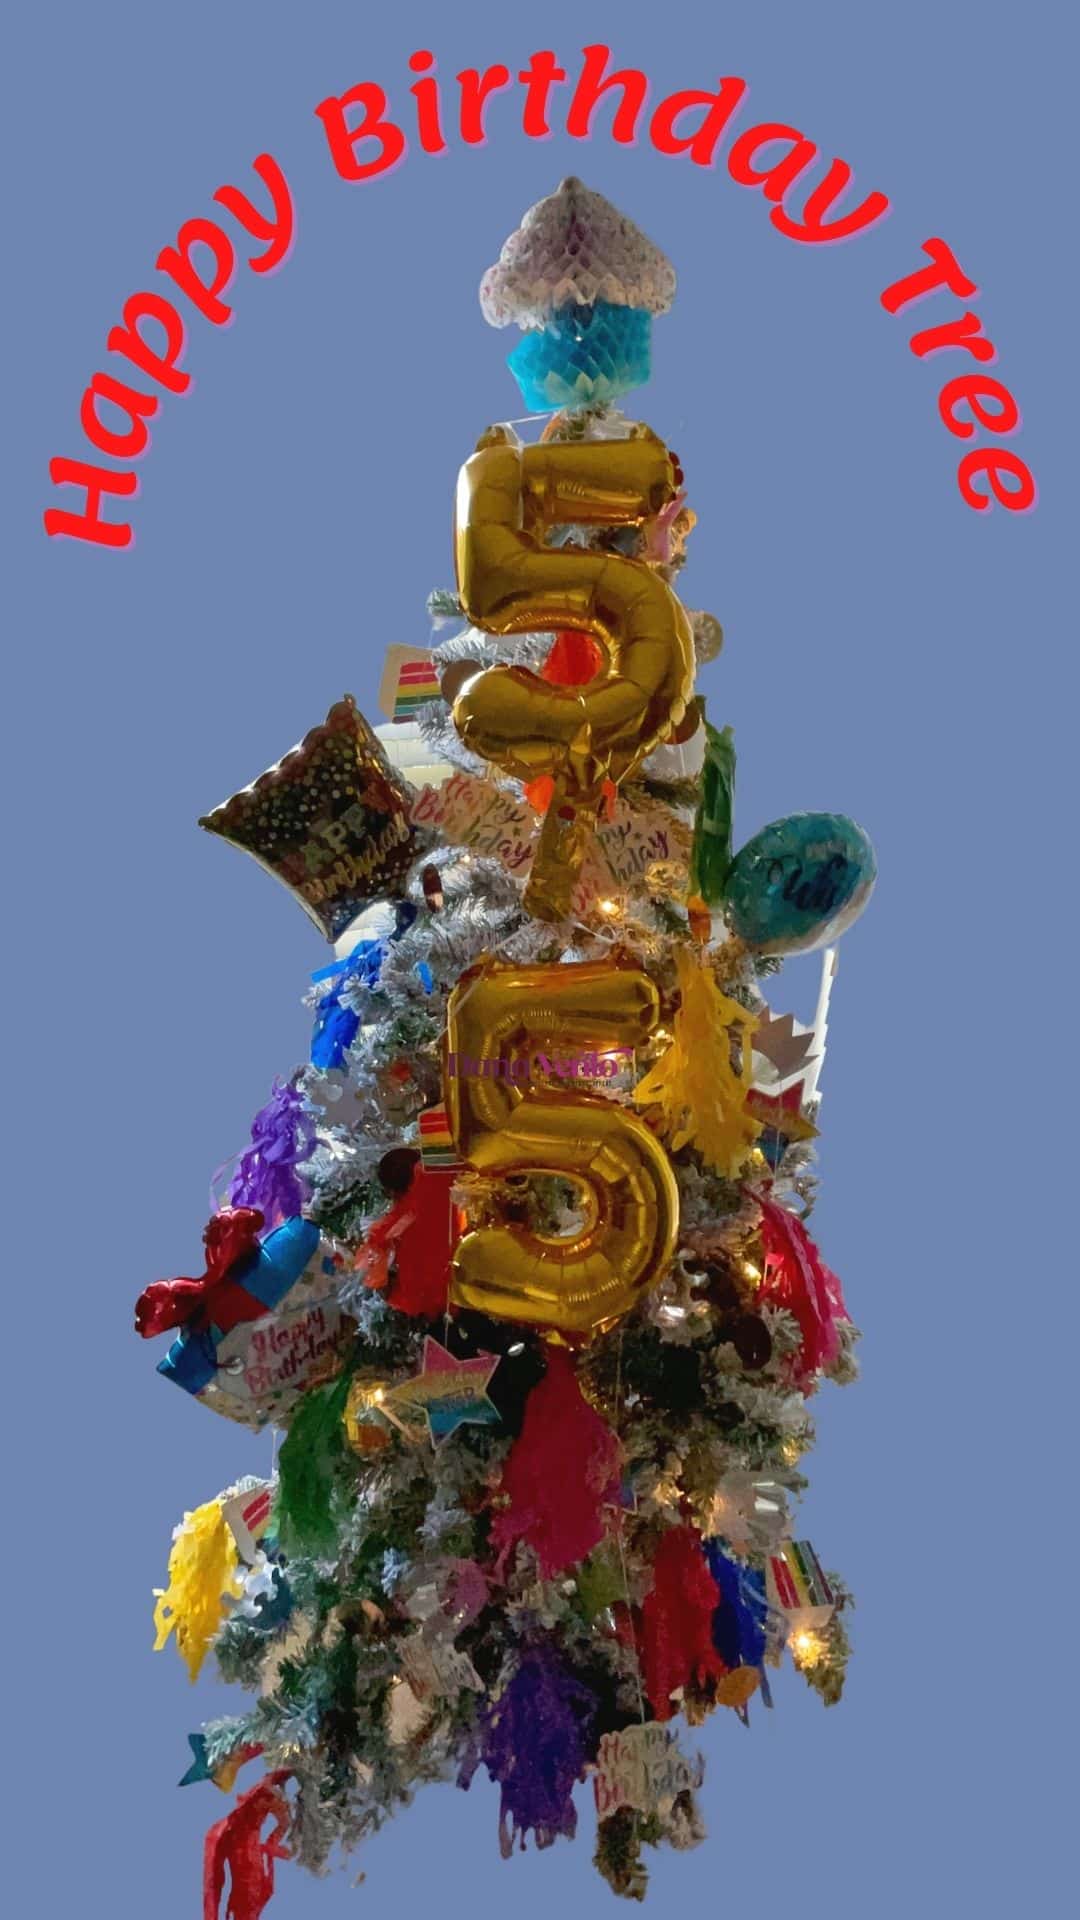
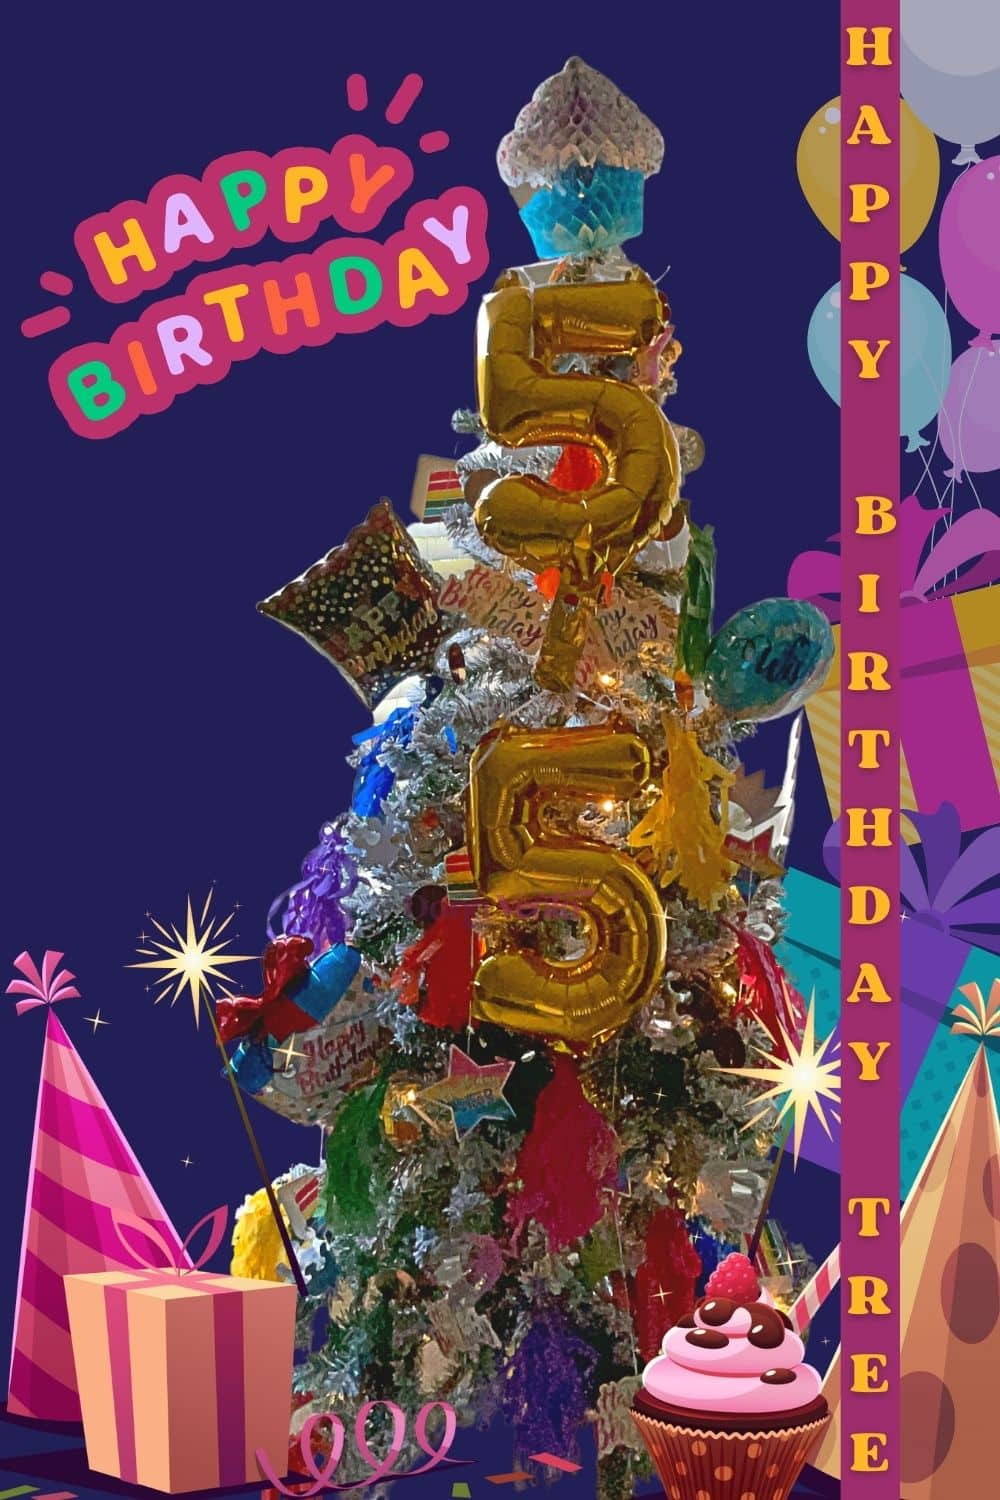
After discussing all the whys and hows of the Birthday Tree, you might be wondering what it actually looks like in real life. Well, wonder no more! I’ve got you covered with a real-life example from my own home. Take a peek at our Happy Birthday Tree as it appeared in all its glory on Instagram. It’s a snapshot of how these ideas come to life and add that extra sparkle to birthday celebrations. Check out the Birthday Tree on Instagram and get inspired for your own creation!
Items You Need To Make Your Happy Birthday Tree
Transforming your Christmas tree into a fabulous Birthday Tree is simpler than you think. I shopped between the Dollar Tree and Amazon for everything I needed.
Here’s my detailed list of what I used and what you might want to consider to get started:
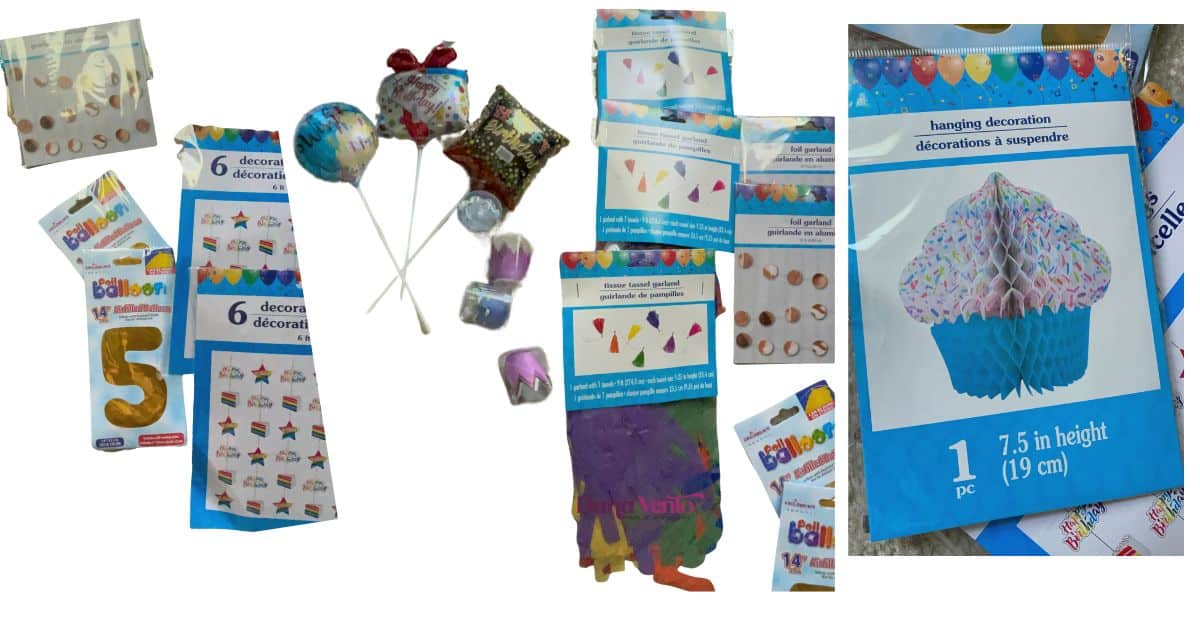
- Mini Foil Glitter Crowns: Perfect for adding a royal touch to your tree. These crowns shimmer and shine, making your Birthday Tree fit for a celebration king or queen.
- The Fabulous Christmas Tree: Don’t have one yet? No worries! Here’s the tree we used – it’s versatile and perfect for both Christmas and birthday transformations.
- Gold Foil Inflatable Numbers: Ideal for highlighting the age being celebrated. These numbers are eye-catching and bring a personalized element to your Birthday Tree.
- Gold Foil Garland: This adds a touch of elegance and glamour. The garland’s shimmer complements the crowns and creates a cohesive, festive look.
- Honeycomb Cupcake Printed or Any Honeycomb Party Decoration: These decorations bring a playful and whimsical vibe to the tree. They’re light, colorful, and perfect for any birthday theme.
- Rainbow Party Combo Tassels: Add a burst of color with these tassels. They’re great for creating a festive and fun atmosphere, and their variety in color means they can match any theme.
- Tassels Tissue Rainbow Colors: These add depth and texture to your tree. Their vibrant colors make the tree pop and bring a joyful spirit to your celebration.
- Pre-Inflated Mini “Happy Birthday” Balloons on Sticks: No birthday is complete without balloons, and these pre-inflated mini balloons are just adorable. They’re easy to attach to the tree and instantly elevate its festive look.
How To Make A Happy Birthday Tree
Transforming a Christmas tree into a delightful Birthday Tree is easier than you think! Follow these steps to create a birthday spectacle that will be the talk of the party. And hey, check out how it all comes together in this Instagram video for some real-time inspiration!
Step 1: Build Your Christmas Tree and Convert It To A Birthday Party Tree
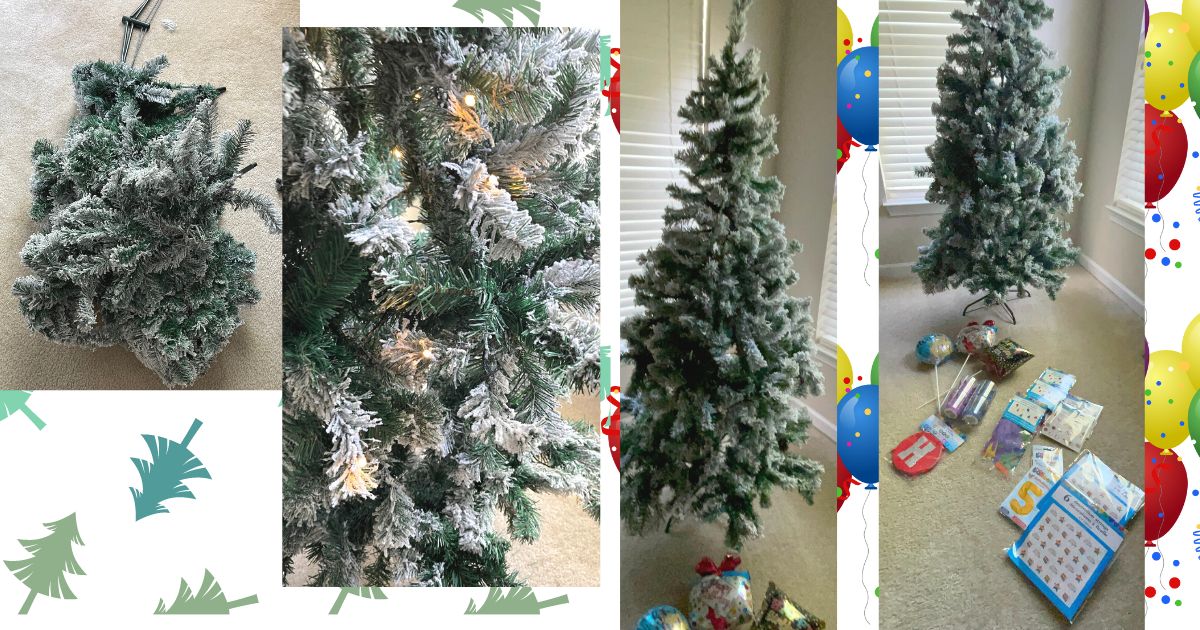
First things first, let’s set up your Christmas tree. If it’s not pre-lit, twine some fairy lights around it to start the magic. Here’s my tree transforming from a simple piece to a pre-lit beauty – see the transformation.
Step 2: Prep Your Birthday Ornaments For The Tree
Lay out all your birthday decorations – it’s time to turn them into tree ornaments. Visualize how each piece will add to the tree’s birthday flair. Remember, if you need a tree, Amazon has some great options.
Step 3: Begin With Vertical Party Ornament Trim First For The Party Tree
Start with vertical elements like rainbow party signs. Space them evenly for a harmonious look, leaving room in between for the foil garland dots you’ll add next.
Spacing is important here, so do leave space between each of the hanging vertical decor.
Step 4: Add Colorful Tassels To The Decorated Birthday Christmas Tree
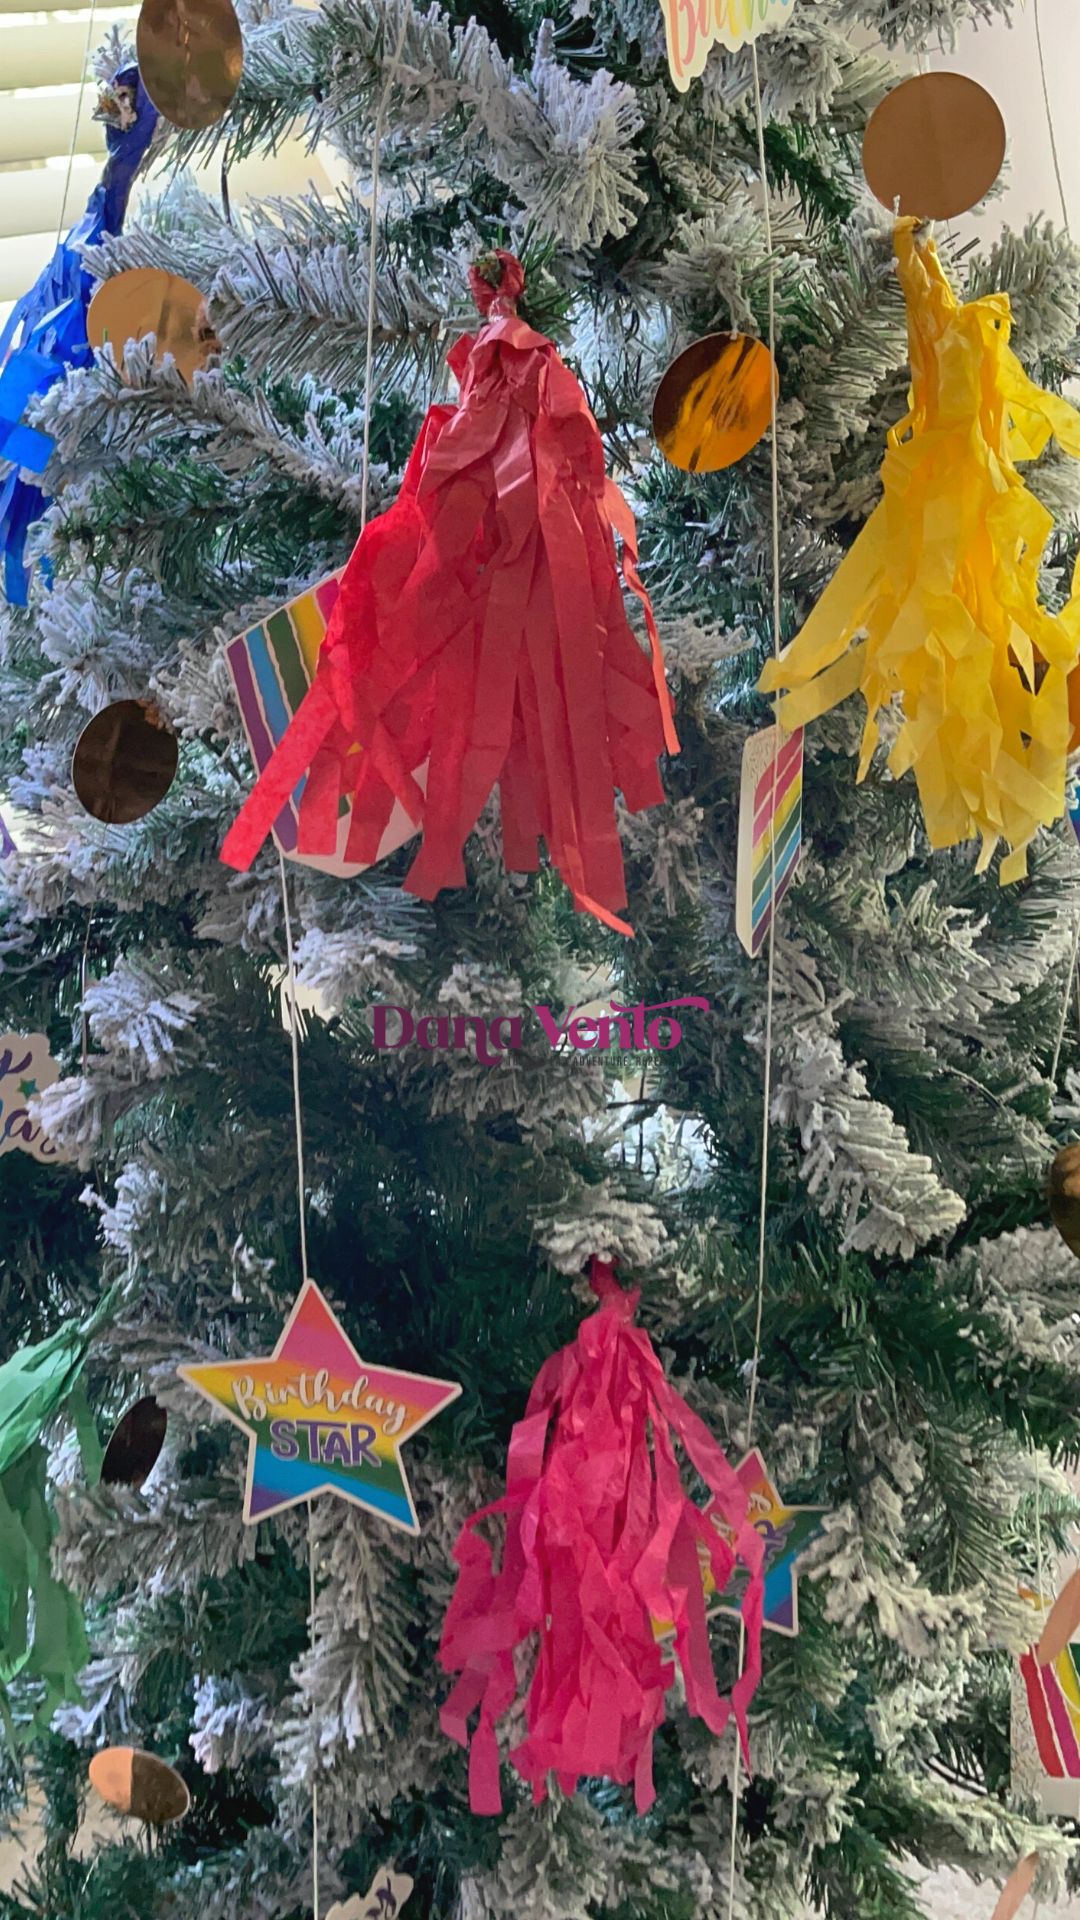
Attach tissue rainbow tassels across the tree, varying colors as you go. This step adds a playful burst of color – essential for any Birthday Tree. Here’s how it looks ↓↓
Step 5: Crown That Party Tree For Birthdays
Next up, the mini foil glitter crowns. Hang them with care to bring a regal touch to your Happy Birthday Tree!
Here’s a tip: I suggest alternating the colors and spreading them throughout the birthday celebration tree to keep the eye moving with color and for a dynamic overall effect. Those elastic loops make it easy to hang these little gems!
Step 6: Prep The Happy Birthday Tree Tree Topper With A Cupcake
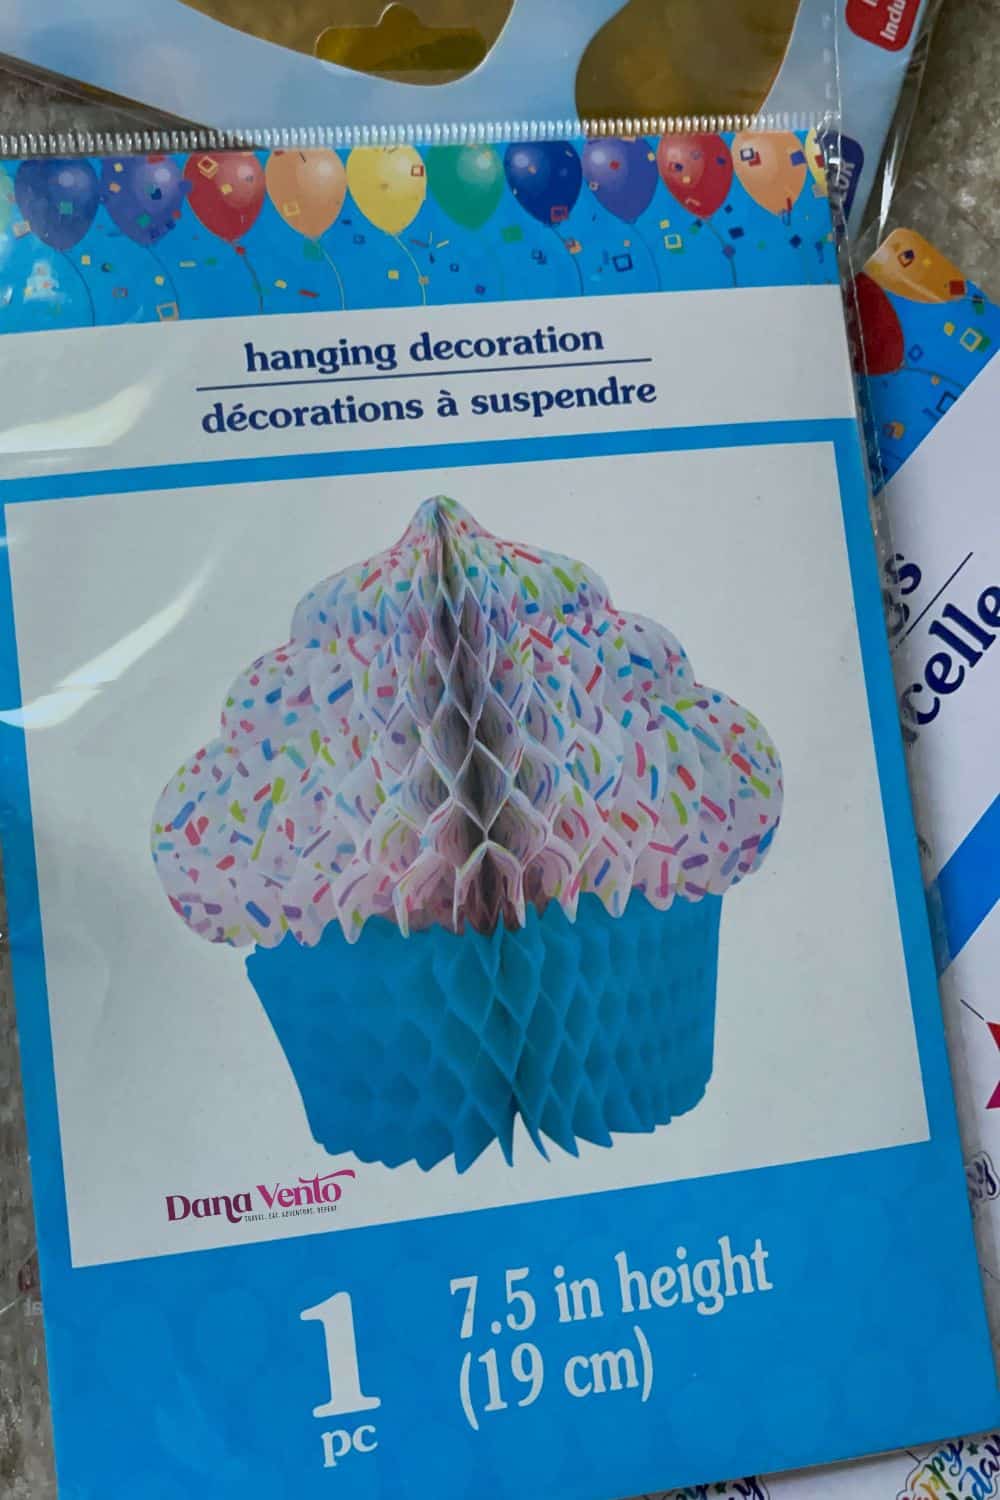
Top off your tree with something sweet – a honeycomb cupcake topper. It’s the cherry on top of your Birthday Tree. Look how it sits perfectly atop.”
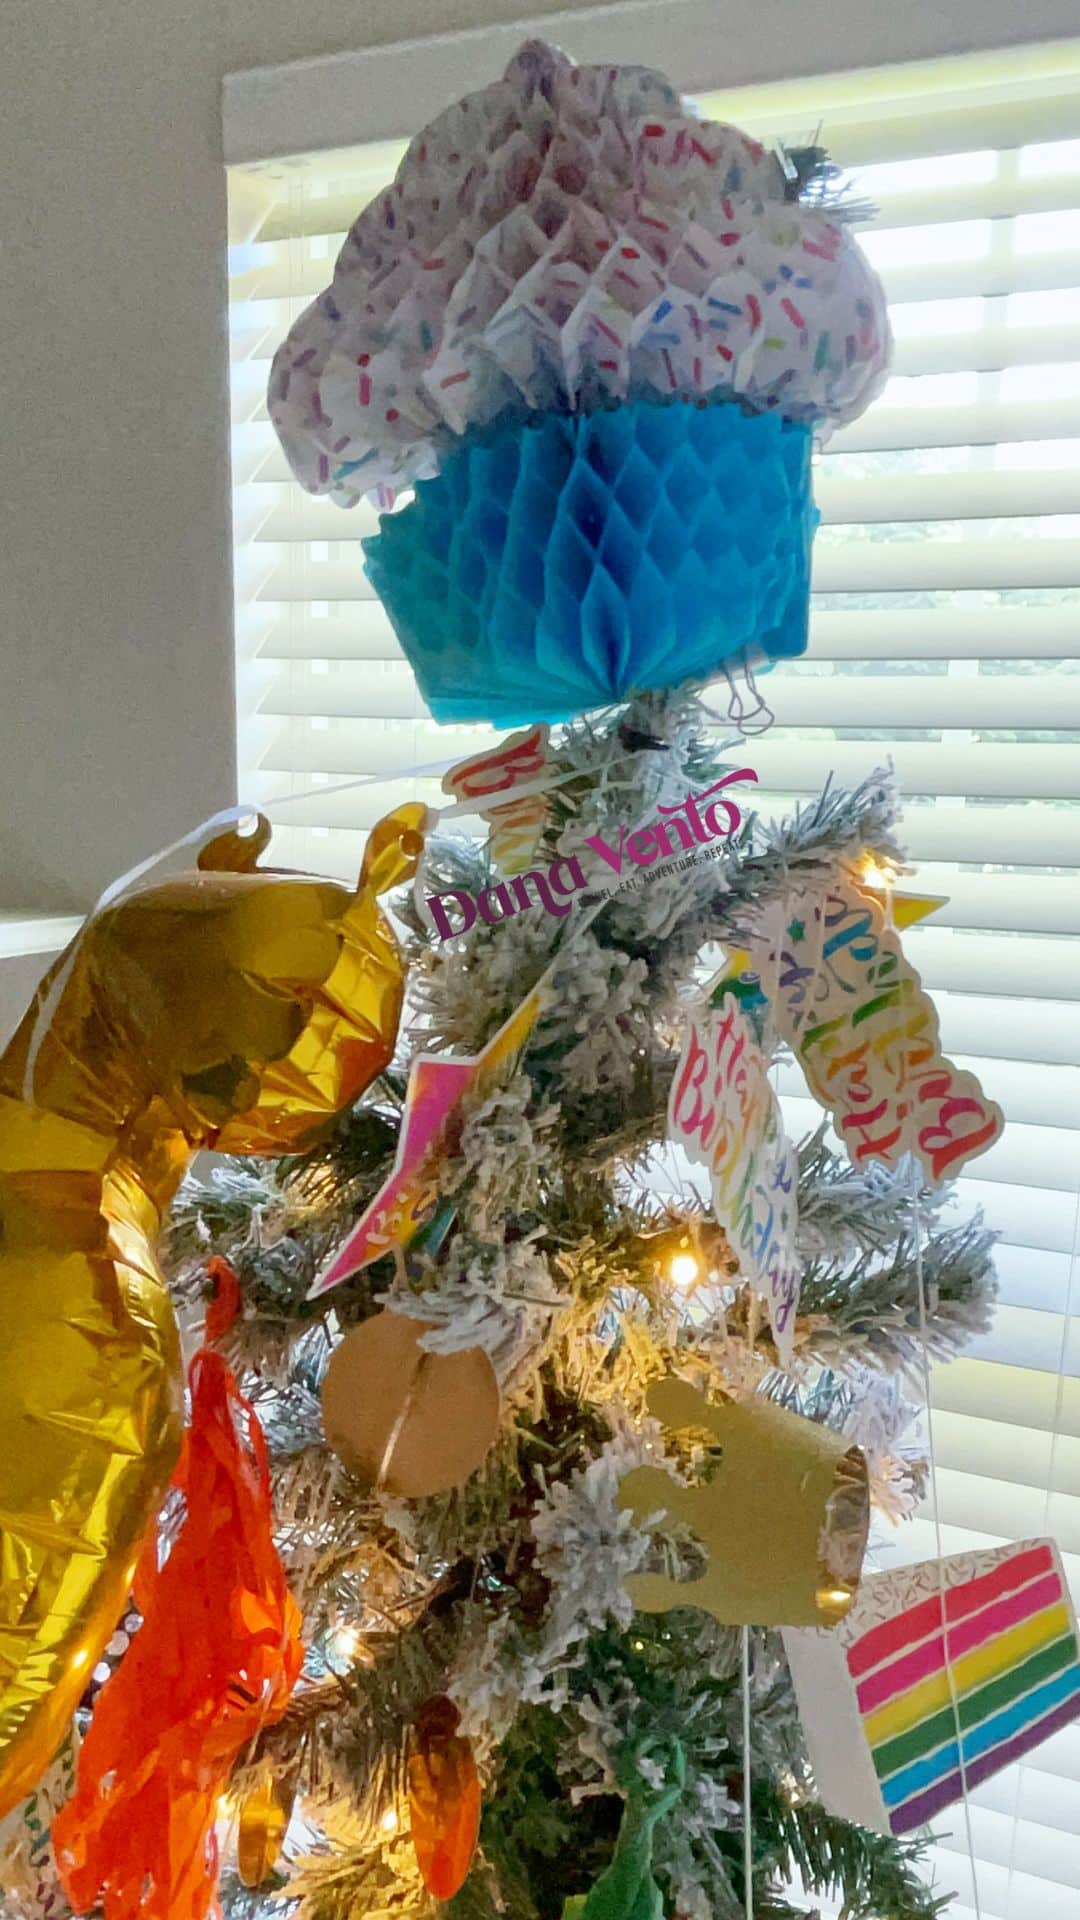
Step 7: You’re Almost Done With The Decorated Birthday Christmas Tree
Finalize with foil mylar numbers and pre-inflated mini balloons. These details bring everything together, celebrating the special day. And there you have it – your very own Birthday Tree!
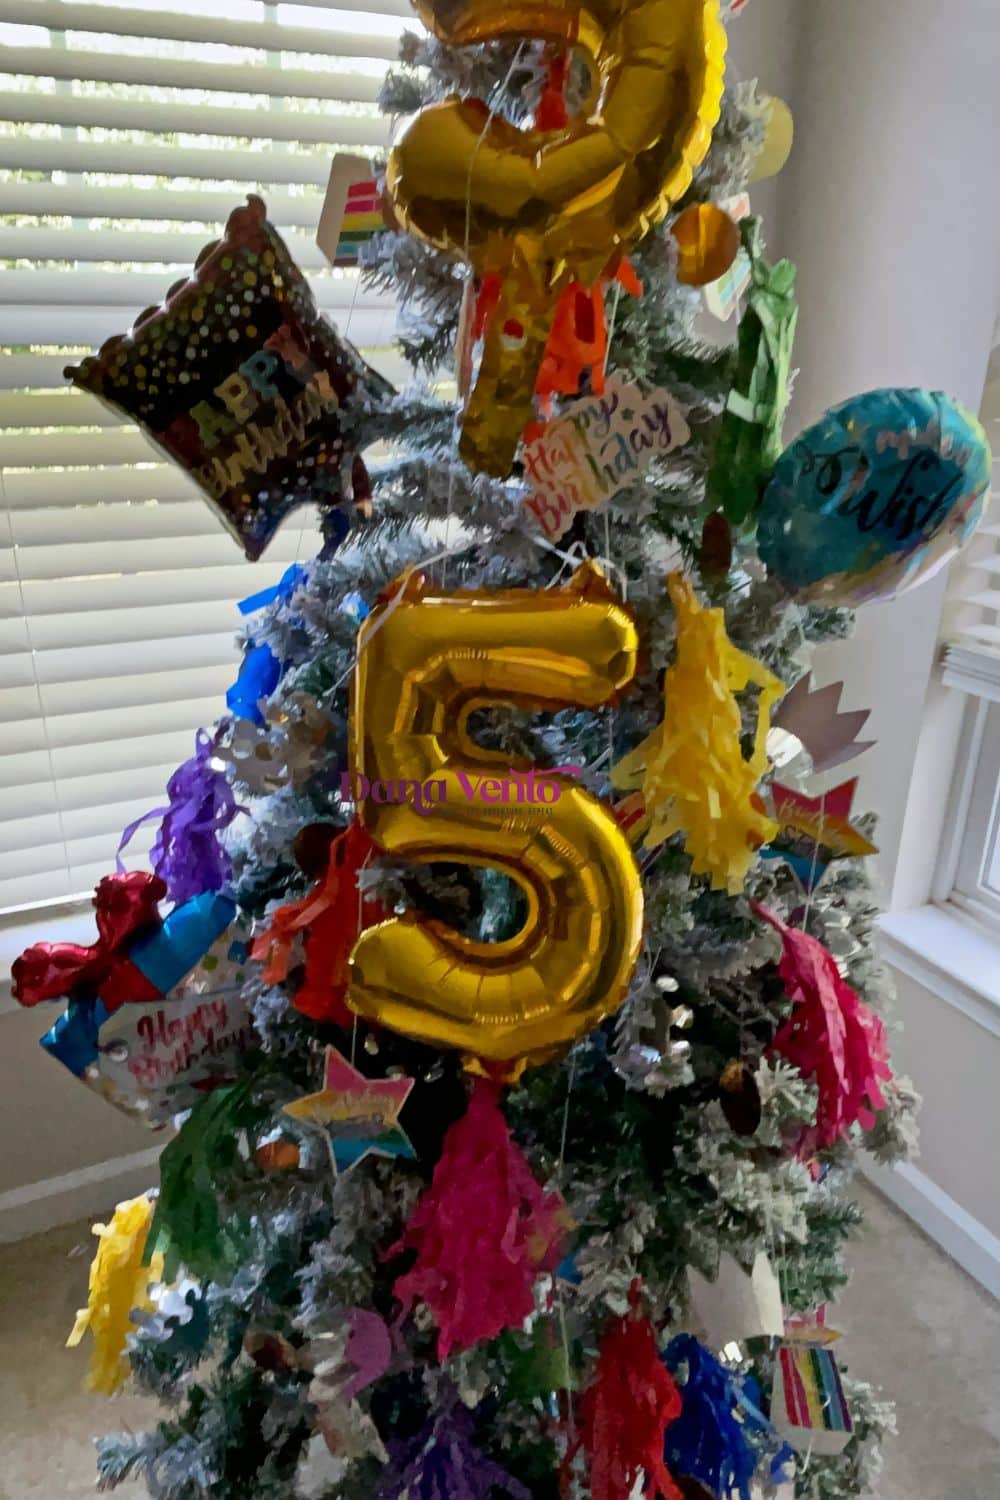
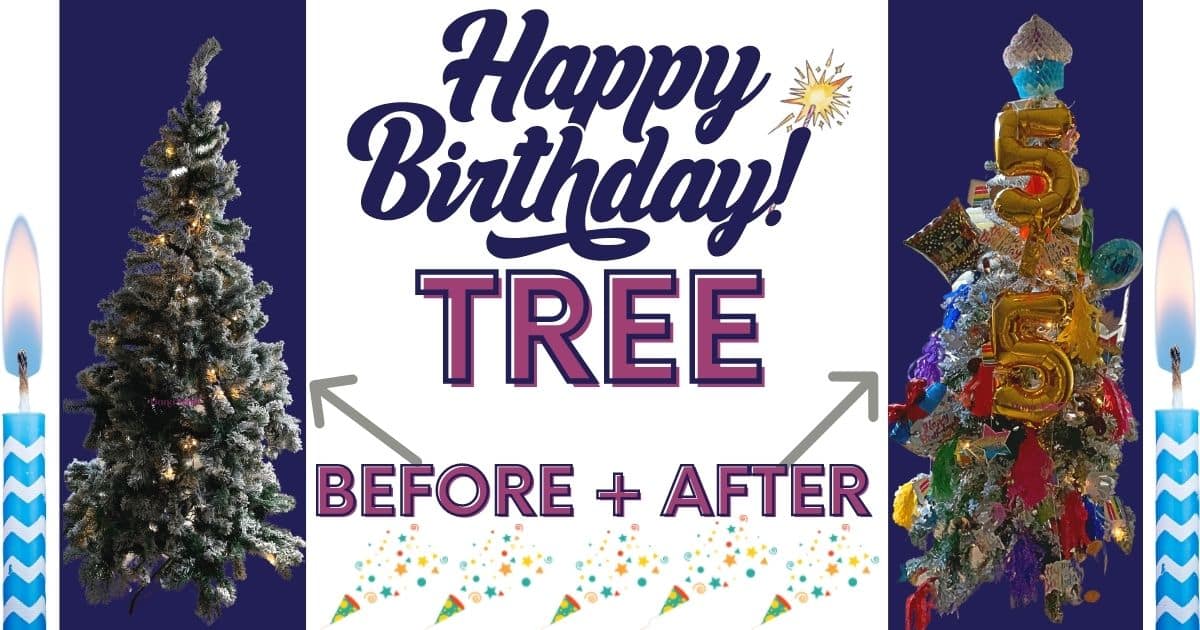
The Before and After of A Christmas Tree Converted To A Birthday Tree
What Themes Can I Make On A Birthday Celebration Tree?
Thinking about themes for your Birthday Tree is like embarking on a creative adventure. The possibilities? Limitless, as Buzz Lightyear would say, ‘TO INFINITY AND BEYOND!’ Whether you’re aiming for whimsy, elegance, or pure fun, the Birthday Tree is your canvas.
Here are some themed ideas to inspire your Birthday Tree transformation:
- Classic Birthday Bash: Think balloons, streamers, and all things birthday! This is your traditional, vibrant, and joyful birthday setup.
- Color-Themed Extravaganza: Choose a color or a combination of colors that the birthday person loves. From a serene all-blue tree to a vibrant rainbow-themed one, the sky’s the limit.
- Movie or Character Themes: Is there a favorite movie or character that the birthday person adores? Whether it’s a superhero or a Disney classic, tailor your tree to reflect this theme.
- Nature-Inspired: For the nature lovers, how about a tree that brings the outdoors in? Decorate with floral garlands, faux birds, and green tassels.
- Sports Fanatic: If the celebrant is a sports enthusiast, decorate with items reflecting their favorite sport or team.
- Elegant and Sophisticated: For a more grown-up theme, think along the lines of minimalistic decorations, subdued colors, and tasteful lighting.
Remember, these are just to start you off. The true beauty of the Birthday Tree lies in its ability to be anything you want it to be. It’s your family’s tree, your celebration, and your story. Can’t wait to see what themes you come up with for your Birthday Tree!
FREE Printable with Birthday Celebration Tree Themes To Try
Grab Your Free Printable with themed Ideas for Your Tree we hope the list inspires you to make a fabulous birthday-themed tree.
Make Sure To Come Back and Tell Me How Your Happy Birthday Tree Turned Out
And here are the instructions in the printable form to build this tree!
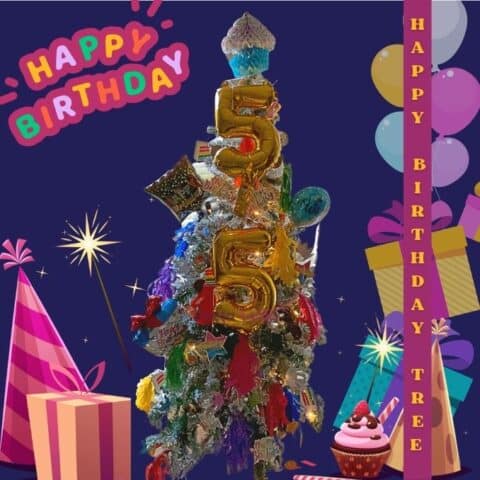
Happy Birthday Tree
Celebrate the birthdays of loved ones in your life with an easy DIY UPcycle of a Christmas tree converted to a Happy birthday tree in a few simple steps.
Materials
- Christmas tree with lights
- Mini Foil glitter Crowns (these come 6 to a pack )
- Gold Foil Inflatable Numbers
- Gold Foil Garland
- Honeycomb Cupcake Printed Used as a Topper
- Rainbow Party Combo
- Tassles Tissue Rainbow Colors
- Mini Pre Inflated Balloons
Tools
- Scissors
- Hands
- Clips For Topper
Instructions
- Set up your Christmas Tree
- If the tree is not a prelit tree make sure to add the lights after you set the tree up
- Pull out all of your party supplies to decorate the tree and set them aside.
- First, add the long rainbow party birthday signs going vertical
- Next, add the foil garland dots in between the vertical rainbow party
- Next, add the tassels but don't use the supplied string just stick the tassels onto the branches each is looped so it is fast and easy.
- Add the crowns all over the tree using the elastic that is already on them, I pulled mine UP and through the crown to hang it upright and then added it to the branches.
- Prep the tree topper, but don't close it. Instead, wrap the honeycomb cupcake around the top branch and clamp with the provided clips plus add an additional book clip.
- Inflate the foil numbers and use the string from the tassels to loop from side to side and then add to the tree.
- Add in the mini pre-inflated balloons for filler and fun
- Stand back and enjoy the tree!
- Happy Birthday To You!


Leave a Reply