Every bite of my snow-kissed chocolate crinkle cookie affords you the opportunity o indulge in rich and chewy chocolate yet with a crunchy exterior.

Inspired Snow-Kissed Chocolate Crinkle Cookies
These chocolatey cookies are super simple to make and are holiday perfection.
My simple chocolate cookies were inspired by both hunger and freshly fallen snow. Winter is a gift.

The simple elegance of evergreens against the freshly fallen snow-covered ground is second to none.
Brown pine cones on the ground, bright red male Cardinals sitting on a tree branch, winter shares its beauty.
A glance outside, enjoy the sparkling white snow, bright sun, and all nature shares.
Are you craving chocolate now?
After you’ve shoveled the driveway, make a cup of hot cocoa, reward yourself with snow-kissed chocolate crinkle cookies too!
Simple Yummy Snow-Kissed Chocolate Crinkle Cookies
When I think about how many times I have made this recipe, I am almost in disbelief and I wonder why I have not shared it sooner!
You’ll find these to be very easy winter cookies that are also perfect for Christmas!

As a mom of growing kids, it seems that their hunger is always growing as well, so fast is key and my easy winter cookies deliver big on taste!
All of the kids love chocolate and admittedly so do I.
Therefore baking batches of snow-kissed chocolate crinkle cookies are a must during winter and then of course more time outside to work off the chocolate, lol, but so worth it!

Try my melted snowmen with reindeer dropping cookies.
Easy Winter Cookies
So for those seeking an easy winter cookie, you have arrived! It’s basically a make-and-bake recipe, very easy winter cookies!
In other words, your cookies won’t go into refrigerator time out because as soon as you make them, you bake them!
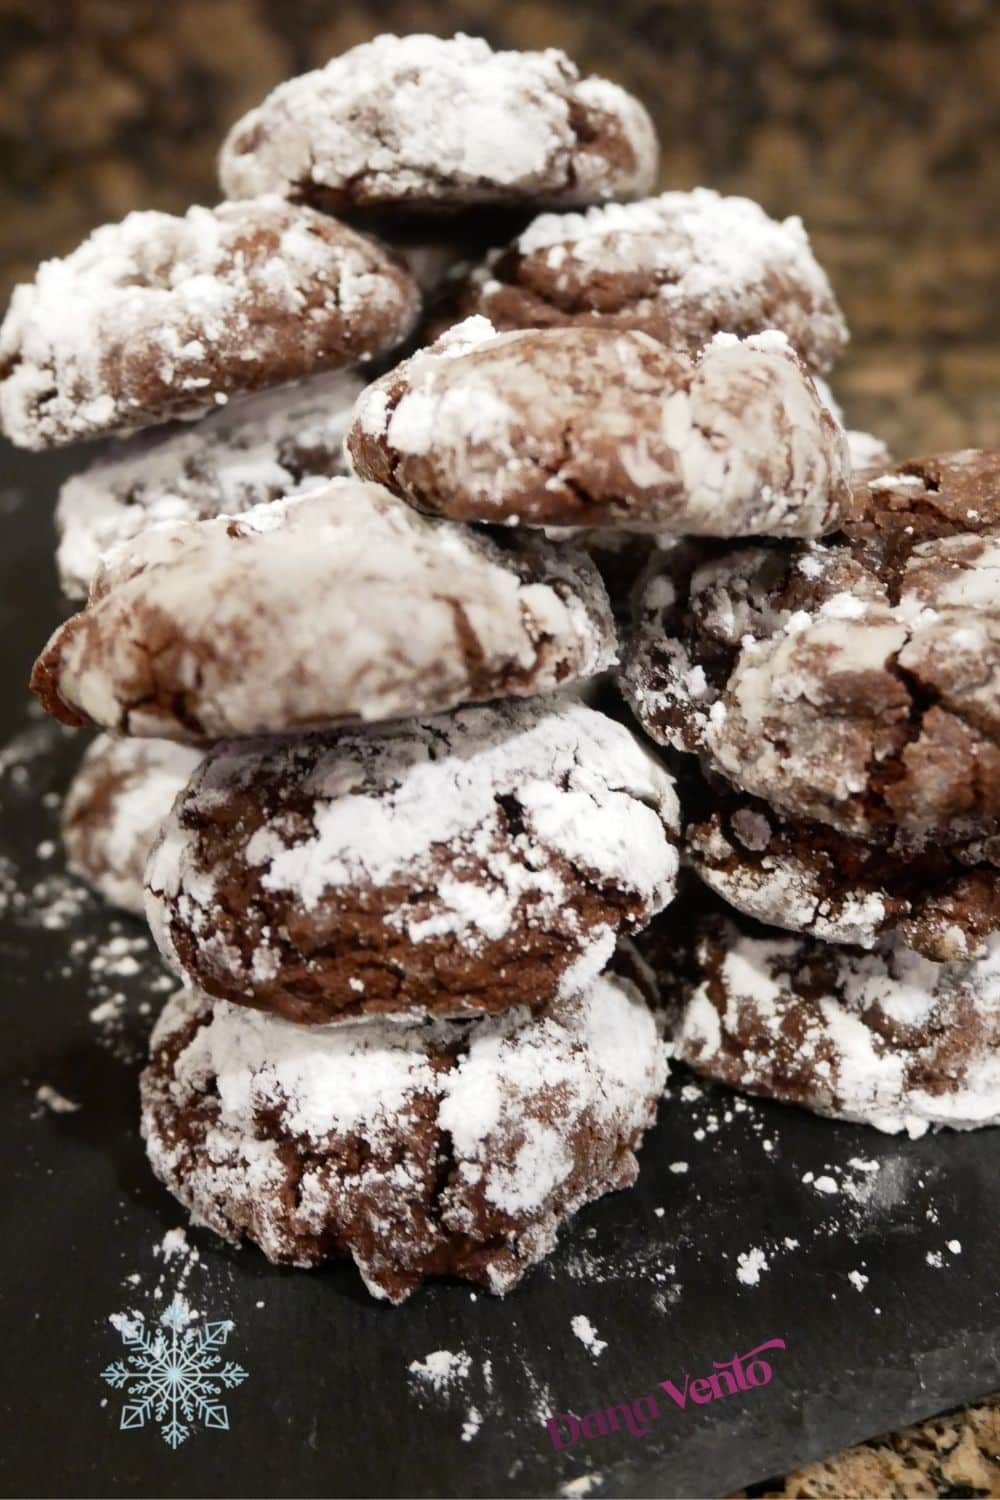
Perhaps the best thing about this recipe is there are no fancy ingredients and combining everything is easy.
Unlike many multi-step recipes, once you make the cookie dough, it’s just roll and bake, because these are easy winter cookies so my recipe process keeps it that way!
Everything in this recipe is pretty standard from the cocoa to the baking powder.
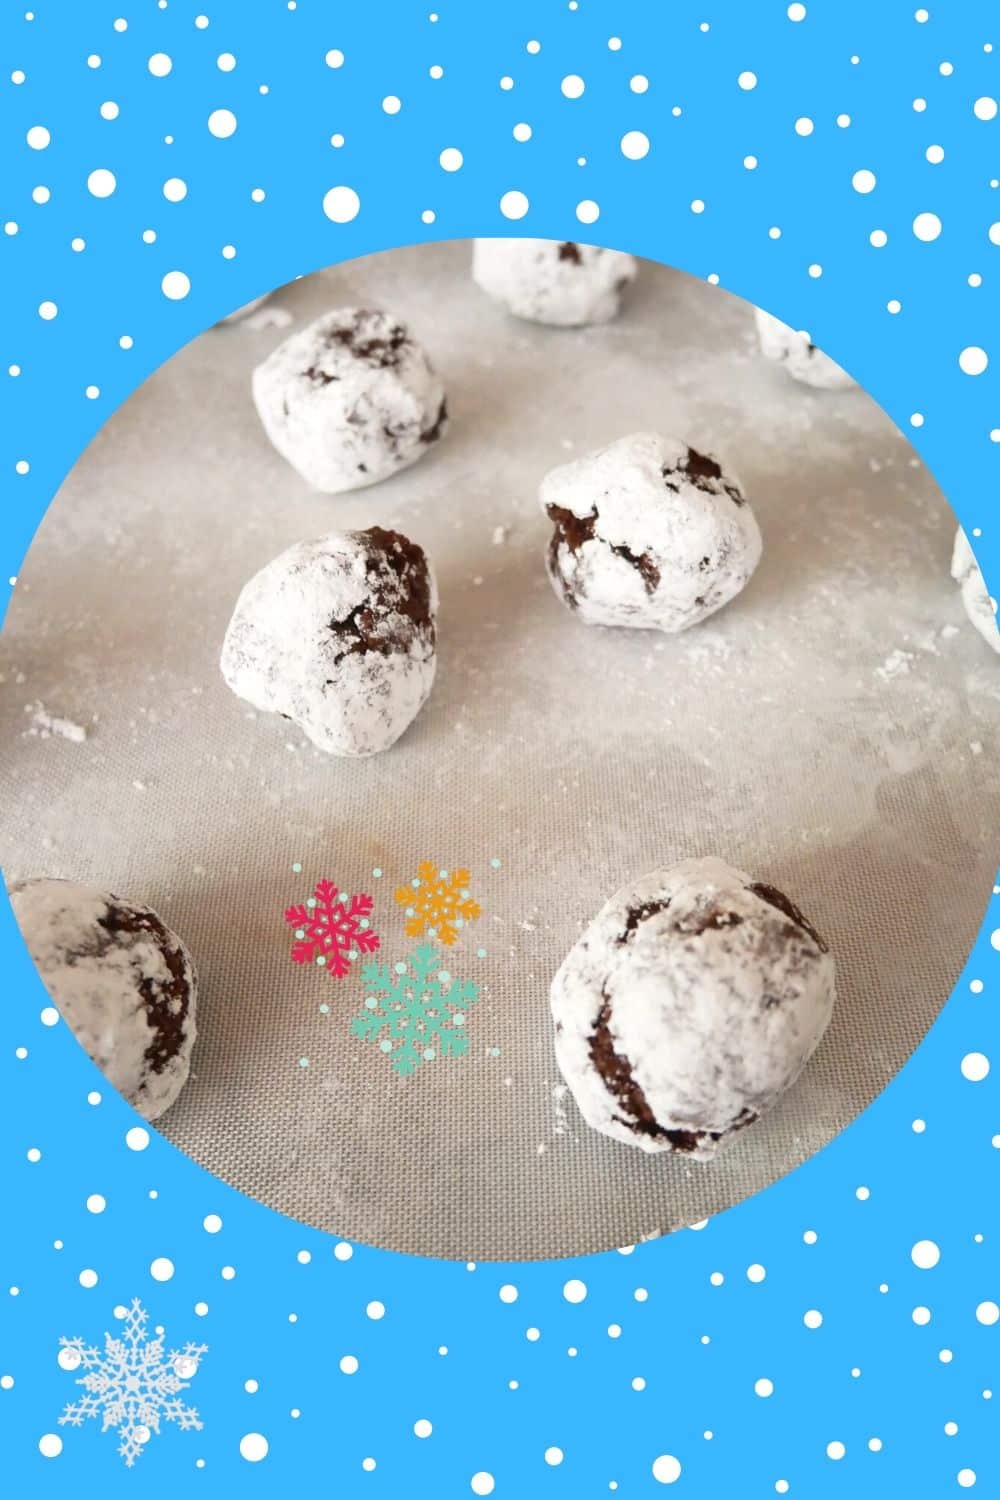
The thing that will help you most and save you time is using parchment paper or a silicone mat, so that cleanup is easy!
Tips For Baking Snow-Kissed Chocolate Crinkle Cookies
I have a favorite set of baking pans that I gifted myself, you’ll see them in many of my recipes and so many of my readers have purchased them too!
Really I could never do without them.
To shortcut this recipe, I use silicone mats or parchment as mentioned before but when I am not in a hurry and I bake on the actual baking pans, I am forever amazed at how perfectly my cookies turn out time after time!
They are nonstick, and there’s nothing that I bake on them that turns out bad.
Light, baked to perfection, and truly easy to clean after baking, you gotta get these!
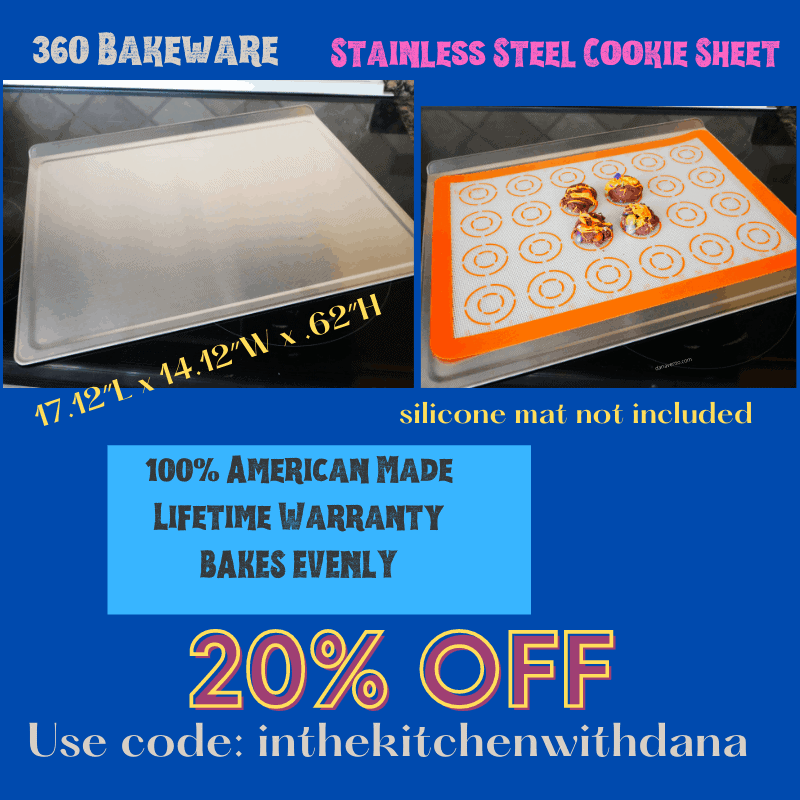
Gift yourself, no matter what season you are reading this recipe in.
Use my code: inthekitchenwithdanavento to get 20% off!
You will be able to pass these great pans from generation to generation in your family.
Snow-Kissed Strawberry Bellini is a fabulous holiday drink that goes well with these cookies and it’s another ‘snow-like’ option!
Chocolate and strawberries are a match made in heaven and if you are looking for a fantastic winter drink, well, this is it!
Then of course the cookies are their own little treasure!
Cocoa Powder & The Bang Bang
First, I never ever follow my to-the-tee recipes because as many of you know I a more of a pinch of this and a drop of that.

But, the recipes are tested over and over, and then I embellish because this is who I am.
I don’t like to color in the lines and measurements bore me!
That said, for cocoa, I add more and I decrease my flour when I add more chocolate, basically a 1:1 trade no matter the amount.
Next, I drop the cookies on the pan, and I do NOT press them.

However, once they are baked and come out of the oven, I BANG the pan.
This allows the cookies to crinkle.
Confectioner’s sugar is the perfect ‘snow-covered’ effect that tops them off.
In case you want a little orange flavor introduced, you can zest up an orange when you are stirring in the ingredients.

Snow-Kissed Chocolate Crinkle Cookies
Ingredients
- 1 C Light Brown Sugar
- A stick of unsalted butter softened
- 2 Eggs do not use brown eggs
- 1 1/2 Tsp Vanilla
- DRY MIXTURE
- 1/4 Tsp Salt
- 1 1/4 C Flour
- 3/4 – 1 C Unsweetened Dutch Cocoa Powder
- 1 1/2 Tsp Baking Powder
- Confectioner’s Sugar
Instructions
- Preheat your oven to 350° F.
- Prepare your trays with silicone baking mats
- Wet Ingredients
- In a large mixing bowl (or your stand mixer bowl), add in the softened butter.
- Next, add in the eggs.
- Now the brown sugar.
- Vanilla.
- Mix this together.
- Let’s move to the dry ingredients and add those in (you can thank me for not making you use a separate bowl to mix them in, it serves no purpose than to make an additional bowl to clean up!)
- Baking powder.
- Salt.
- Cocoa Powder (I add the heavier hand as listed on this to make it really yummy, but if you just want the taste and color of chocolate stay on the 3/4 C side.
- Add in the flour.
- Mix to combine.
- You can refrigerate your cookie batter at this point for a few hours or you could use it right away (which I do)
- Using a cookie scoop (1.5"), scoop a cookie ball, then dip it in confectioner's sugar before placing cookies 2" apart on your prepared baking pan.
- Leave them in a ball scoop, do NOT FLATTEN.
- The cookie will bake for 10-12 Minutes Do NOTE The cookies will CRACK on their own while baking.
- Don’t over bake.
- Naturally, the first batch is going to be the longer bake of 12 minutes.
- By the second round, you will be at about 10 minutes firm.
- When you remove the cookie from the oven (with hot mitts on), firmly smack the pan against the countertop (I do this on a layered towel) and the cookies will crinkle more!
- Allow these to cool, then transfer to a cooling rack (about 10 minutes).
- Repeat the entire process above until all of our cookies are baked (approximately 24 cookies)
- Once cooled, snow cover the cookies again, or if you are not serving immediately transfer to an airtight container.
- If You Are Serving The Cookies
- Leave the cookies on the cooling racks.
- Before moving the racks, line the space with parchment paper, then place the cookies on the cooling rack over the parchment paper.
- Simply move the confectioner shaker over the cookies and snow cover.
- That’s it.
- I do not suggest storing with confectioner’s sugar on them, as it could melt from the moisture of the container.
Notes
I’ve always made them and baked them. Do dip your cookie balls in confectioner’s sugar before baking and then once cooled you can add additional powdered sugar.
Now it is time to satisfy your sweet tooth.
Get your cookie pans and stand mixer ready, it’s time to bake snow-kissed chocolate. crinkle cookies.
Enjoy baking, and then after they cool, sit back and indulge in a snow-kissed chocolate crinkle cookie. ~ Dana XO


Leave a Reply