Stop spending money on pre-fabricated outdoor Christmas trees when you can easily make your own Christmas trees out of tomato cages quickly and inexpensively.
Anyone who loves to decorate for the holidays will want to learn how to make our tomato cage Christmas trees that we are sharing today so you can use these front porch Christmas trees immediately!
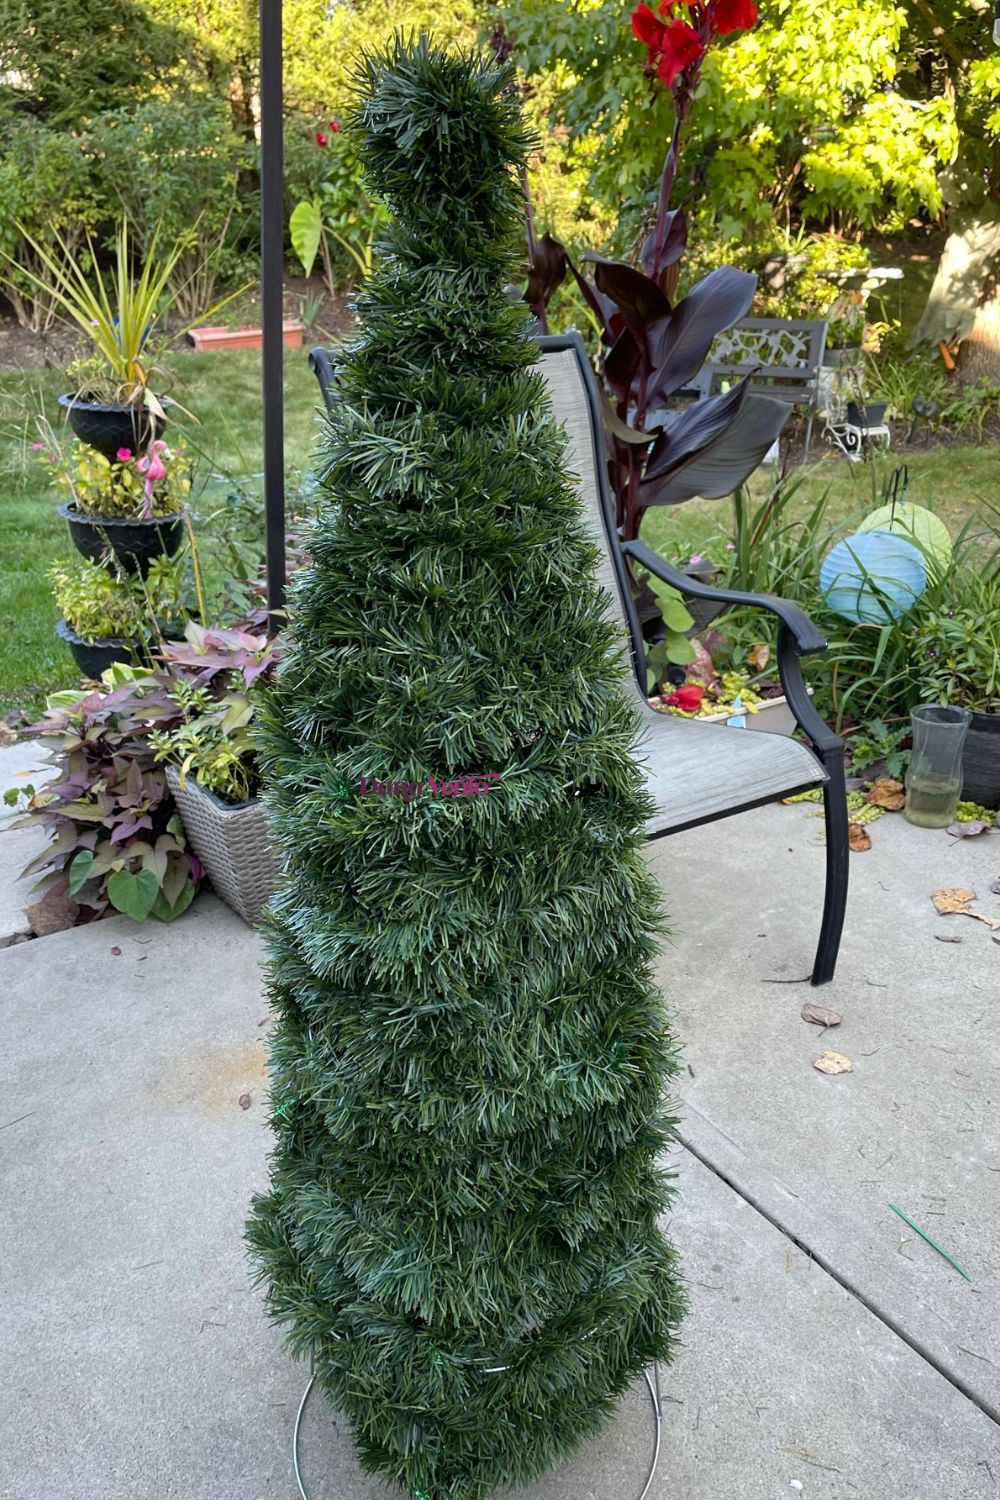
Plus, if you garden, you can upcycle your tomato cages rather than tossing them out!
After you read this short post and watch the video, you’ll see how to make our Christmas tomato cage project, and you will probably make a few!
Why Make Christmas Trees From Tomato Cages and Garland?
Making outdoor or indoor trees for Christmas out of tomato cages and garland is possibly one of the easiest DIY projects you can do for the holiday season.
Crafting Tomato Cage Christmas trees is fun and festive as you’ll see the end product as you make it, which is inspirational on its own!
My DIY Tomato Cage Christmas trees for definitely a beginner’s level DIY for the holidays, but those that are pro DIYers can actually deck out the trees and build on more, so it’s an everyone’s included holiday DIY.
Plus, as an added bonus, you’ll love to know that they look as good and maybe better than their counterparts in the retail stores that cost you triple the price!
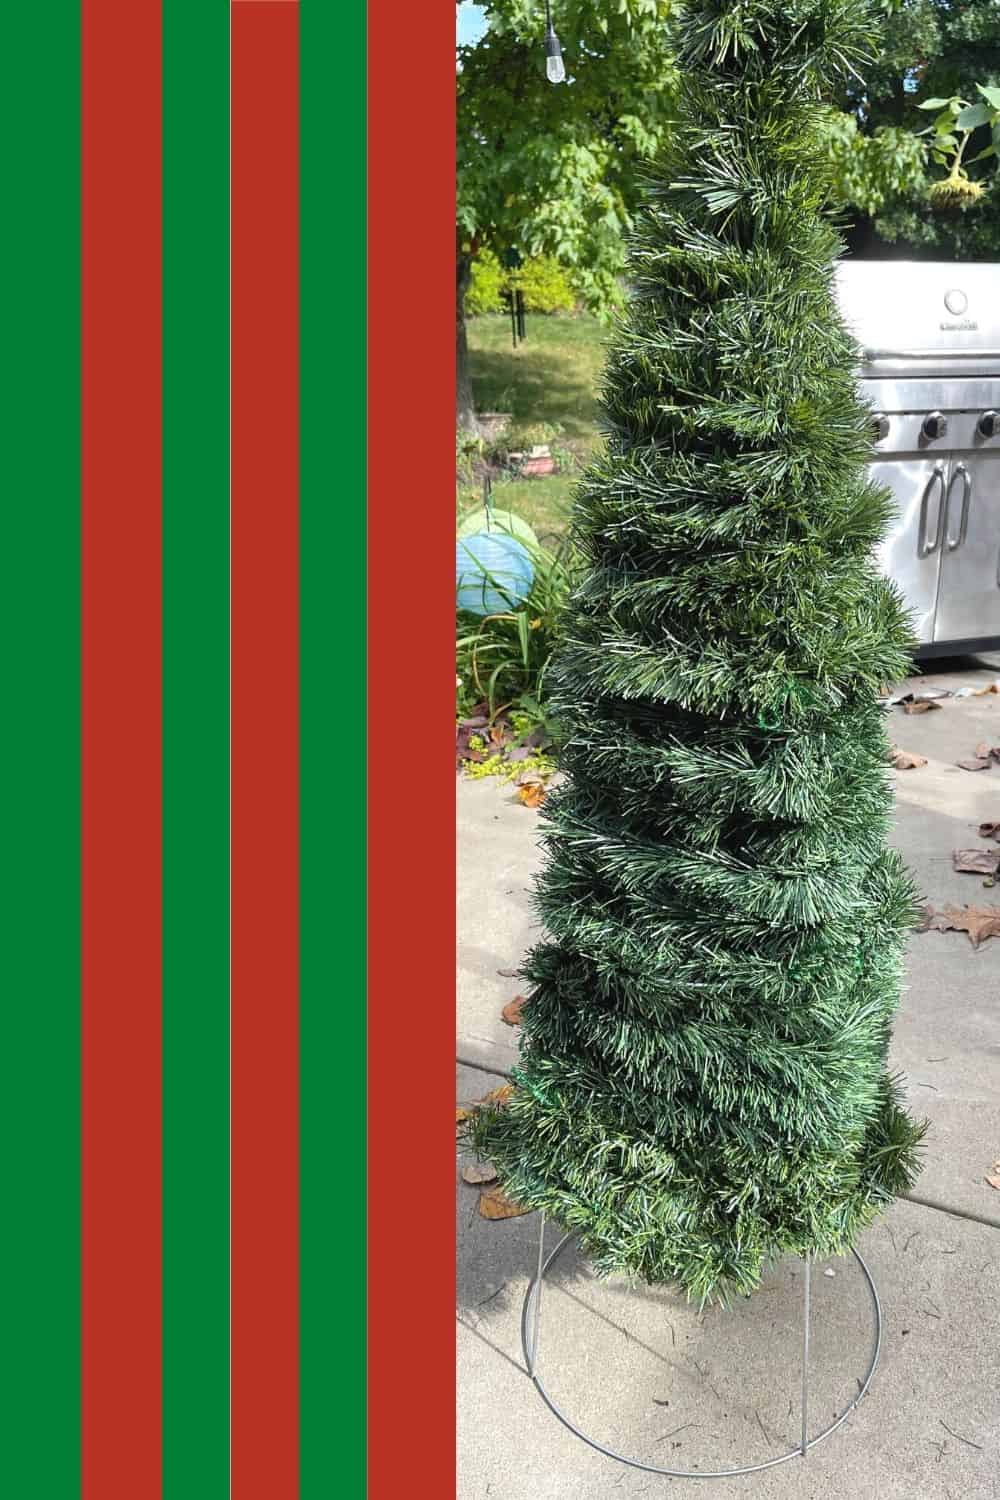
Christmas is up and coming, and you gotta get started on those simple DIY holiday projects, so you are ready to usher the season in.
- a great way to use your end-of-gardening-season tomato cages, both big and small
- easy to work with crafting materials
- a perfect upcycle project
- making holiday trees from garland and tomato cages is affordable
- tomato cage Christmas trees are at least 2 feet tall and can be made up to 5 feet tall with stability
- you don’t need any special tools to DIY a Christmas tree from garland and a tomato cage
Supplies You Will Need To Make Tomato Cage Christmas Trees
Watch my Video TO Put It Together >>> Video Of Tomato Cage Christmas Tree
- Equipment
- Wire Cutters
- Floral Wire or Zip Ties
- Glue Gun with Glue Sticks (optional)
- Garland
- Tomato Cage
- Sparkly Garland or whatever you prefer for Glitz and Glam
- Optional – Bows Decor, etc

How To Make A Tomato Cage Christmas Tree (Front Porch Christmas Tree)
Making Christmas trees from tomato cages is a simplistic procedure, but you do need to make certain to have all of your tools and materials ready so that you do not have to step away from the DIY Process.
You will be able to make each one in 10 minutes or less!
Step 1: To Make Your Christmas Trees From Tomato Cages
- you need tomato cages, or you can upcycle the tomato cages that you have
- visit your local garden center at your favorite home improvement store to purchase some
Step 2: Converting Your Tomato Cage Into A Christmas Tree
- Turn the Tomato Cage upside down so the large end is on the ground.
- Take the tomato cage legs and ZIP tie them together at the top.
- Once secure, choose which end you want to work from and begin.
Step 3: Adding Garland to Your Tomato Cage Holiday Tree
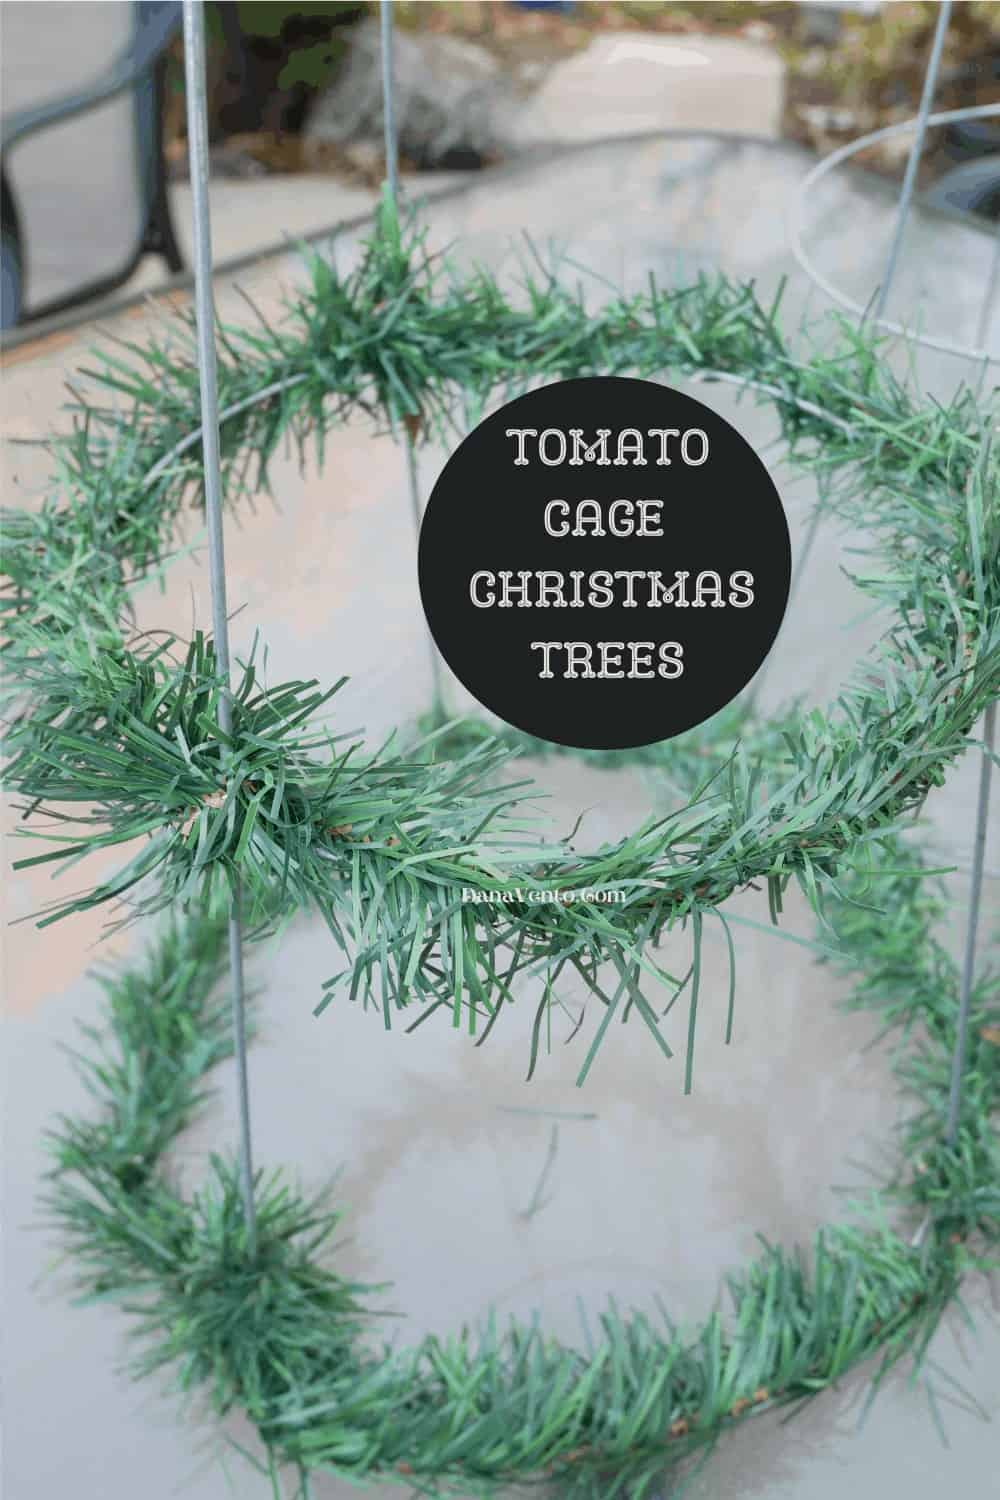
- Start working from the bottom up on the tomato cage
- Place the garland around the base, weaving and tying at the 3 ‘L’ joints to secure
- Doing this alleviates the need to zip tie as the garland is then secure.
- Next, along the base, secure with a piece of floral wire to further secure the initial piece.
- Wrap all the way around the level
- Repeat the wrapping process
- Continue this pattern of work up to the top of the tomato cage.
PRO DIY TIP: At each of the three different levels (base, middle top) circles, do secure the garland at all the ‘l’ joints and continue to secure it with a few small pieces of floral wire to make certain it stays in place.
Step 4: Add Pops Of Color To Your Christmas Trees From Tomato Cages
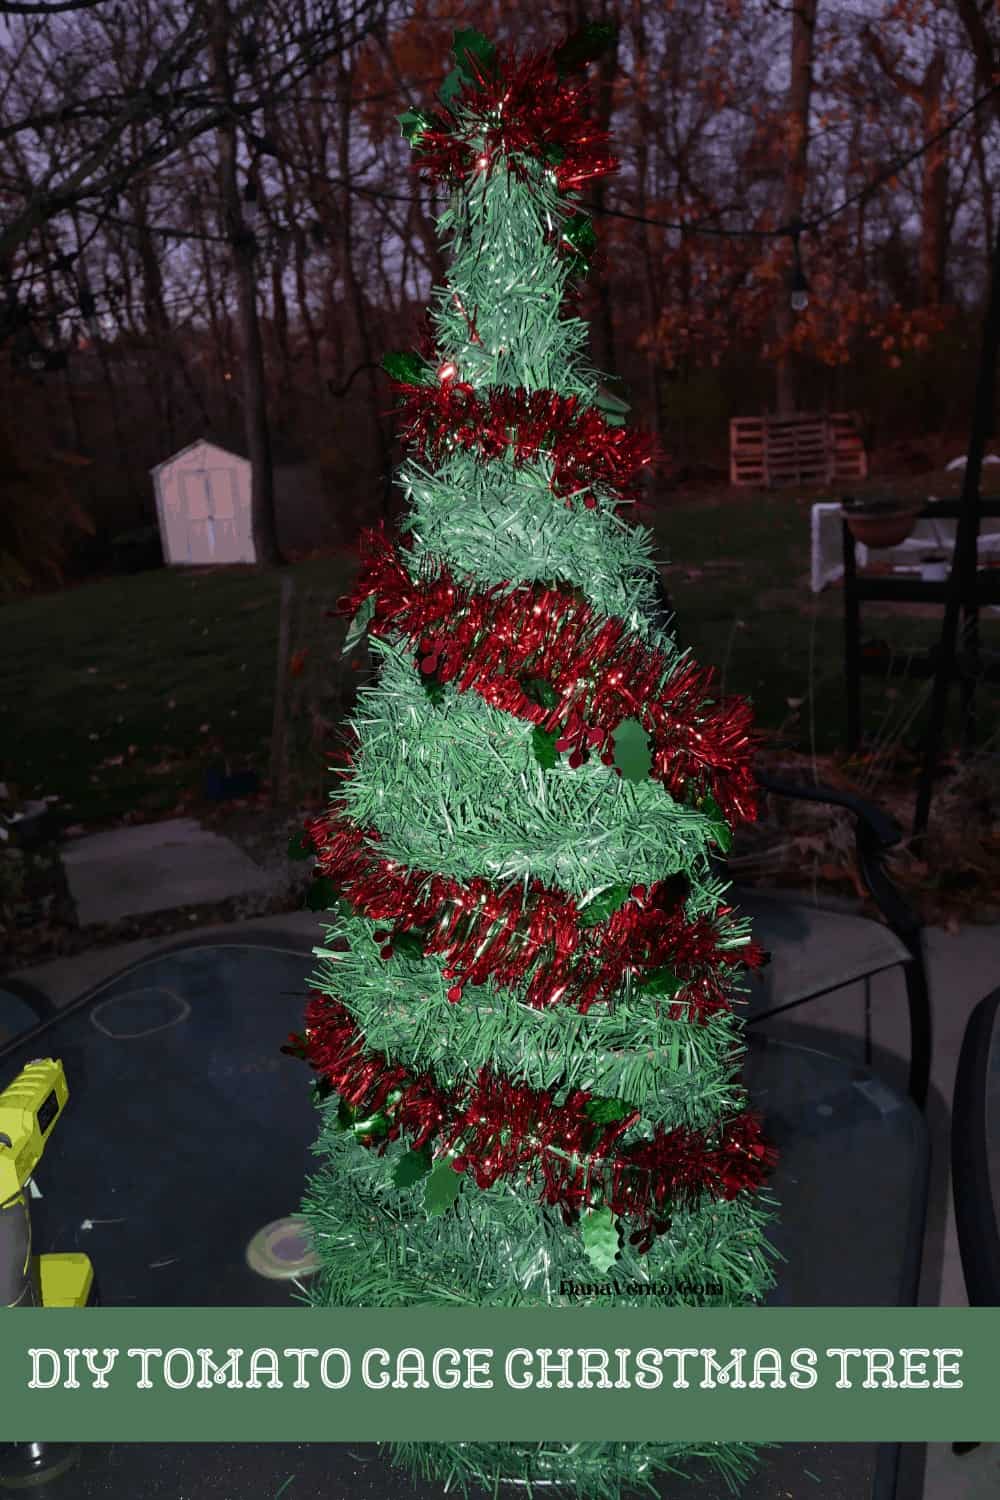
- Once you reach the top of the tree with the garland, you can then add a star or decorate with optional ideas.
- Add Lights, starting at the top so that the connector is at the BASE of the tomato cage tree!
Other Substitutions For Your Christmas Trees With Garland
- add poinsettia leaves
- add bows
- use tulle
- adorn with ornaments
- lace with tinsel garland
Tips For Locking The Tomato Cage Christmas Trees
For those of you placing your holiday trees in your yard, always consider the upcoming weather.
Traditionally, as we edge on into mid-November and the beginning of December, it does tend to get quite blustery!
Therefore, I suggest making certain to have galvanized anchors to lock your tree into the ground!
These anchors are the kind you use for those inflatables you might have once used in your yard.
Use these in planters on your front patio, or line your driveway.
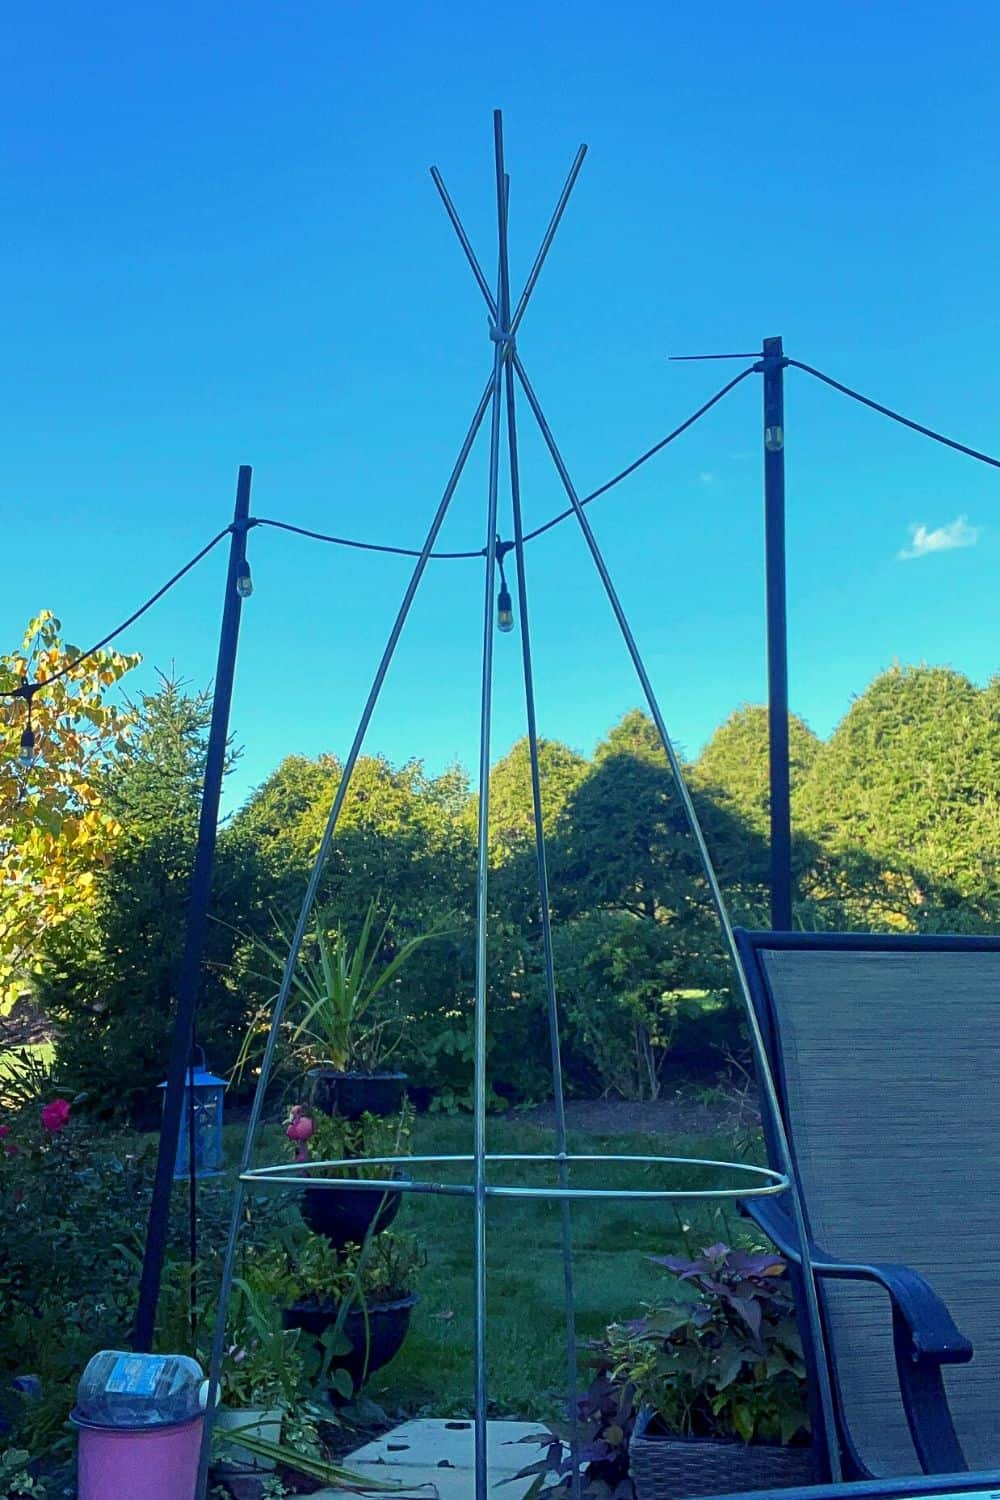
Place the Christmas trees in flower beds, front yards, backyards, etc.!
I did drop the background so you could see the trees in their crudest form and how good they actually look!
Ribbon + bows + Christmas trees from tomato cages.

So if you love ribbon, make sure you choose wisely.
To that end, if you are planning on making these trees and displaying them outside, you need to think about the weather!
That is why you need to purchase ribbons or bows that are waterproof!

Trust me, if you buy anything else, it is not going to last, and the color will run off!
Consider the width as well, as these will be displayed in your yard or porch, and from the road, the bow needs to be bigger to be seen!
Tomato cage Christmas trees of tomato cage Christmas trees
If you choose to make the 3-foot trees, you will want to use soft garland.
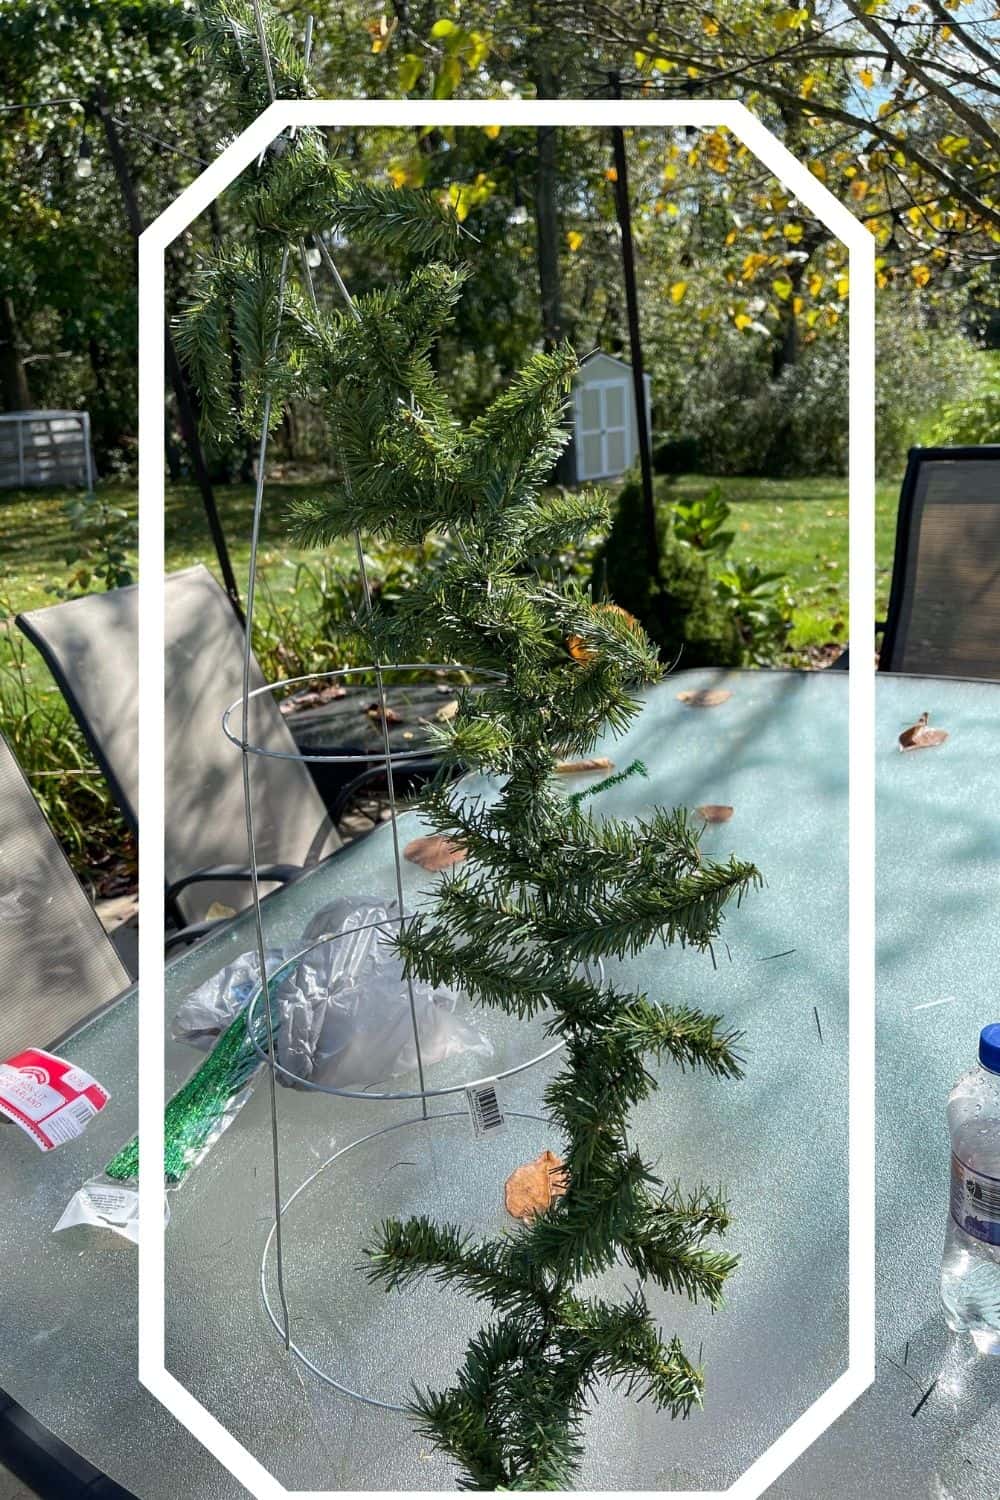
I have done both soft, and wire garlands, and soft is much nicer to look at outside than its more sparse sister, wire garland.
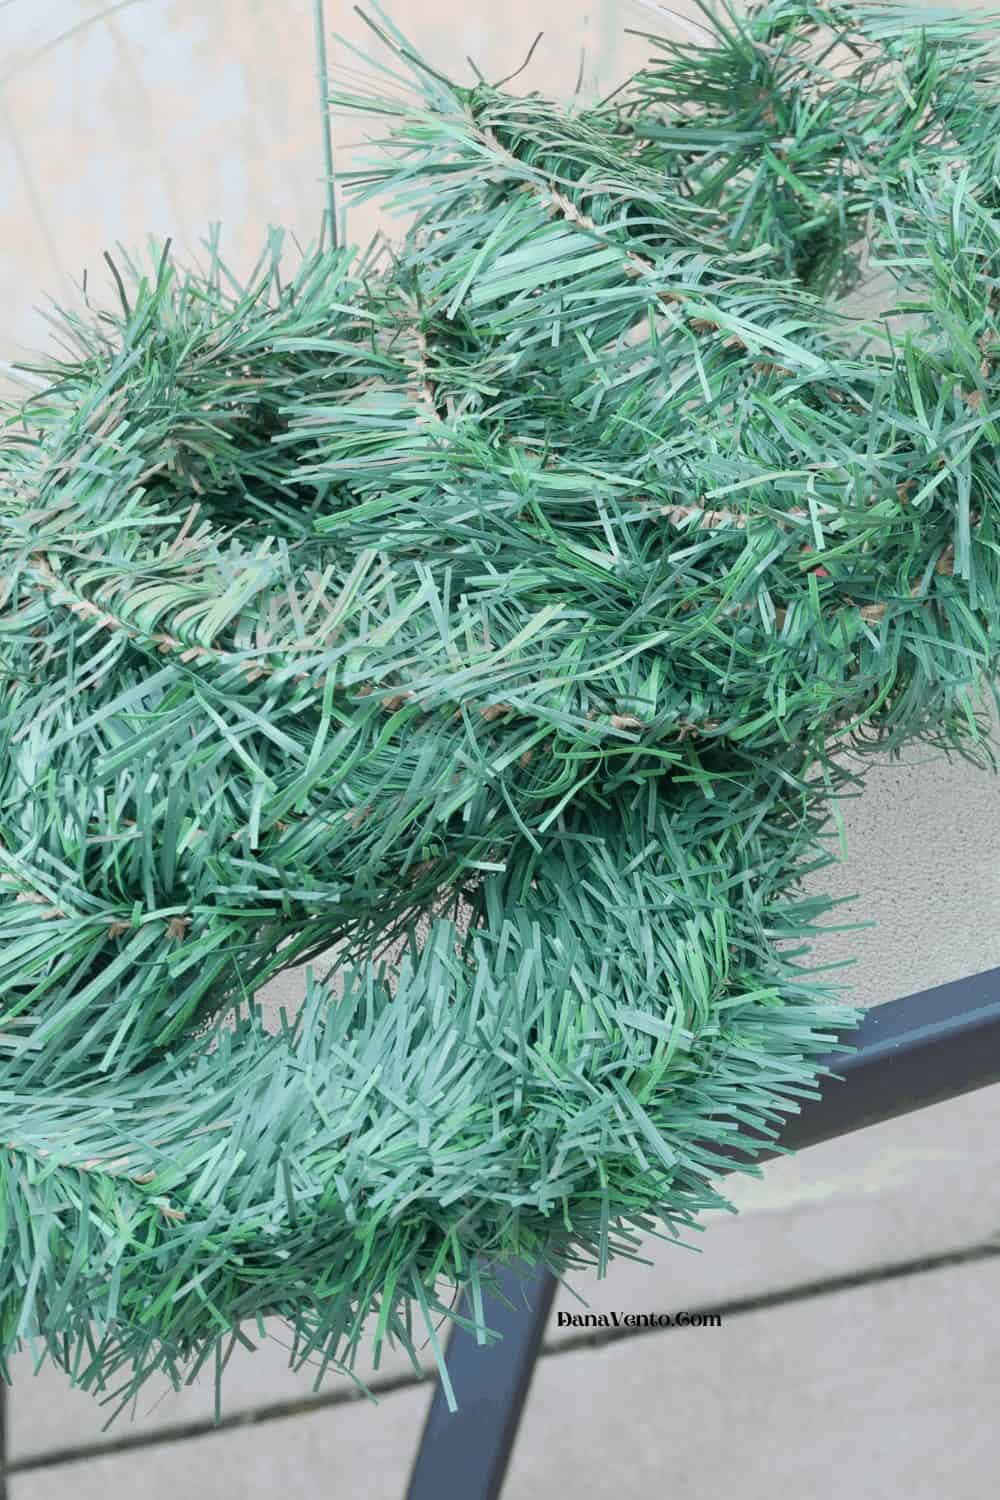
Look for a soft garland that is at least 50 feet even for the small trees and doubled for the large ones.
Invest in zip ties.
You’ll want to have clippers to cut the zip tie ends.
Do consider lights as well; I added lights to so many of the trees I made.
Before you make your first tomato cage Christmas tree, I do suggest gathering everything you need.
Then, cut up a few pieces of floral wire or zip ties and have a glue gun ready (only if you are not using the tree outside).
The Tomato Cage is your guide
Your tomato cage will be your guide when you wrap the garland.
Watch this short video to see exactly what I am talking about! Super easy!
I rely on the shape to wrap, and I don’t pull the garland tight, but I do weave it on the main tiers.

Overall, you will use the cage as a guide, but you never want to pull the garland too tight, or it will just look awful.
Remember, trees look bulky, and to make your garland stay in place, you will need to not only use wire and the garland itself but not pull it too tight!
In any event, I would set aside about 1 hour from start to finish, but it won’t take you that long.
Actually, my best guess is that you will be able to make 2 to 3 in an hour once you figure this out!
Fast. Simple. Festive.
You are about to become a DIY Tomato Cage Christmas Tree Pro.
Gift them or use them!

Have a Happy Holiday and a Merry Christmas. ~ Dana XO
Step-by-Step Directions for Your Tomato Cage Christmas Tree
DIY Tomato Cage Christmas Trees
Equipment
- Wire Cutters
- Floral Wire or Zip Ties
- Glue Gun with Glue Sticks (optional)
Materials
- 60 Feet Garland — 4 – 15ft packs at Dollar Tree
- 33 ” Tomato Cage — might have this already if not Lowe's has them for $1.49
- 18 Feet of Sparkly Garland or whatever you prefer for Glitz and Glam $2 at Dollar Tree (9 Ft Each)
- Optional – Bows Decor, etc.
Instructions
- Turn Tomato Cage upside down, so the large end is on the ground.
- Take the tomato cage legs and ZIP tie them together at the top.
- Once secure, choose which end you want to work from and begin.
- I started from the bottom up.
- Start with the bottom and trace the garland around the base, weaving and tying at the 3 ‘L’ joints to secure.
- Doing this alleviates the need to zip tie as the garland then is secure.
- Next, along the base secure with a piece of floral wire to further secure the initial piece.
- Wrap all the way around the level.
- And then wrap it again.
- Continuing this all the way up to the top of the tomato cage.
- At each of the 3 different levels (base, middle top) circles, do secure the garland at all the ‘l’ joints and continue to secure with a few small pieces of floral wire to make certain it is staying in place.
- Once at the top, you can then add a star, or begin garland or bows.
- If you are adding lights you can do that as well

