If you are someone who can’t get enough of chocolate and graham crackers, this single-serve refrigerated S’more bites recipe is for you!
There’s something about S’MORES that makes them something we can’t do without as a dessert or treat, and that is exactly why I created bite-sized S’mores on a stick.
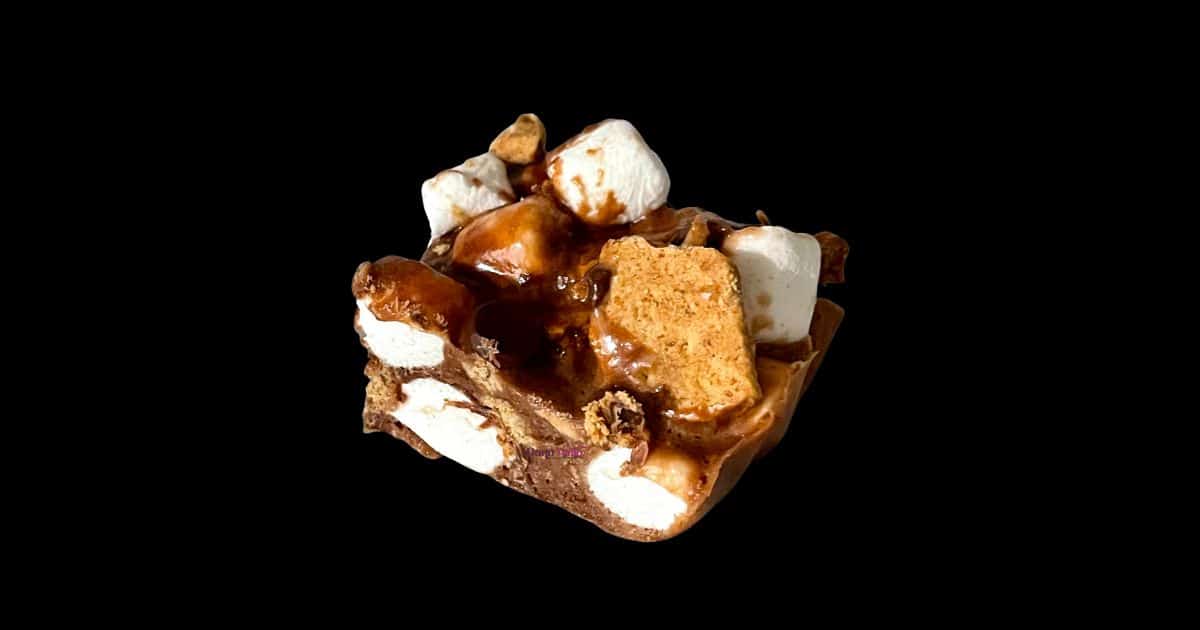
Toothsome single-serve s’more bites appear in my home each spring through Fall as the perfect summer treat, campfire treat, RV adventure treat, and backyard party dessert.
Make it one time, and this one-bowl s’more recipe will win you over, and you’ll make it a lot more!
Table of Contents
Why You’ll Love Bite-Sized S’mores on a stick
When it comes to graham crackers, chocolate, and marshmallows combined, is there ever such a thing as too many recipes or too much of them? NO!
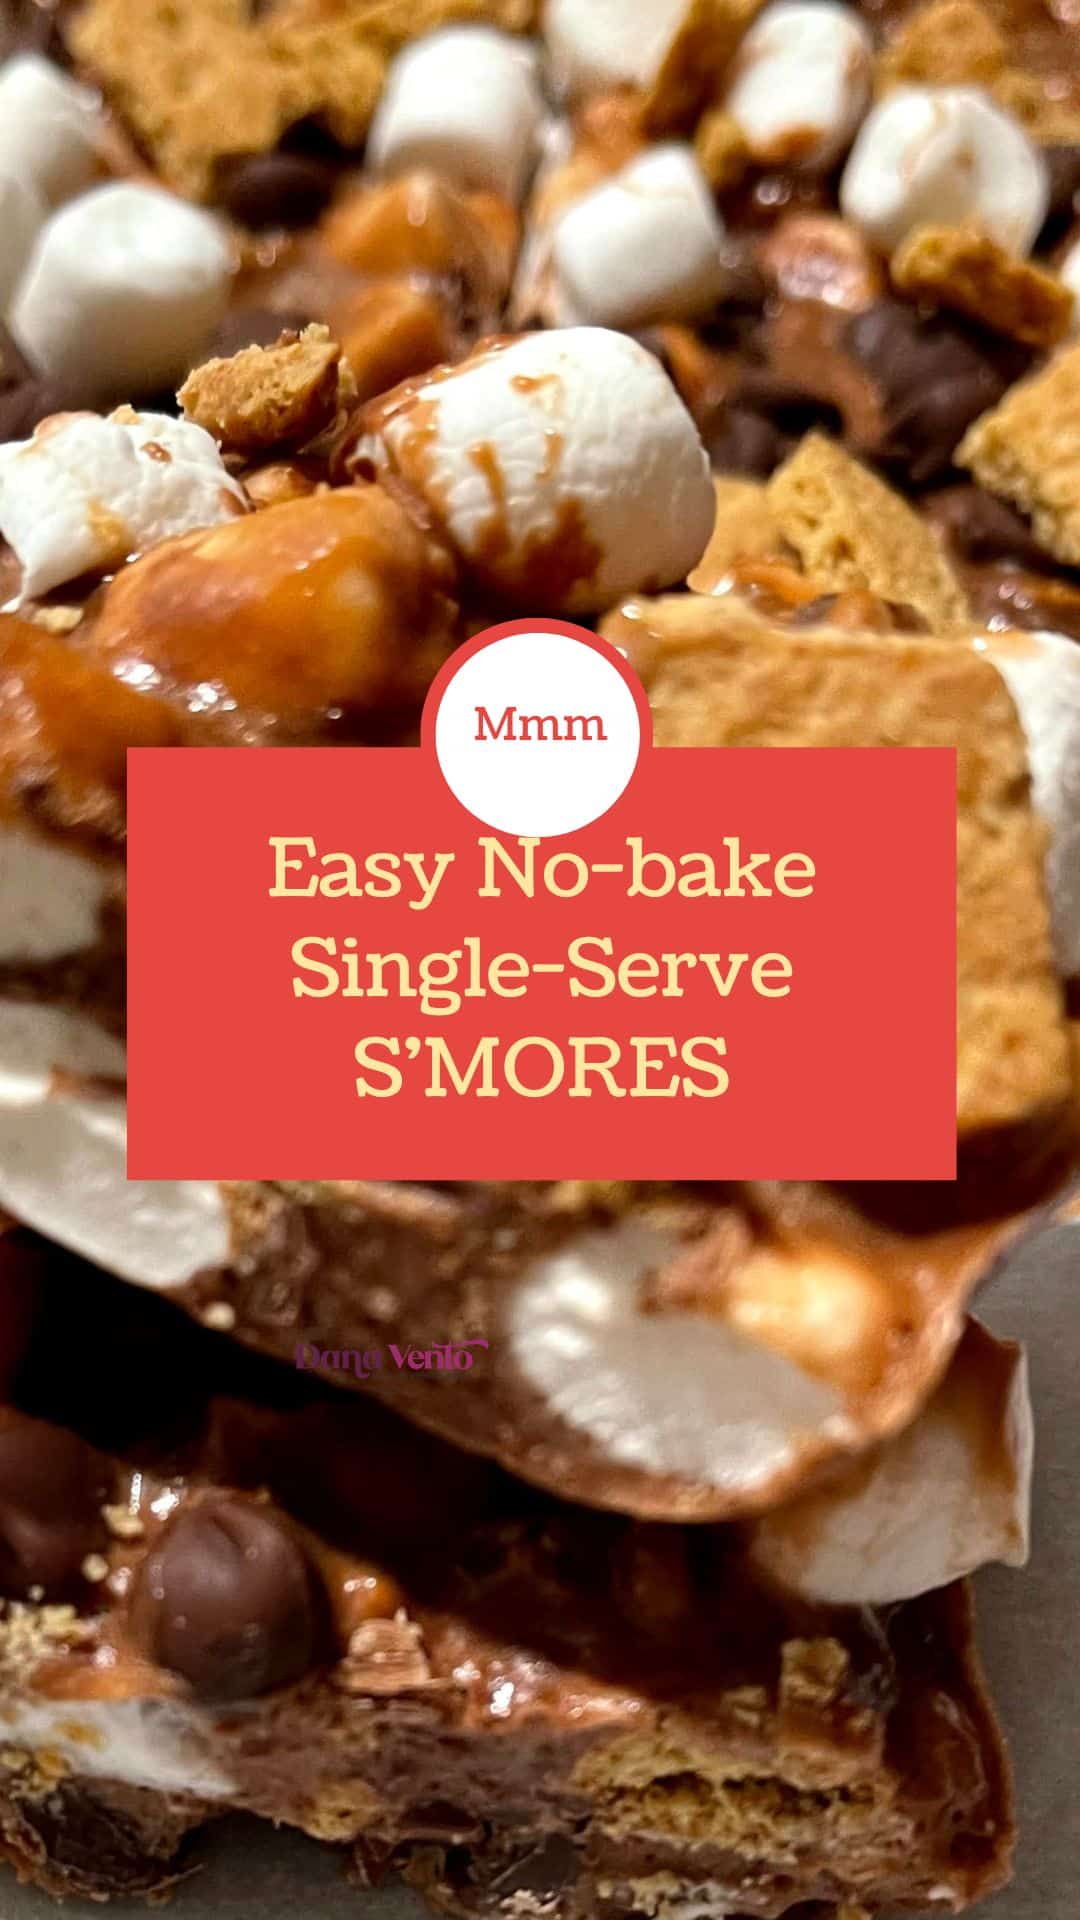
For all of you S’more-A-Holics, this simple stick recipe for no-bake S’mores is irresistibly easy, and the taste is just like a fresh campfire melted s’more without the mess!
So why will you love the refrigerated S’MORE bites, and why should you make them now?
- No fire is needed to make s’mores on a stick
- You don’t need your oven to make this s’mores conglomeration
- Every single piece of s’more will be portioned (great for those watching their sweet intake)
- S’mores little bites are easily portable to any party, gathering, camping, RV road trip, vacation getaway, etc.
- The chocolate marshmallow recipe is a very kid-friendly recipe to make
- You can make the single-serve s’more bits in bulk!
No fire, no baking, no oven!
Those are the most glorious, sexy, S’MORE words we all want to hear.
So, does it get any better than this?
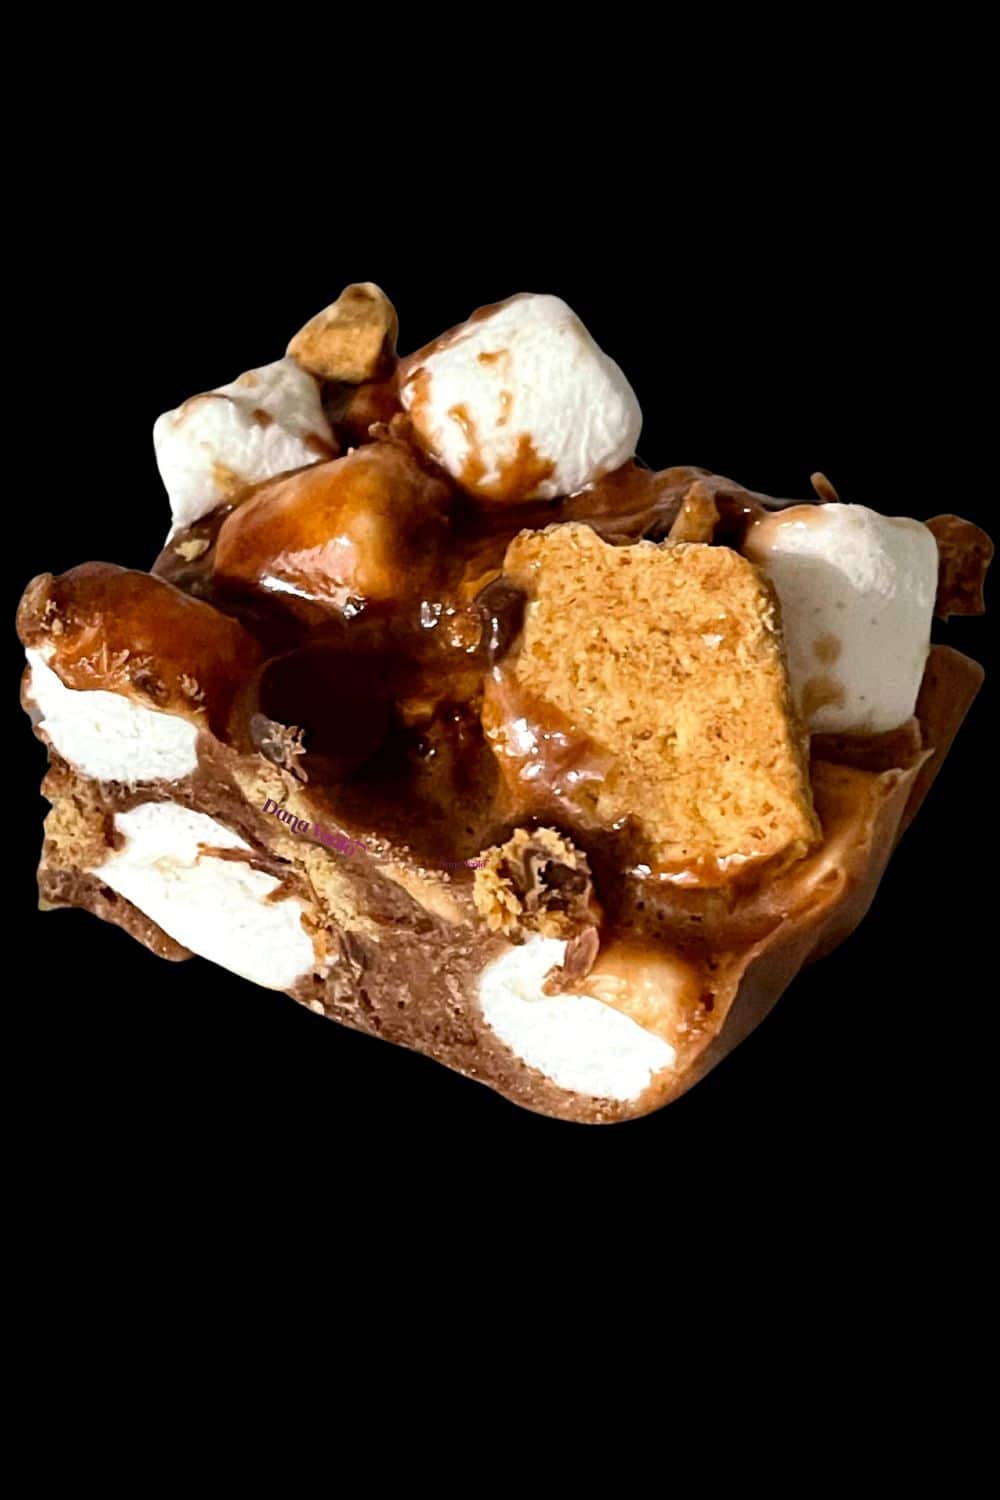
YES! Because your favorite treat can be made year-round in bulk, you no longer need to wait for the campfire or fire pit to make a S’MORE one by one and piece by piece.
Because the refrigerator will do all the hard work! Yahoo.
When To Make Bite-Sized S’mores On A Stick?
Irresistible refrigerated s’more bites will be the first dessert anyone visits at the dessert table at a party and the first to disappear.
Please bring them to every summer party, pool party, and beach!
S’more single-serve bites are the ultimate summer food, but they are perfect for all the other seasons, as mentioned above!
#1 Reason You Will Want To Use The Single-Serve S’more Bites Recipe?
- Maybe because you can make the S’more bites in the morning, and a few hours later, they are done?
- Or maybe you will love that the bites of S’mores are made in ONE bowl only
- Or you might love it because everyone is not touching ALL of the other s’mores and just taking their bite
Which Refrigerated S’more Bites Making Method Will You Choose?
So, since I make these often, I have go-to methods.
Let me give you some insight.
The road to easy S’more making is no better than this recipe.
But it does get sticky, ooey, and gooey and makes for the perfect taste-testing event!
Choose your refrigerated s’more bite artillery.
Like when you make Krispy treats, you can use a pot or bowl.
Naturally, this decision dictates whether you use a stovetop or a microwave cooking method.
Now, if you use the stovetop method, this is no longer a 1 bowl s’mores bite recipe and will become a bowl and a pot recipe; just saying…
If you use a pot, I will advise it gets very gooey, and it probably is no longer kid-friendly to make, as electricity or gas is involved.
Check the recipe for both recipe methods: stove-top and microwave.
How To Make Refrigerated S’More Bites
Let’s go through how to make these single sere s’more bites so you can make them right away!
Step1: How To Prep Your S’more Pan
Start by lining your pan of choice (8×8 or 9×11) with either parchment paper or foil.
Do note that using a 9×11 pan allows you to thin these out a bit and yield more refrigerated s’more bars than you would get with the 8×8 pan.
So for anyone who loves thicker bites of S’mores, you like chunky bites ➡ Opt for the 8×8 pan.
If you use foil, you must spray it generously with nonstick spray.
However, using parchment paper, a light mist will work.
PRO NONSTICK SPRAY TIP FOR YOUR S’MORES LITTLE BITES
Spray one portion of your foil or parchment paper and use a pastry brush to move it all around, rather than over-saturating the parchment paper or the foil.
Pastry brushes are great for getting the corners and sides where you don’t want to overspray.
Set the prepped pan aside.
Step 2: Melting The Marshmallows
Using a microwave-safe mixing bowl, place the recipe-allotted amount of marshmallows into the bowl, add in the other ingredients as stated in the recipe, and then microwave.
Once it is done, please remove it from the microwave (carefully, as it will be hot) and stir the mixture until it is smooth.
Pro Mixing Tip For Sticky Marshmallows
Use a spoon brushed with nonstick spray so your mixture will stick much less to the spoon!
Step 3: The Chocolate For The S’more Bites
Once you’ve got the creamy and smooth marshmallow mixture, add the chocolate chip amount per the recipe.
Step 4: Graham Crackers
Crumble the graham crackers as you place them into the mixture, and only added the amount called for.
Step 5: Complete The Pan of Soon To Be Refrigerated S’more Bites
Top off with the remaining ingredients per the recipe.
Cover the pan and then refrigerate.
Step 6: Before Serving The S’more Bite-Sized Singles On A Stick
Remove the pan of refrigerated s’mores from the refrigerator.
Transfer the foil or parchment paper to a cutting board, leaving the pan behind (obviously)
Cut the s’mores in the pan into pieces.
If you serve as bite-size plate pieces, cut and place them on a tray.
However, if you are going to skew each of these, you will need to decide what item to skew with
Step 7: Options For Refrigerated Bites of S’mores On Sticks
If you have smaller children, sticks, and skewers can be choking hazards, so we do not advise using them.
However, if you serve older kids, teens, and adults, you can use any of these, and we have!
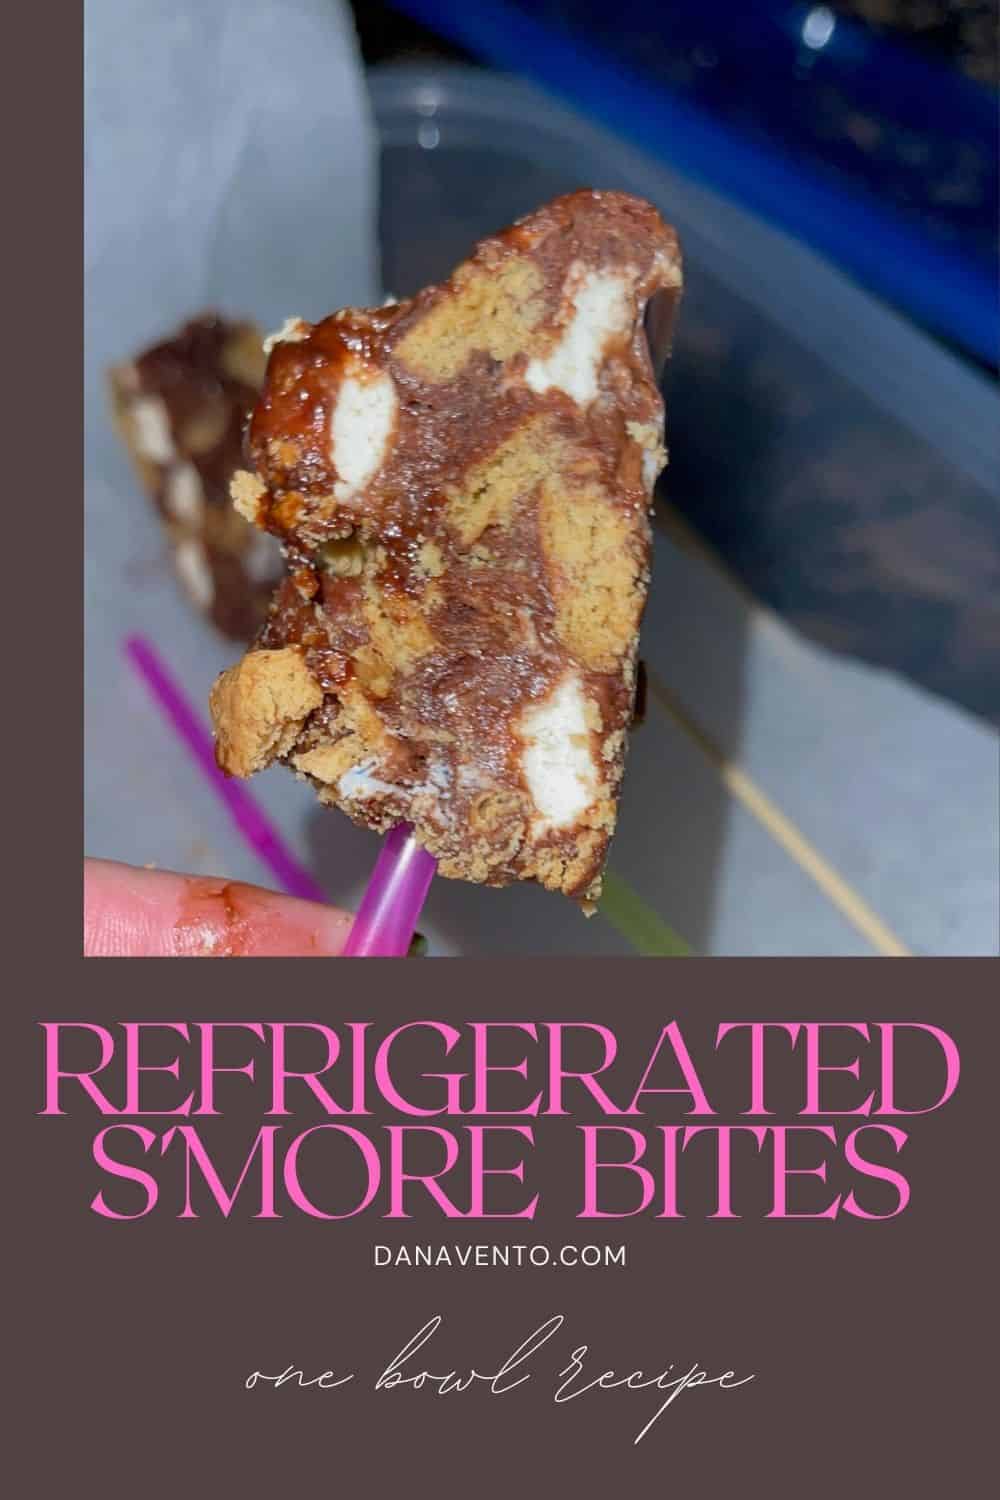
- popsicle sticks
- thicker skewers
- fat straws
- reusable popsicle sticks
Store in refrigerator for up to 2 weeks. (good luck. They won’t last!)
Optional Ingredient Overview For Successful Refrigerated S’more Bites
These are just a few areas where you have a few options when making your recipe for the single-serve bite-sized, no-bake S’mores – you try staying that 3x fast, lol!
Chocolate + Refrigerated S’more bites
The chocolate you will use in this recipe is the same chocolate you would use if you were baking chocolate chip cookies.
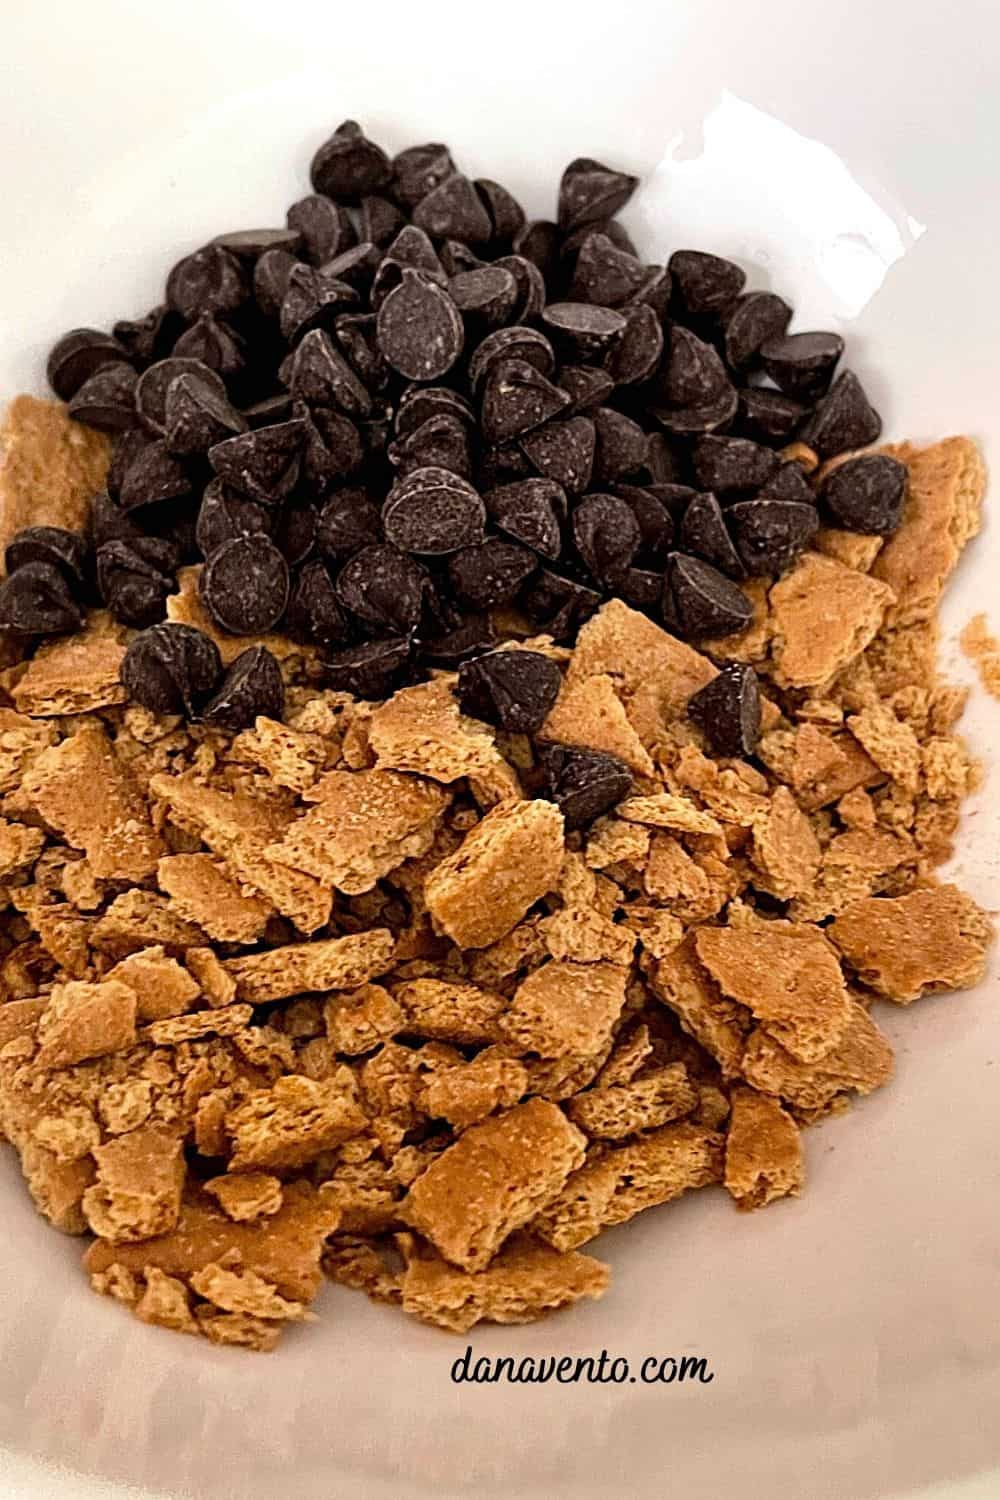
So you see, this is quite a flexible recipe because you can use dark chocolate if you want more indulgent and decadent refrigerated S’more bites, or you can use milk chocolate.
Try using Mini or regular morsels that won’t affect the flavor.
As for the marshmallows, I’ve used the campfire biggies and cut them into a few pieces as well as minis and regular size, use what you have!
Tip for refrigerated s’more bites
Foil versus parchment paper, which will you use?
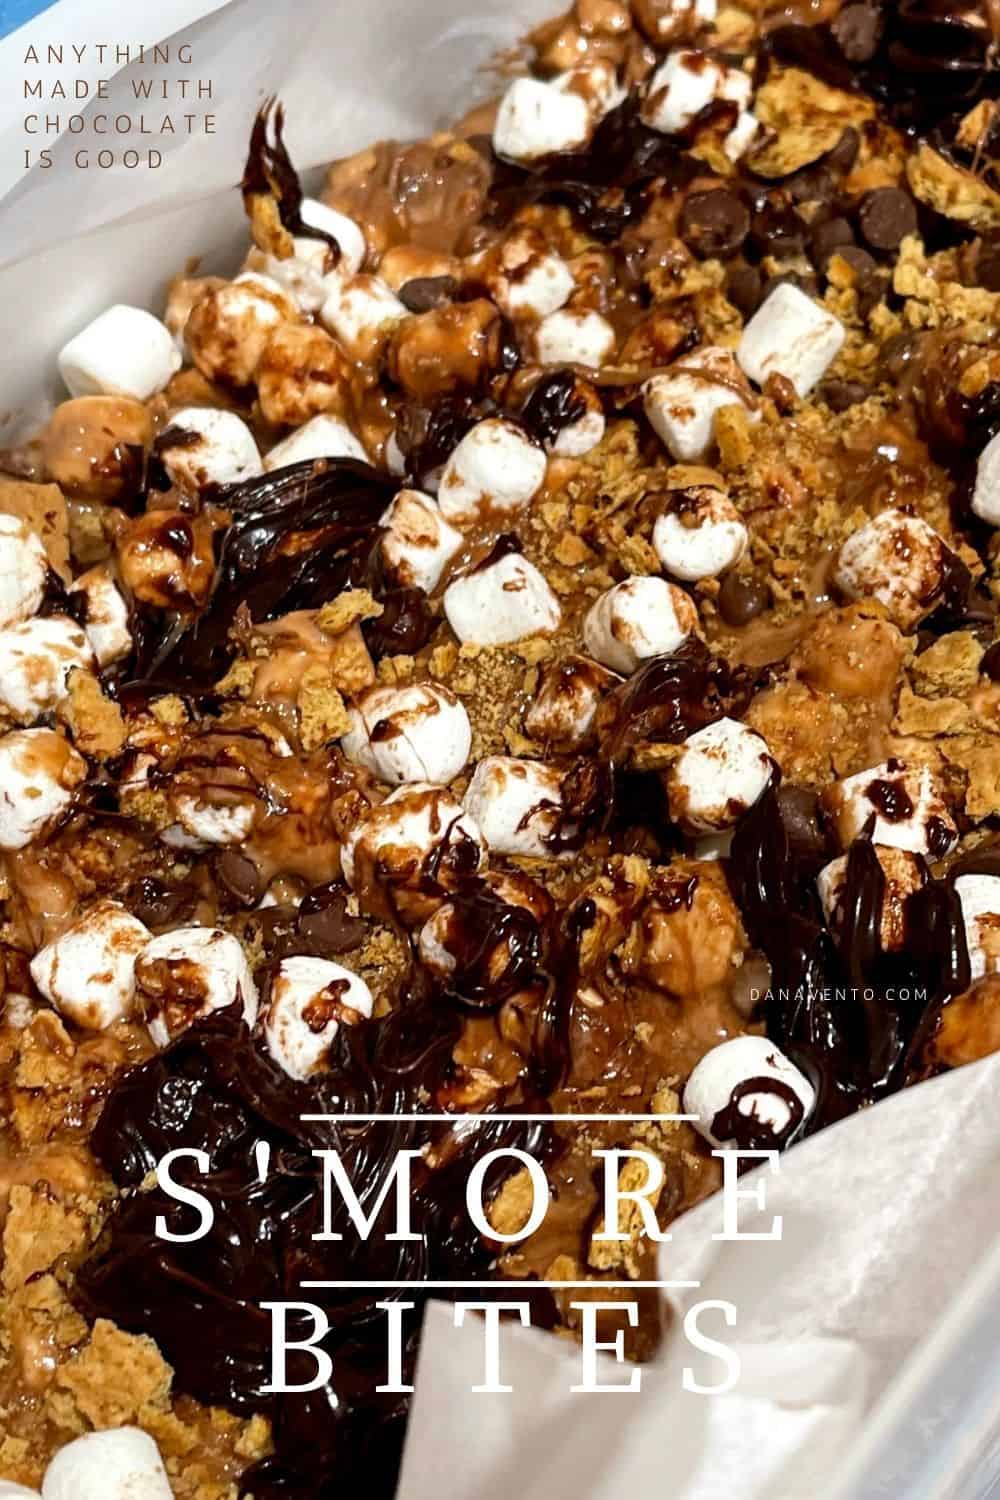
Foil crimps the side of the pans better and makes dumping the mixture easier without the worry of movement of the liner.
However, you can use some clips and attach the parchment paper or cut the parchment bigger and fold it under the pan, and it won’t move.
I prefer parchment, especially with cutting the bars.
But I have used foil, and you will see my photos show foil.
Oh, decisions, decisions!
How To Package The S’mores Litte Bites
I’ve never met a s’more that is not sticky and messy somehow, so why would these be any different?
If you want to minimize handling and mess, I suggest using the above sticks unless your crowd is too young to use a stick.
Naturally, you can layer these in a pan with an airtight lid, and you can layer parchment between them, and they won’t stick.
Uncover the layers as the s’more bites are removed.
How To Add Some Seasonal Color To The Refrigerated S’more Bites?
Before you toss the pan into the refrigerator and before the bites of S’mores set up, make them festive by adding seasonal colored sprinkles or edible confetti to them!
FAQs For Your Bite-Sized S’mores On A Stick Or In A Pan
Is there a certain size I should cut the bite-sized S’mores to?
NO. You can cut the panned and refrigerated s’more pieces into any size you prefer. If you are going to put a stick into the, make sure you have made them big enough to do so.
Do I Have To Make the Single-serve S’more Bites Bite-Sized?
No. You can make the s’mores in this recipe in any size you prefer.
The S’more’s little bites are perfect for parties, making a tray of s’mores go farther and feed more if you do bite-size pieces.
Do I Have to Keep The Refrigerated Bites Of S’mores On Sticks, Cold?
For those that want these for a blistering hot summer day, keep them refrigerated until the last minute. You can put a tray of ice underneath your pan of s’mores, but here’s a little insight.
What I do know from sharing these at parties is that as soon as they are ‘i-spied,’ they are demolished.
If you have any left, toss them back in the fridge. Keep these refrigerated until you are ready to serve use an airtight container and place it in the refrigerator for up to a week.
Can I Add MORE Chocolate To THe Refrigerated S’more Bites?
If you are an over-the-top chocoholic and want a bit more chocolate, then I suggest once the bars are cut, add more chocolate.
Here’s how.
- Melt chocolate in the microwave per directions.
- Stir.
- And once smooth and easy to work with, drizzle the refrigerated s’more bites with the chocolate.
Make Sure To Come Back And Let Me Know How Your Refrigerated S’more Bites Turned Out
Enjoy, and share your refrigerated s’more bites by tagging me on Instagram @dana.vento! ~ XO Dana
Print And Bookmark The Recipe For Refrigerated S’more Bites
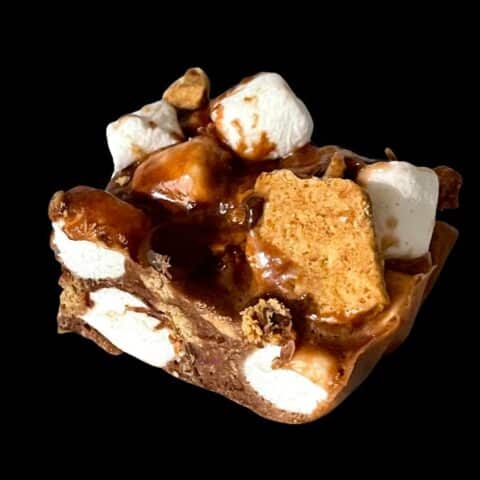
Refrigerated S'MORE Bites
Ingredients
- nonstick cooking spray
- 9 cups Marshmallows (2- 10 oz bags MINI) + 1 Cup
- 1/2 Stick of butter
- 1 (11-12 oz package) of milk chocolate, dark chocolate whatever kind of chocolate morsels.
- 1 Tsp Vanilla
- Pinch of Salt (optional)
- 1 Sleeve of Graham Crackers (some crushed some in small pieces + you can always add more if needed)
- 4 Tablespoons of Hot Fudge (optional but yummy)
Instructions
- Start off by lining your pan of choice (8x8 or 9 x 11) with either parchment paper or foil. (read the post for tips about foil v. parchment)
- If you are using foil you will need to spray it generously with nonstick spray.
- However, if you are using parchment paper a light mist will work.
- Set this prepped pan aside.
- Next. Microwave Method - see notes below for Stove and Pan
- In a large mixing bowl, place 6-7 cups of the marshmallows (reserve the rest).
- Add in the butter. + vanilla + salt
- Microwave to melt the mixture (microwaves vary, mine takes 2 1/2 minutes) then stir smooth. (use a spoon or spatula covered with nonstick spray)
- Once smooth, add in 1 cup of chocolate chips. (reserve the rest) Stir.
- Next, add in 1 1/2 c of the graham crackers. and some of the graham cracker pieces (reserve a few)
- Follow with more marshmallows (reserve just about 10)
- Add in the last of the chocolate chips.
- Transfer the mixture using a prepped nonstick spatula from the bowl into the baking pan.
- Spread.
- Add the remaining marshmallows, graham crackers, and any chocolate chips.
- Lightly mist your spatula with nonstick spray and give the entire pan a good 'press' to set these together.
- If you are adding in hot fudge, leave it cold and drop it by the teaspoon in various sections, pressing it in just a bit with the end of the spoon.
- Refrigerate for at least 2 hours.
- Remove foil or parchment from the pan
- Transfer to cutting board.
- Cut into pieces. (whether skewer or not)
- If serving, serve.
- Store in refrigerator for up to 2 weeks. (good luck. They won't last!)
Notes
STOVE METHOD:
Honestly, the stove is harder and hotter and messier. (heavy to lift and pour into the pan at the end.)
But if you prefer.
In a large saucepot (deep is best)
place 6-7 cups of the marshmallows (reserve the rest).
Add in the butter. + vanilla + salt
Keep the heat on medium-low.
stir it constantly so it does not burn (even on low heat)
It will take about 8 minutes for the marshmallows to melt and smooth.
Once they do. Follow the steps above.
Once smooth, add in 1 cup of the chocolate chips. (reserve the rest) Stir.
Next, add in 1 1/2 c of the graham crackers. and some of the graham cracker pieces (reserve a few)
Follow with more marshmallows (reserve just about 10)
Add in the last of the chocolate chips.
Transfer mixture using a prepped nonstick spatula from the bowl into the baking pan.
Spread.
Add the remaining marshmallows, and graham crackers, and any chocolate chips.
If you are adding in hot fudge, leave it cold and drop by the teaspoon in various sections, pressing it in just a bit with the end of the spoon.
Refrigerate for at least 2 hours.
Remove foil or parchment from pan
Transfer to cutting board.
Cut into pieces. (whether skewer or not)
If serving, serve.
Store in refrigerator for up to 2 weeks. (good luck they won't last!)

