As a food and travel writer, I love visiting destinations to experience their culture and our recent trip throughout all of Ireland allowed me to strike gold in each!
The Irish brown bread recipe I will share today is made in about 1 hour give or take a few minutes.
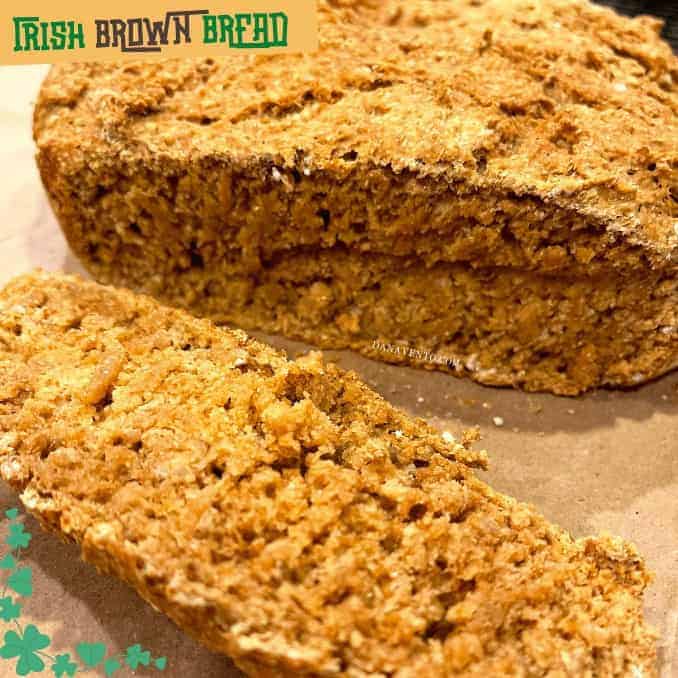
Irish Brown Bread was definitely love at first taste
Each pub, restaurant, and eatery that we spent time in offered up different tastes of Irish brown bread, and each had its own texture and flavor.
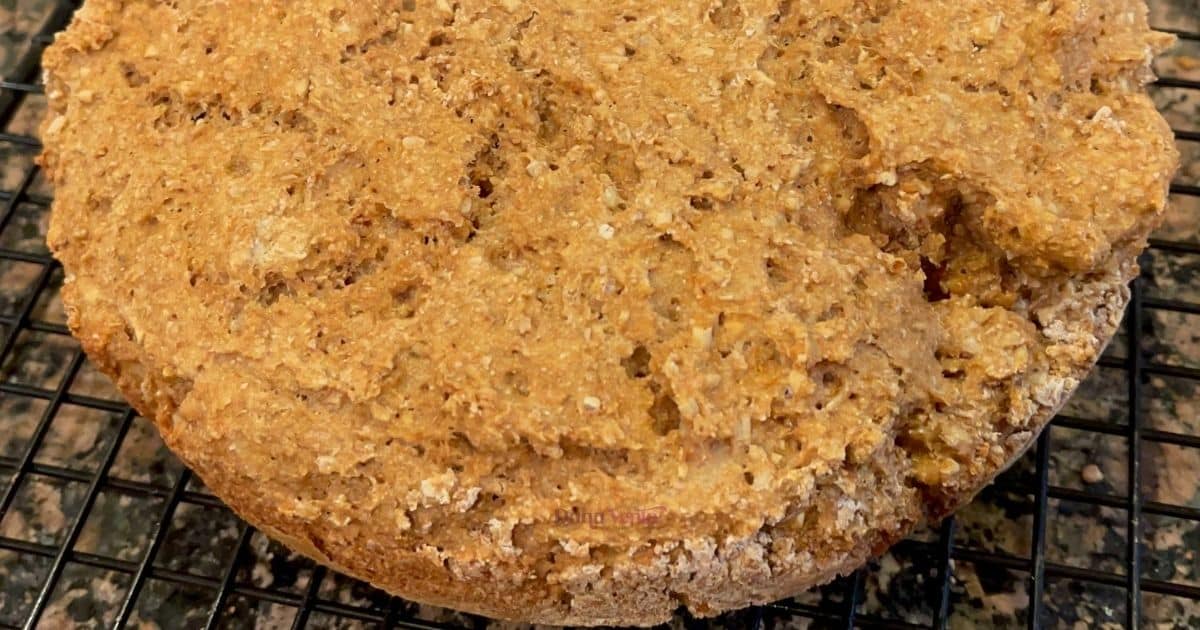
Sometimes the Irish brown bread was served in cubes, sometimes in slices, and sometimes the bread was presented as round bread bowls, welled out, cubes on the side, and used as a way to serve potato or beer cheese soup (mmmm)!
Every which way I tasted the bread, I enjoyed it and it stuck with me.
The Elder who Shared a Cultural Moment + an Iconic Recipe
After my trip all around Ireland last year, I simply could not wait to replicate and create my own traditional Irish bread in 1 hour.
Yep, 1 hour and it is super easy, but let me share how traditional this recipe actually is and why you will definitely want to try it!
Traditional Irish Bread in 1 Hour It’s Possible!
Before and after our tour of Ireland we spent time there on our own and the Irish are welcoming and talkative.
We met a lot of kind people, which is how I learned my recipe.
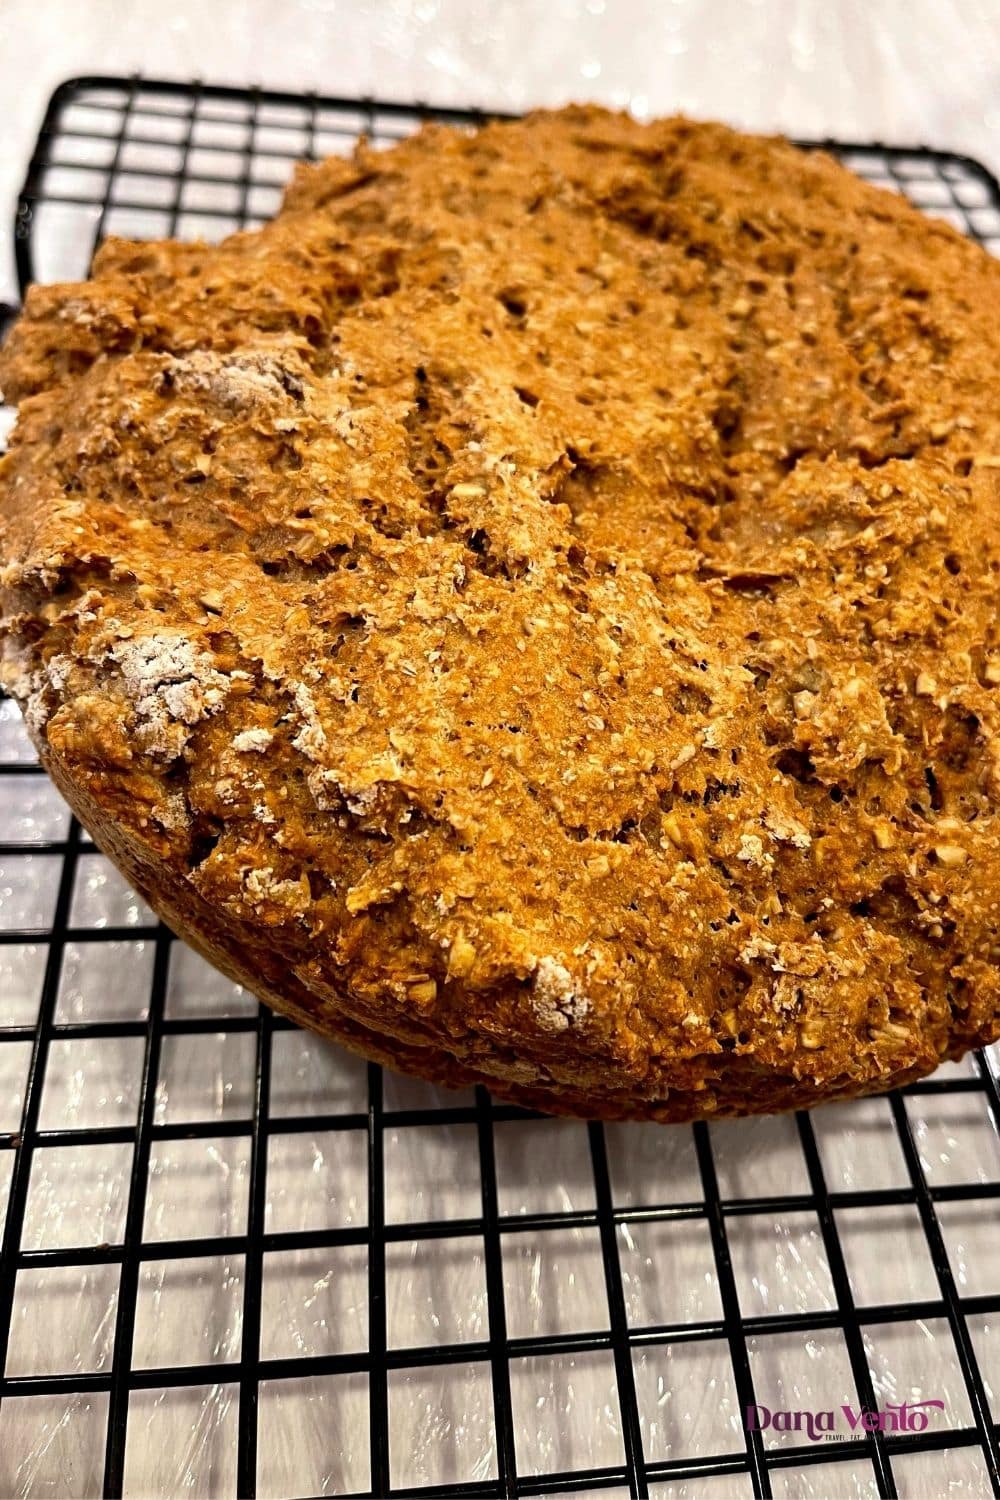
In one of the little towns we visited, a kindly elder (named Maeve) shared some insight and from this, I built my recipe.
As we chatted during lunch, I wrote down her words of wisdom for baking a most savory and satisfying Irish Brown Bread.
What I learned is that her recipe was beyond fabulous and it appears artisan-made, even though it’s homemade.
In fact, the whole recipe is so simple you might not believe it.
Whether you know your history or not, the financial pains of the Irish created a hardship beyond belief.
Which, in turn, led to the lack of basic ingredients to bake or cook with.
Out of necessity, the mother of all great inventions, Irish Brown Bread was born with simple ingredients yielding a nutty, grainy taste!
Maeve lent me her knowledge, insight, and basic ingredient list and unlike my Italian extended family that prefers to hide ingredients and not share insight, Maeve even demonstrated her recipe from beginning to end!
Round Irish Bread Loaf
To learn that the loaf of bread I will share with you was simple to make is one thing, but, knowing that you are about to make a round Irish bread loaf with no kneading required sold me.
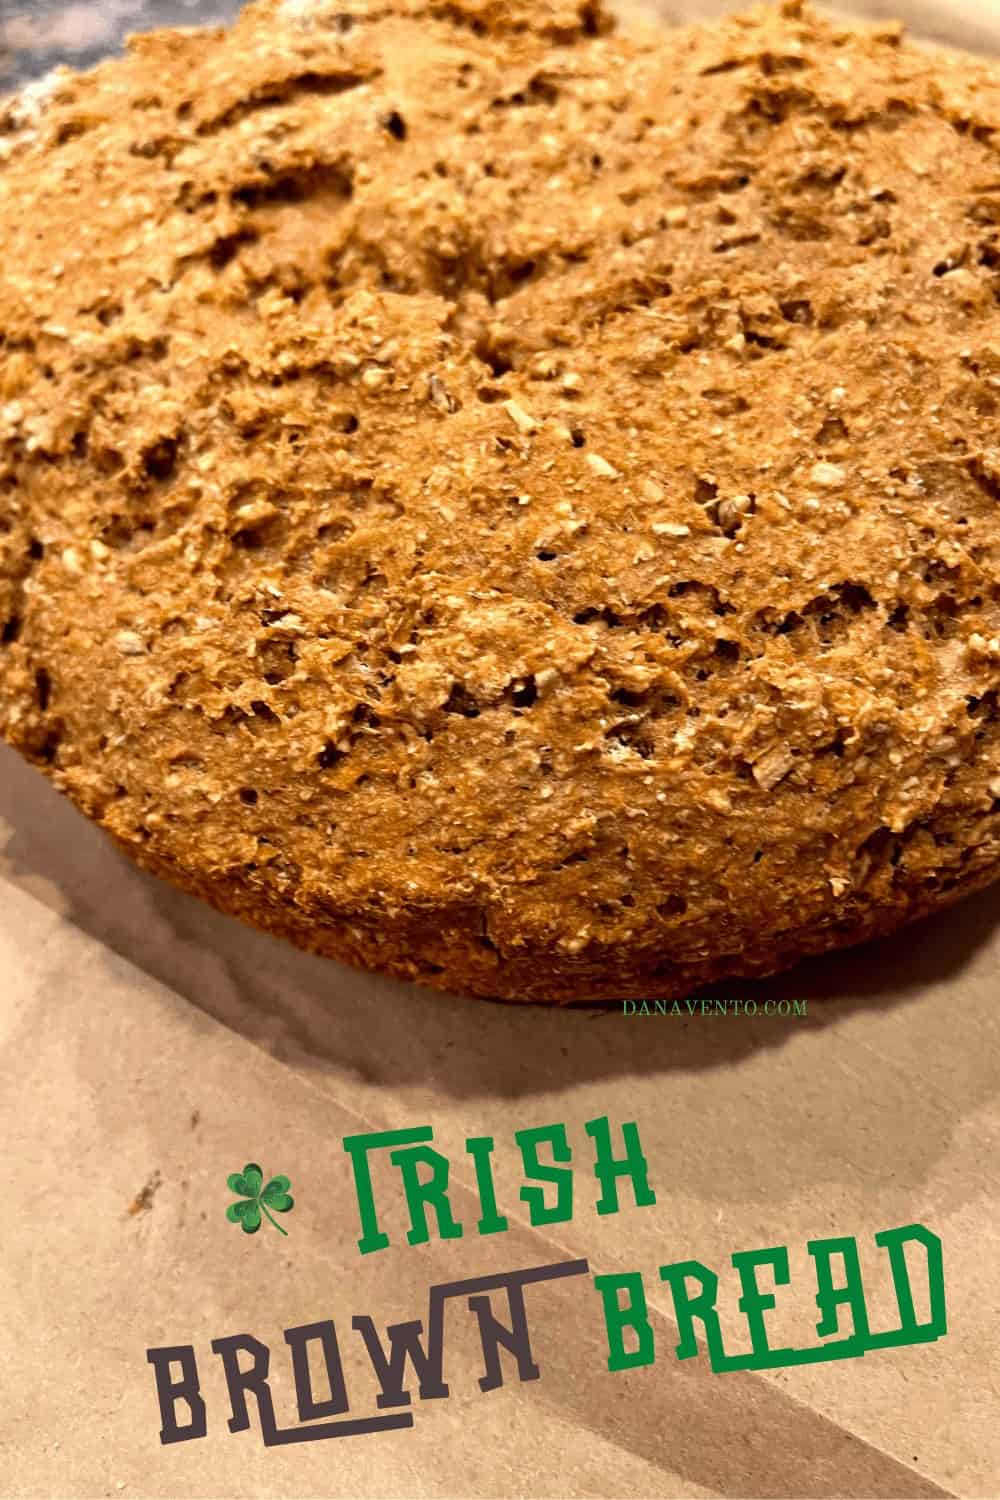
Now it’s with great pride and remembrance of our recent trip, that I share my recipe with you.
I can’t help but think back on that day, that we met Maeve.
Kindly, quiet, firm, and yet so about sharing, Maeve had many stories to tell.
Our time with her sadly was just for a few hours but her stories could go on for days.
Happy to meet travelers, and even happier to lend wisdom to those who were willing to sit and hear as she shared tidbits of her life.
Those who discounted her lost out on fabulous history and knowledge.
When I travel, the best trips and adventures happen through those that live there.
Such was the case with Irish Brown Bread.
You won’t believe this but…
There’s NO Yeast in this Irish Brown Bread Recipe
First and foremost, no YEAST!
You don’t need yeast in every bread you make.
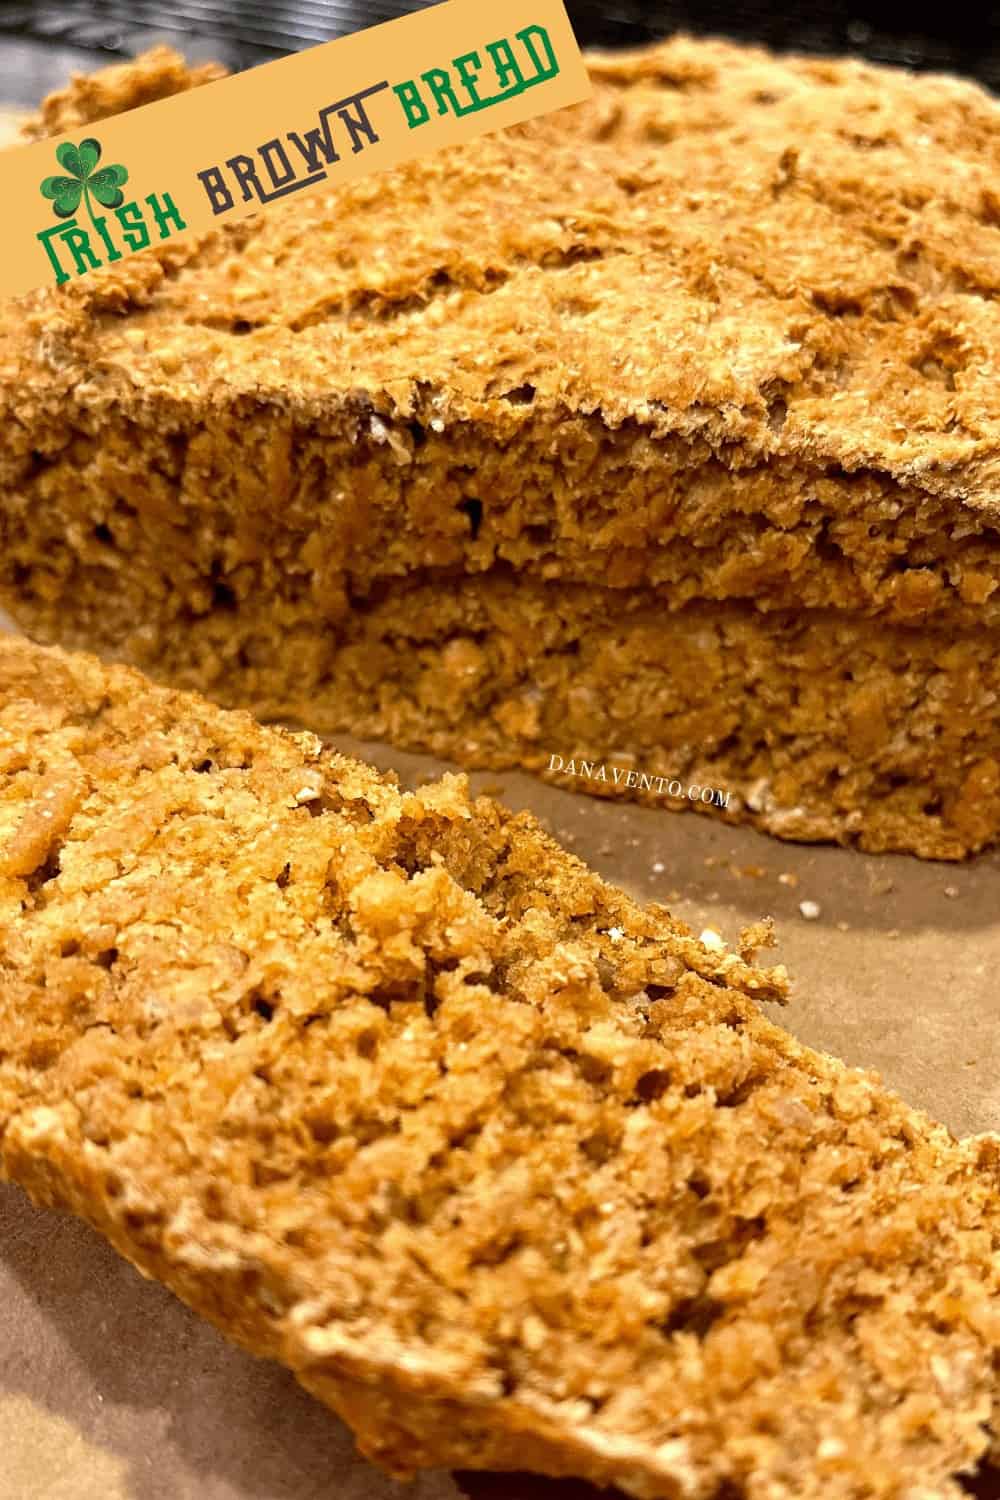
Perhaps, this recipe, as simple as it is, is perfect for those with a more sophisticated palate that prefer deeper, nuttier flavors and textures in their bread.
Irish Brown Bread is like nothing else I’ve ever had.
The prep for this round Irish bread loaf is streamlined, yet, when the bread makes its first appearance and you taste it, t appears as though it might be a very advanced recipe, but it’s not!
What’s in the Yeast-Free and No-Knead Brown Round Loaf of bread?
Essentially you are going to find that grains, whole grains, wheat, and wholemeal flour all mesh together to create a nice brown color.
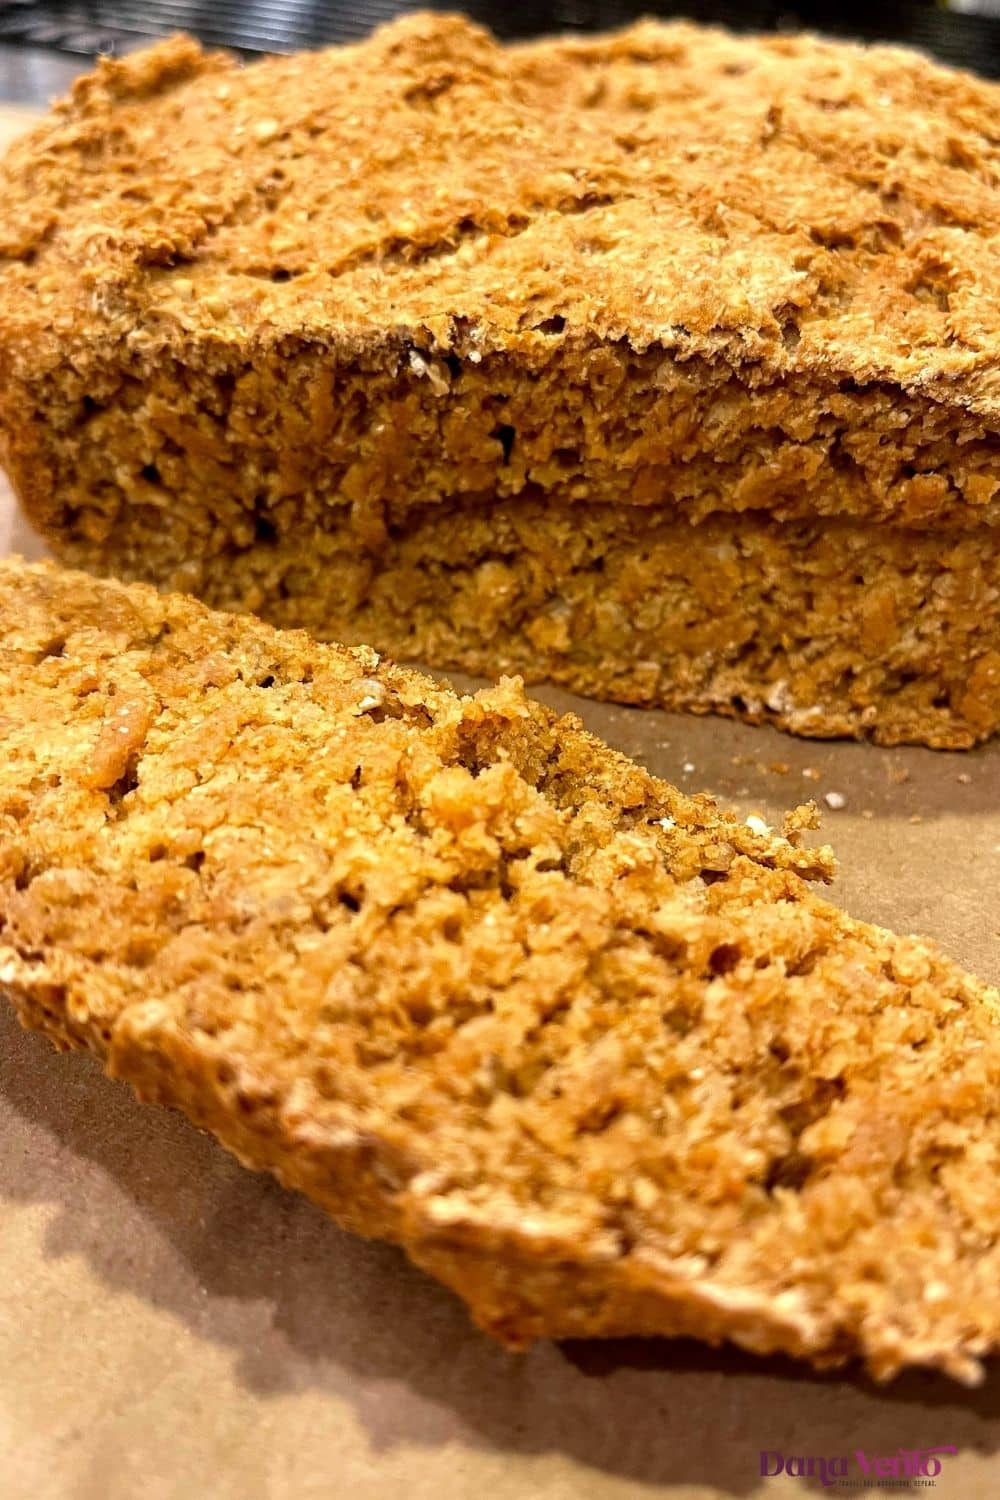
Plus you know there is some molasses involved.
And, rather than traditional milk, my spin is buttermilk.
There’s nothing more exciting than seeing grains and ingredients in the bread, (as long as they are mixed in) and you might even get to see some of the wheat bran flecks or the oats.
To me, that is as fulfilling as crafting artisan bread.
• Pinhead Oats • Can You Translate that Please?
If you have visited Ireland you may experience a slight language barrier, not the accent, but some of the words.
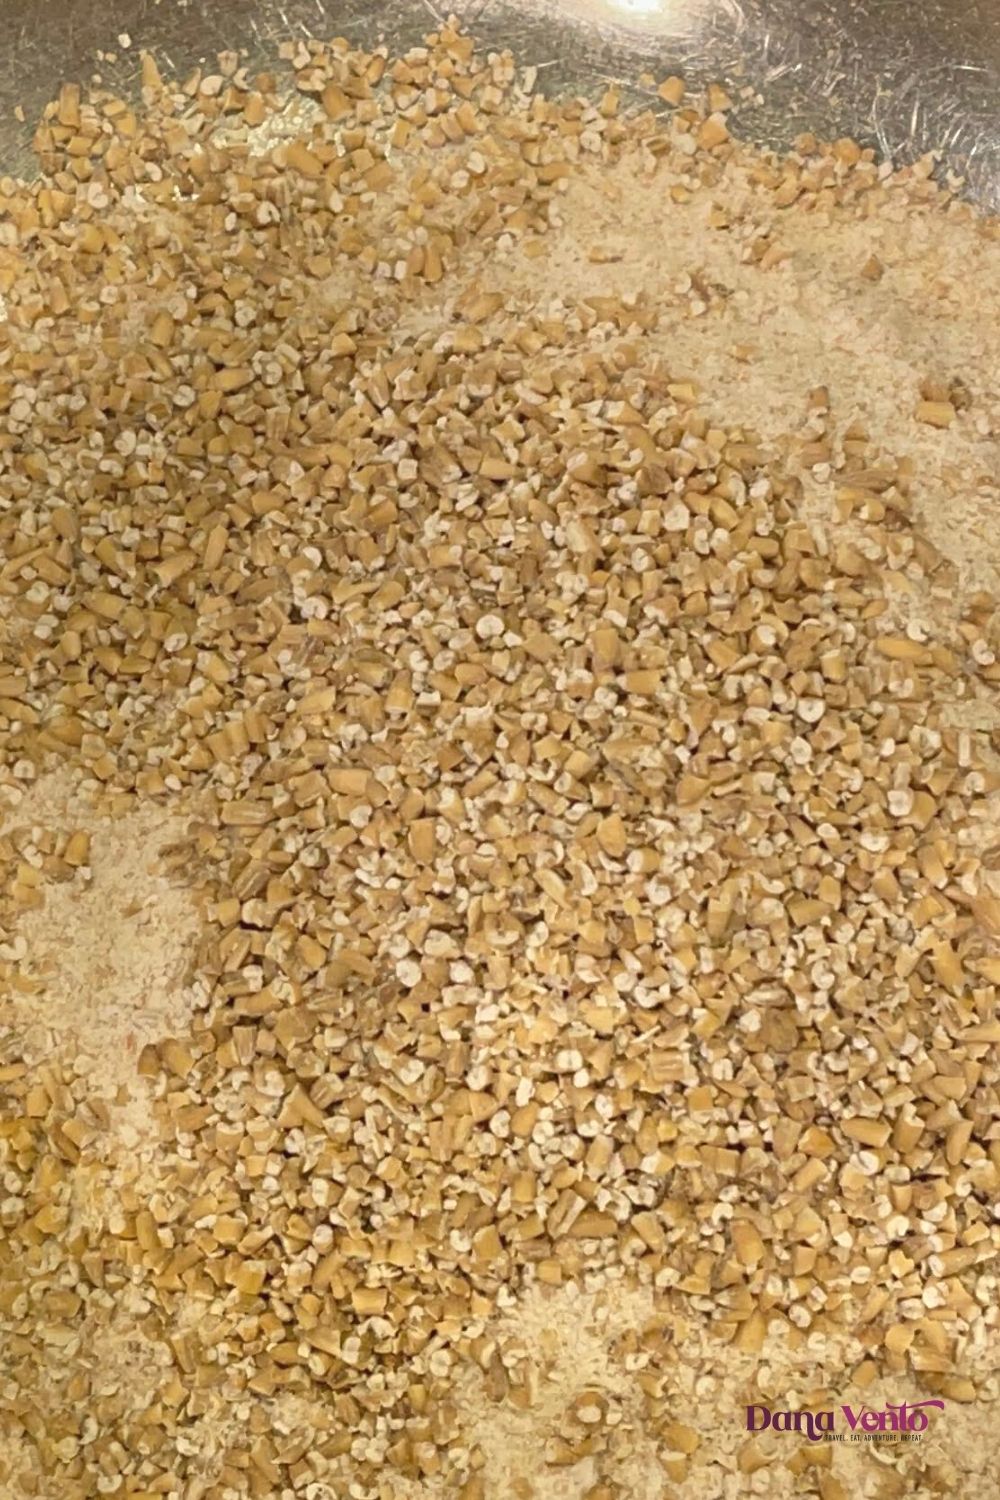
For instance, when I have to translate my Nonna’s recipes, she often refers to ‘demerara’ sugar, which was basically Greek to me, and then I broke it down to either using a light brown sugar or a Turbinado sugar as a replacement.
So, when Maeve described and showed me, Pinhead Oats, well, I knew what they were when I saw them but I needed to make certain that what I thought it was, was actually the correct USA ingredient equivalent!
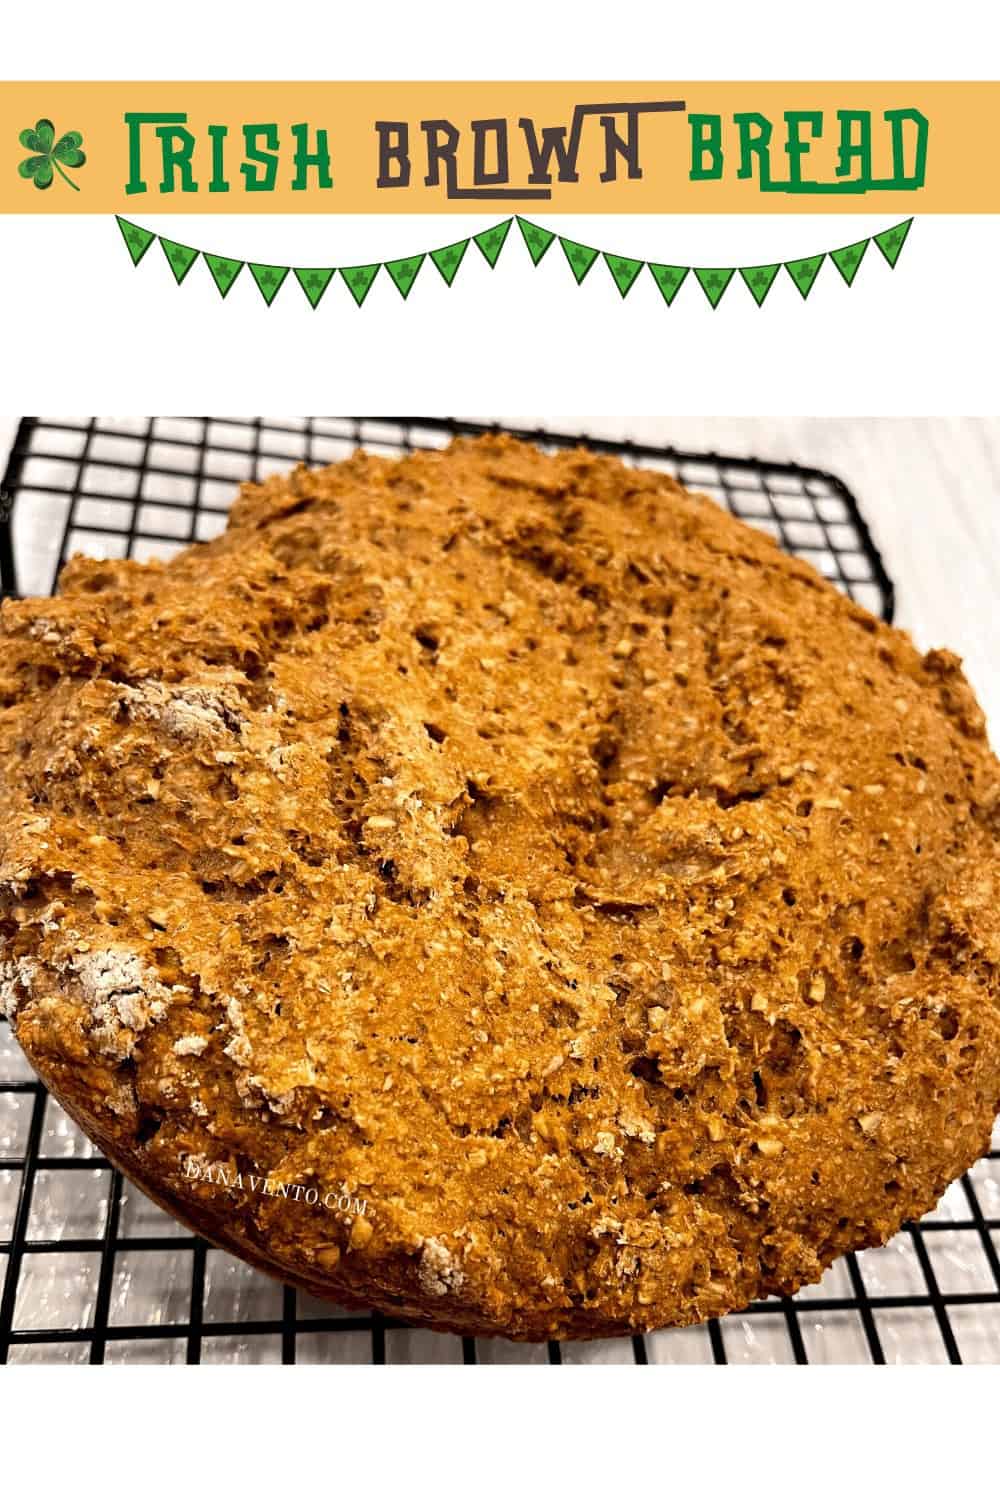
You know, I had to actually search the name Pinhead Oats when Maeve said it.
She kept repeating it, and I wrote and Googled at almost the same time!
Pinhead Oats are actually what you might know as ‘steel-cut’ oats, cut from the ‘groat of an oat’ into a ‘pinhead’ size.
A simple-to-find inexpensive ingredient!
In the end, the beauty of these ‘pinhead oats’ or ‘steel-cut’ oats is they break down slowly in your digestive tract and there’s not a SPIKE of insulin.
Your belly will be full length, though this does not mean consuming the entire loaf of Irish brown bread even if you want to!
Irish Brown Bread is Light Once Mixed
Surprisingly so, the once mixed Irish brown bread is light, not fluffy but definitely not heavy.
It’s easy to mix and it’s pretty much fail-safe.
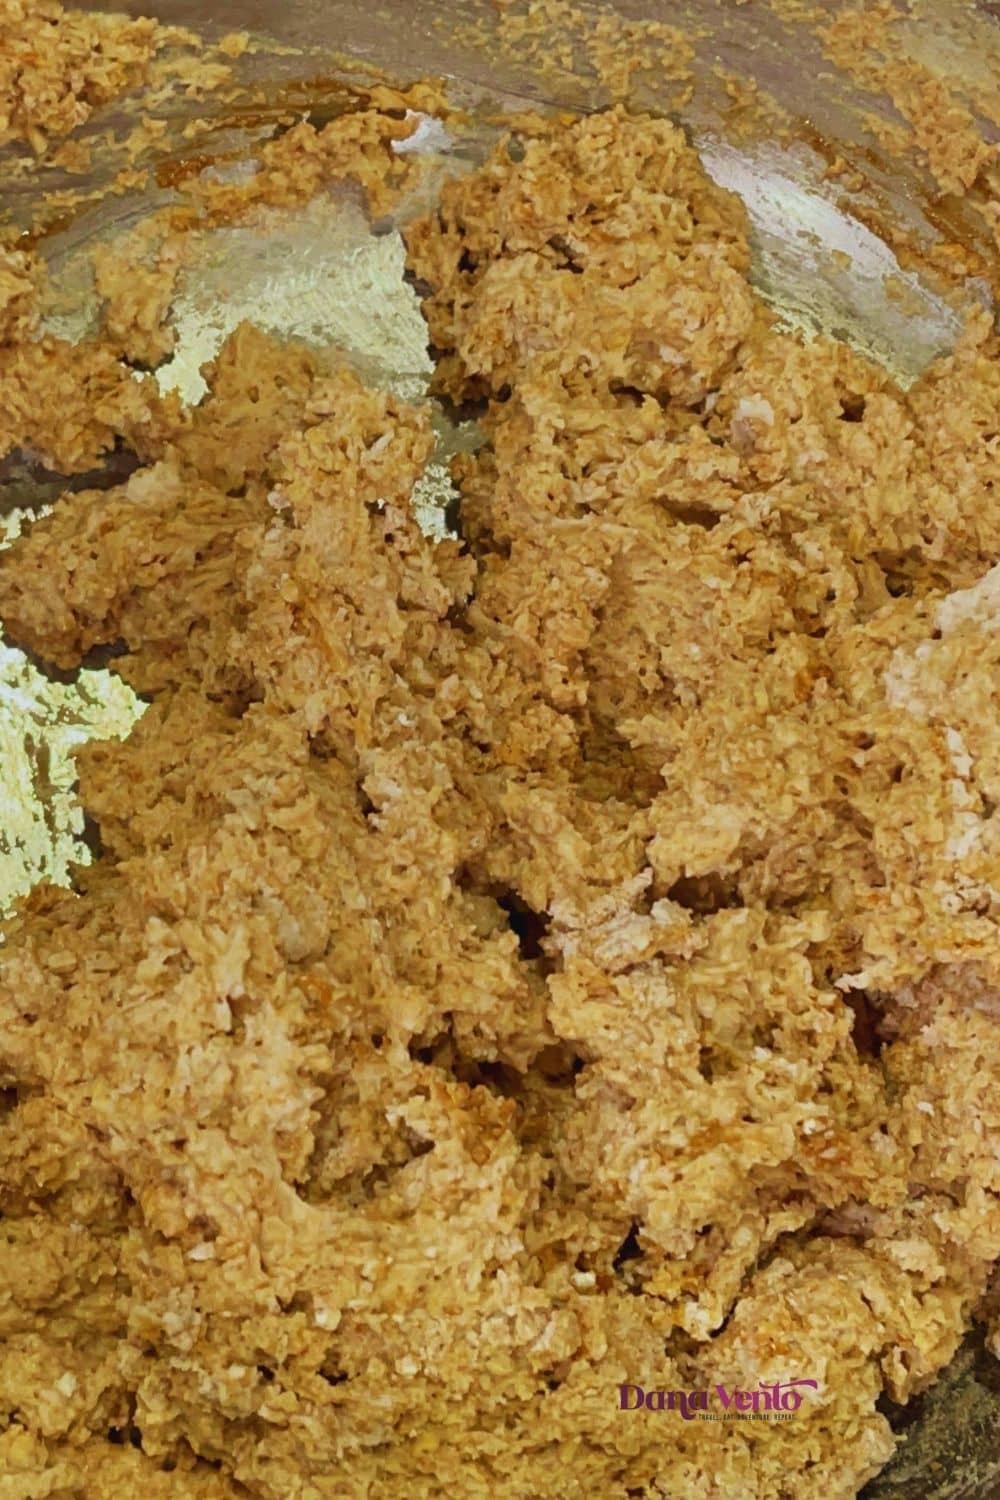
Even for those nay-sayers who claim they can’t bake, you can’t mess this bread up!
There’s no yeast, so there are no issues!
Mixing it up is as easy as it looks in the photo above, there’s really no big secrets here, its actually as straightforward as it gets!
What Makes Or Breaks This Recipe
If you have a dutch oven, you’ll want to use that to bake this bread.
Most importantly, what makes or breaks this recipe is the fact that if you don’t preheat your dutch oven, you can’t count on sucess in baking this round Irish bread loaf.
So make sure when you are preheating the oven you place the dutch oven in, covered, and also make certain to brush the dutch oven with an oil (olive oil works well) .
This is all very important to the success of your bread baking.
Make. Bake. Eat On The Same Day.
What you can expect is a delicious, nutty-flavored round loaf of bread, that is perfectly fresh on Day 1.
If you plan on having any leftover, you will then definitely want to use it in a few of the following ways, as this bread is not your ‘day after’ eating bread!
- slice any leftovers on Day 1 after serving
- store those slices in an aitight container
- Day 2 consider using the leftover brown bread as toast
- Alternatively cut leftovers into cubes and toast in the oven to make bread croutons.
- Or you could make crostini by cutting each slice into 1/4’s toasting that and topping with goat cheese and red peppers etc.
You can use croutons atop soups and salads or stews!
I took home the best souvenir of the trip
When we listen to our elders and respect them our options to learn are boundless.
I listened, appreciated, and wrote down so much.
IF only I had more time with Maeve.
The remote area we were in, was newer to guests and she was just simply thrilled to share her world.
Me, I was happy to learn through her, and today you call to get to try what I learned.
I truly hope you enjoy this recipe for the bread! ~ Dana XO
The Recipe
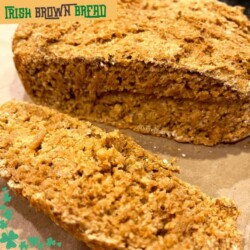
Round Loaf of Irish Brown Bread
Ingredients
- 2 C Wholemeal Flour
- 1 C Plain Flour
- 5 Tablespoons of Steel-Cut Oats (pinhead oats)
- 4 Tablespoons Wheat Bran
- 1 3/4 Teaspoon of Baking Powder
- 4 Tablespoons of Dark Strap Molasses
- 2 Tablespoons of Brown Sugar
- 1 teaspoon of salt
- 2 Cups of Buttermilk
Instructions
- Preheat Oven to 350°F
- Using a Dutch Ov, lightly Grease and allow it to preheat as well with the LID on to keep the heat in the dutch oven.
- While the oven is preheating, mix all of the ingredients above into a large mixing bowl.
- Mix by hand, making certain to SCOOP from the bottom to ensure that ALL the ingredients are combined.
- Once the oven comes to temp (dough should be done, remove the dutch oven (with gloves!) and wipe out excess grease.
- Place dough into the dutch oven, do not cover.
- Then put in the oven and bake for one hour.
- Once done, remove from the oven to a cooling rack for at least 20 minutes.
- Enjoy. Dana XO


Leave a Reply