Today’s how-to post will share how to make easy edible snow globes for dessert and pastries alike, also known as edible sugar domes.
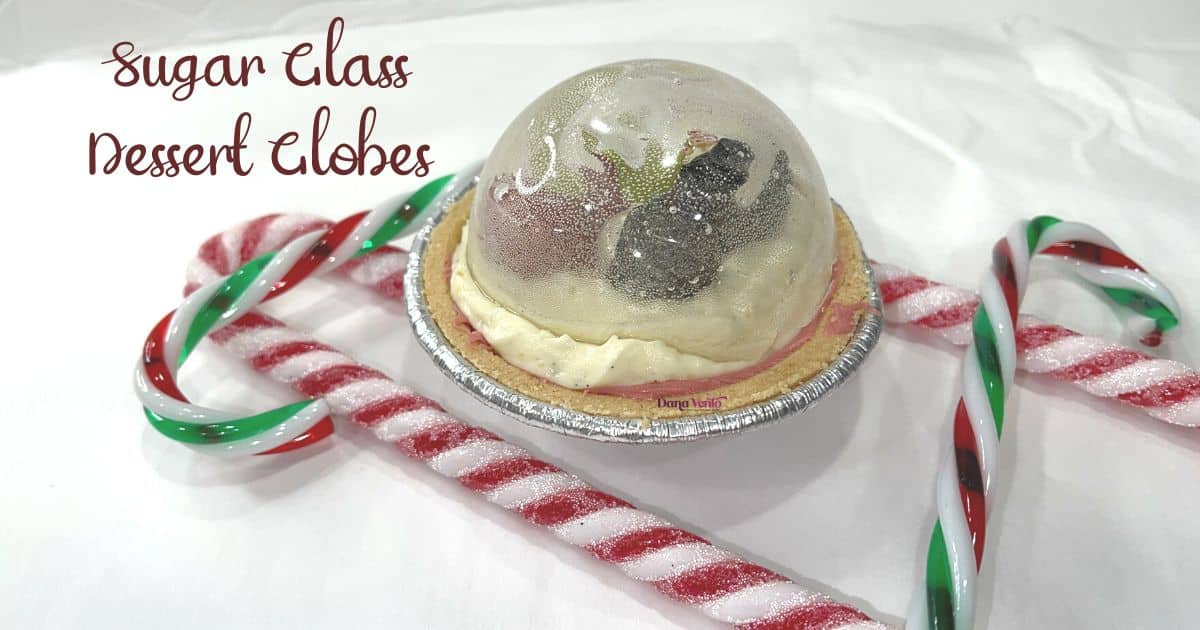
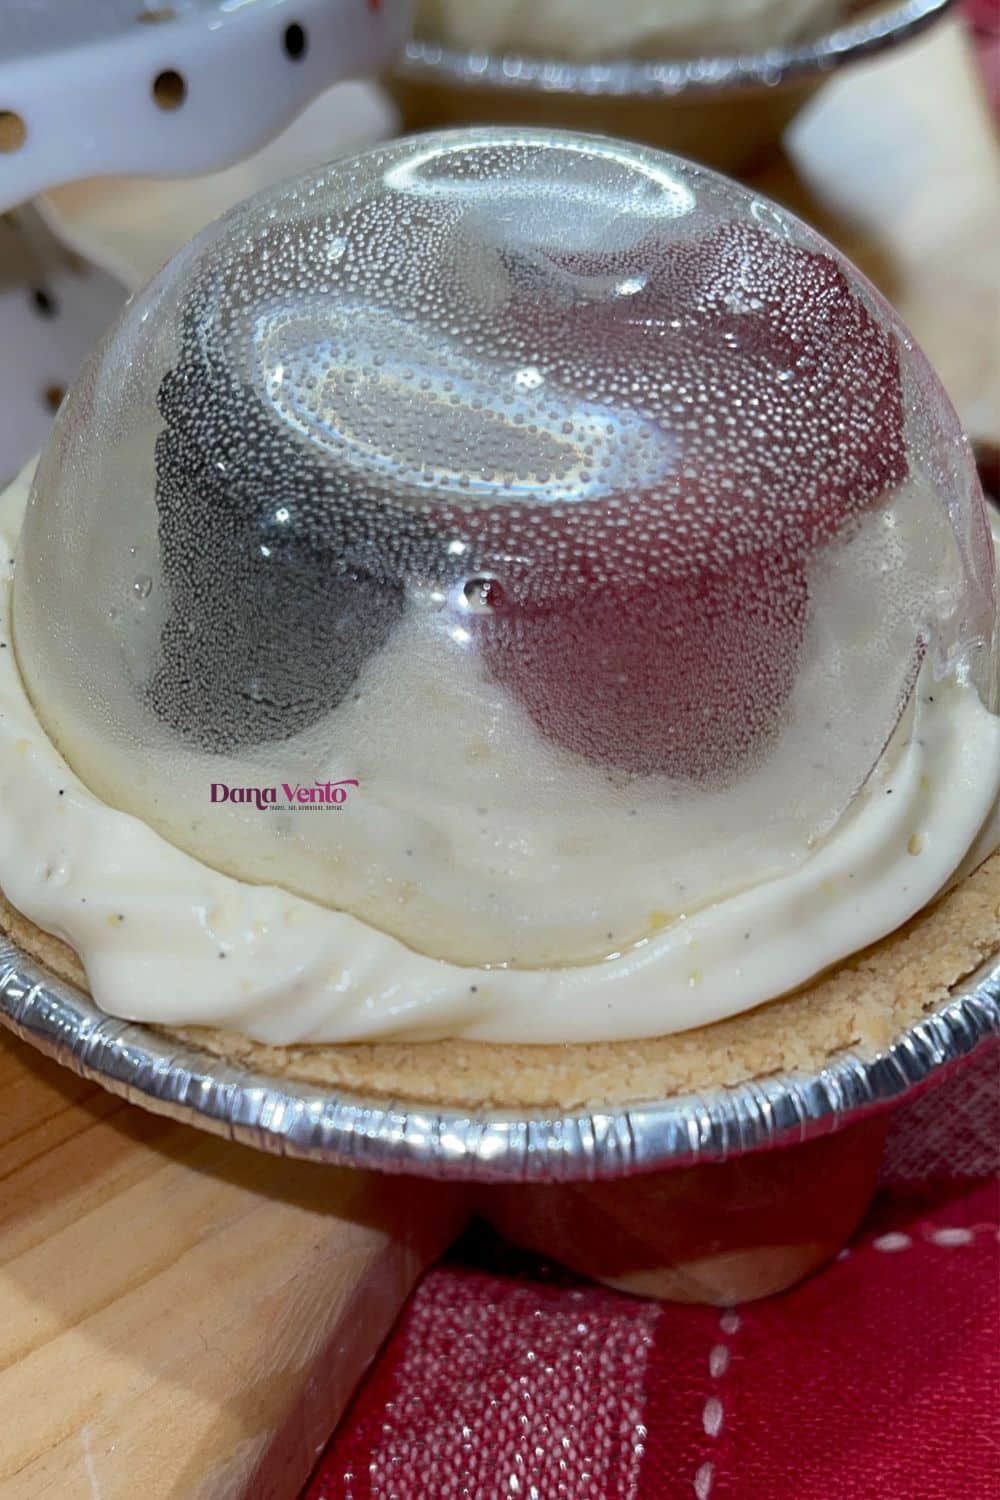
There is something so special about a snow globe and when you place a clear sugar dome atop a pastry or dessert it suddenly elevates any dessert platter you are sharing with friends and families.
The sugar glass globes can be used atop cupcakes, pies, pastries, cookies, and more!
Our sugar glass snow globe recipe is perfect for any winter holiday and can be used on any summer holiday as well for an under-the-sea effect!
Why You’ll Love Sugar Glass Snow Globes
- You can and should make the sugar domes ahead of time
- The sugar glass globe has a high resistance to humidity
- The color will be crystal clear
- There is only 1 ingredient used to create the edible sugar glass snow globes
- The process is uncomplicated
- The sugar domes are gorgeous atop small tarts, small pies, over strawberries, etc.
Equipment Needed To Make Sugar Glass Snow Globes
- a small stainless steel pot
- round 2.5″ to 3″ silicone semi-sphere mold
- Parchment paper as a work surface
- Candy thermometers
Ingredients To Make Your Easy Edible Snow Globes
Now, drumroll please, because you need only ONE ingredient: Isomalt
How To Make Easy Edible Snow Globes
There’s not much to this recipe so I am not going to sit here and fill it up with unnecessary banter.
Generally, my sugar domes have bubbles in them, I keep watching other people make them, and nothing seems to correct that so I just am happy with my perfectly imperfect domes, but do know it could be my own fault, (moving the isomalt around too much, or not cooling it enough, etc)
What I will say, is that these are my favorite holiday item to make and I bet you will love this too!
Step 1: Heating the Isomalt To A Boil
To start you will need to place your pot on the stove, keeping the pot at about medium heat, and then place the Isomalt in the pot.
It is essential that you do not stir the powder as it is dissolving or you will create pockets of air (bubbles)
Step 2: Prep Your Sphere Mold
While the Isomalt begins to heat, prep your silicone mold using a very light coating of nonstick spray to ensure your sugar domes will release from the mold pans.
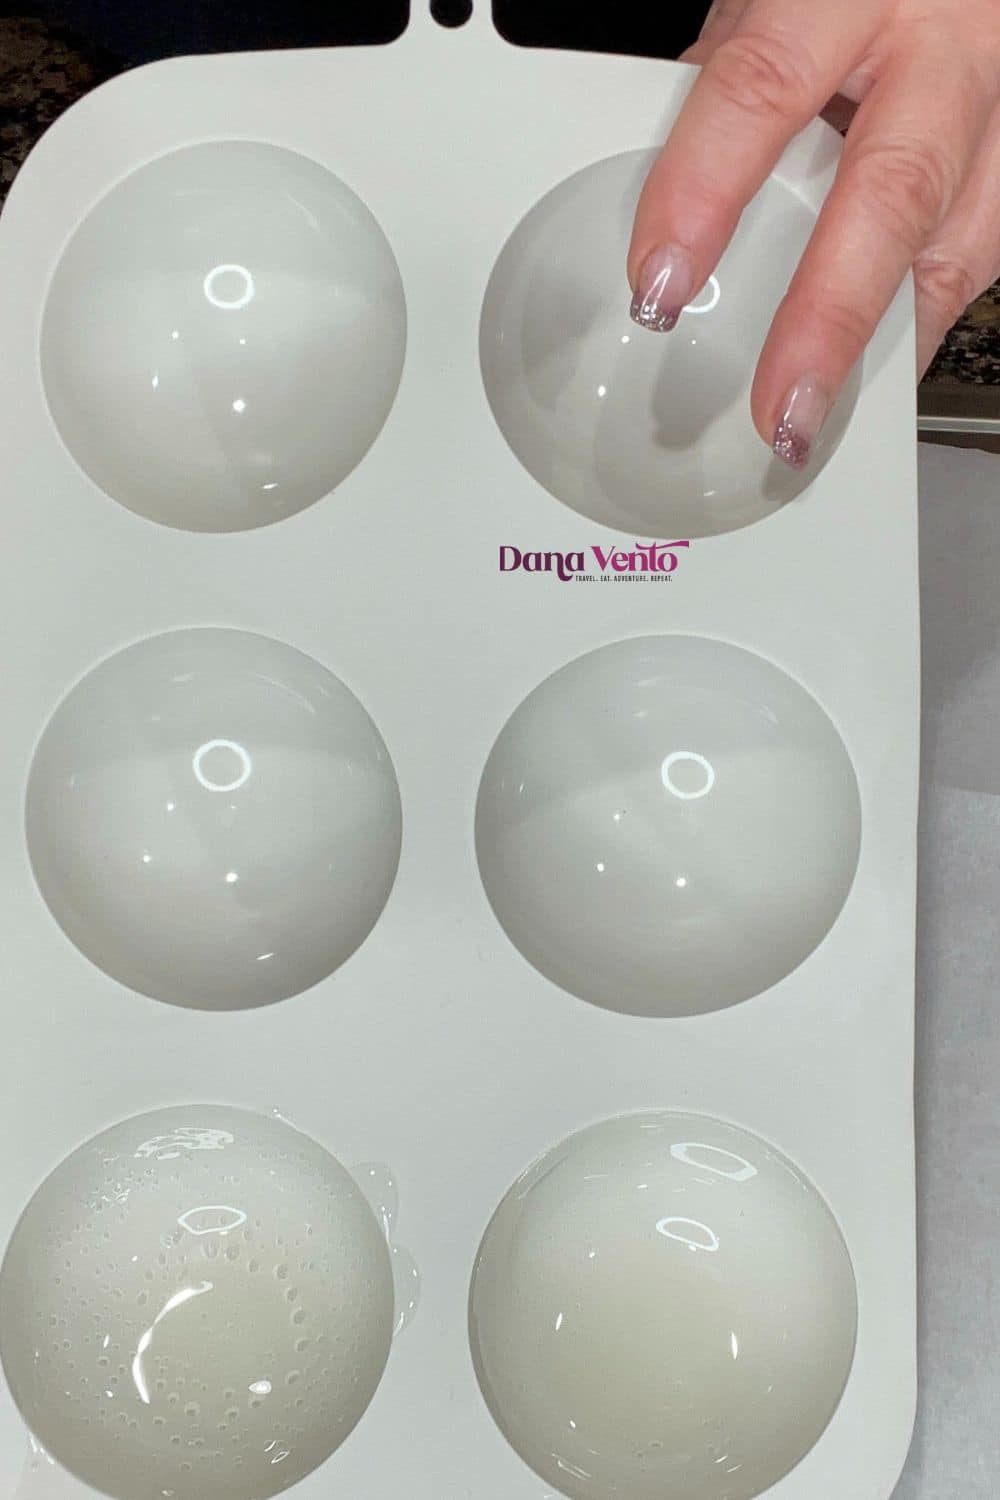
We also suggest placing a work tray or parchment paper below the silicone semi-sphere in case you spill it makes for easier cleanup!
Step 3: Swirl the Isomalt As It Dissolves
As your isomalt begins to dissolve, swirl it in the pan, do not stir it, again you don’t want to create air pockets.
Step 4: Boil To 320°F
Once you’ve achieved a dissolved Isomalt, at the boiling temperature of 320°F, remove it from the heat and allow it to sit for a minute to cool slightly.
Step 5: Make your Sugar Glass Globe
Using about 2-3 Tablespoons per semi-sphere distribute the clear, heated isomalt into each sphere.
Swirl to coat each one side to side.
If you should have some spillover don’t worry the spillover can be helpful as “TABS” so that you don’t touch the actual sugar domes.
Remember, the isomalt is still very warm and it can burn you so be careful swirling.
Step 6: Allow the sugar domes to cool for a few minutes after being swirled in order to set
Before attempting to remove each sugar glass globe from its sphere compartment, allow them to cool, and then carefully pull away the silicone and place each sugar dome on the parchment paper.
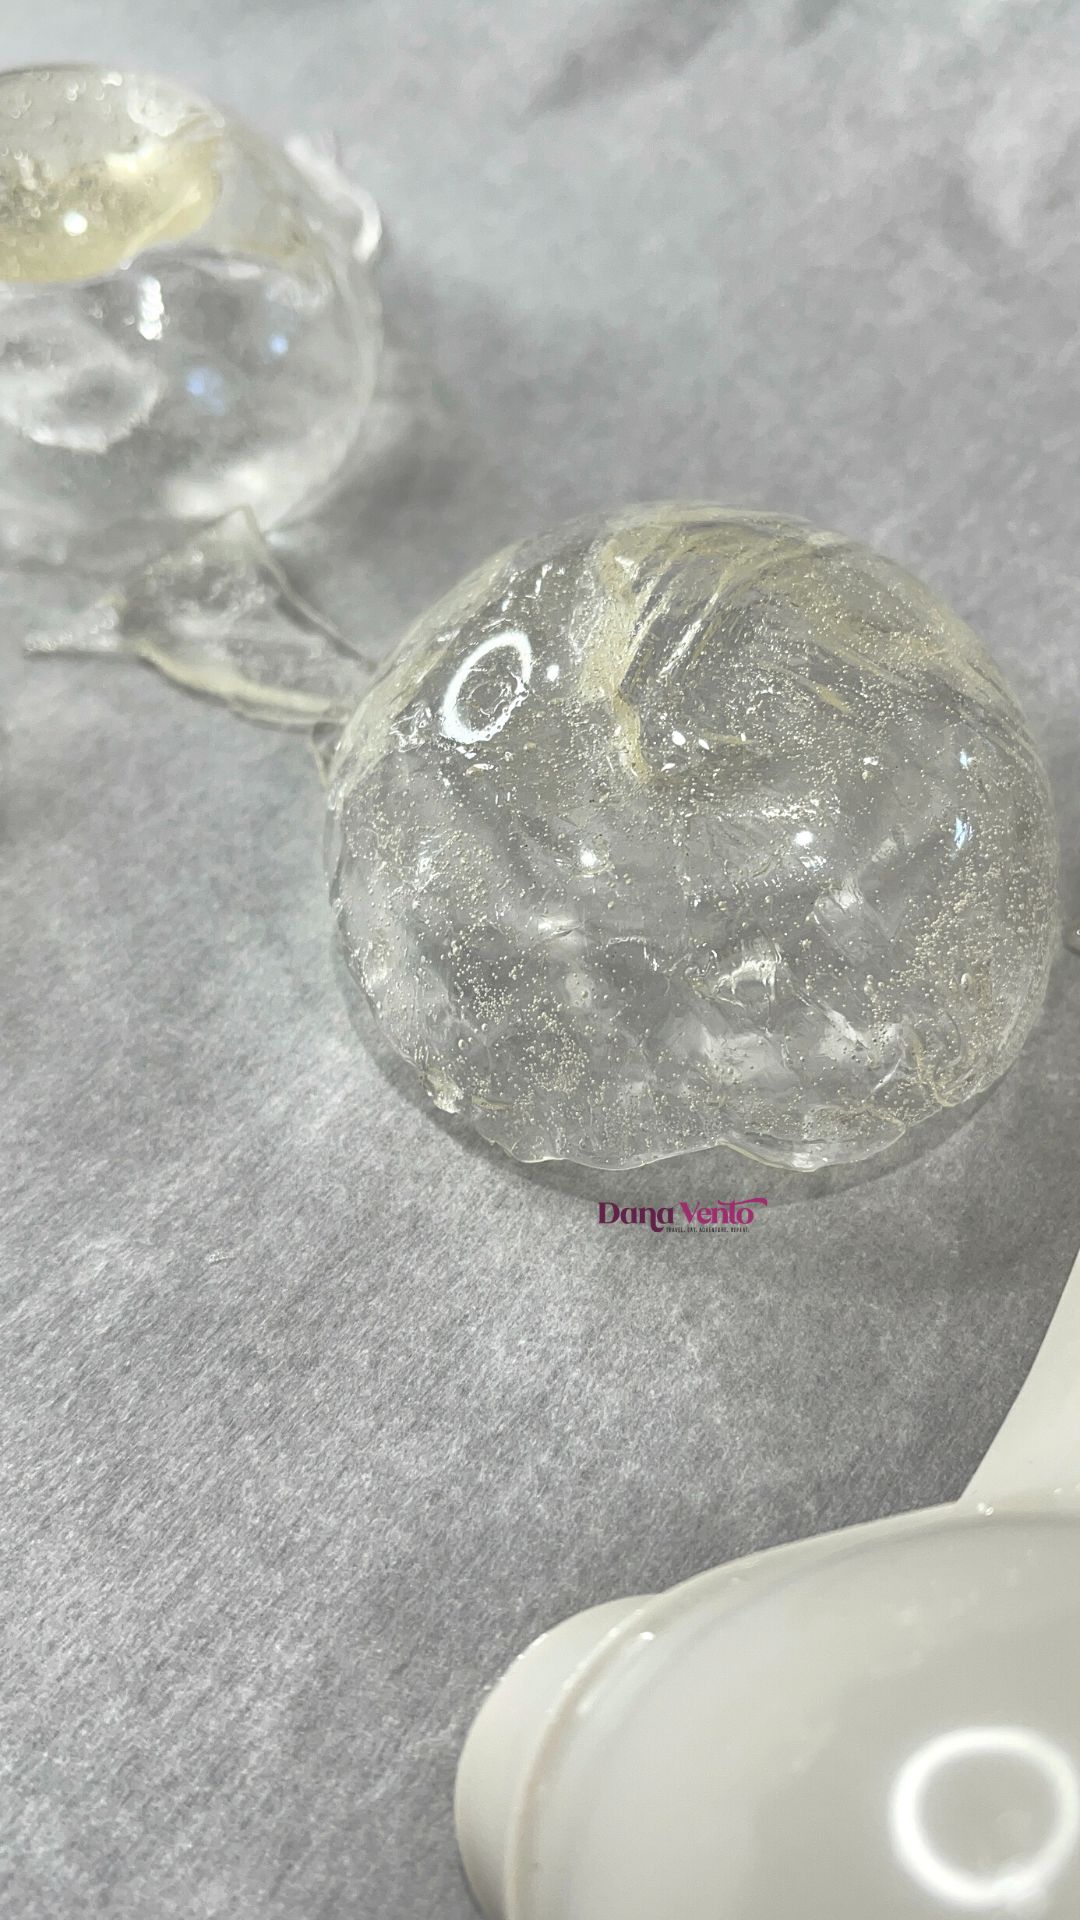
If you have a pastry premade and waiting to be topped off with your sugar glass snow globes you can do that as you remove them from the mold.
Why Do My Sugar Domes Have Bubbles In Them?
Hey, so do mine, so no big deal, unless it is to you!
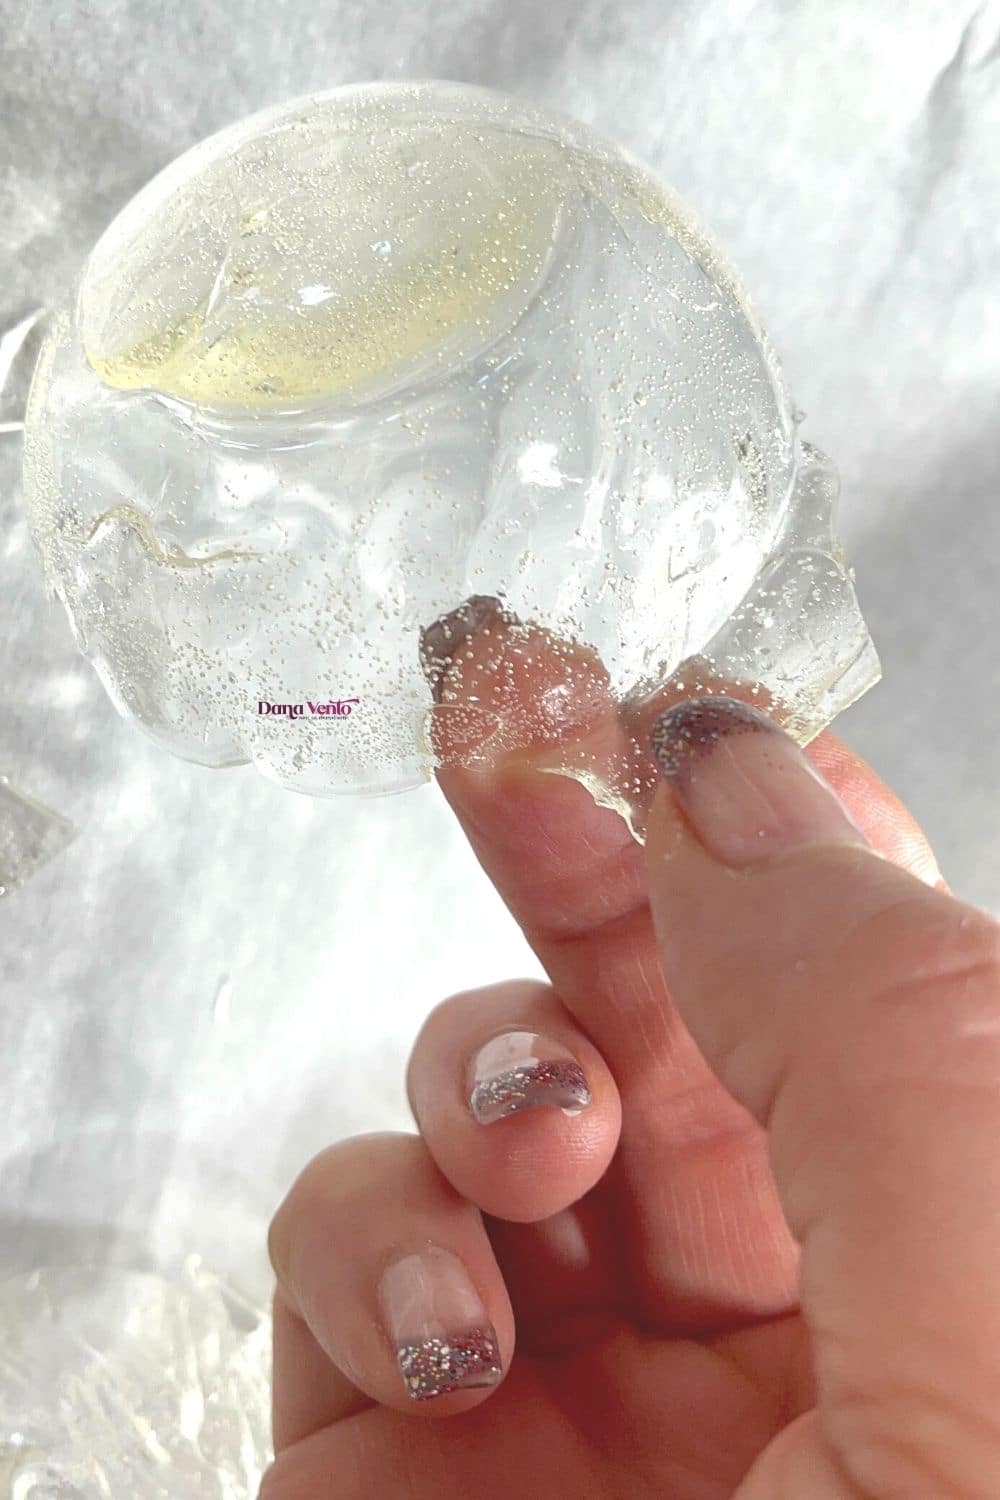
Chances are you either stirred the isomalt when it was boiling instead of stirring it, or you didn’t allow the isomalt to cool slightly after boiling.
Admittedly, I am not a perfectionist when it comes to making the sugar domes and I am just happy when they do not crack, so you’ll not see me producing crystal clear panes but instead, my slightly imperfect yet perfect to me me, sugar glass globes.
I’ve worked with this many times before, but I still never have gotten them to be perfect without bubbles, but I just go with it!
Oddly enough, no one in my home or anyone I have ever served them to has complained.
How Do You Eat The Easy Edible Snow Globes?
This is the best part of making the globes made of isomalt sugar is that you get to crack the sucker with a hard blow to the top of the dome with a spoon once you serve it as a dessert. . A solid blunt pop will crack each sugar dome.
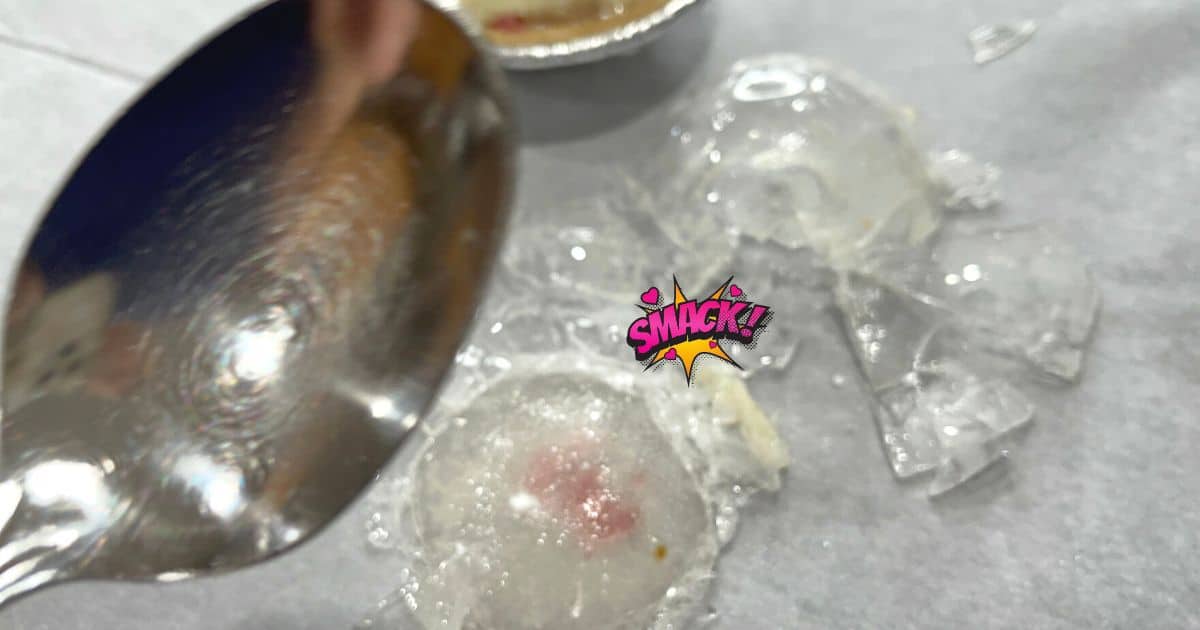
Then you use the broken dome made of sugar pieces to mix into the pastry they are being served on.
A Note Of Caution When Consuming The Sugar Glass Globes
You’ll note that these globes are made of hardened sugar, with the consistency of a lollipop, which means that just like a lollipop can be sharp to eat, so can the hard, clear-sugar dome.
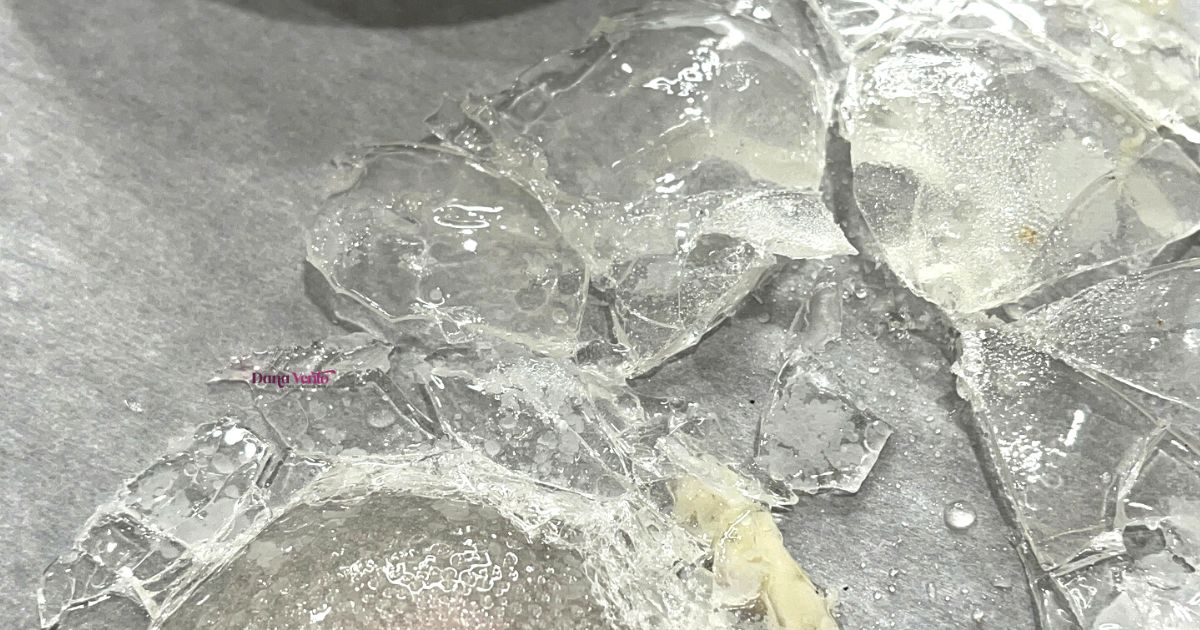
With that said, when you give the glove a solid blow, do it again and again to create bite-size edible pieces that will not jam up the roof of your mouth or between your teeth.
In the same way, this is not a suitable dessert for children under the age of 10, as it is definitely a choking hazard and it could potentially be a mouth hazard.
What Occasions Can I Use The Globes Made of Isomalt For?
- baby showers atop cupcakes
- bridal showers on pastries or cupcakes
- single serve pies
- pastries that are round
- under-the-sea like creations
Where Do I Find Isomalt To Make The Easy Edible Snow Globes?
You can purchase the isomalt (it’s a sugar substitute that does not crystalize) right here > ISOMALT Buy It Here
Don’t forget to check with your local Joann’s and Michael’s, as well as Walmart, but I do know that the link I provided above for the Isomalt is a very competitive price without having to drive from store to store to locate the Isomalt.


Leave a Reply