Sfincione Siciliano or Silician style pizza, both names capture what this authentic recipe is.
A parmesan, breadcrumb topped chewy thick crust in a rectangular-shaped pizza is what you will be making!
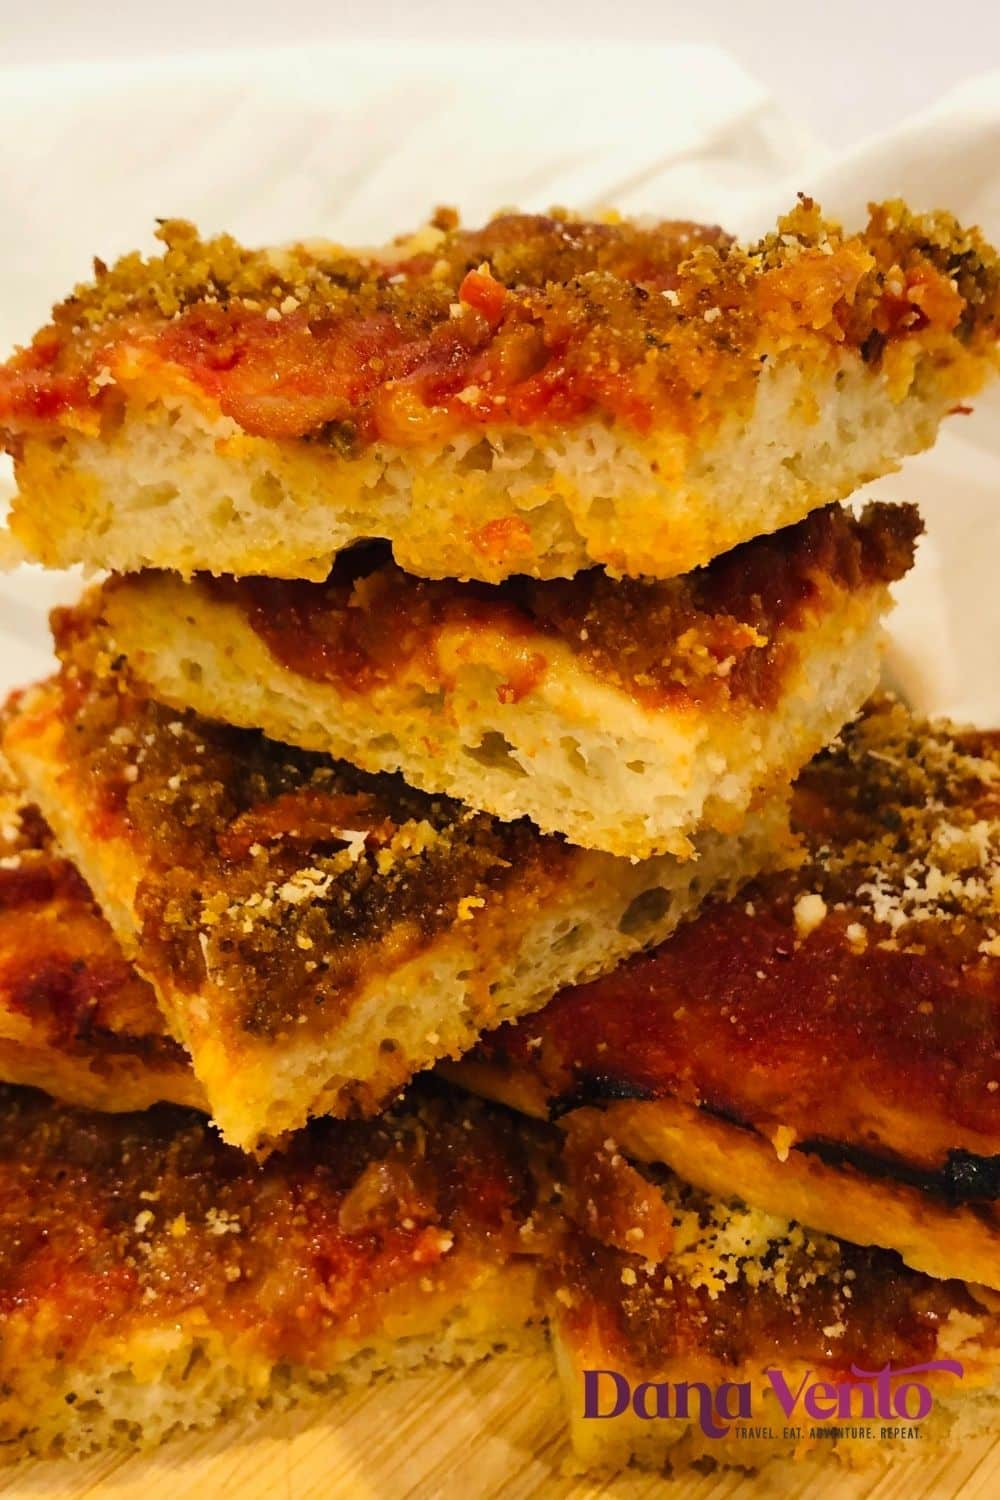
Delicious Sfincione Siciliano Pizza. Authentic + Traditional
First and foremost, my recipe was gifted to me from my Nonna Santa.
My family is right from Sicily as I’ve mentioned before and well, her recipes never cease to amaze me.
I struck gold when I found her Sfincione Siciliano Pizza recipe not even knowing what it was.
Then once, I made it I remembered her serving it and it all came back to me.

So, when my Nonna Santa immigrated to America, she brought her culinary skills with her and I have been the beneficiary of all her wonderful recipes.
My Inspiration for my Sicilian Style Pizza
As I’ve mentioned before, I spent a lot of time with my Nonna Santa, especially in her kitchen.
Nonna Santa was so talented and sadly there’s not a day that goes by that I don’t miss her and want to ask her more questions.

In my opinion, she was the authority on the standard of what Sicilian food, tastes like.
I watched everything she did, and I tucked it away in my mind, as much as I could.
Many times when I want to cook a different meal, I think about my Nonna and what she cooked my Nonna Luigi.
Then, I draw upon her meals as inspiration and look at her notebook and notes.
What you won’t find in my authentic rectangular-shaped pizza ?
You might also have heard this called ‘Spinciuni’.

Caveats of preparation include anchovies in the sauce (nope, not here!) and it should be baked in a rectangular pan.
So you won’t find sardines or anchovies in my recipes, too much salt, and not what I prefer so that ingredient is not in my recipe.
It’s a rectangular-shaped pizza but it is not….
While you might think this is the same as focaccia, it’s not at all focaccia.

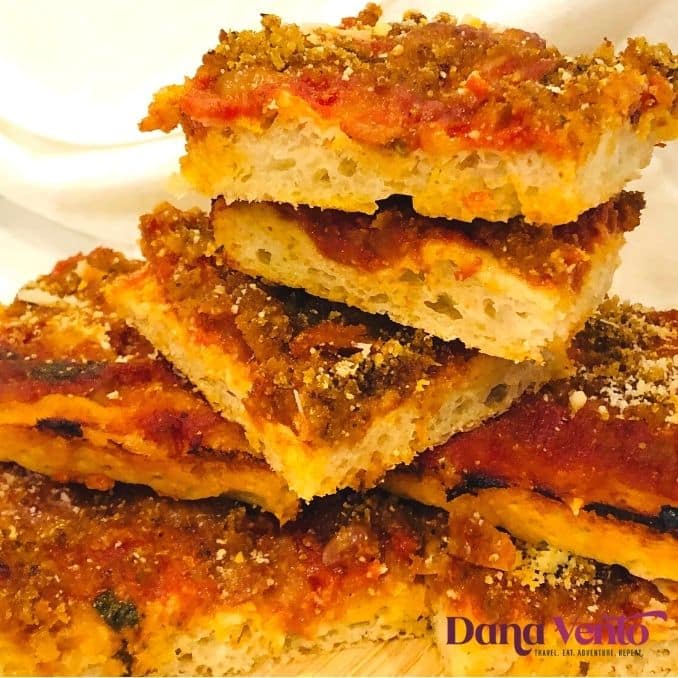
This is chewier and lighter at the same time, and the corners will have a crunch (which are the pieces I love best!)
So, please don’t refer to it as a type of focaccia because it is not!
The best way to enjoy this parmesan breadcrumb topped pizza?
I am a cold pizza, next day kind of girl, but it’s not for everyone.
In this instance though, I struggle with the debate between loving the authentic Sicilian pizza right out of the oven or eating it cold.
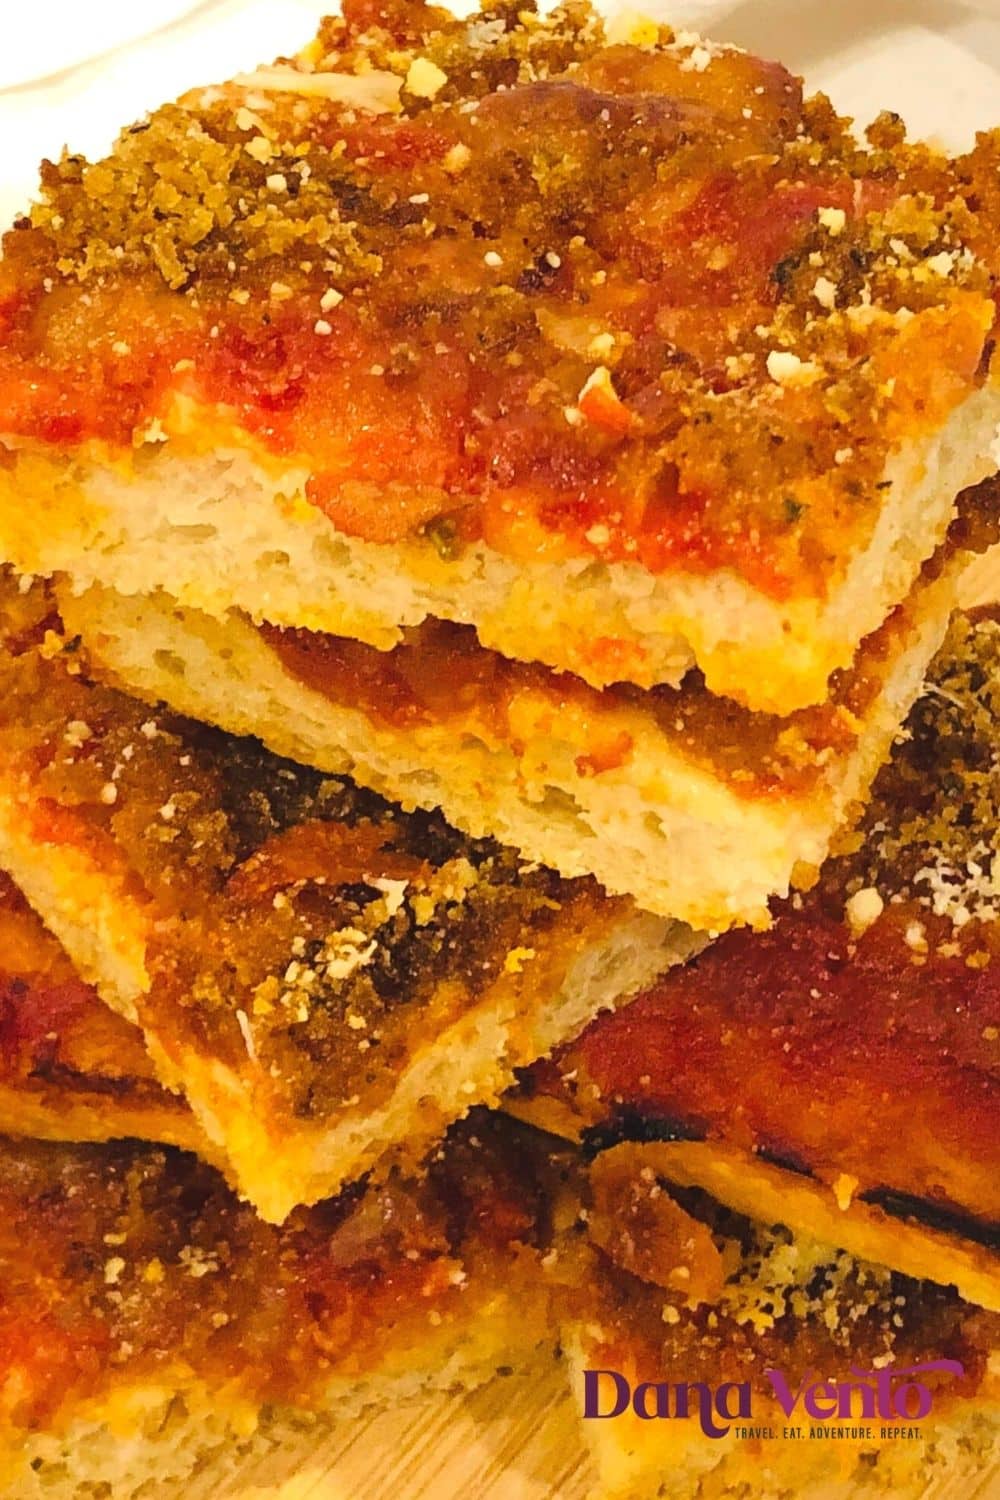
The Parmesan cheese pops in flavor IMO when it is the next day if there is any left!
The chewy thick crust will command your attention to tasting because its texture is different than most pizza you have ever eaten.
So, this is not a flat pizza in any way and a rectangular baking pan is a key to the shape.
My Memomories of Sfincione Siciliano ~ Sicilian Style Pizza.
“Babydoll, you whanna eat some peeza? ” in her little Italian dialect mixing into English.
“Yes, Nonna!”
And off to the kitchen, she went.
Naturally, as her little buddy, I followed her.

My Nonna used simple ingredients and in no time, she had constructed Sicilian Style Pizza.
Nonno Luigi would come in, and we’d feast!
It’s like eating air, yet it is lightly chewy and your toppings are breadcrumbs and parmesan.
Nonna Santa knew I was not fond of fish, so she changed her recipe to suit me because that’s what Nonna’s do!
Traditionally, the sauce contains anchovies, but ours does not!
Thicker sauce, olive oil, pan-fried breadcrumbs, and square cuts all make this the supreme eat of Sicily!
Do I Need A Bread Machine to make Sicilian Style Pizza?
No. I used my stand mixer and I’ve used the dough mode on the bread machine.
I prefer the stand mixer, it’s faster and gets you there faster.
I will say that you need a rectangular pan if you truly want to make it authentic.
Some might say it’s street food, but often it serves a meal for us when served with a salad.
You will have a nice thick-crusted pizza.

Time Management in Parmesan Breadcrumb topped pizza
You will be making the sauce, separately from the breadcrumb topping.
The pizza will be baked 2 times and rise 2 times.
Your time investment overall in physical work is about 10 minutes.
Prepping ingredients is the physical work and that is for the sauce ingredients as well as the dough ingredients.
The first rise is about 3 hours and the second is only 30-40 minutes to double what you rolled out.
Do read through the recipe before starting.
You do need a thick sauce, and plain paste is too tart.
Breadcrumbs + Cheese
When it comes to breadcrumbs, you should know that you want Italian-flavored breadcrumbs so that you have a seasoned flavor without having to add seasoning.
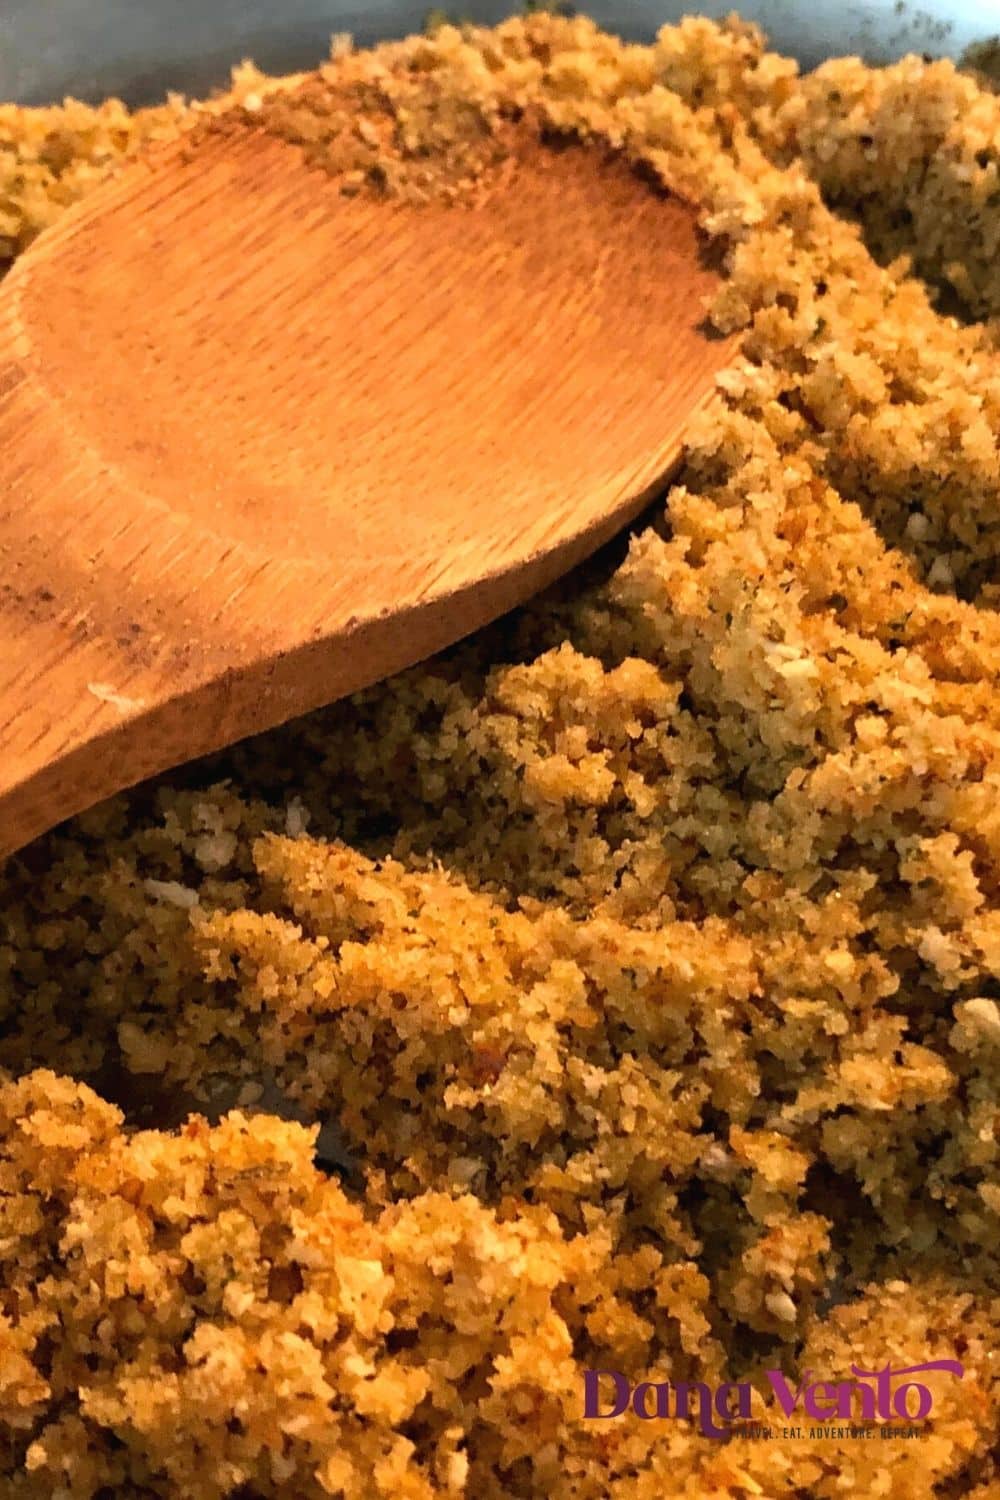
Do not burn the breadcrumbs, golden brown them.
If you burn them, you need to start over as these are critical to the flavor and they will also be baked on, so burning will just ruin the entire pizza crust bed you so-lovingly created!
I refer to my Parmesan cheese as Pecorino Romano, which is a Parmesan cheese.
You can use, asiago, Parmiggiano Reggiano, shredded Parmesan, Grana Padano, etc.
Baking
Recipe For Sfincione Siciliano ↓↓
Remember to save yourself a few slices of this amazing pizza and eat it cold.
There’s just nothing like cold pizza or even room temperature and this just celebrates both temps!
Sit back, relax and enjoy the taste of what you created.
Once you make it I am sure you will create it again and even add your own spin to the sauce or crust flavor.
Sfincione Siciliano – Sicilian Pizza
Ingredients
FOR DOUGH
- 2 ¼ tsp Instant Yeast
- 3 c flour (Tipo OO')
- 1⅓ c Warm Water (130° F) Faucet water running)
- 2 tbsp Olive Oil
- 1½ tsp sea salt
FOR SAUCE + TOPPING
- 3 tbsp extra virgin olive oil
- 1 large yellow onion (peeled, sliced)
- 2 cloves garlic, peeled, sliced
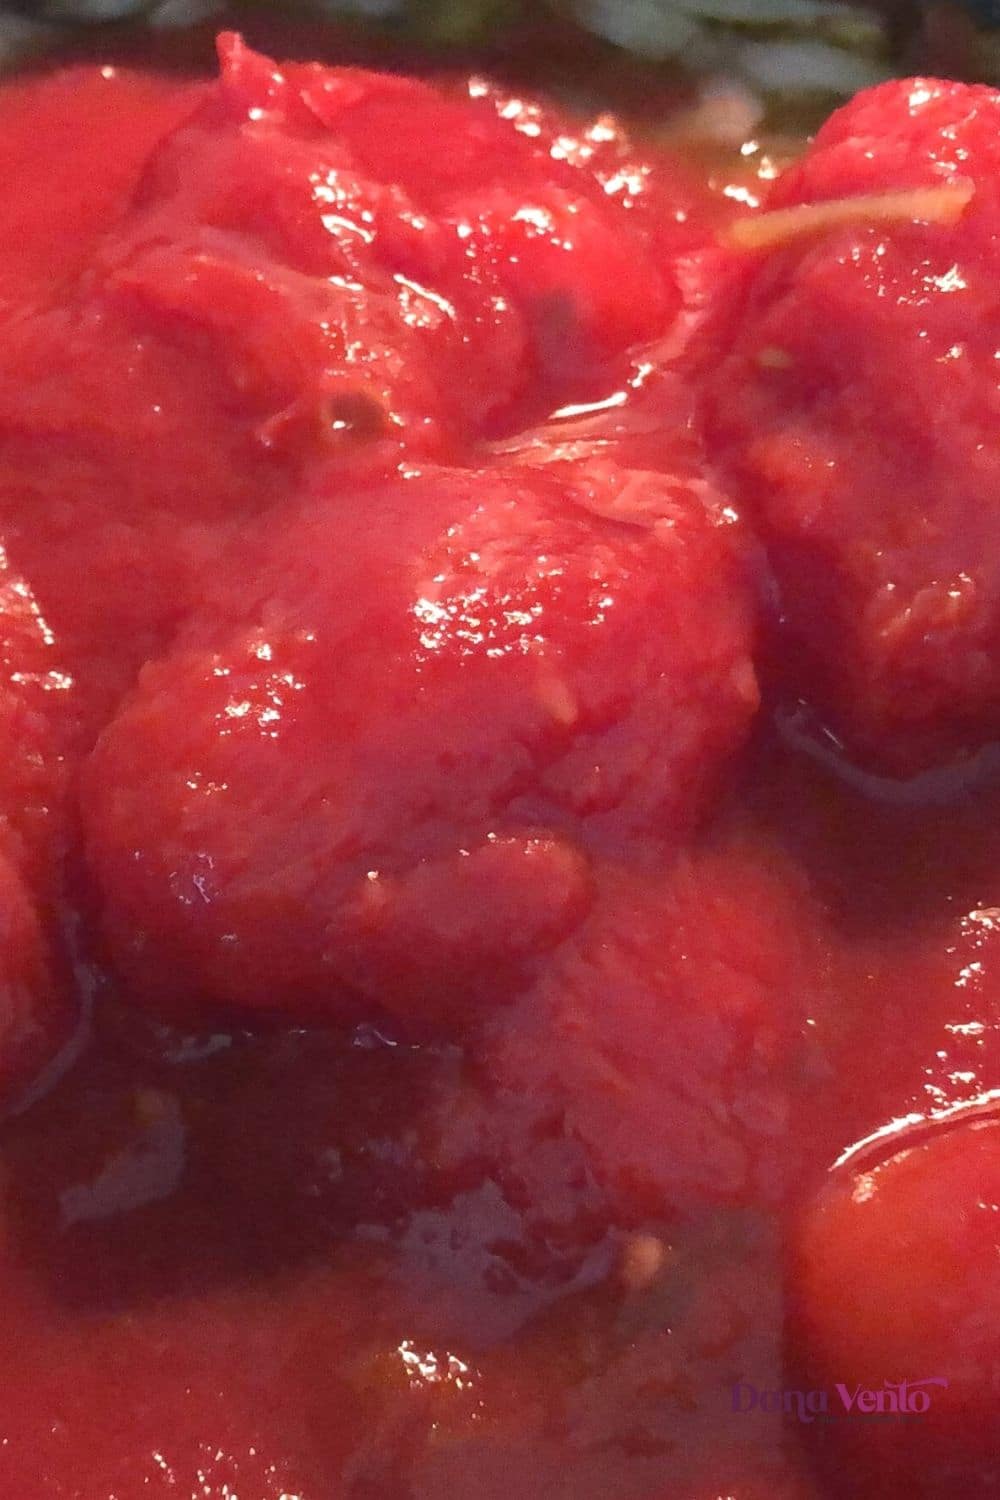
- 28 ounces peeled tomatoes do not drain
- 1 tsp salt (optional because you will have a salt content atop pizza in the breadcrumb mixture
Breadcrumb Topping
- 1/2 c Italain-flavored breadcrumbs
- 2 tbsp olive oil
Once baked
- 1/2 c pecorino romano grated cheese
- premade breadcrumb topping from above
- 2 tbsp olive oil (optional)
Instructions
DOUGH PREP
- in a mixing cup, place water and yeast.
- stir until it is fully combined and yeast is not showing but is part of the liquid
- place flour in mixing bowl then onto mixer stand
- add water yeast mixture to the flour mix
- use dough hook and dough setting on stand mixer (not more than level 2) combine for up to 3 minutes when the dough is just getting soft and smooth
- add in the olive oil and the salt and combine again with hook, for about 2 minutes more not more.
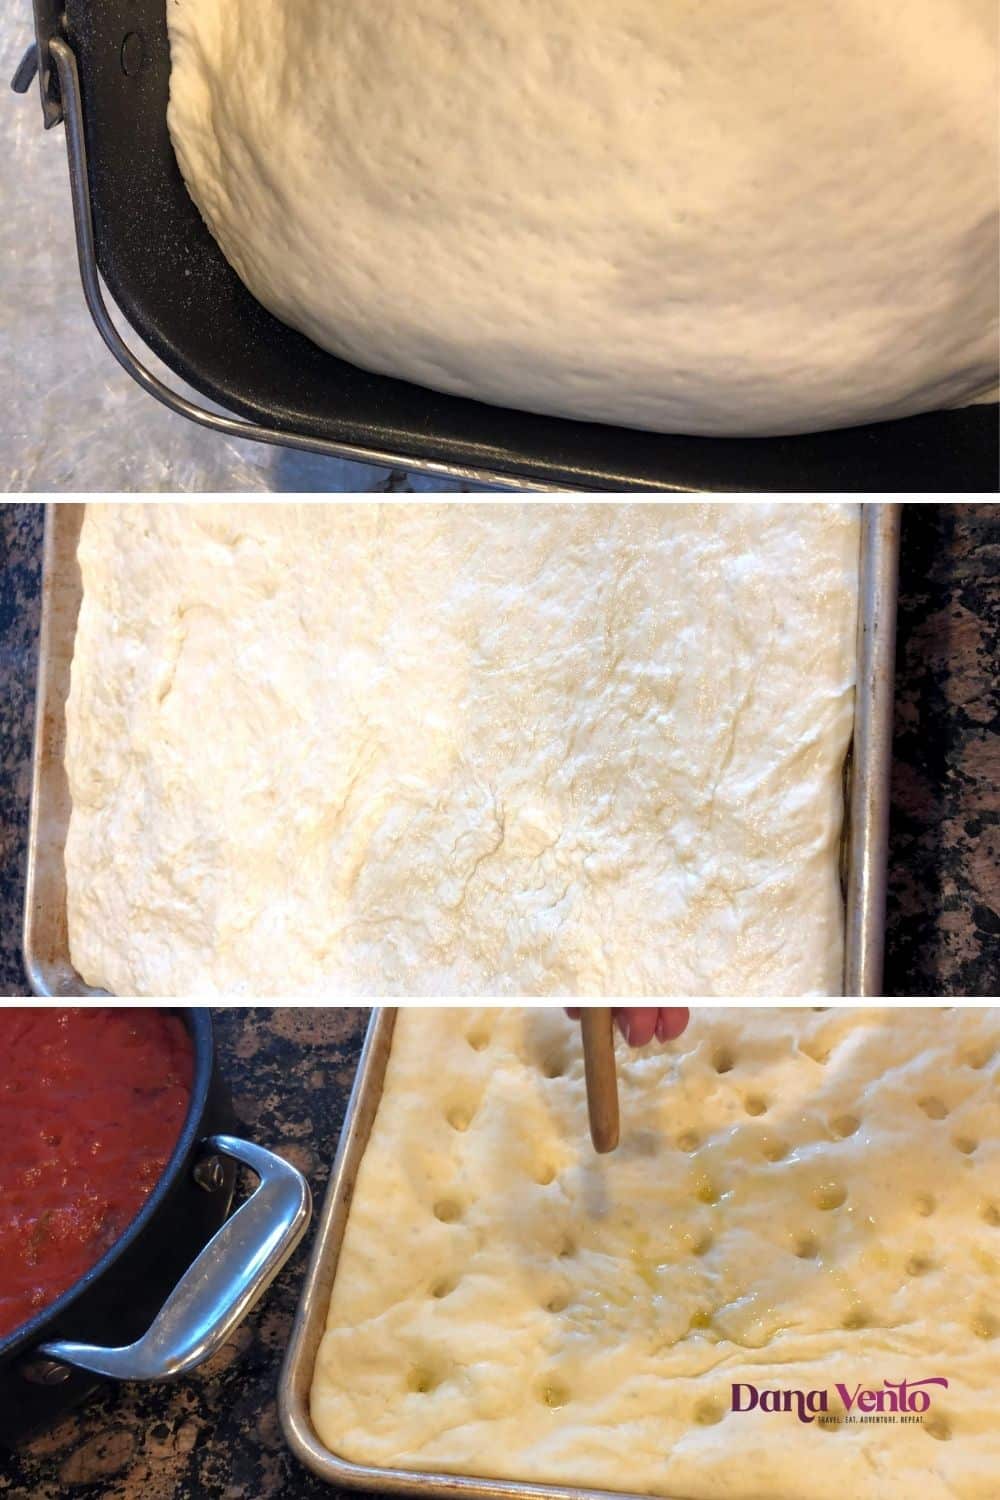
- Once dough forms a ball, or mostly forms, by hand, roll the dough ball to grab the rest of the dough in the bowl and then cover with plastic wrap.
- Next, you will cover the dough (damp tea towel with a bit of flour atop the dough so they don't stick or plastic wrap (not my favorite method) or a damp papertowel
- Once covered, your object is to have the dough double in size.
- Place in an oven with only the oven light, that will allow the dough to double over 2 hours or 3.
- ****If You are using a bread machine you will place ingredients in the order of our machine instructions, and mark it for dough only. Once it is done, it has already had its first rise, proceed to directions for forming dough below and skip the steps above
FOR THE TOPPING/SAUCE/ETC.
- While the dough is rising prepare the sauce
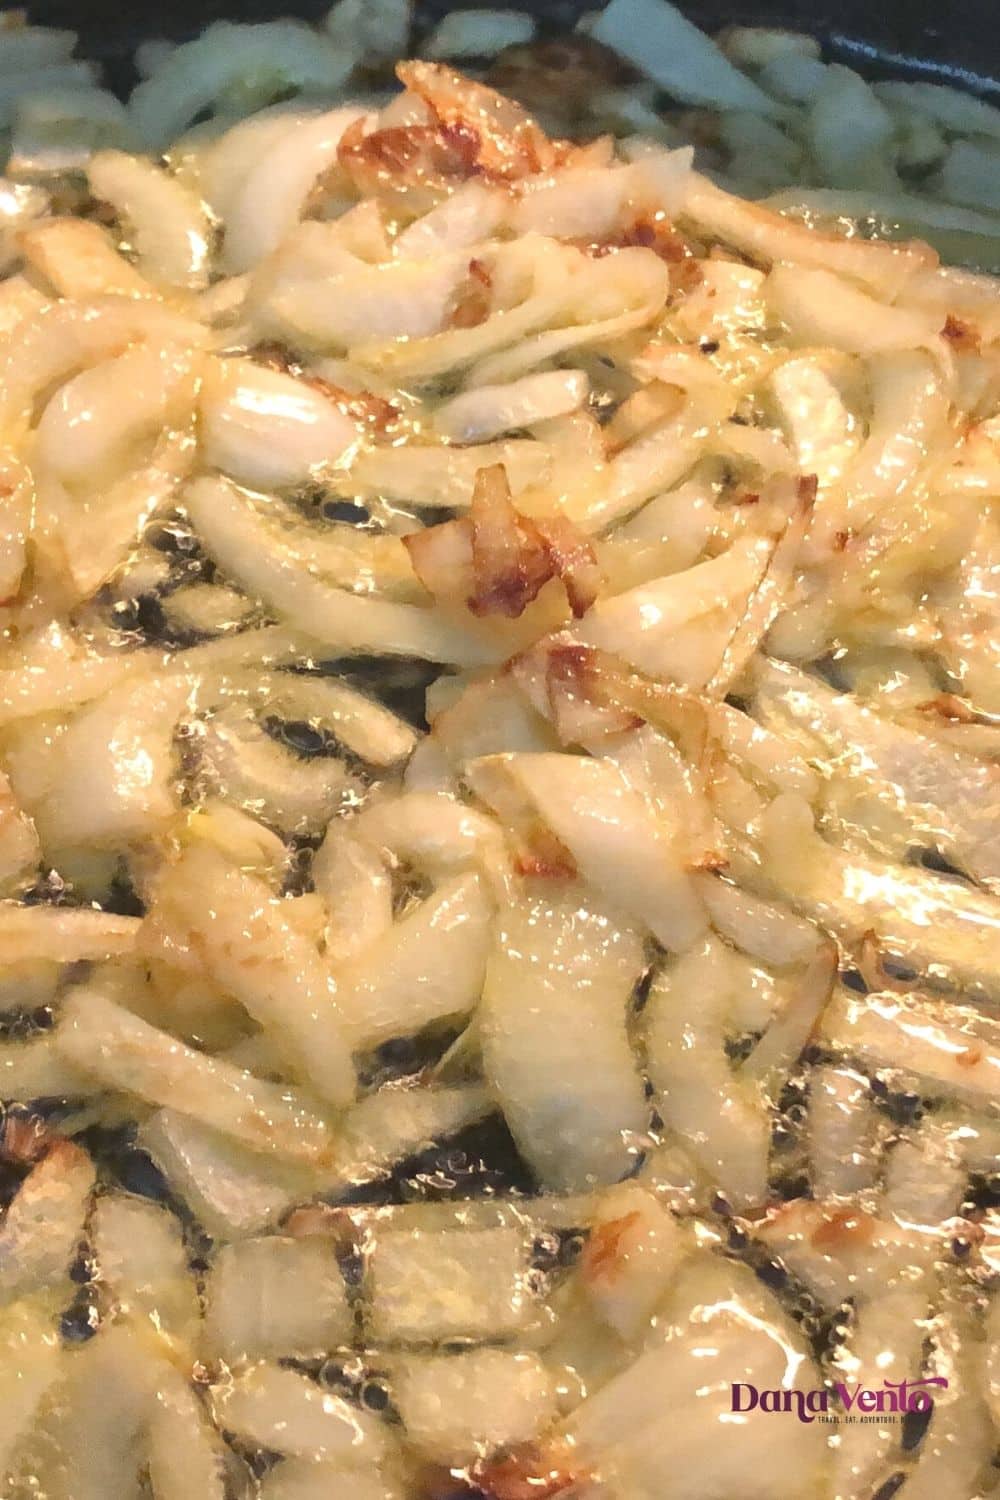
- In a large covered frying pan add olive oil
- Next add in the onions and garlic
- cover, sauted, on medium low heat, cook down to soft – about 10 minutes, do stir as to NOT burn,
- once softened, not burned, it's time to add in the tomatoes, however this will spatter, so remove the onion garlic mxiture from warm stovetop for about 10 minutes to cool and turn off the stovetop heat.
- Once cooled, add the tomatoes, salt and allow to come to a simmer on medium low heat (cover again while doing this for no spatter.)
- Cook to simmer for about 10 minutes, then turn off burner, remove from heat and set aside (uncovered too cool)
For the breadcrumbs
- in a separate frying pan, add breadcrumbs + olive oil
- allow the breadcrumbs to brown (but do move them frequently as they will burn) using a low -medium heat. Get them golden brown and remove from heat (maybe 5 minutes max)
RECTANGULAR DOUGH
- PREHEAT THE OVEN TO 425°F
- Using a pastry brush and olive oil (about 1-2 tbsp but not more we don't want a puddle just a coating) brush the rectangular baking pan with the oil. Don't overdo this it is just to make it nonstick. (this oil amount is not in the above recipe as it is just for nonstick usage)
- uncover your dough and place it into the rectangular-shaped, oilve oil coated pan.
- stretch the dough from side to side to form a rectangle.
- set the dough aside for 40 minutes to rise. (cover again with plastic wrap, )
Indents in dough + baking
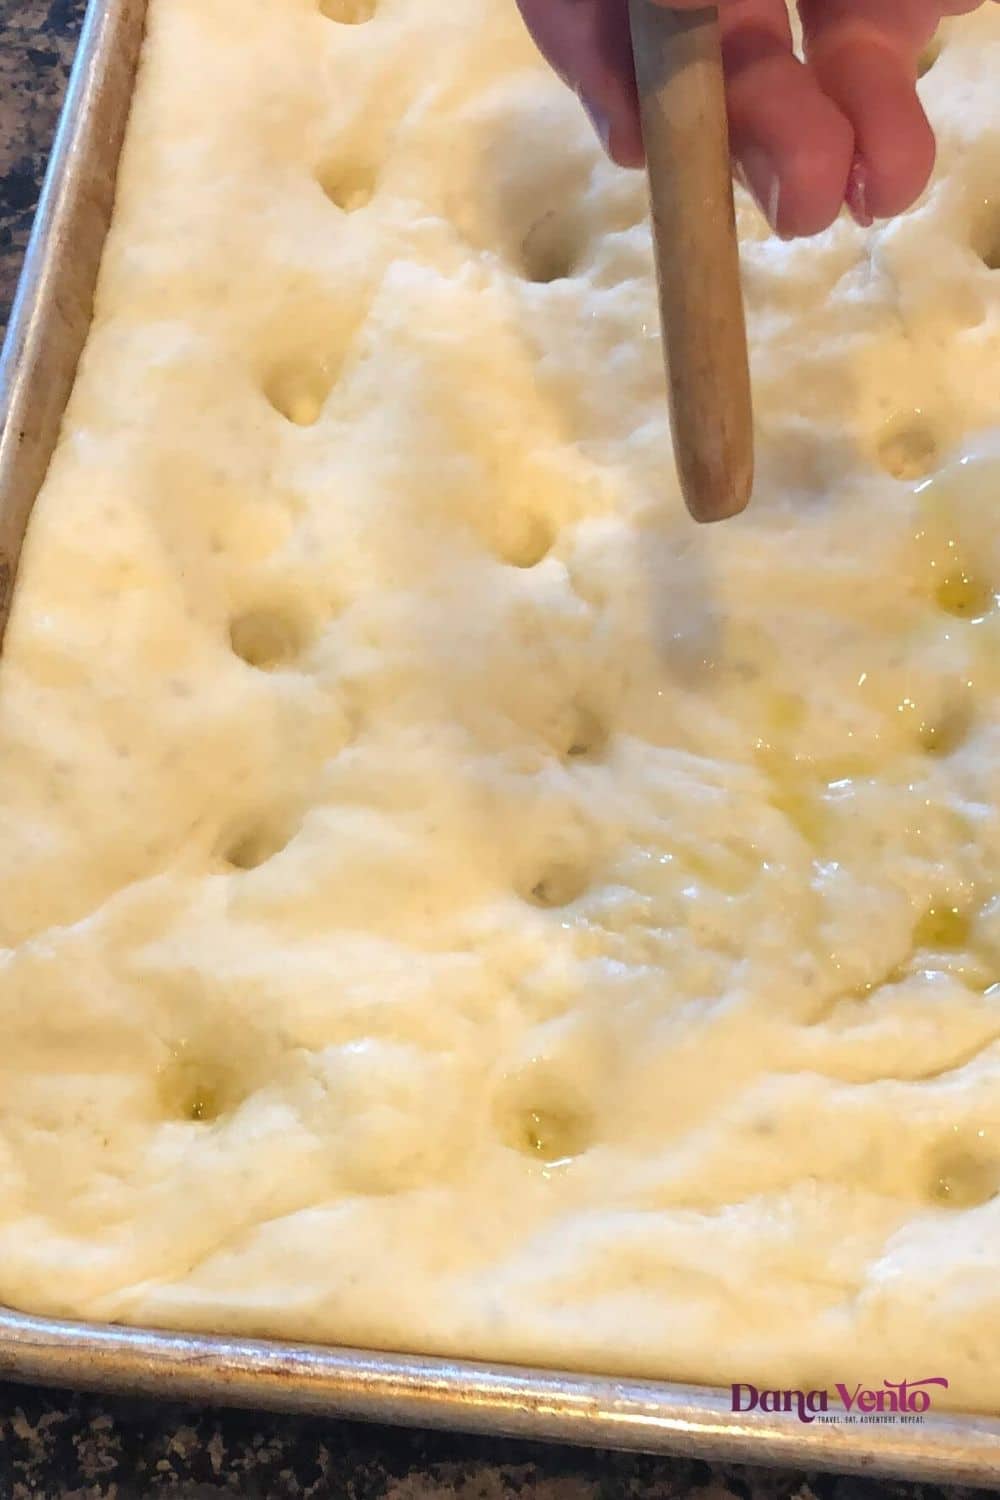
- Once 40 minutes have passed your oven will be to temp and it is time to prep the dough for baking.
- We always poke the dough with some good indents, ( I use my finger or the back of a round wooden spoon) You will go up to a ½" in depth on each poke, and you'll want to space the indents at least 1" up to 2". My Aunt does not indent, so this is all about options.
BAKING #1
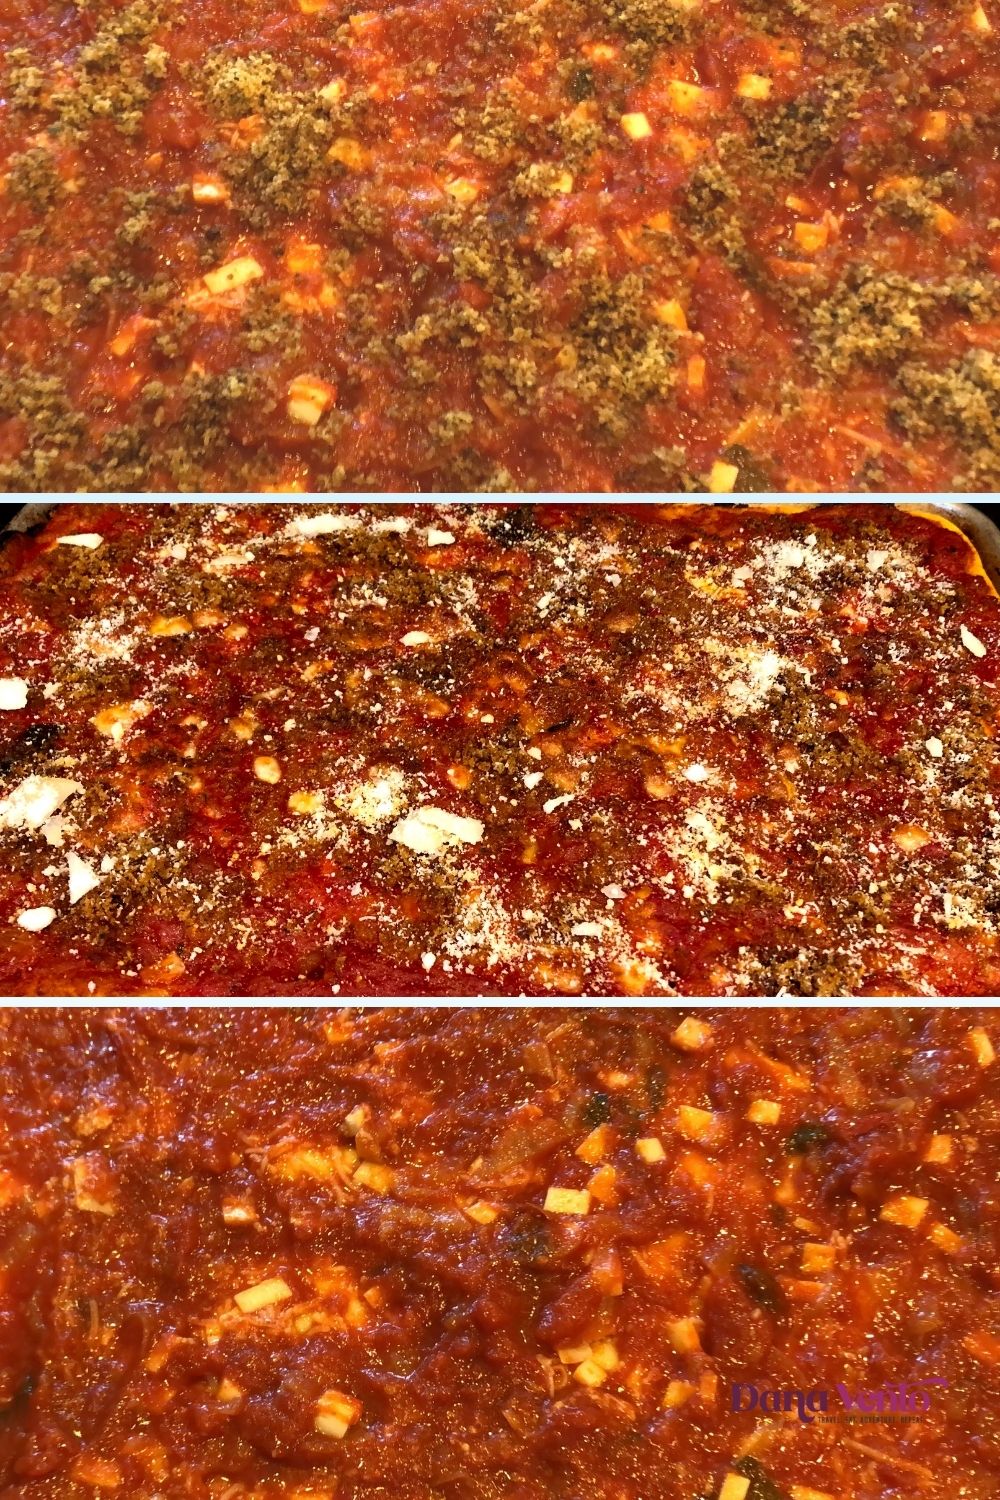
- top the dough with only 1/2 of the sauce. Reserve the rest. Place the pizza in the oven to bake for 20 minutes 25 at the most. The sauce will get drier as it bakes.
- at 25 minutes max, remove the pizza and now we will top it again, with the remaining sauce, then the cheese and the breadcrumbs. I also suggest up to 2 tbsp of Olive Oil drizzle but that is totally optional but it is magic!
BAKING #2
- Bake for just 10-15 minutes more, once you see that is more 'dry' looking take it out. Do not allow it to burn and do not brown the cheese or breadcrumbs. This bake is to accent and add the toppings more than it is to bake as the crust is already baked and we want it chewy. (see photos)
- At the end of about 10 minutes (up to 15 depending on your oven), remove. CoolEnjoy!


Leave a Reply