Simple Winter DIY Framed Snowman Wall Decor Using Holiday Items
The life of a snowman lives well beyond the holiday season.
If you have ever unpacked your holiday decor and realized you just have too much of something, it’s when you might get inspired to DIY.
Or when you are out shopping and just see stuff you have just have to have, and snag it up, this might be the inspiration for a simple DIY.
I LOVE ♥ snowmen.
For those of you who have read my website, you know that I celebrate snowman from baking to crafts.
Winter is a time to celebrate the snowman.
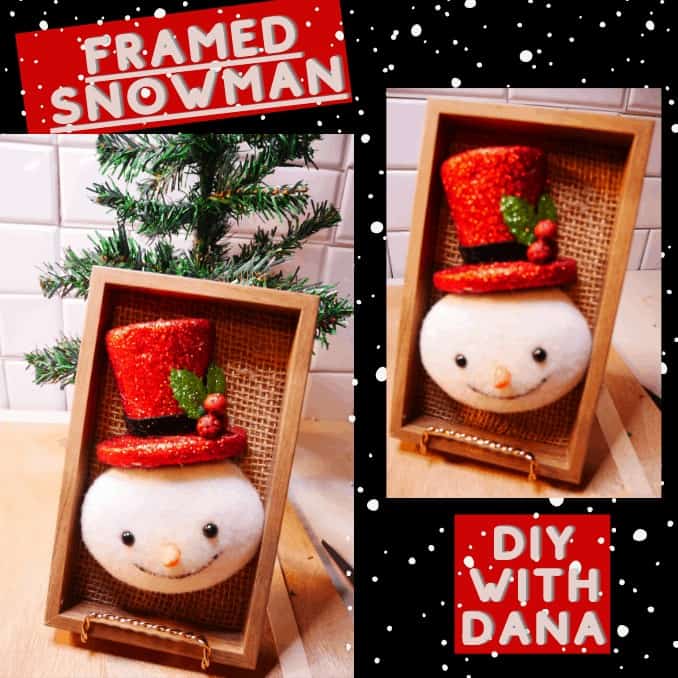
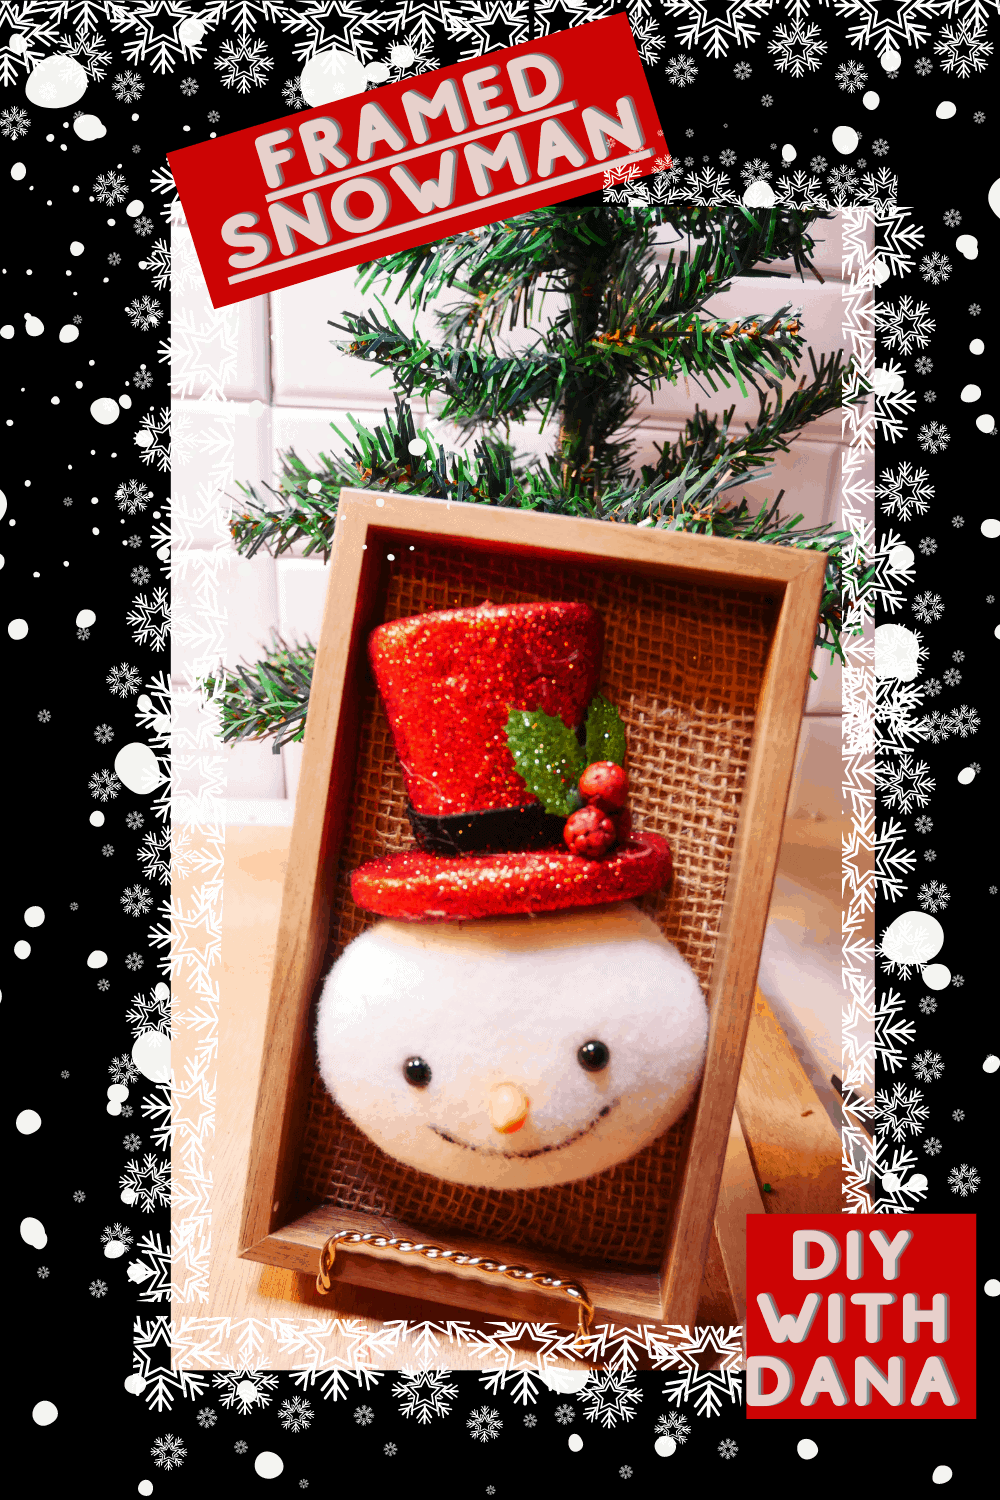
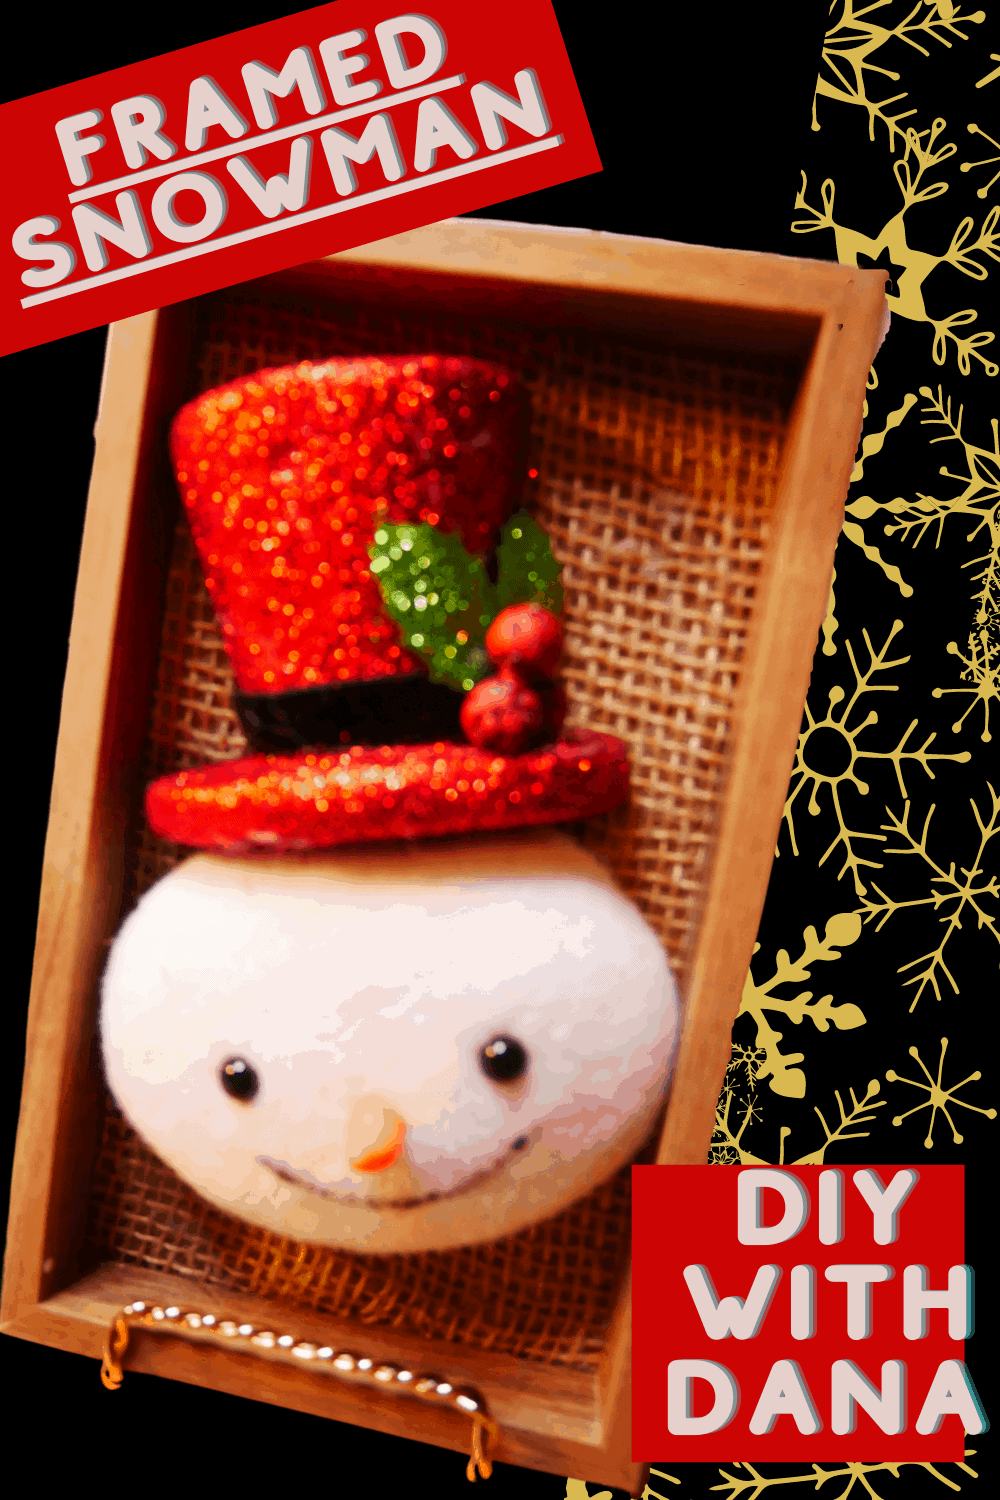
Today, I will share simple Winter DIY framed snowman wall decor using holiday items.
My DIY Framed snowman wall decor will take you about 15 minutes to do.
Additionally, if you don’t like snowmen, you could choose some other ‘decorative item’.
Don’t stay ‘framed’ into a snowman project if you prefer other decors, just choose something that has a longer shelf life than just Christmas.
Snow-covered houses, deer, pine trees capped with snow, cardinals, etc.
Grab those glue guns and choose other items like the ones I am about to reveal and let’s craft!
WINTER DIY Framed Snowman Wall Decor

YUCK!
Where’s the holly and jolly in that?
Warmth comes from pretty decorations throughout the year and just because the holidays end, does to mean decor has to.
So instead of wiping the house clear of all decor, I’ve reinvented a way to get double time out of some of my wall decor.
Make an Upcycled Snowman with Styrofoam Coolers Here’s the simple DIY
FRAMES & A FRAMED SNOWMAN.

But if you want them you can find them at the Dollar stores.
Generally, I find great frames ‘off-season’ because in-season means that they have been picked over and you probably won’t find what you want.
When I see a frame I like, I buy it.
In this case, I had purchased several of the frames you see in the video because I know that the DIY crafting bug hits me often!
Really what happens is I buy a few of the same frame and some I will paint and some I will not.
However, I am inspired when I see frames and I know there is potential.
Never be afraid to think beyond a frame’s use.
Just because you aren’t out shopping doesn’t mean you don’t have a frame, look around at your photos!
Such as this example: if a current family photo is in a frame, take it out and use the frame differently.
Then, replace the family photo, update it.
You’ve now updated 2 pieces of decor, not just one!
A winter wreath to share your love of snow! Let Is Snow DIY.
Framing Tips To Consider
I’ve never met a frame I can’t change.
Whether I paint a frame, take out the glass, the wood, or add things to it, trust me you can make it look better than it does.
Sometimes frames can be left alone and you can change the backing of the frame.
Other times, you can use things like scrapbook paper and material to change things up as well.
What Goes In The Frame?
Simple, any ornament or item that fits within.
It can be more 3-dimensional, you don’t need the glass.
Or, it can be a photo with a newly painted frame you’ve just finished.
Do you collect holiday cards?
Then use those inside the frame.
Whatever you have an overflow of, use it.
For those that don’t have an overflow, visit the dollar stores and grab ornaments that fit in the frame (like snowmen) or items I mentioned above.
How To Craft my Winter DIY Framed Snowman Wall Decor
Simple Winter DIY Framed Snowman Wall Decor
Materials
- 1 frame
- burlap to fit the frame
- glue gun
- glue
- ornament
- tacks for hanging
- plier
Instructions
- Take the back closures off the frame, we won't need those.
- Discard the wall hanger as well, taking care NOT to damage the back part of the frame.
- Cut burlap to fit interior board.
- Cover with hot glue.
- Then coat with burlap.
- Allow this to dry and then cut the edges off to fit the board.
- Next, disassemble the snowman's head from the body
- Decide if you want to use the ornament string as a way to HANG this or not.
- I chose NOT to, but have shown you in the video that you could.
- If you are cutting the hanger off, do so before you glue.
- Place the snowman on the burlap (that is DRY) and see how the frame fits around it.
- Position the snowman how you prefer it.
- I tilted mine.
- Next, take the frame border back off.
- Glue the snowman to the burlap.
- Next, it's time to glue the frame edges and then snap them back onto the frame board with the snowman.
- Make sure to press the frame to the back board and if needed use clamps to set (about 10 minutes)
- Remove any stray glue strings.
- Deck the walls or us a photo frame to display!
- Enjoy ~ Dana XO


