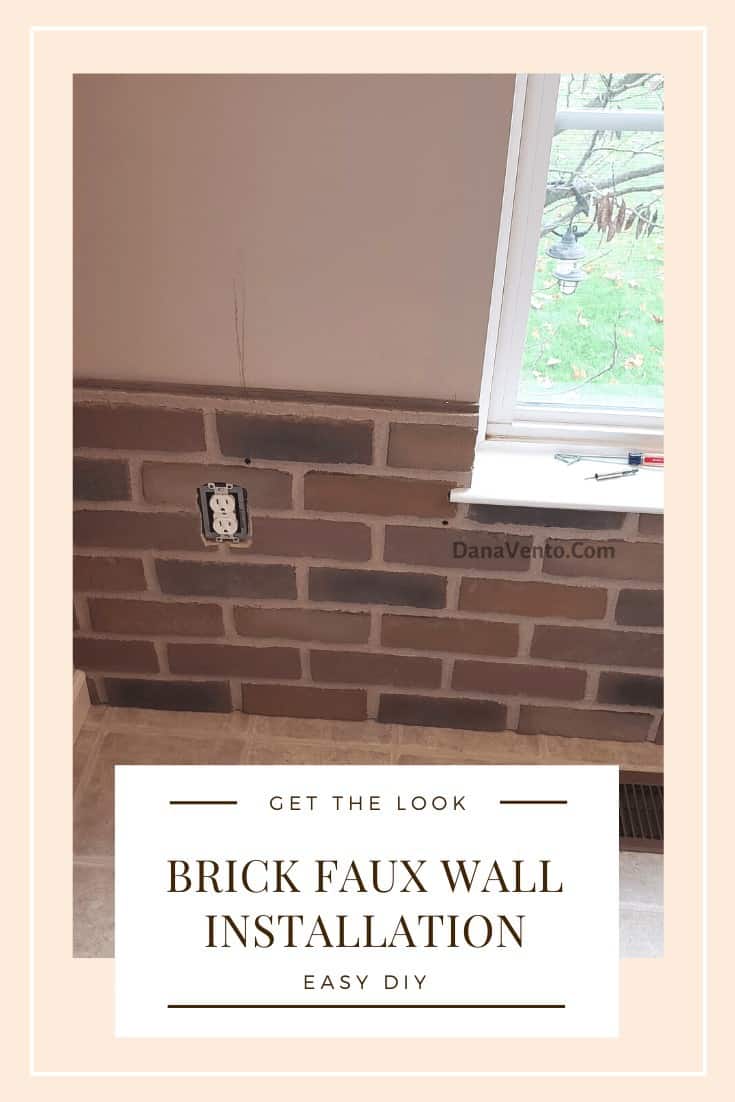
Transforming a House into Our Dream Home: The Journey of Installing a Stunning Brick Faux Wall!
When we built our home, we made a lot of great choices as we thought ahead of how our home would be used. The great thing about a home is making it yours.
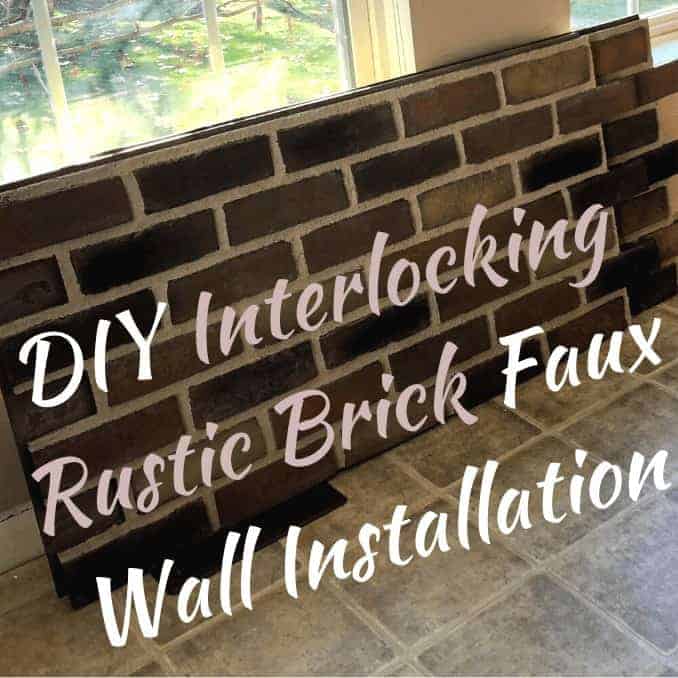
Our rustic brick faux wall was provided, images and concept are mine!
Table of Contents
Is Installing A Rustic Brick Faux Wall Something I Can Do?
Is this DIY with interlocking rustic brick faux wall installation something most can do? Yes. For us, it is time to refresh the feel and look of the breakfast room that joins the kitchen. Our DIY interlocking rustic brick faux wall installation is the project I am about to share.
An open floor plan makes it a bit more tricky to change things, so I carefully consider each change. The flow of each room is important. However, installing interlocking brick faux wall panels in our breakfast room made great sense from eye appeal to warmth.
Is An Interlocking Rustic Brick Faux Wall Installation For Me?
That is the question you can answer by reading about my installation of this rustic brick faux wall and how the installation goes. I’ll make one statement: using panels of faux brick to change the look of a wall is not hard, and the result is just WOW.
Basic tools, time (depending on the size of your room), and a range of brick colors you won’t believe all equal an incredible upgrade for any living space. I can’t wait until you see the before and after, so keep reading.
We should have done this DIY sooner instead of later. It allowed us to change up a room without painting, but there are things you need to know.
The Process of the Rustic Brick Faux Wall Install
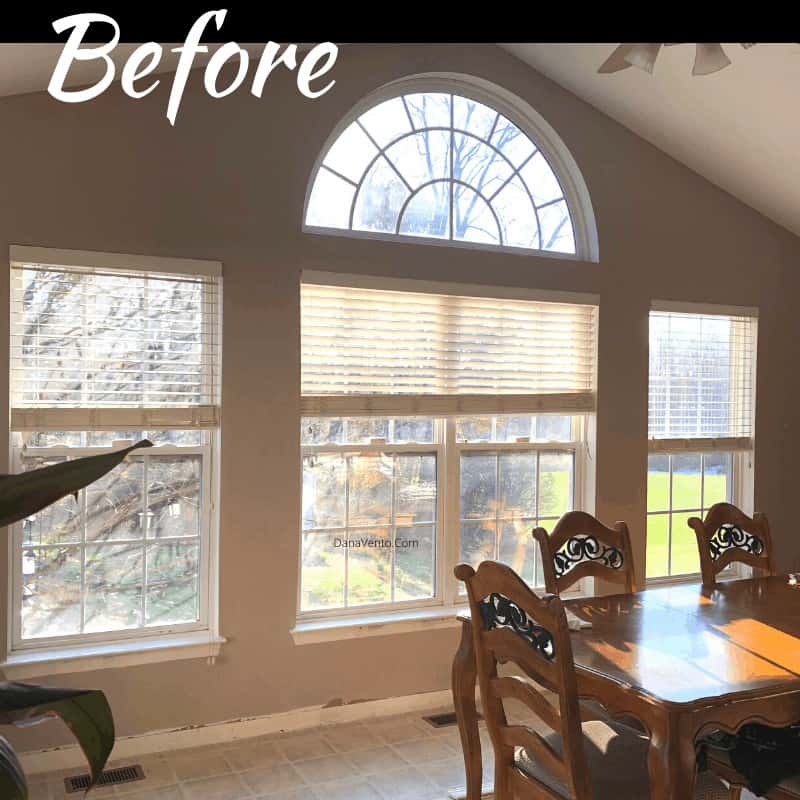
Concept, installation room, color, and all choices and cuts are OUR own, based on our DIY expertise. As I mentioned, upgrading the home you live in is natural. Before we considered a brick faux wall installation we upgraded to granite countertops.
The installation of granite countertops was the first item to really change the feel and look of the kitchen. We then upgraded the appliances. Little pieces of upgrading bit by bit to make a great overall change make it affordable.
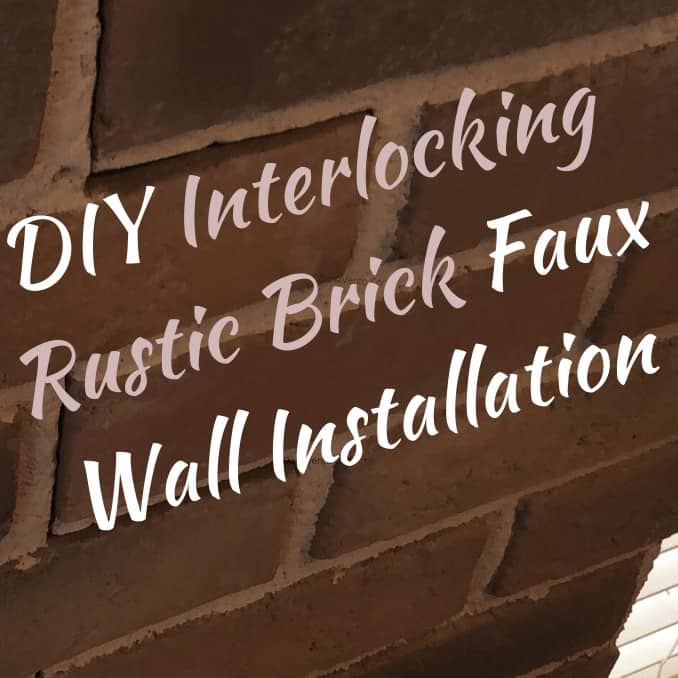
Honestly, I am sick of white walls. It’s barren-looking. We have been using more and more colors. Admittedly, I will tell you I don’t go crazy, just neutral. In fact, I always pretend my home is on the market and that I have to decorate it as such. Why?
Keeping a home neutral, keeps it in style and easy to change when the next concept hits me for an upgrade. When we initially considered brick on the interior of the house, I was thinking of the mess real brick would make.
Then, I considered the interlocking brick that came by the panel for installation. Look for faux panels that don’t absorb moisture, will not warp, dry, or crack. I mean, if you are going to change a whole wall, you need a premium company with premium products.
Once and done, not once, and redo, right?
We always work with the best brands so using Texture Plus should be no surprise as they have the best options and customer service!
You don’t need to look any further, I’ve found them for you and tested the product!
It’s An Accent Wall Not A Full Room – Brick Faux Wall
To see the reveal, read along, I have the before and after and you just don’t want to miss this. The difference is Night and Day and a just, “WOW” moment for me when we were done!
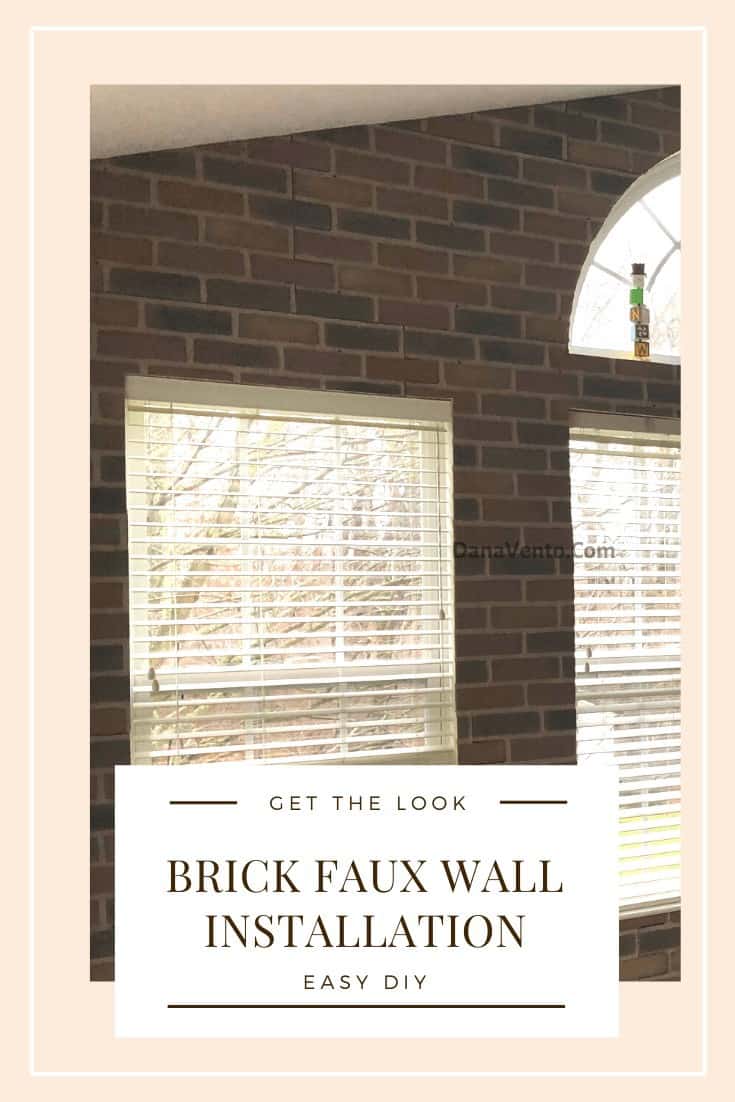
Here’s the commitment level on the brick faux wall panel, it’s a WALL. One single wall. The change that ONE wall can bring to a room is incredible. Some people paint a single wall a different color in a room as an accent wall.
Instead, we added interlocking Rustic Brick that is a series of panels, screwed to the wall with some adhesive added. Our accent wall allows us to still paint the room on the other exposed parts, but derive a very welcoming, warm look from one solitude wall.
Things We Did Not Overthink…when it comes to Brick Faux Wall Panels & Installation
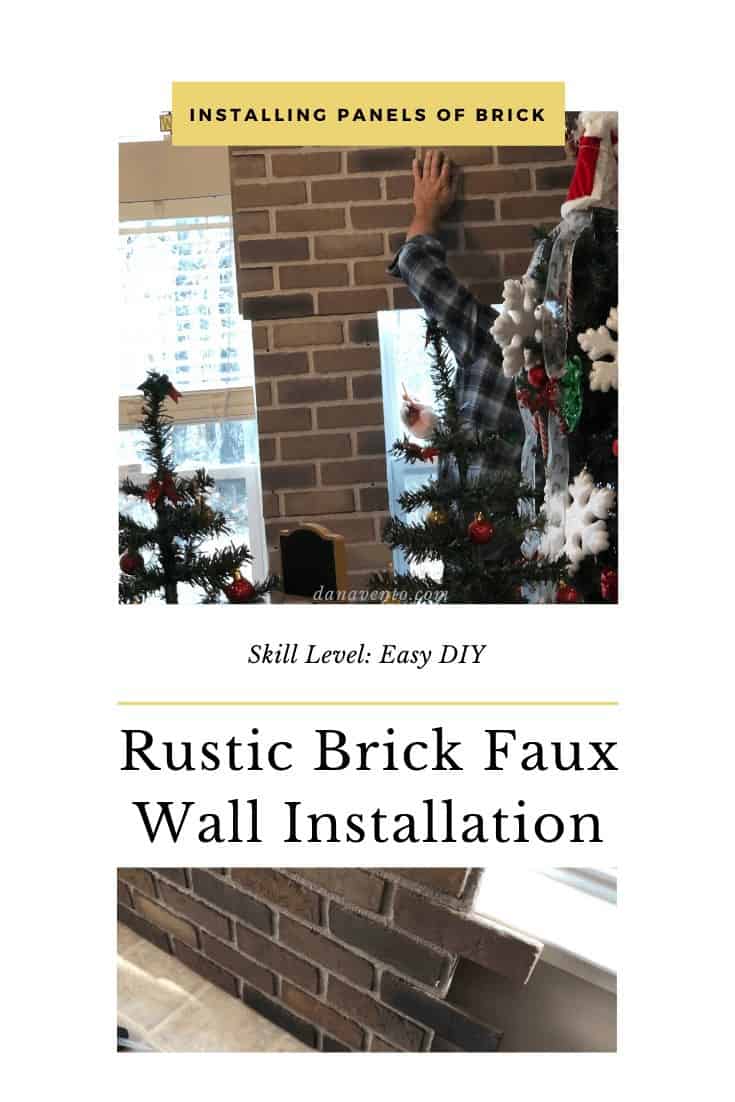
I’d venture to say if you can read a tape measure, you can install a brick faux wall.
However, I do suggest that you are also a person that pays attention to detail as you do need to match things up.
Also, you can change any wall in a home, not just the kitchen as we did. Change your bedroom, a study, a family gathering space, etc. On that note, I do suggest if you are doing this, you want others to see it, so make it in a room that others will see.
It’s bragging rights to a DIY after all.
Our room is more elegant, and warm, and the brick is functional, durable, and almost maintenance-free (I will vacuum it with a dust brush from time to time).
Not Just For Indoor Use – Brick Faux Wall Panels Can Go Outdoors
Did I mention you can use the brick we chose inside or outside? Yes, these panels can be made for interior or exterior installation. So if you have a mailbox you want to cover but don’t feel like bricking the base to match the house, it’s a great option.
Or perhaps a front door area, you want to brick or stone you can. You might be able to find different panel styles like bamboo panels, slate panels, stone, metal, brick, and concrete.
NO matter what part of your home you want to change or what part of your home needs to be upgraded, or updated, there’s a faux wall panel for you!
How Much & How Big? – Brick Faux Wall Panels
This is the wall we are tackling. Have a look. You will see this again.
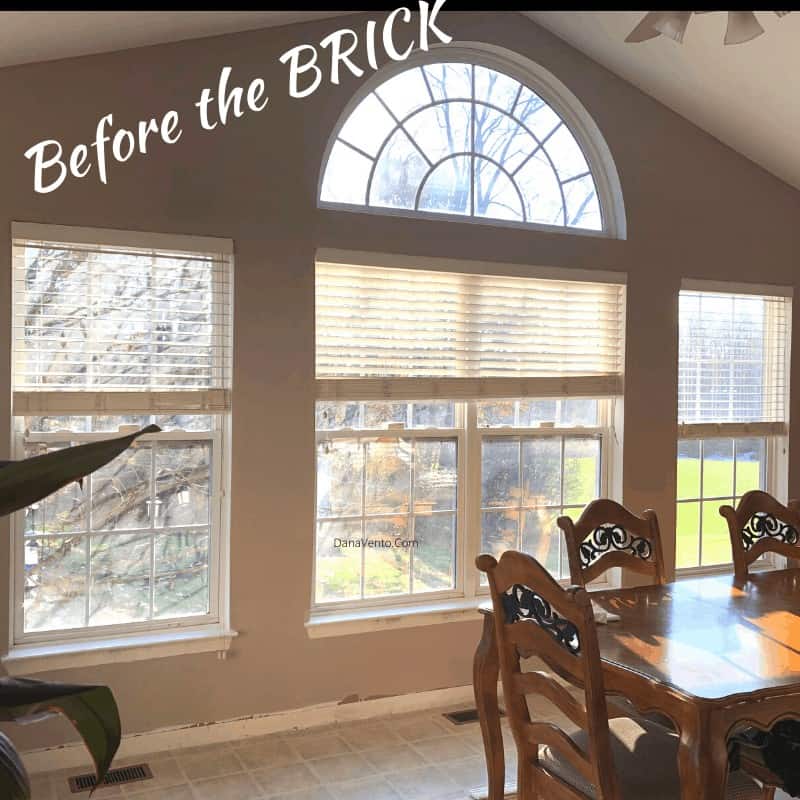
Remember, we are doing ONE wall only. The wall size is approximately 120 ft.² Therefore, once calculated, we came up with the need for 20 panels of brick faux wall. I am providing this information so you can have a gauge for the amount and the size of the room we worked in.
Our Timing… Well, we have kids and a life, so…
We work DIY around our crazy home, 3 kids, and all the interruptions you can imagine. Therefore, sometimes it takes us longer to finish. It’s all good, it’s called life.
You all are the same. Since the mess is minimal, and seeing the gradual process is gratifying, we worked on this over a few weekend days. In a few hours, Michael had a good portion of the wall done.
Then the windows took some time. Remember the panels needed to be cut around the windows. Again, if Michael and I had the time to work back-to-back days on this, or a full day without running to ice hockey, or other personal commitments, this project could have been a 2 Day DIY.
Instead, we worked on it for a few hours over a few days, and it was done!
Baseboard Chatter & DIY Interlocking Rustic Brick Faux Wall Installation
Today, it seems that every DIY creates another DIY. What? If you uninstall something like a mirror (as we did with a different project, you breathe new life into it as we did). For our mirror, we took out a huge wall mirror in a bathroom, added a frame, and changed it into a huge Living Room mirror.
It’s upcycling at its finest. Why should we rid what we can reuse? Consider this when you do your brick wall installation too. Your baseboard has to come off and stay off. I had just had the baseboards painted.
Look above you can see we took the baseboard off. I will tell you this, I found a new way to use these baseboards and you will see this soon. So, consider your waste as something to upcycle.
Window Framing
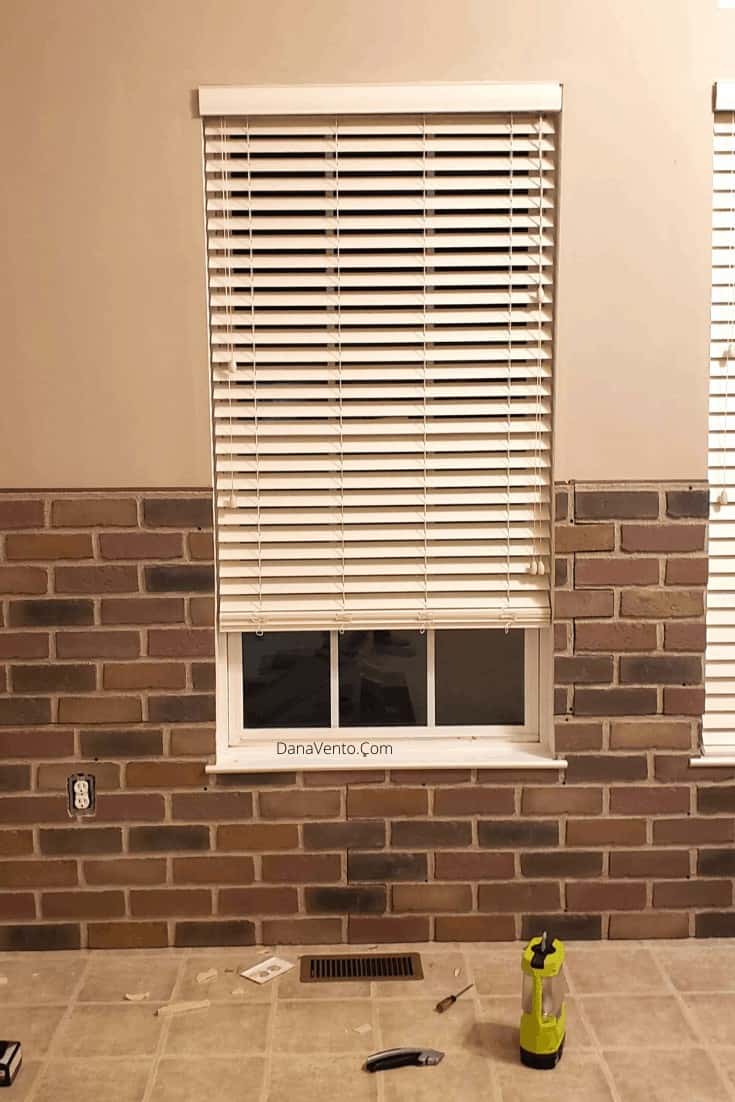
Luckily, our windows were built out, but not to the extent that we totally had to kill the ledge. We took away some of the layerings. Because the wall is behind our kitchen table, I did not add it back on. A contractor who had come into the home to bid on a project I can’t do right now, suggested we add more ledge. I felt it was going to stick out too far and that did not make sense with the positioning of the table.
Guess what, I am happy with how we left it. There’s the original ledge, without the bottom part on it. Honestly, it looks like the brick has been there forever and the wall was built around the window (which Michael did do).
New Blinds For Those Areas (update)
After we installed the interlocking rustic brick faux wall, we upgraded the kitchen valance and blinds in those windows! You can see the difference here on my DIY. The inset valance definitely upgrades the windows even further!
Around Windows – Interlocking Rustic Brick Faux Wall Installation
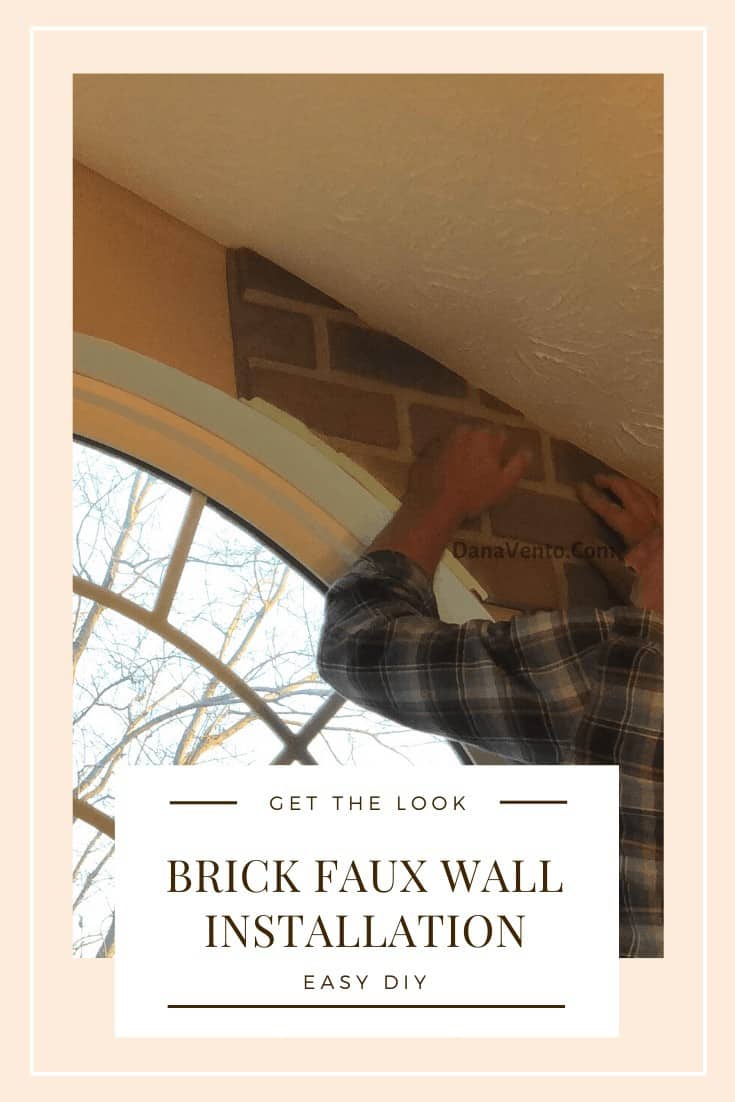
We have 4 windows on this wall. One is a semi-circle, one is double, and then 2 single. Consider your challenge for the project. If you have blinds they have to come out. No matter the shape of the window you must CUT the panels to fit.
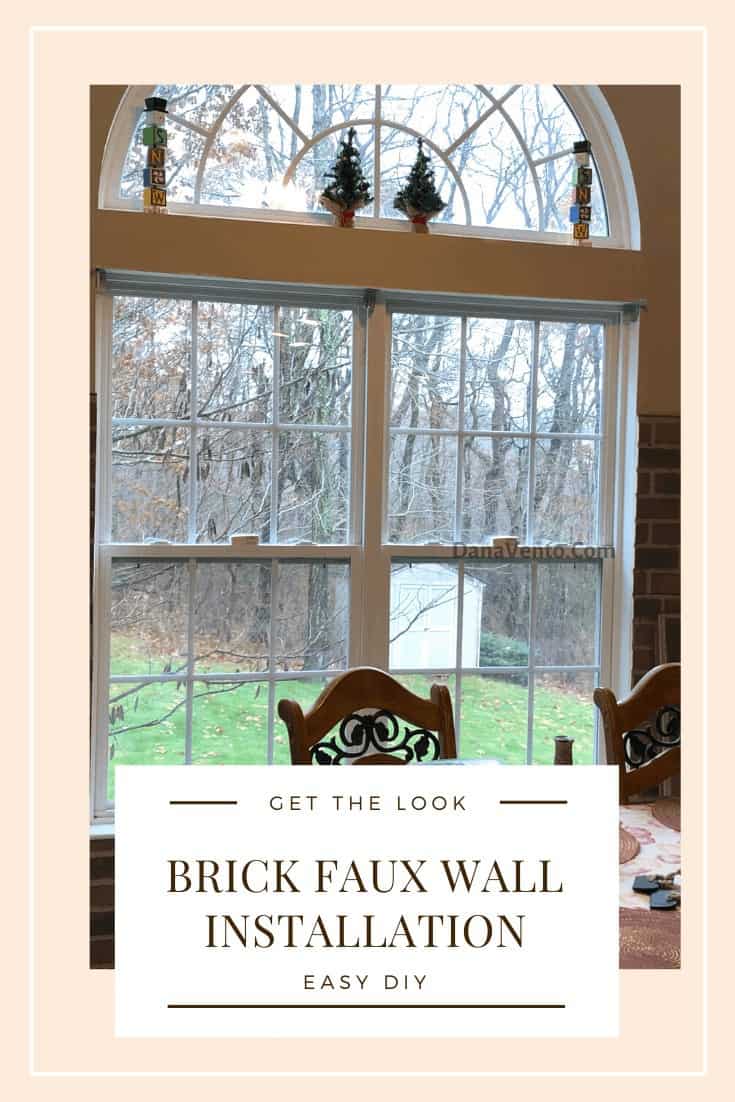
However, it’s not hard, it’s just a step you may not consider, even when you order around the window measurements. Also, the core of the interlocking rustic brick faux wall installation has to be painted around the window. The core is exposed and you need to choose a neutral color (ahhhh easy peasy) to match the brick color.
DIY Interlocking Rustic Brick Faux Wall Installation – Did we Do The Right Thing?
Every panel sent was durable and beautiful. Just seeing ONE panel against the wall, not even fastened was great.
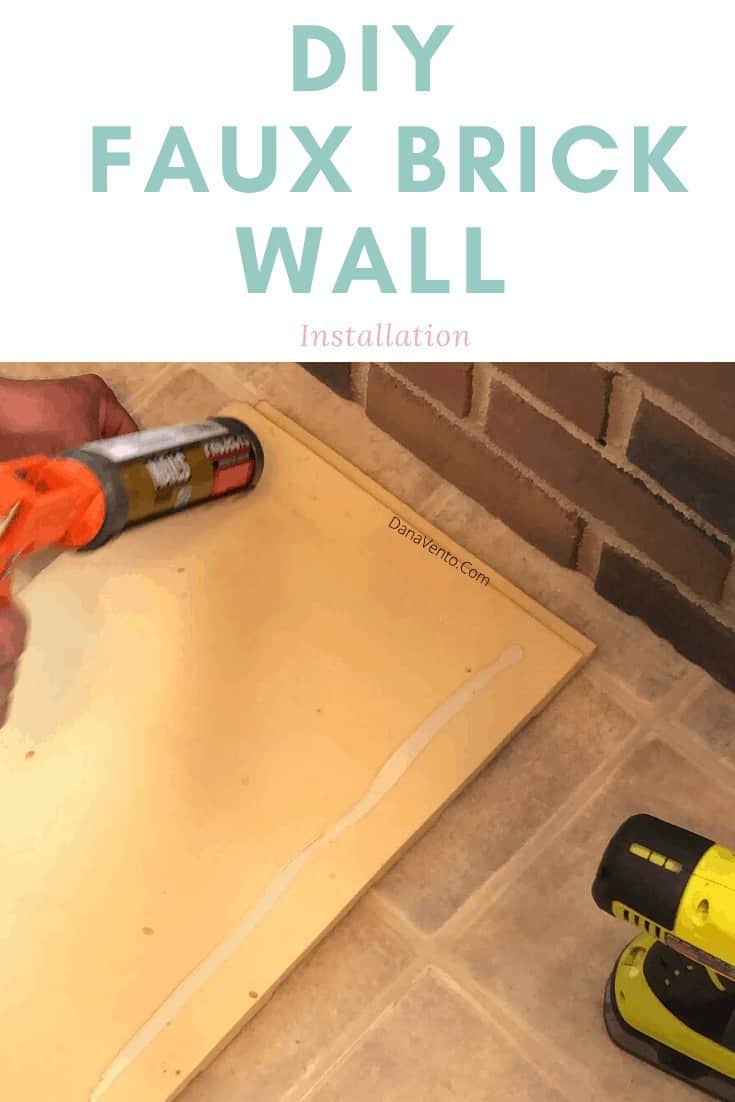
Once Michael started using the adhesive as well as screwing each panel into the wall, it was nothing short of an amazing transition. I looked at my walls in a photo just weeks before, blah, and more blah.
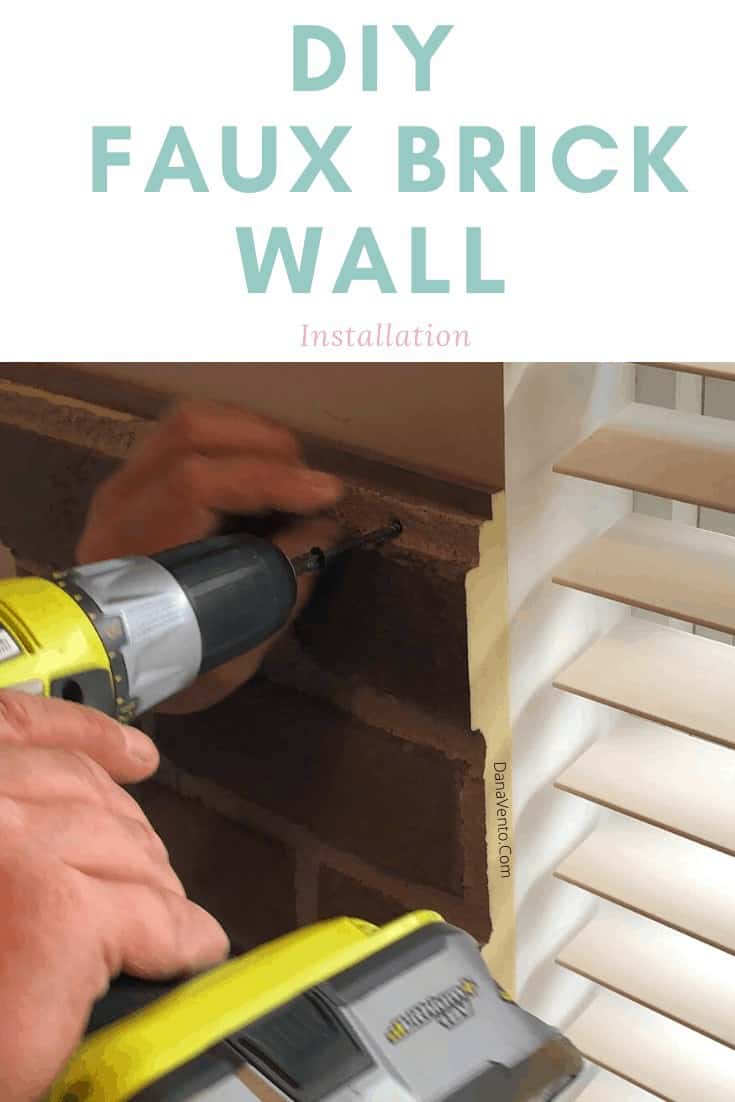
Then I looked at my newer photos and just could not stop staring and I am not being narcissistic about my photos, just totally in love with the faux wall.
Tools of the Trade for your DIY Install of Interlocking Rustic Brick Faux Wall.
Since Michael and I do a lot of DIY installation around the home, our toolbox is well-stocked. However, you can never have too many tools right?
What’s most interesting is how FEW tools we needed for the project.
You will need the Following To Install A Brick Faux Wall
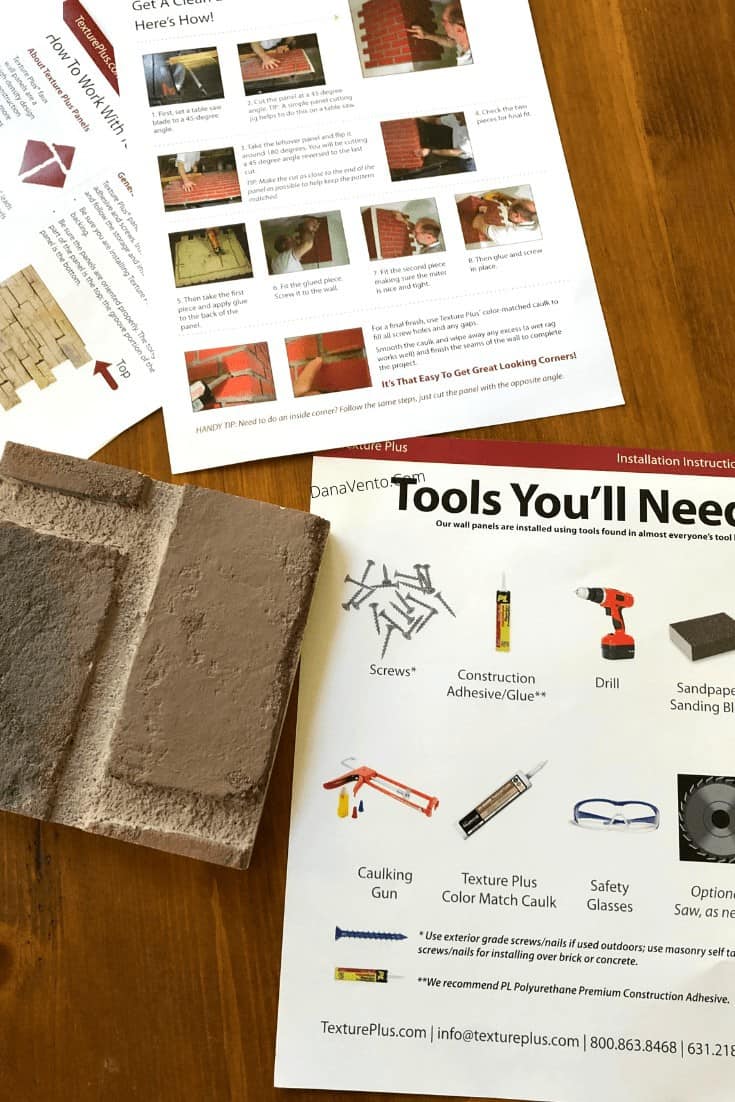
- Drill
- Caulking gun,
- Color Matching Caulk (to hide the screws in panels)
- PL Polyurethane Premium Construction Adhesive to adhere to the panels
- Safety glasses,
- saw (if cut to fit)
- some sandpaper for the edges.
Interlocking the Panels- Perfect for Those Dabbling in DIY
Can you do this? Yes. The panels interlock. You will work right to left on a wall, that is how it is different.
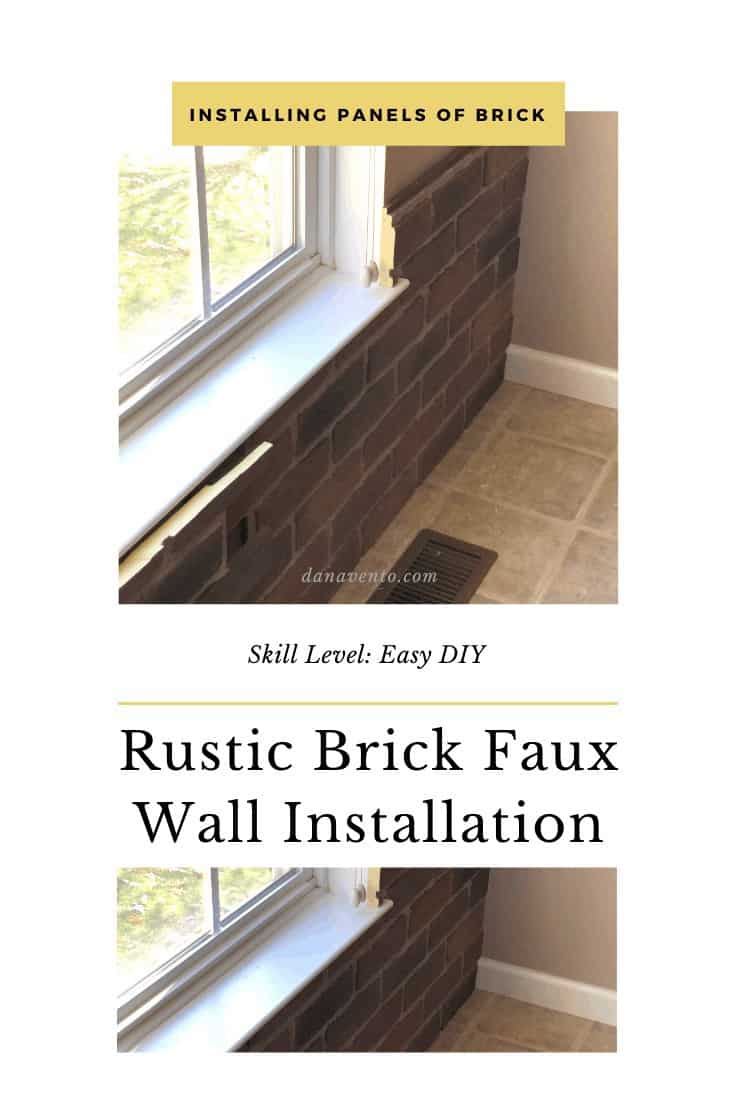
Start at the bottom, and work to the top. Each panel slides into the other.
To be fair, if we had just installed these brick faux walls on an interior wall with no windows, we could have been done even faster. What took us more time than most were the cuts around the window frames.
More Insight into our Installation
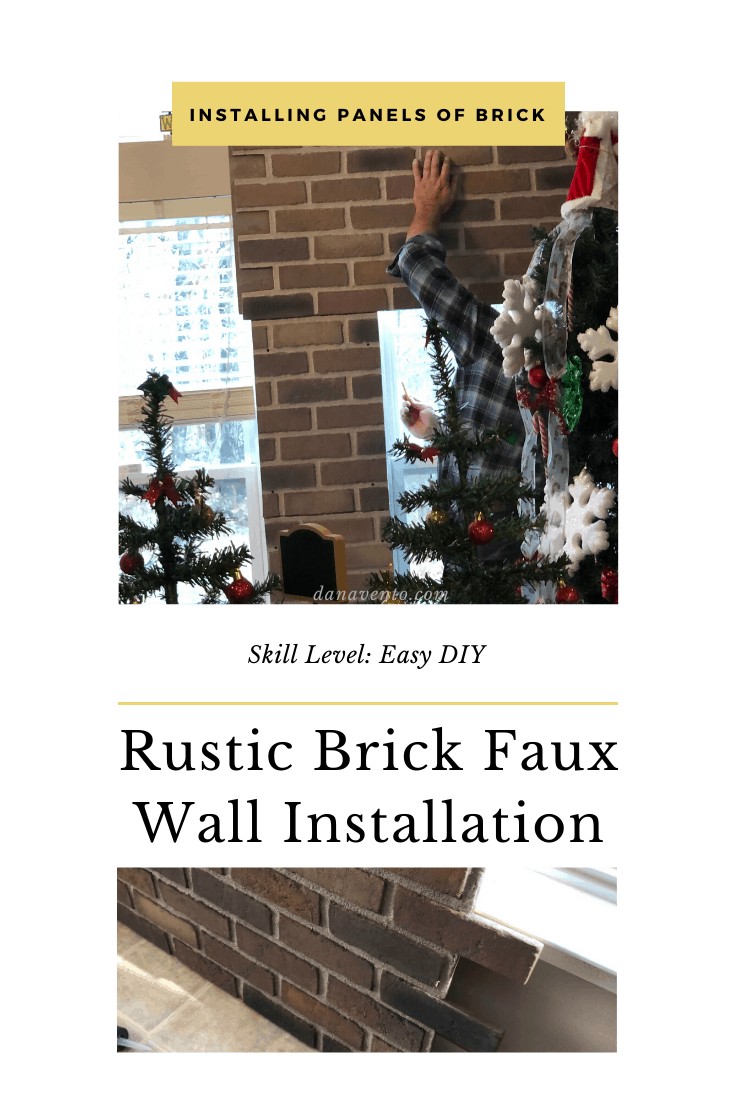
Again, we have 4 windows (well 3 ) across as well as a large, half-circle and those cuts are what stalled us just a bit. We adhered to these and screwed them onto a solid surface (it has to be ). Insight: Unfortunately, we did not get to the project RIGHT away, therefore we stored them flat, on a floor.
You can order and store as we did. When we were ready to work with them, we set each out.
Tongue & Groove: Brick Faux Wall
Also, the groove of the panel is the BOTTOM and the TONGUE is the top (always good to know). Truly, I just wanted to give you a few things to note. There’s no information skipped or eliminated on their site it is helpful to read and reread before installation.
Installing Process Overview Brick Faux Wall
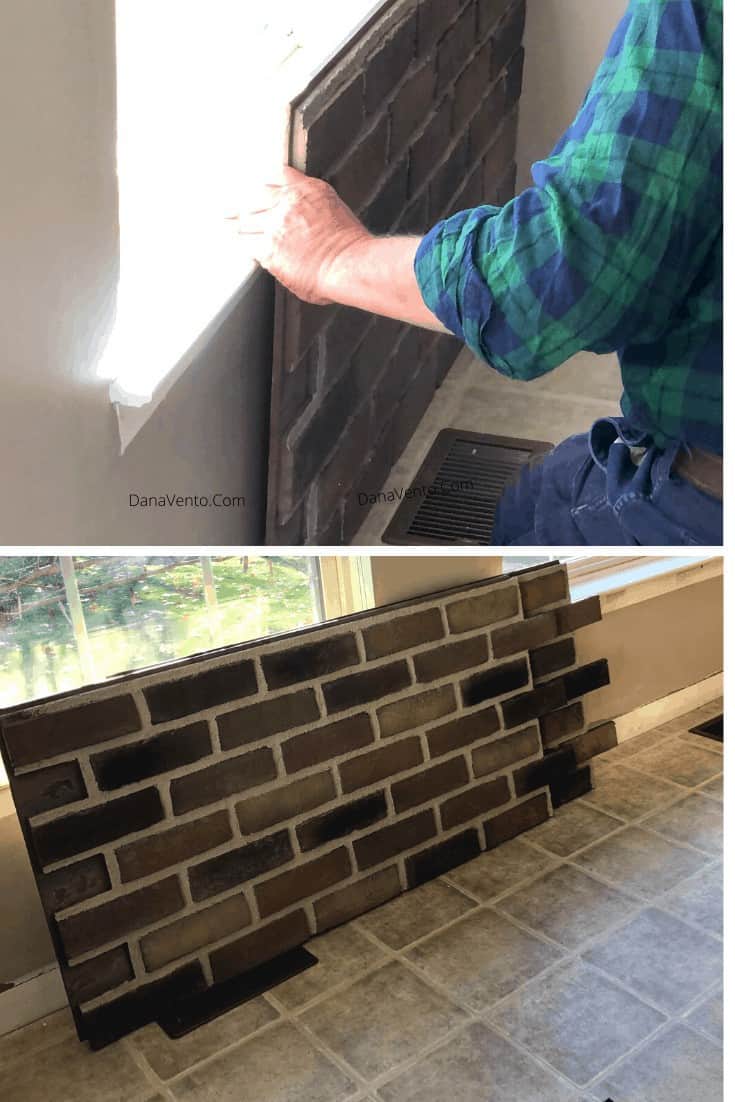
- Again, you start at the bottom right corner and work to the left.
- Set panels out on the floor and check for fit.
- Place it in a spot on the wall, checking the fit again.
- Remember (tongue and groove placement as mentioned)
- Then, mark on the back with a pencil where the cuts (if any need to be).
- Check the fit again against the wall. (you want to double-check yourself on every step, ok, so we did!)
- Once cut to fit, check the cut on the wall. If it is RIGHT, add the adhesive.
- Now place it on the wall, and then use drywall screws (we did for our walls) to hold the panel in place.
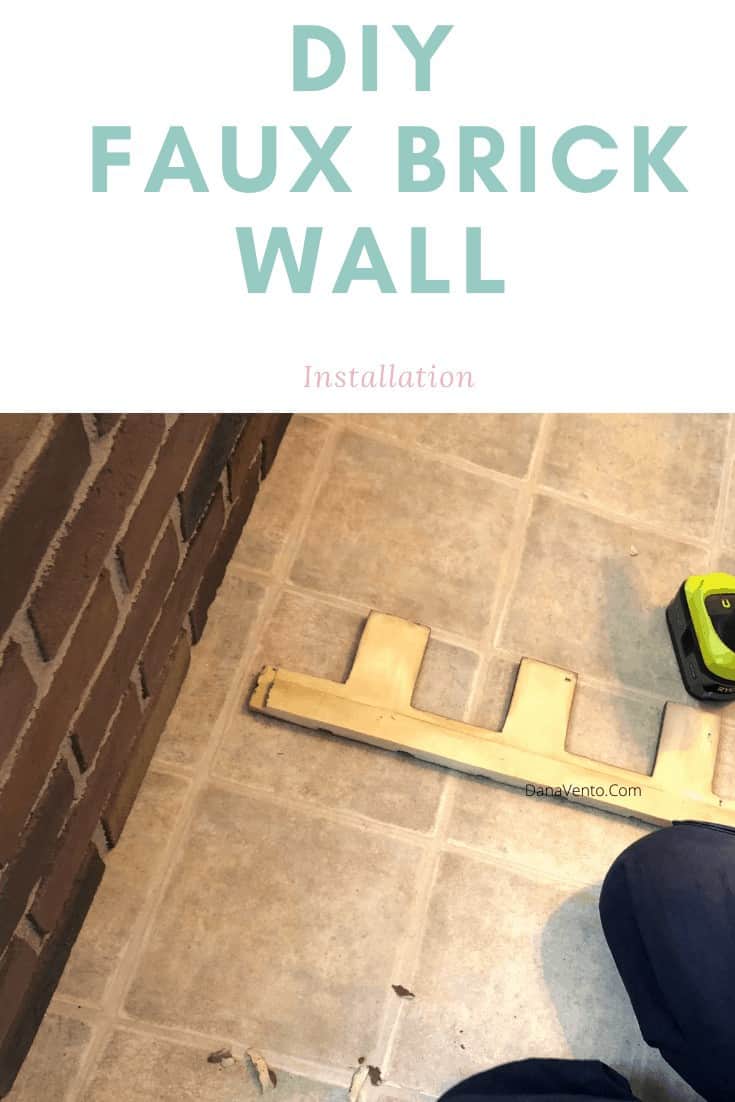
Sometimes Michael used more than a few. Also, he placed the screws in the ‘grout’. It’s easy to hide with matching caulking. You will repeat this process over and over until ALL panels are in place.
Electrical Outlets
We are still working this out. I believe I am going to finish wood plates with a rough finish to match the brick. I don’t want shiny, typical plastic plates. There are no brick plates and I don’t like ANYTHING I’ve seen online or in the stores.
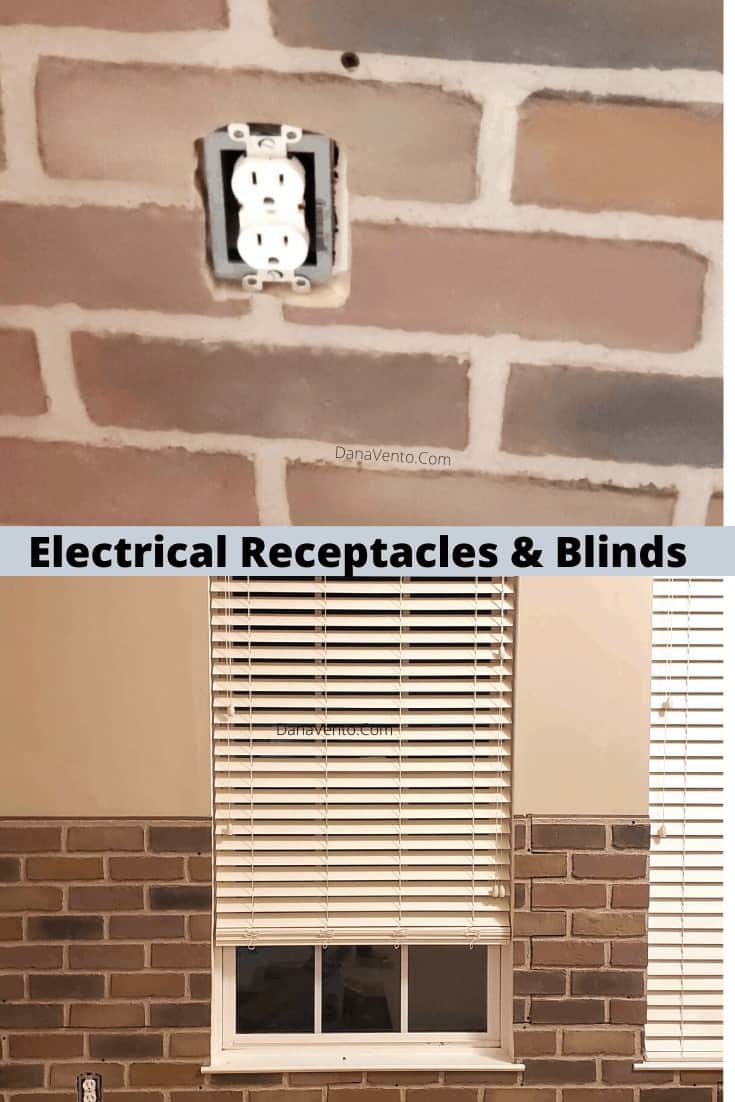
There are no brick plates and I don’t like ANYTHING I’ve seen online or in the stores. Stay tuned for a new article and whatever I do to mask the electrical outlet covers. You do cut out and around them. Additionally, Michael set them OUT as well.
The Before and After Reveal of the Brick Faux Wall
I promised you I would show you the before and after installation.
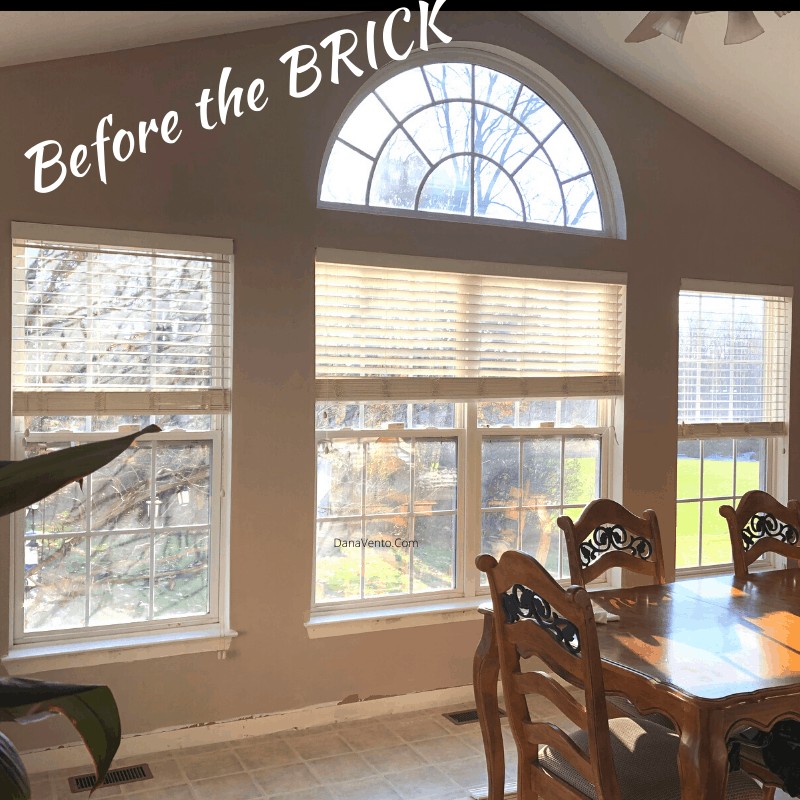
The baseboards are off, you see my furniture. Sunlight is leading the way to a great DIY Day. Trim under the windows needs to come off as do the blinds. Now, fast forward. We did all of the above-listed steps. Michael and I worked on the installation (well more Michael than me!) What does it look like?
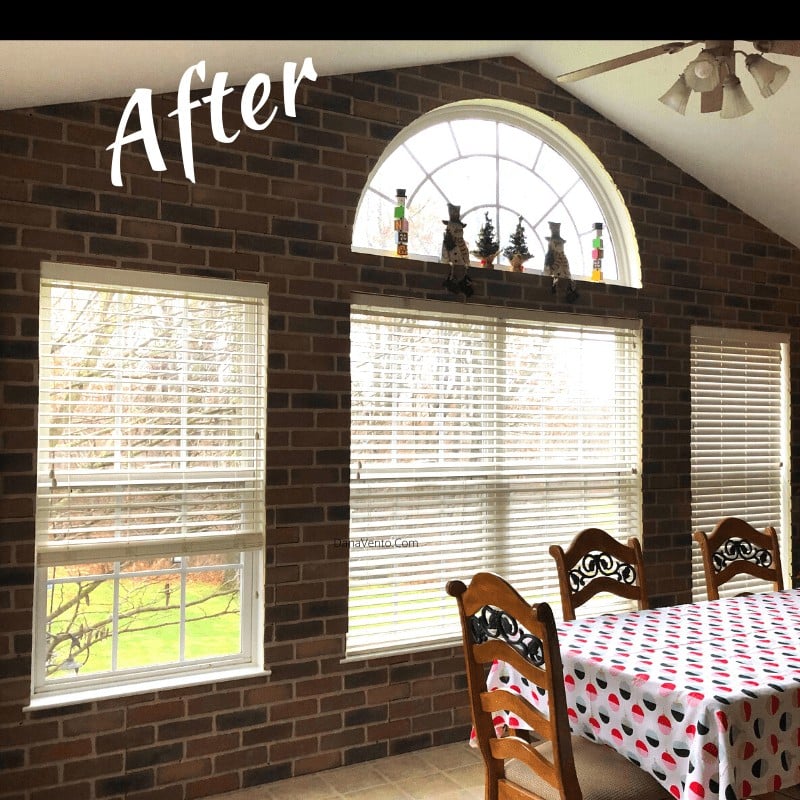
Before & After Reveal Together Frame.
I think we need this for a better comparison so you don’t have to go down the screen. Ready?
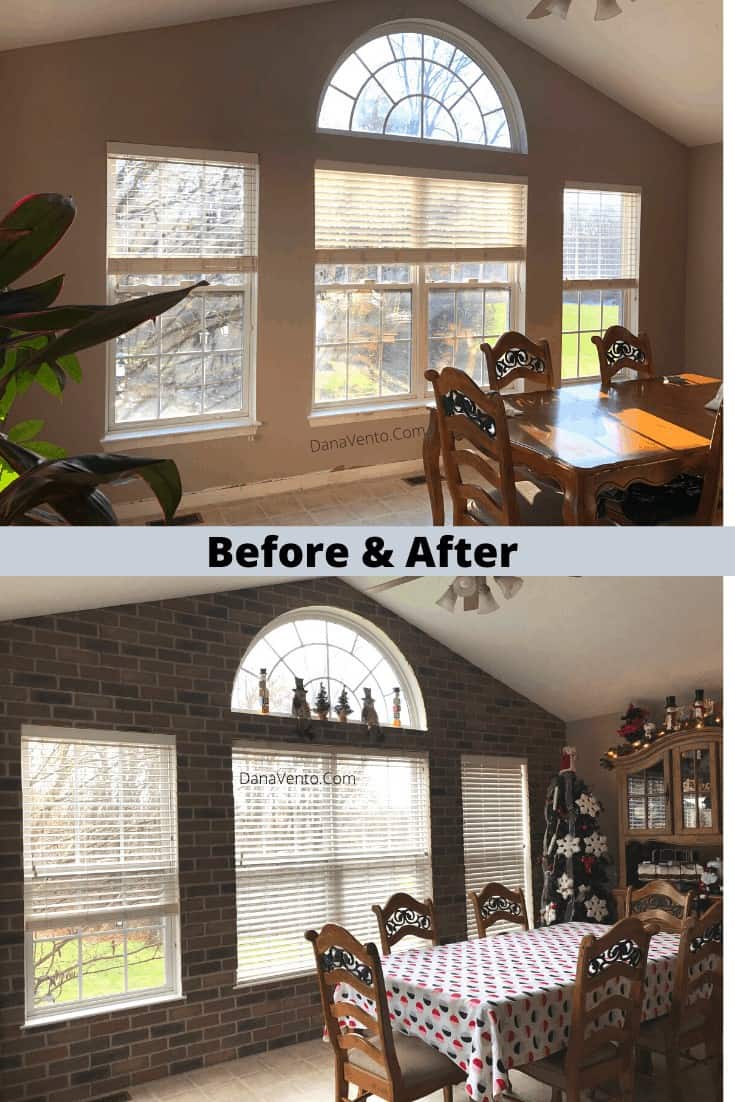
It’s the same room but it LOOKS different, right?
Colors & Choices For A Brick Faux Wall
While this definitely adds an accent wall and a POP of color, it’s not obnoxious. Rather, the room is now warm and cozy. In fact, I feel like the room really fits into the home much better. Further, granite countertops, a wood hutch, and soon, wood floors, the look FLOWS.
That’s a hard feeling to always accomplish in a home, but we definitely pulled everything together with the addition of the accent brick faux wall installation. I chose a rustic brick in Colonial tan. My biggest concern was not being ‘matchy-matchy.’
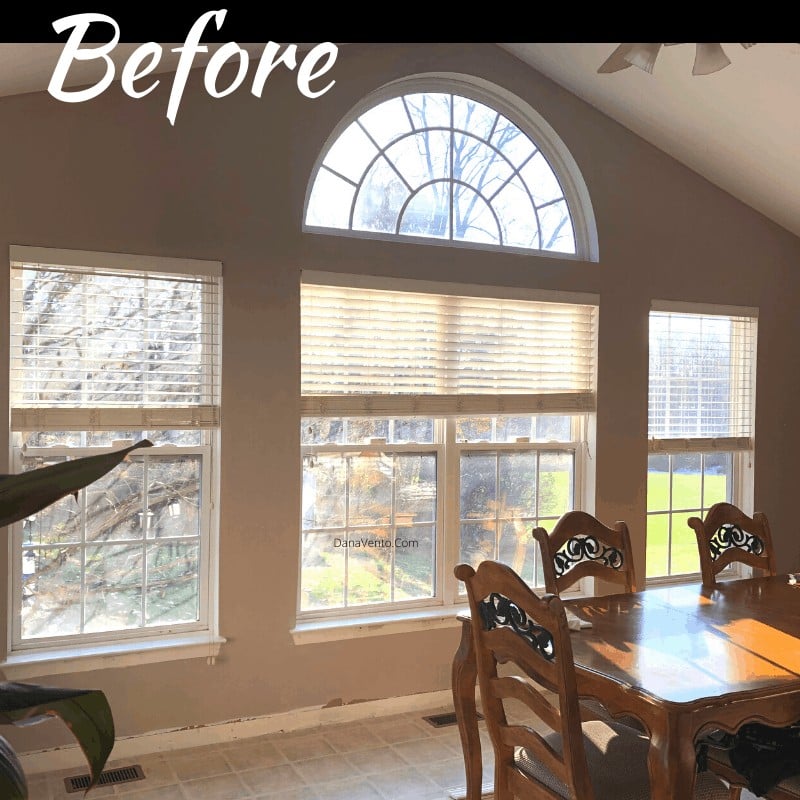
Our end goal is to create an interior that flows.
While the floor plan is open, it must easily transition and not feel disjointed. Choosing Colonial Tan in Rustic Brick definitely nailed it, IMO.
Neutral, with a smooth, swept brick feel and look. Each color pinpointed something on the interior of the surrounding rooms from dark tones to light. Further, the walls transition from a smooth granite to a texture, allowing the table and hutch to suddenly take a bit more center stage.
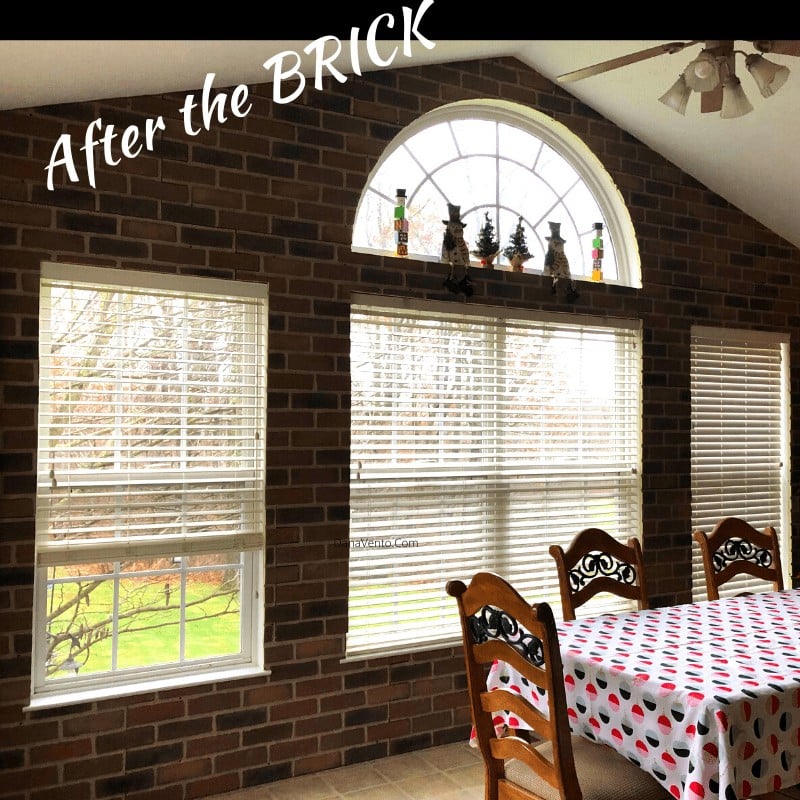
As they were special gifts from my parents (Welcome to Your New Home), I truly love this aspect. Truthfully I did look at the table many times during my color consultation (with myself, lol) and that might be why I chose the color. There were so many great choices for colors, but in the end, the color that kept bringing my eyes back to it was Colonial Tan.
Samples Of The Brick Faux Wall Panels
While this is being mentioned towards the end, you don’t just pick this online, who would do that? Rather, we narrowed down the color scheme and texture online and then ordered some samples. First I admired it in the daylight and then allowed each chunk of Faux brick panels to be gazed at by night. This is how we figured out our best option in both texture and color.
We chose this just as we chose paint colors. Narrow colors down. Look at samples day and night. Eliminate. Order. Wonder. Worry. Install. Love! Isn’t that how DIY goes? The wondering always gives way to worry and worry generally ends in Happy Love with your choice!
Other Ideas In Case You are Into DIY
Unfortunately for Michael, I never rest, and I am always upgrading, and in the midst of a DIY and somehow suck him into the funnel. Poor Michael. However, we are now refinishing a bathroom because a faulty tub leaked into our kitchen and can’t be repaired! So, shortly you will see a form of these walls being used in WATER~
Follow along with all of my DIY projects on my Instagram!
Stay tuned…… that is in the works?~ Dana XO

