Do you love crusty, artisan-crafted French baguettes? So do I!
That’s why today I will share my extremely easy crusty baguette recipe so you can make the best baguettes with as little fuss as possible.
We will use the bread machine to knead the dough, and after that, you will be the Queen/King of your French Baguettes because everything is done with your hands!
Don’t worry, your baguettes will not be heavy, nor will they be hard as rocks.
The French baguette recipe is simple, uses minimal ingredients, and is a very simple and effective method to get that crusty, crisp baguette crust you crave!
The baguette bread recipe is both balanced and easy to follow!
Get ready because this crust on the French baguette will rip the roof of your mouth open, but you still keep eating it because it is addictive.
Table of Contents
Why You’ll Love The Extremely Easy Crusty Baguette Recipe
I’ve repeatedly made this straightforward French baguette bread because I struck the balance of ingredients and process that worked best!
The homemade, beginner’s crusty baguette bread has been tested in my kitchen dozens of times to make certain the best baguettes can come out of yours!
- the ingredients for the basic baguettes are easy to find
- you can make the French baguettes ahead of time and should
- you’ll use your bread machine to make the baguette dough, and then you’ll form it by hand
- the recipe is kindergarten easy
- You won’t believe you haven’t made this simplified best French baguette recipe before!
- By using the bread machine for the initial dough I have found unprecedented success in bread-making.
You’ll find that creating French Baguette dough is not hard and that forming the baguette loaves is not at all complicated.
This is a good recipe with easy-to-follow directions, and I will share those with you!
Kitchen Essentials You’ll Need For The French Baguettes
Alright, so the most important takeaway from this portion of the post is the fact that you can MAKE this dough without a bread machine, so don’t worry, you’ll just have to know how to do that!
Since I am not discussing 2 methods and instead one, this recipe makes the bread machines make baguette dough and then you do the rest (forming, 2nd rise, baking)
- measuring cup – for measuring the ingredients
- Bread machine – allow the dough to be kneaded and catch the first rise
- Mixing bowl – optional if you don’t have a bread machine, mix it in the bowl and cover for 1st rise
- spatula
- Baking tray – you can place 2 crusty baguette loaves on 1 tray or use 2 trays (1/tray)
- parchment paper
- oven (or mini oven) – to bake the best baguettes in
See, there are not many kitchen essentials needed to make these fabulous loaves of crusty baguette bread!
Easy Crust Baguette Recipe: Bread Machines Make Baguette Dough Perfect
My pro baking tip takeaway for you today is to use your bread machine if you have one because it is a game-changer for kneading and the first proof!
Using a bread machine to make the dough part of the recipe takes a big monkey off your back.
And don’t worry, after you remove the dough for the baguettes from the bread machine, you’ll run the rest of the show from forming to baking!
How To Make Extremely Easy French Baguette Bread
Let’s quickly run through the steps of how to prepare this simple baguette recipe with a really crusty crust!
Step1: The Bread Machine Process For The Beginner’s French Baguette Bread
Add your ingredients to your bread machine in the order your bread maker instructs.

As I’ve mentioned on numerous occasions, all bread machines share different ways to add your ingredients, such as mine is all wet first, then dry.
Step 2: Program the Bread Machine To Dough Mode For Baguette Dough
This is so easy. All you do is add the ingredients to the bread maker and let it work through the dough kneading and the first rise!
Step 3: Prepared The Dough Work Surface
Ensure to lightly flour your work surface before placing the freshly proofed dough onto the countertop.
Step 4: Tray + Oven Preparation for Easy French Baguettes
Before you shape your dough, you will want to preheat your oven and prep your baking trays.
Use brown rice flour to coat your parchment paper or (read the post to learn more options)
Tray Preparation for Easy Best Baguettes
Here are a few things you need to know.
- First, I use brown rice flour, the best nonstick solution ever.
- When you use brown rice flour, your dough won’t stick and will crisp.
- Alternatively, you can use cornmeal; I do that too; it just depends on what I see first in my pantry!
- Either OR works fine. Just dust the baking tray with that.
- Another option is parchment paper will work too.
Now you are ready to work with the fresh dough from the bread machine
Step 5: After The Bread Dough Cycle Completes, Do This
- Once the dough cycle is complete, transfer the dough to a lightly floured work surface, do tray and oven prep, and then move on to working with the dough.
- Punch out the bread dough that has risen.
- Once done, lightly coat the workspace with flour again.
Step 6: Cutting The Baguette Dough Into Portions
You will start working with the dough and Cut dough into 1/2 or 1/3’s depending (remember you are attempting to make rectangular cuts), so length-wise cuts, not width.
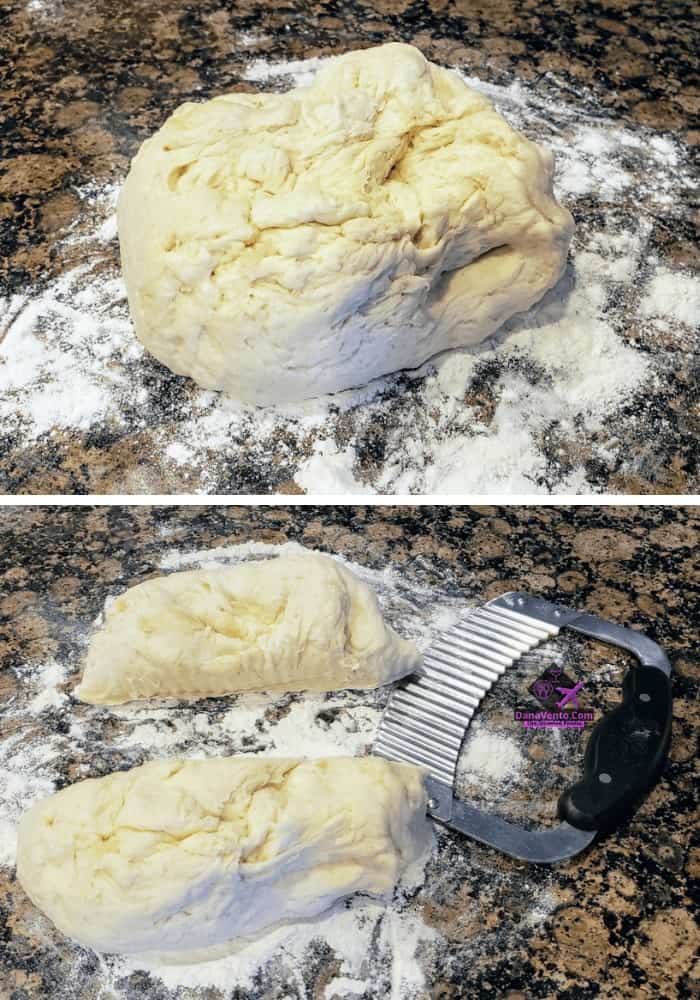
Portion the dough with how big you want your loaves.
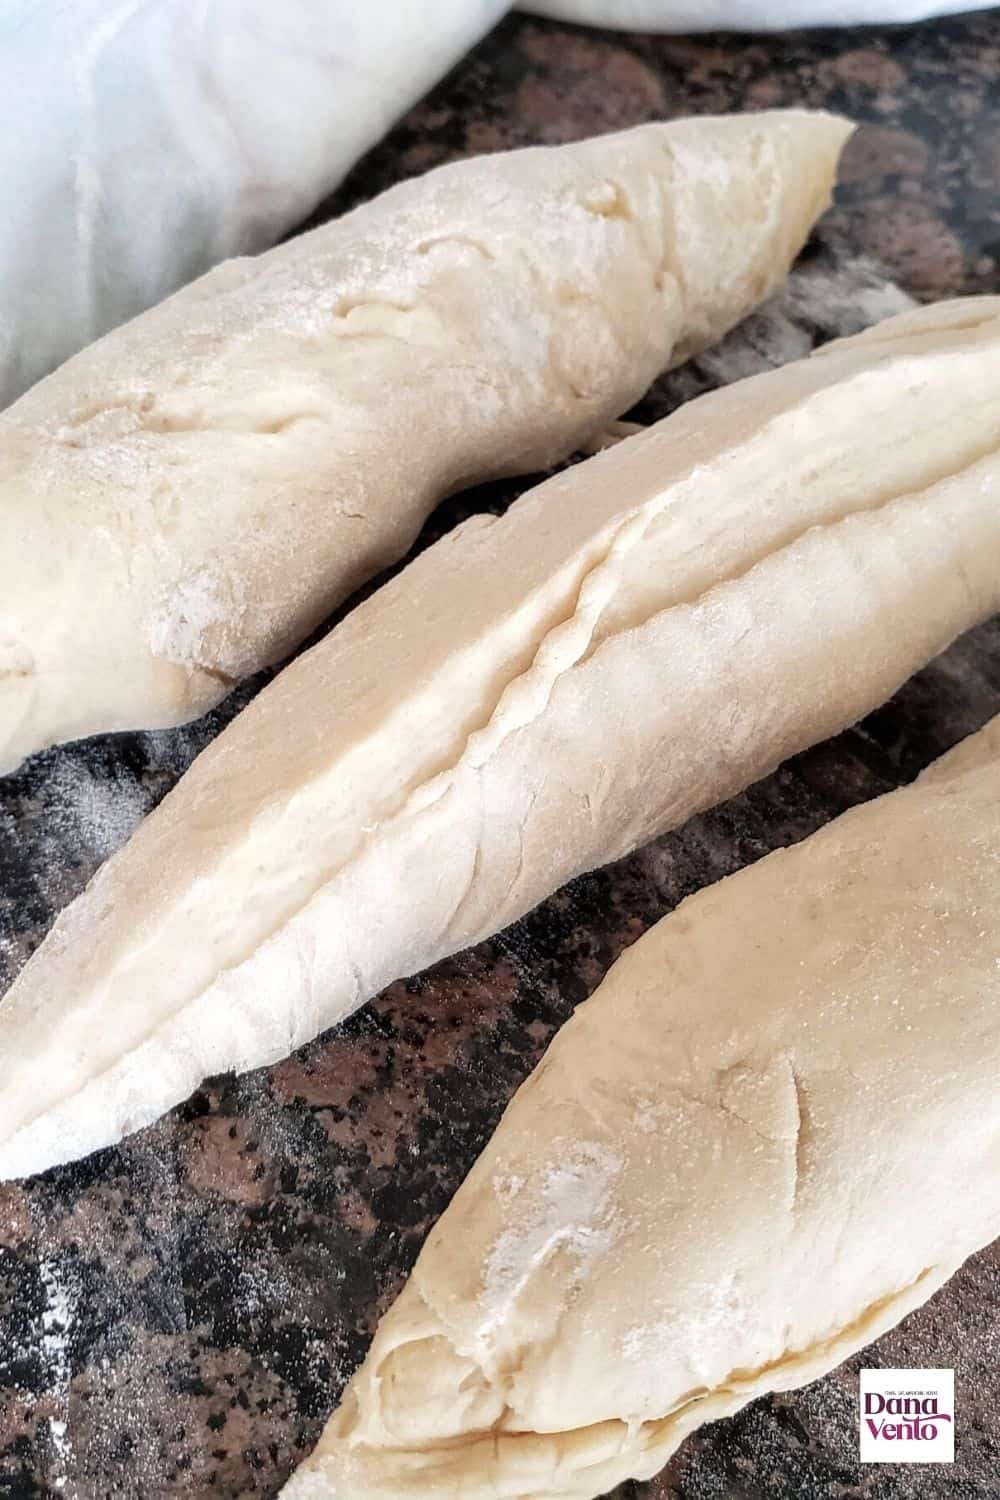
Step 7: How To Work With The Portions Of French Baguette Dough
Work with one loaf at a time, covering the other dough pieces you are not working with.
Place the dough in front of you, lengthwise, and pinch each end together (the sides)
Form the dough again and ping and fold as you go (see video for visual instructions)
Working on the length, fold it over itself, seaming it, which is lengthening the dough (the loaf) as you go!
As you do this, you will be rolling the dough on the floured surface, and you need to keep the edges (side top and side bottom sealed)
Think of folding a piece of paper into segments; you will do this for both sides.
You will repeat this about 3 times per side, folding it like a letter, and the baguette dough will grow longer and longer as you do.
Repeat this for each additional dough portion creating 3 or 4 loaves ( or 2, or however many you are making)
Step 8: Fashion The Dough On The Tray
Place the first loaf on the tray, to one side; you can fit more than one loaf on the tray, and then add a second one.
Repeat the lengthening method for dough piece number 2 and place it on a tray.
Cover, and allow to rise for at least 30 minutes. These baguette loaves will double in size, and the oven will be preheating during this time.
Step 9: Before Placing Loaves In The Oven …
Get ready because here is the Secret That Makes The Crust on French Baguettes so crunchy
Ice-cold water makes the beginner’s French Baguette bread recipe texture loaded!
- Before you open the oven door and place the tray in, prepare another Oven Proof bowl or tray with ice-cold water.
- Use the coldest tap water or refrigerator water.
- Place the water in the bowl, put it on the oven’s bottom shelf, and immediately put the bread above it.
- Close the oven and do not open it the entire baking time.
- This makes the crust incredibly authentic and crunchy.
- Bake and then remove to a cooling rack.
This process, of using the water with cold tap water makes the crust incredibly authentic and crunchy.
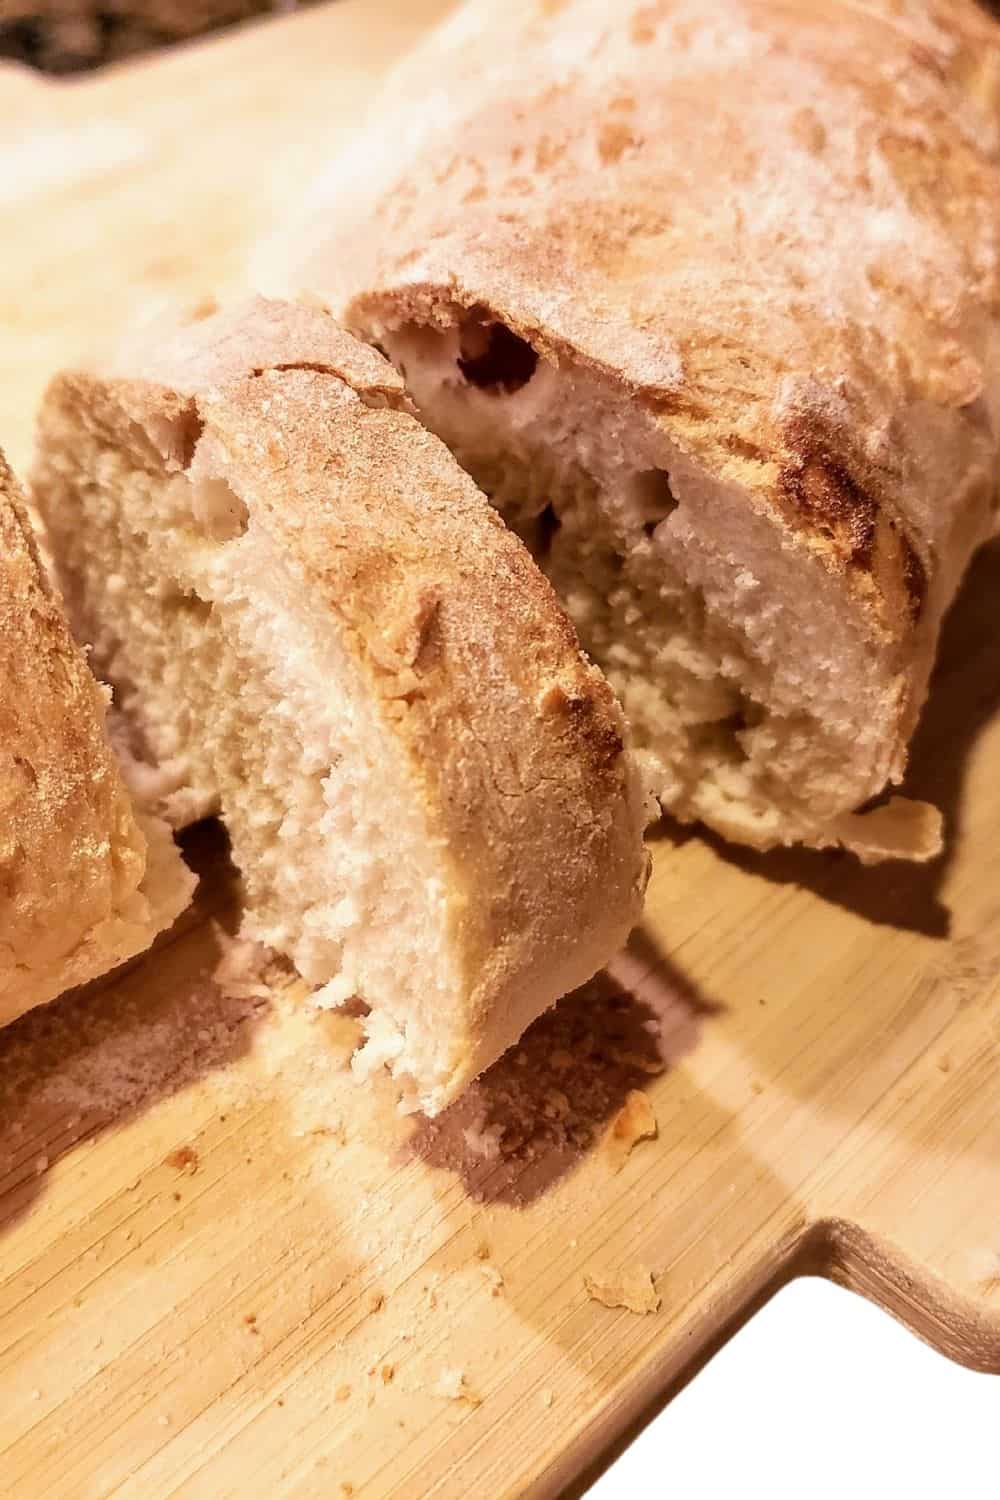
The steam that accumulates makes the crust rule supreme as far as crusts I have created!
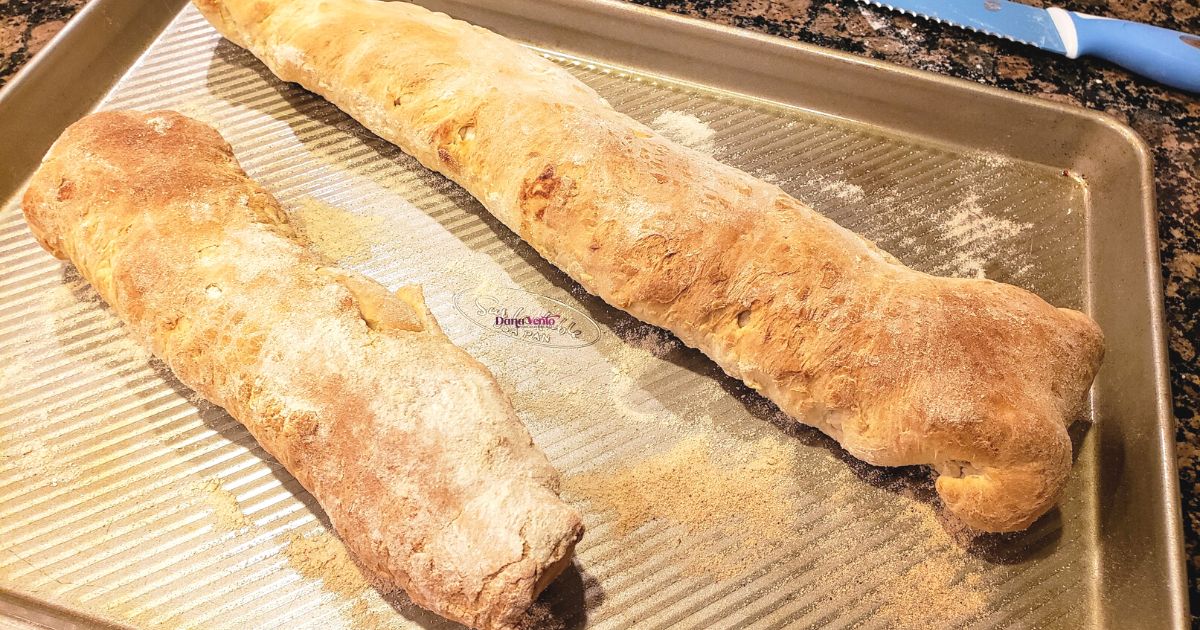
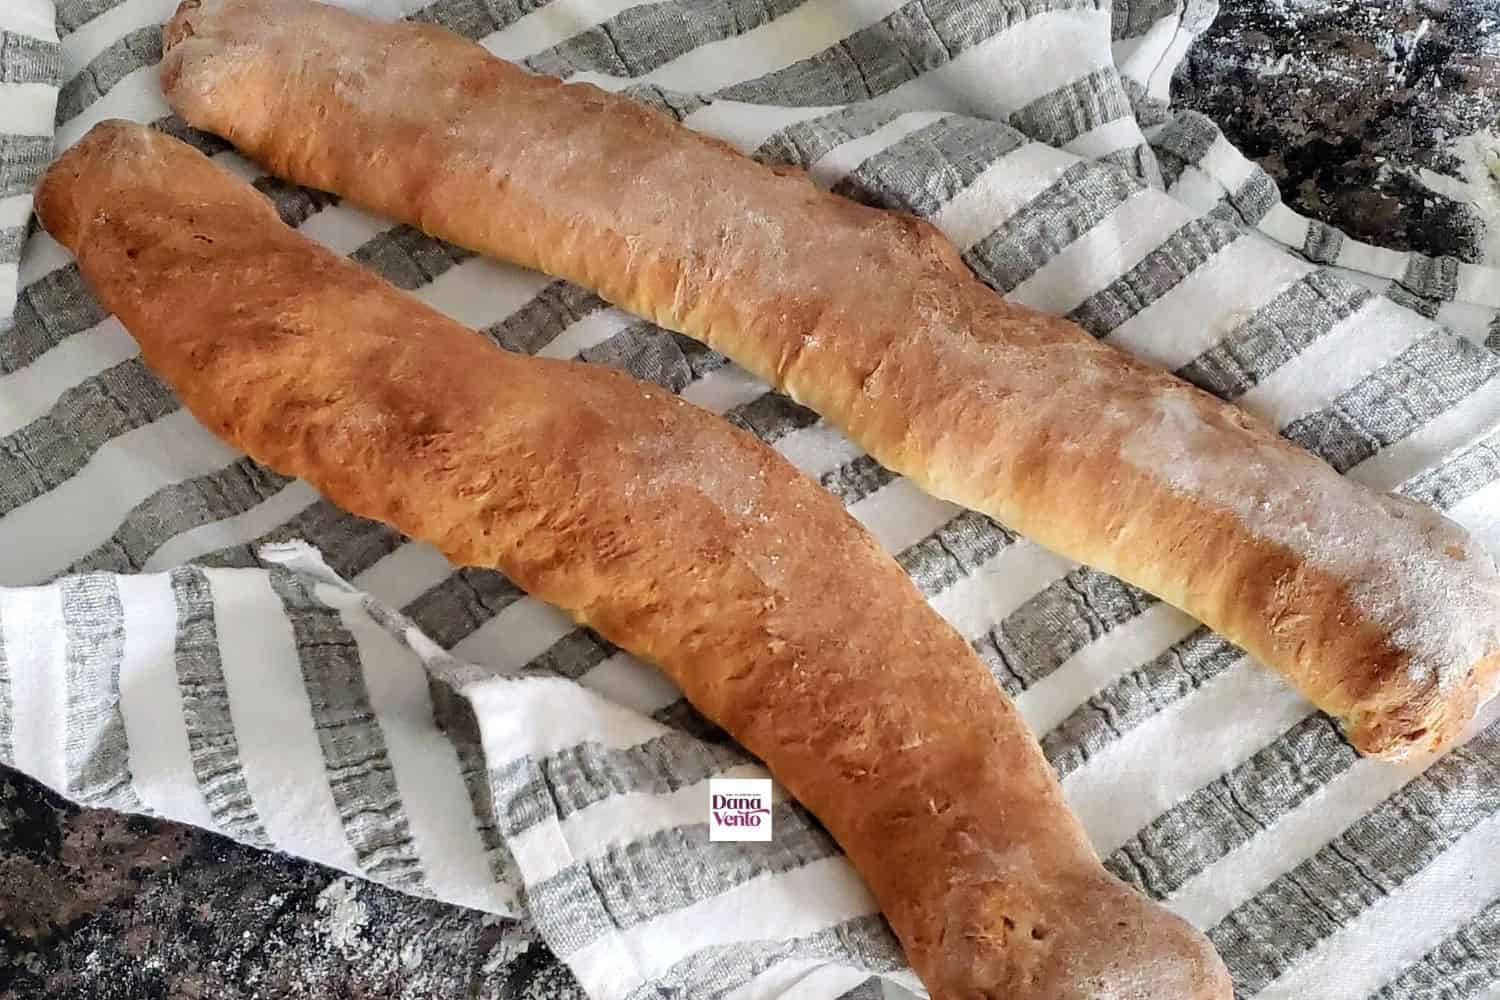
Once baked, well, you can see how crusty and beautiful these baguettes look.
Why Is This A Beginner’s French baguette bread recipe
This is a simple way to make your first french baguettes.
The recipe keeps the ingredients minimal, and the Bread maker makes the dough fail-proof (unless you don’t measure properly, and that, my friends, I can not help you with, that is on you!)
Therefore the bread machine forms a dough and you have very little to do other than form the loaves and run a second proof, making it a beginner’s french baguette recipe because it is not complex but the recipe will produce some of the best baguettes you have eaten!
I know this because I get so many emails about how this turned out so well!
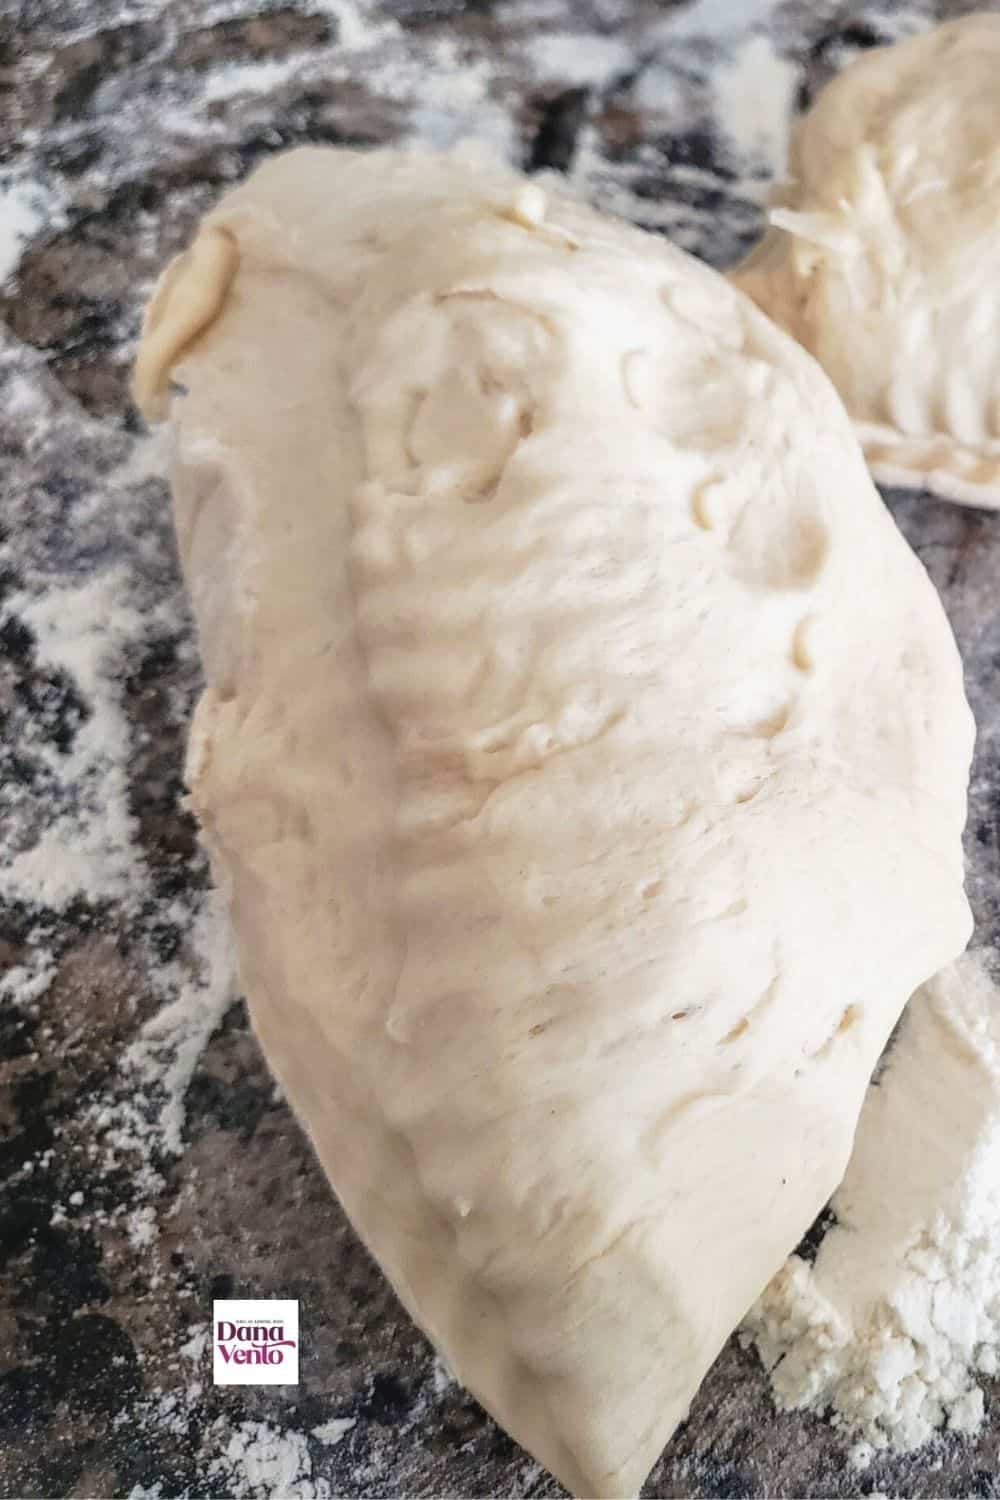
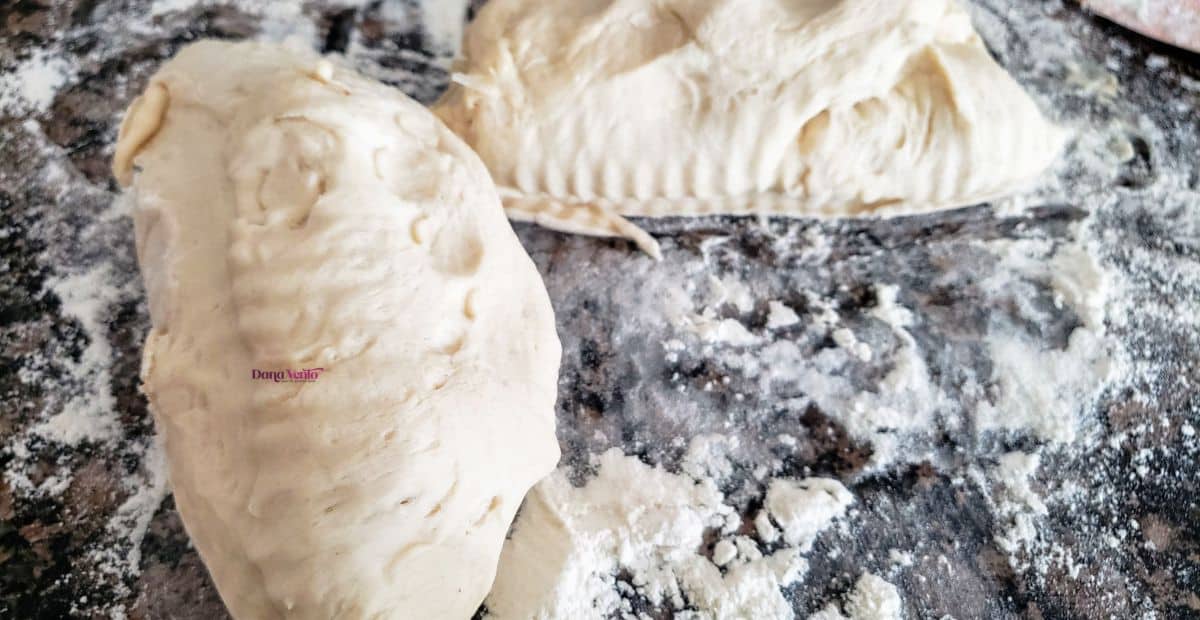
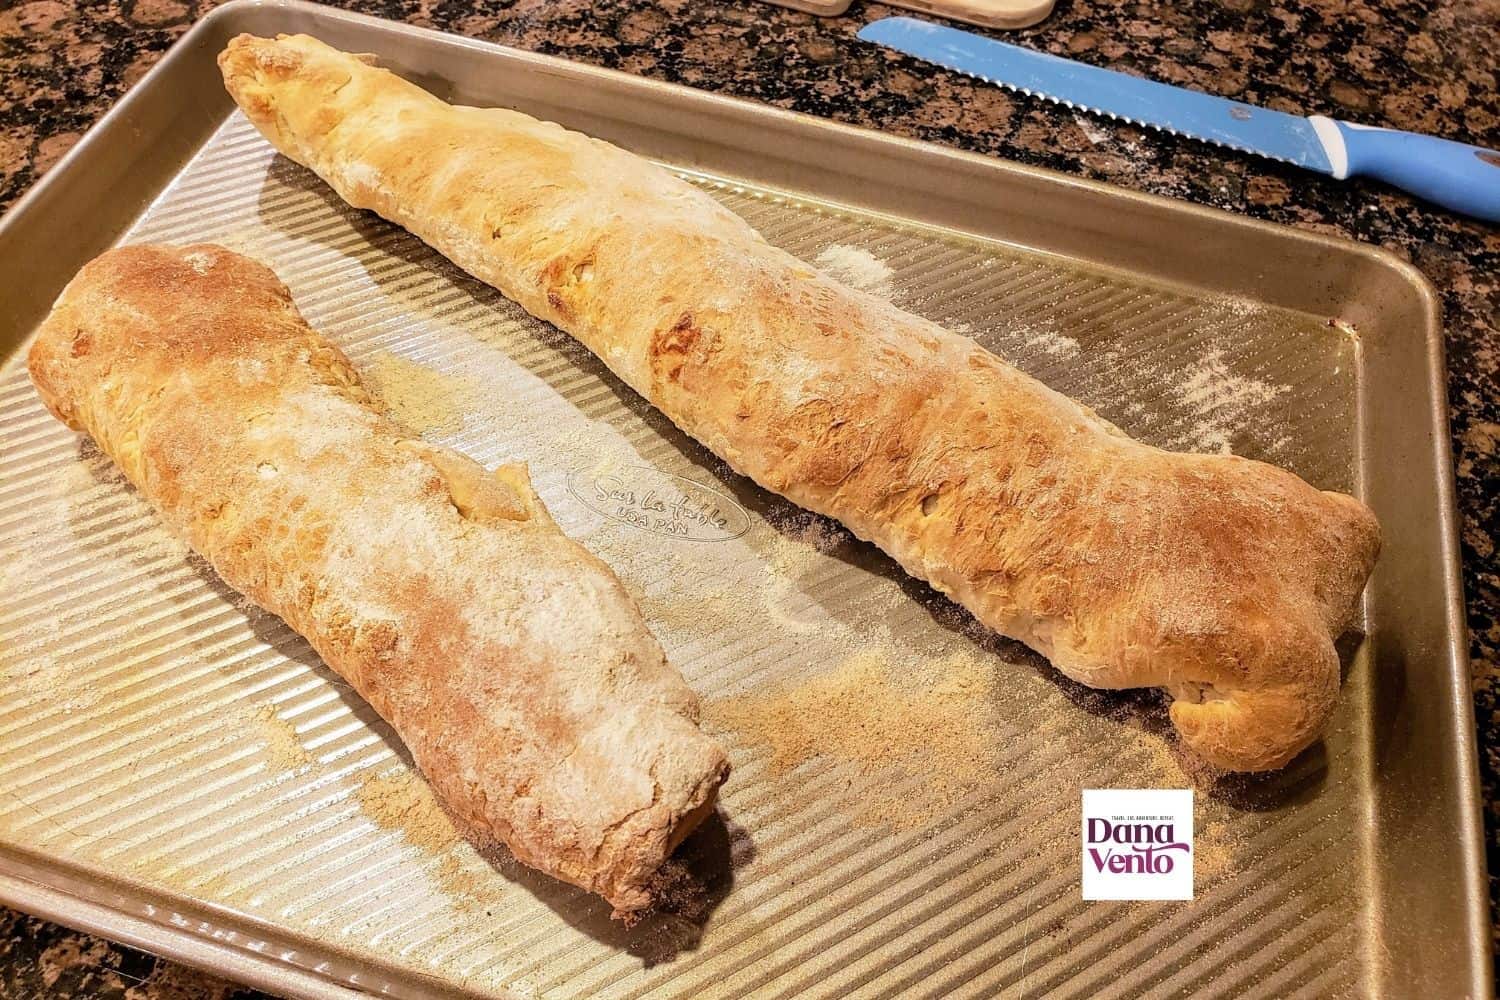
You will cut your dough in half, and it will look like a torpedo; from there, you will work on it one at a time.
So the dough you see above translates into what you see here below. Easy peasy!
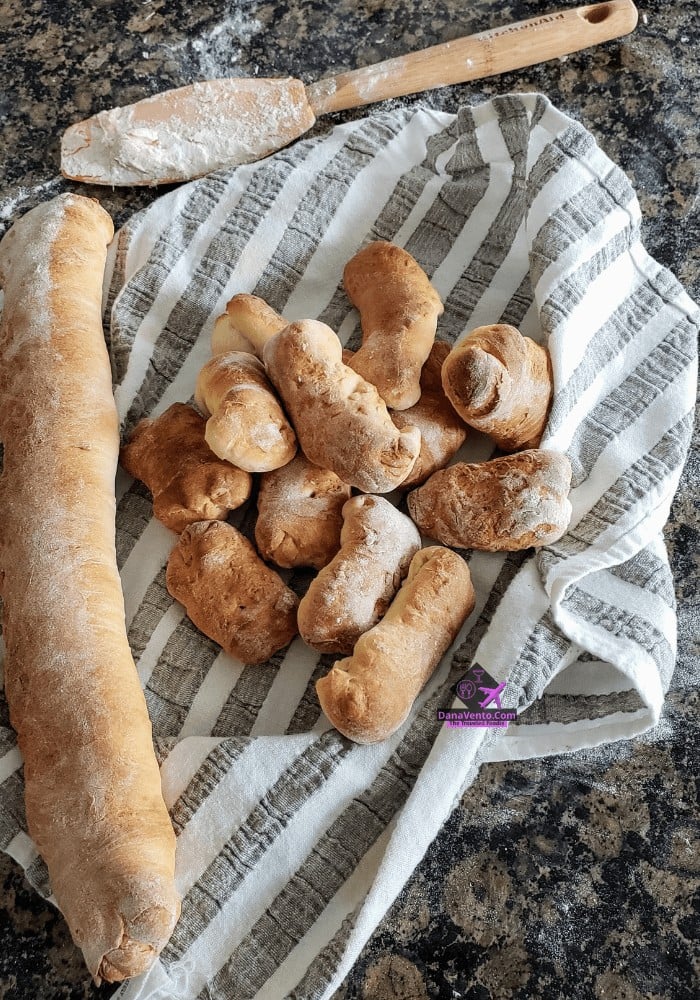
Tips For Making Beginner’s French Baguette bread
I also believe that when I began adding this one ‘secret’ ingredient, it became part of my best version of beginner’s French baguette bread.

Honey, not agave, Honey!
Honey is the game-changer in this recipe in tandem with the bread machine for mixing and kneading the dough.
If I could only tell you how many different ways I have tried this recipe, and it took time to conquer it, this is my go-to when I want fresh and fabulous French baguettes.
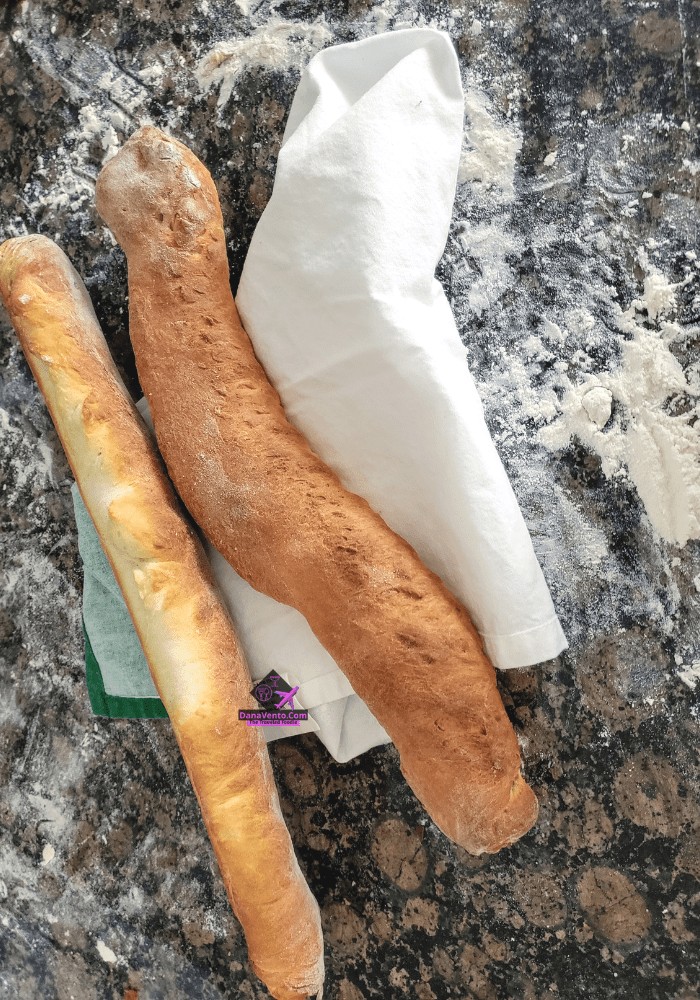
Trust the recipe because, unlike many recipes you will get online and try, mine work.
This is my counter in my kitchen, and I pour my blood, sweat, and tears into a recipe creating it and recreating it over and over until I KNOW It will turn out in YOUR kitchen.
I am sure of my recipes, and I don’t just publish them unless they are right!
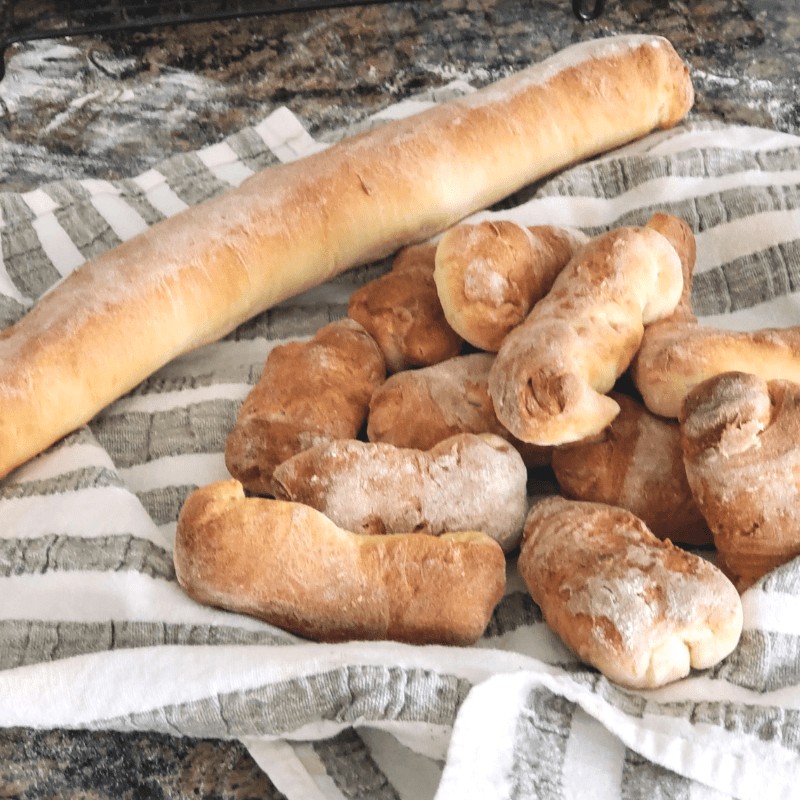
Without a doubt, I can say that I have tried variations of baguette recipes, and no other recipe works better than this because of the honey.

Pro Ingredient Baking Tip For A Beginner’s French Baguette
For me, baking this bread comes down to ingredients and processes.
There is only ONE brand of flour I use in this recipe, and it’s because I believe, hands down, their best bread flour is created by them.
After trying so many other flour brands, you will never get me to change my mind.
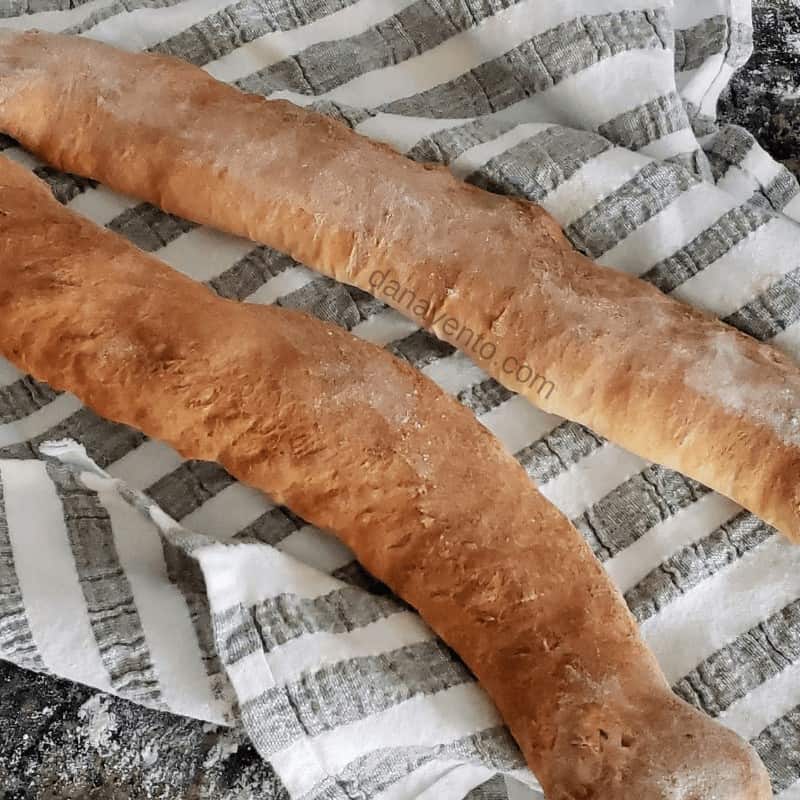
Chewy bread, yet crust that is hard. Indeed, it’s what you crave when seeking the best baguettes but can’t always find them. Yet it is that short, sweet, and simple recipe that delivers just that!
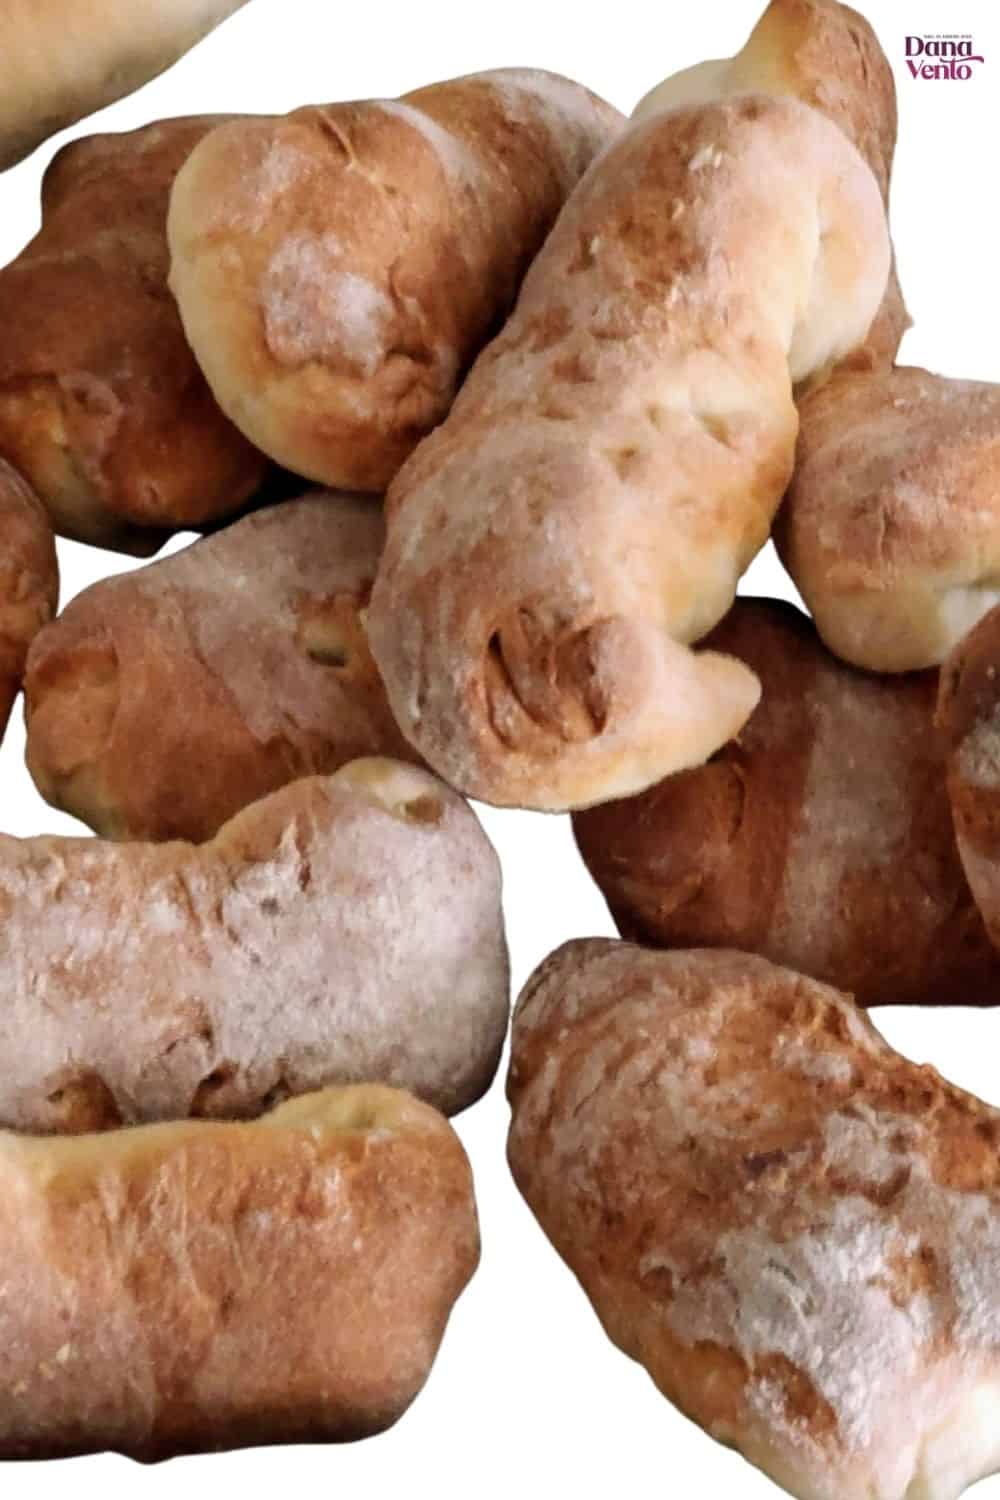
Did You Know That You Can Make French Baguette Rolls Out of the Same Dough?
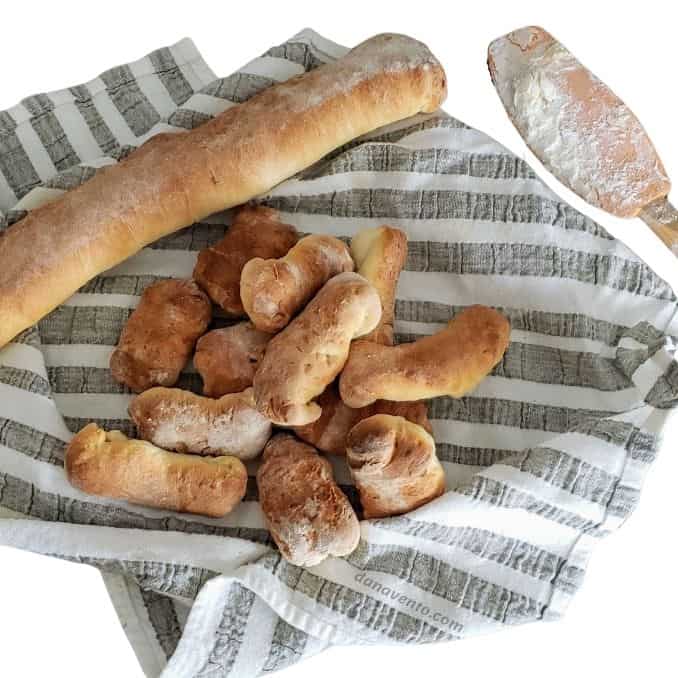
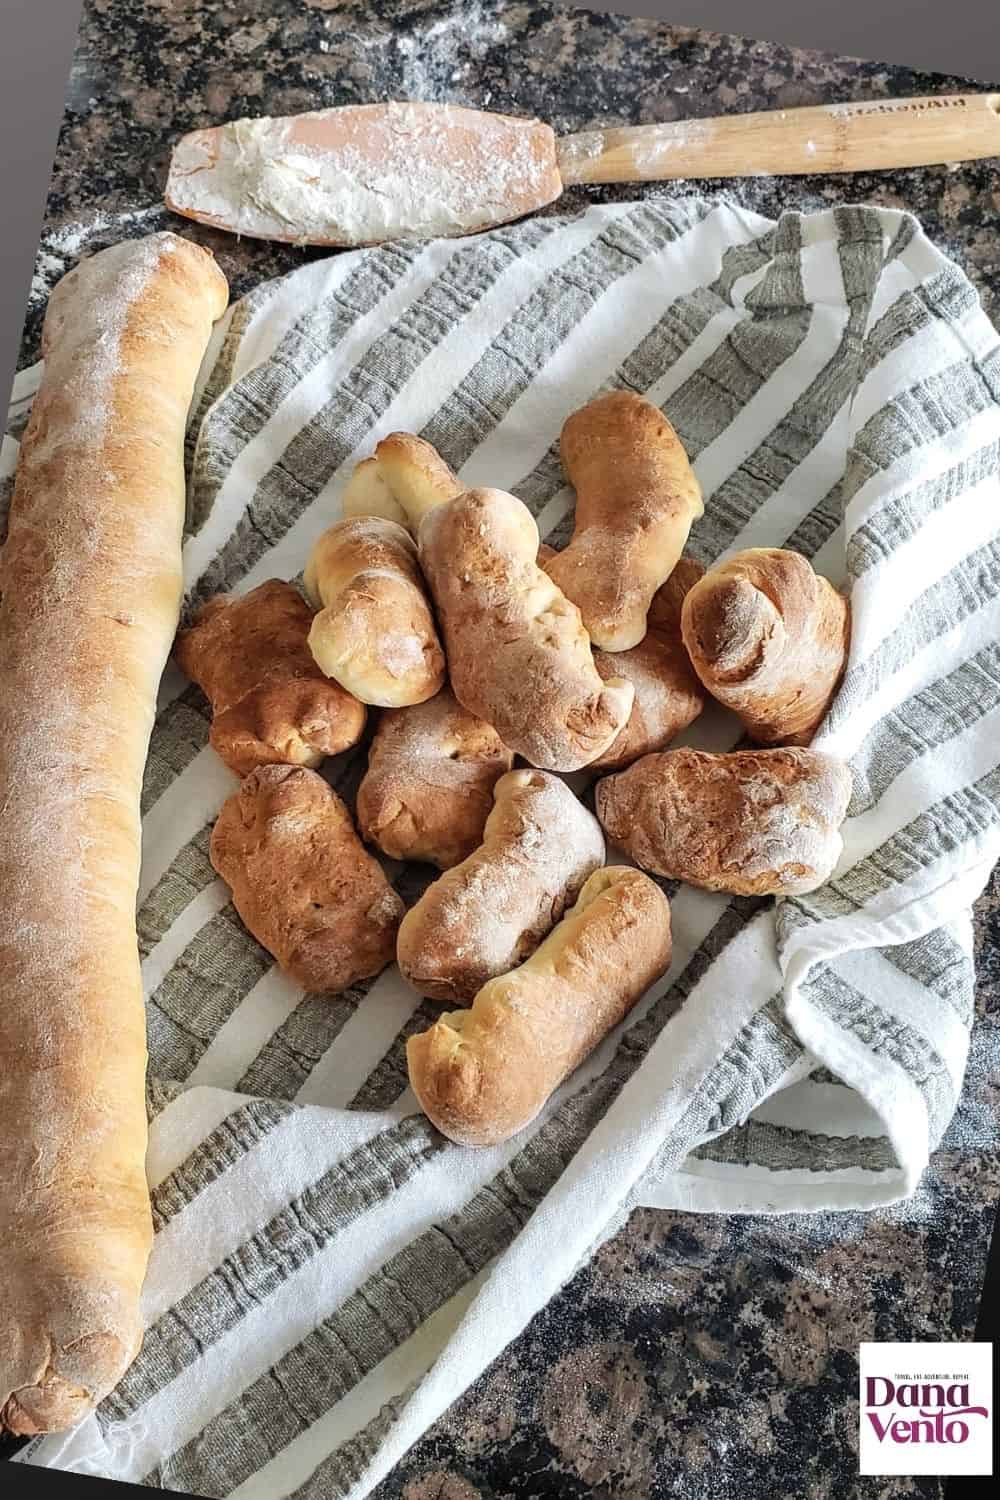
You might have noticed in some photos there are more miniature baguettes, but they are baguette rolls.
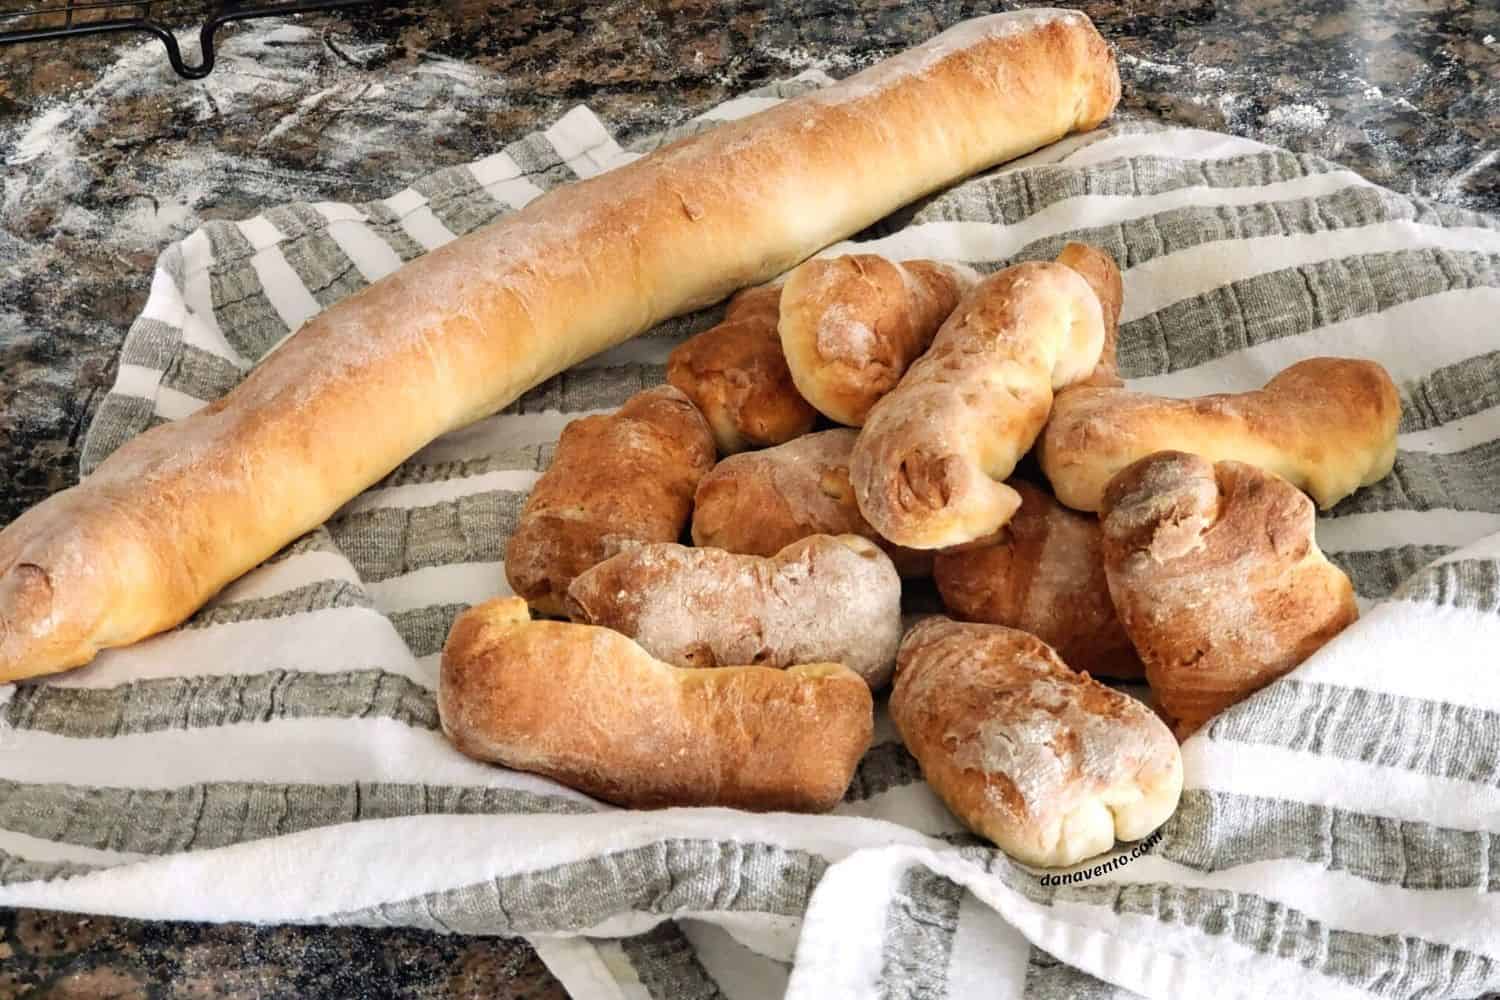
Yes, you, too, can change this recipe up to make rolls instead of loaves or both!
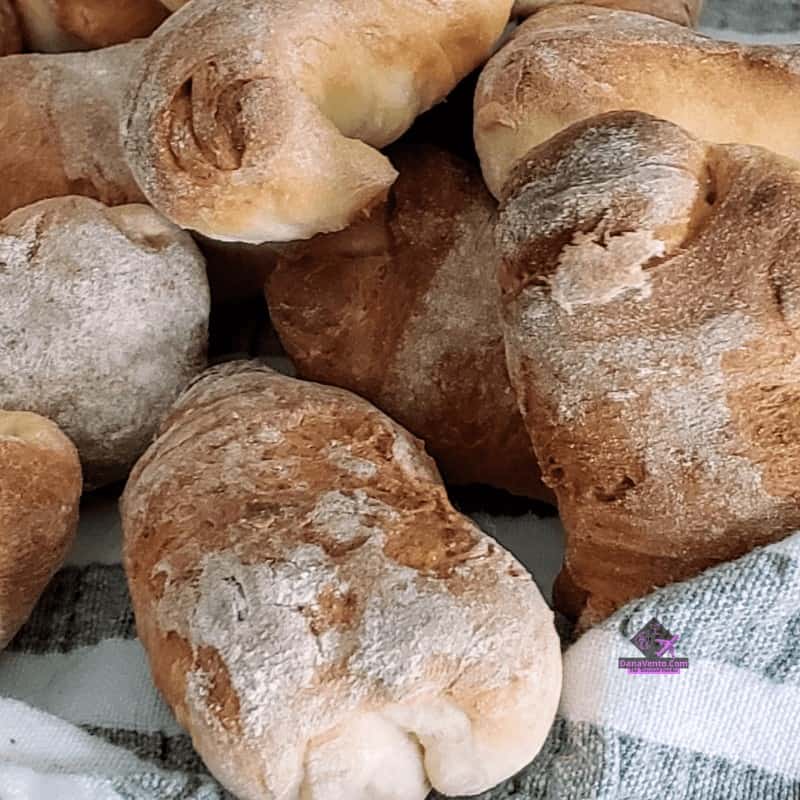
If you don’t want to make a loaf or 2, as you can see, I cut the dough into 3 pieces and created 2 loaves and one set of rules.
All the same, rules apply to creating baguette rolls; what is best is how delicious they are, and you don’t need a knife to cut portions when it is time to serve!
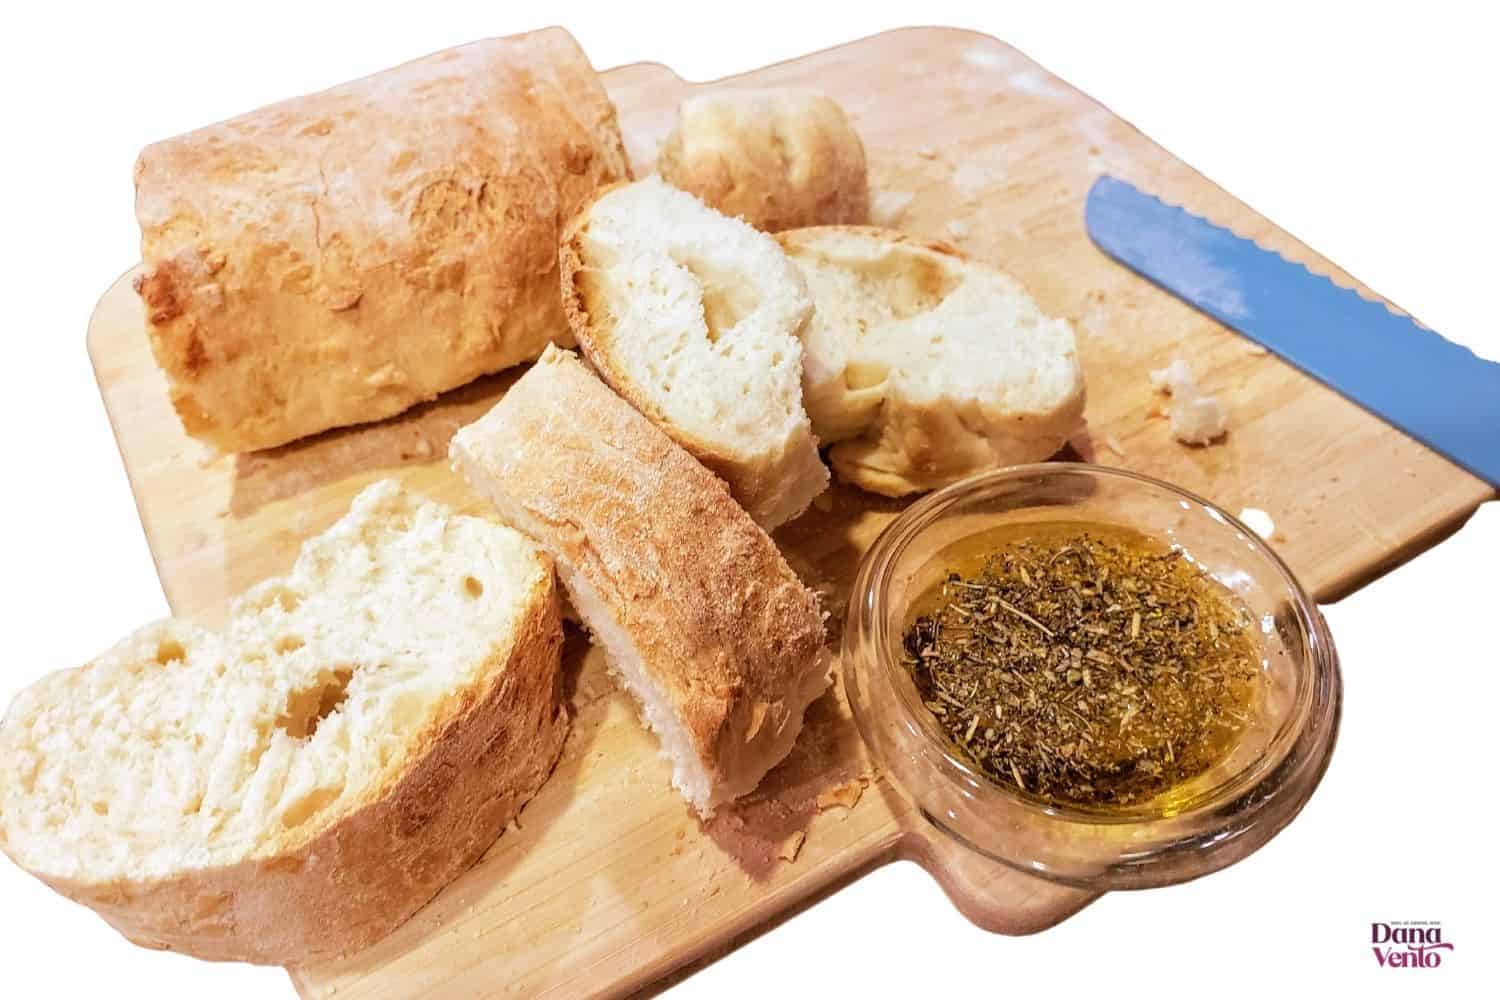
Your creations are limitless.
Make rolls, loaves, and wreaths; it is easy with this easy french baguette dough. !
Enjoy. ~ DANA XO
Other Bread Recipes You Will Like
- Super Easy Round Crusty Bread (just 5 Ingredients)
- 1 Exceedingly Easy Classic Bread Stuffing To Make + Bake Now
- Crazy Good No-Knead Air Fryer Crusty Herb Bread In 1 Hour
- #1 Easy Bread Machine Cinnamon Bread Recipe You’ll LOVE
- #1 Easy Tuscan Herb Bread in the Bread Machine | Effortless
- Homemade Pita Bread in 4 Minutes. Easy & Delicious.
- Easy Beer Bread for Bread Machines: 5 Ingredients
Get the Recipe Here The Incredible Easy crusty baguette recipe.
Best Baguettes Recipe (French bread Baguettes)
Ingredients
- 4 1/2 Teaspoons of Yeast Bread Yeast
- Honey 2 1/4 Tablespoons
- 3 1/2 C of Bread Flour
- 1 C of Water 110°
- 2 Tsp of salt keep separate from the yeast!
- Bread Machine to Dough Mode
Instructions
- Add your ingredients to your bread machine
- Program bread machine to dough mode.
- Once the dough cycle is complete, before removing the dough to your work surafce, begin the oven and tray prep then move on to working with the dough
Tray + Oven Preparation for Easy French Baguettes
- Preheat your oven to 400°F and prep your trays for baking
- Use brown rice flour to coat your parchment paper or (read post to learn more options) Now you are ready to work with the fresh dough from the bread machine
Bread After Dough Cycle Completes
- Once the dough cycle is complete, transfer the dough to a lightly Floured work surface and do tray and oven prep then move on to working with the dough
- Punch out the bread dough that has risen.
- Once done, lightly coat workspace with flour again.
- Now Cut dough into 1/2 or 1/3's depending (remember you are attempting to make rectangular cuts) so length-wise cuts, not width.
- Portion the dough with how big you want your loaves.
- Of course for rolls, cut into smaller pieces and go about the procedure the same way.
- Work with one loaf at a time, covering the other dough pieces you are not working iwth.
- Place the dough in front of you, lengthwise, and pinch each end together (the sides)
- Form the dough again and ping and fold as you go (see video)
- Working on the length, fold it over itself, seaming it, which is actually lengthening the dough (the loaf) as you go!
- As you do this you will be rolling the dough on the floured surface and you need to keep the edges (side top and side botom sealed)
- Think of folding a piece of paper into segments, you will do this for both sides.
- DO this at least 3 times to each side (folding like a letter) and the baguette just gets longer and longer.
- Repeat this for each additional dough portion creating 3 or 4 loaves.
- Place the first loaf on the tray, to one side, you can fit more than one loaf on the tray and then add a second loaf to the tray
- Repeat the lengthening method for dough piece number 2 and place it on a tray as well.
- Cover, and allow to rise at least 30 minutes. These baguette loaves will double in size
Before Placing Loaves In The Oven …
- Before you open the oven door and place the tray in, prepare another Oven Proof bowl or tray with ice-cold water.
- I use the coldest tap water or refrigerator water.
- I place the water in the bowl and put it on the bottom shelf of the oven and then immediately put the bread in above the water.
- I close the oven and do not open it the entire time it is baking.
- This makes the crust, incredibly authentic and crunchy.
- Bake for just about 13 minutes, and remove from oven to cooling tray and then serve.B
- Bake 450° F for 13 minutes and remove to a cooling rack

