DIY Easy Outdoor Decorative Thermometer – this is truly a very simple way to enhance your outdoor living space (patio or garden area) with a simple yet decorative exterior weather thermometer DIY, so you’ll always know what the air temperature around you is while you are spending time outdoors! Even better, the outdoor thermometer takes only 10 minutes to assemble, costs just five dollars, and is the perfect addition to your garden, patio, porch, or any other outdoor area.
Why You’ll Love This DIY Decorative Outdoor Thermometer
I always love adding a little something new to my patio area, and when I shop, I am inspired by so much of what I see, but I am also turned off by the unnecessary upscale price tags.

Rather than buy the summer decorative patio and garden area items I see, I often draw upon those designs and craft my own, to enhance my outdoor living space.
Once I am done creating my DIY projects for my patio and garden area, I feel satisfied and happy that I made what I preferred and also chose the colors to match what I wanted, rather than being stuck with just what was offered.
Today’s project actually came into fruition because our old thermometer broke and I love knowing what the temperature is when I am outside in my yard.
- Easy to make
- no nailing or drilling required
- can be made any color you want
- great for any outdoor space
- can be gifted
- the temperature gauge can have multiple hanging options
Equipment Needed To Make Your DIY Easy Outdoor Decorative Thermometer?
There is nothing hard about this project and it does not need to be.
Perhaps you will upgrade your hanging thermometer even further than I did, but I kept it simple.
Why?
I know me, and I know that by next year, I will want a new, updated version of my exterior weather thermometer so I didn’t spend much or put a lot of time into it, but I did add a pop of color to our outdoor space and valuable weather information!
- A Dollar Tree Bulb Thermometer For Outdoors
- 1 painted wood sign from the dollar store that you will cover (it needs to be longer than the thermometer)
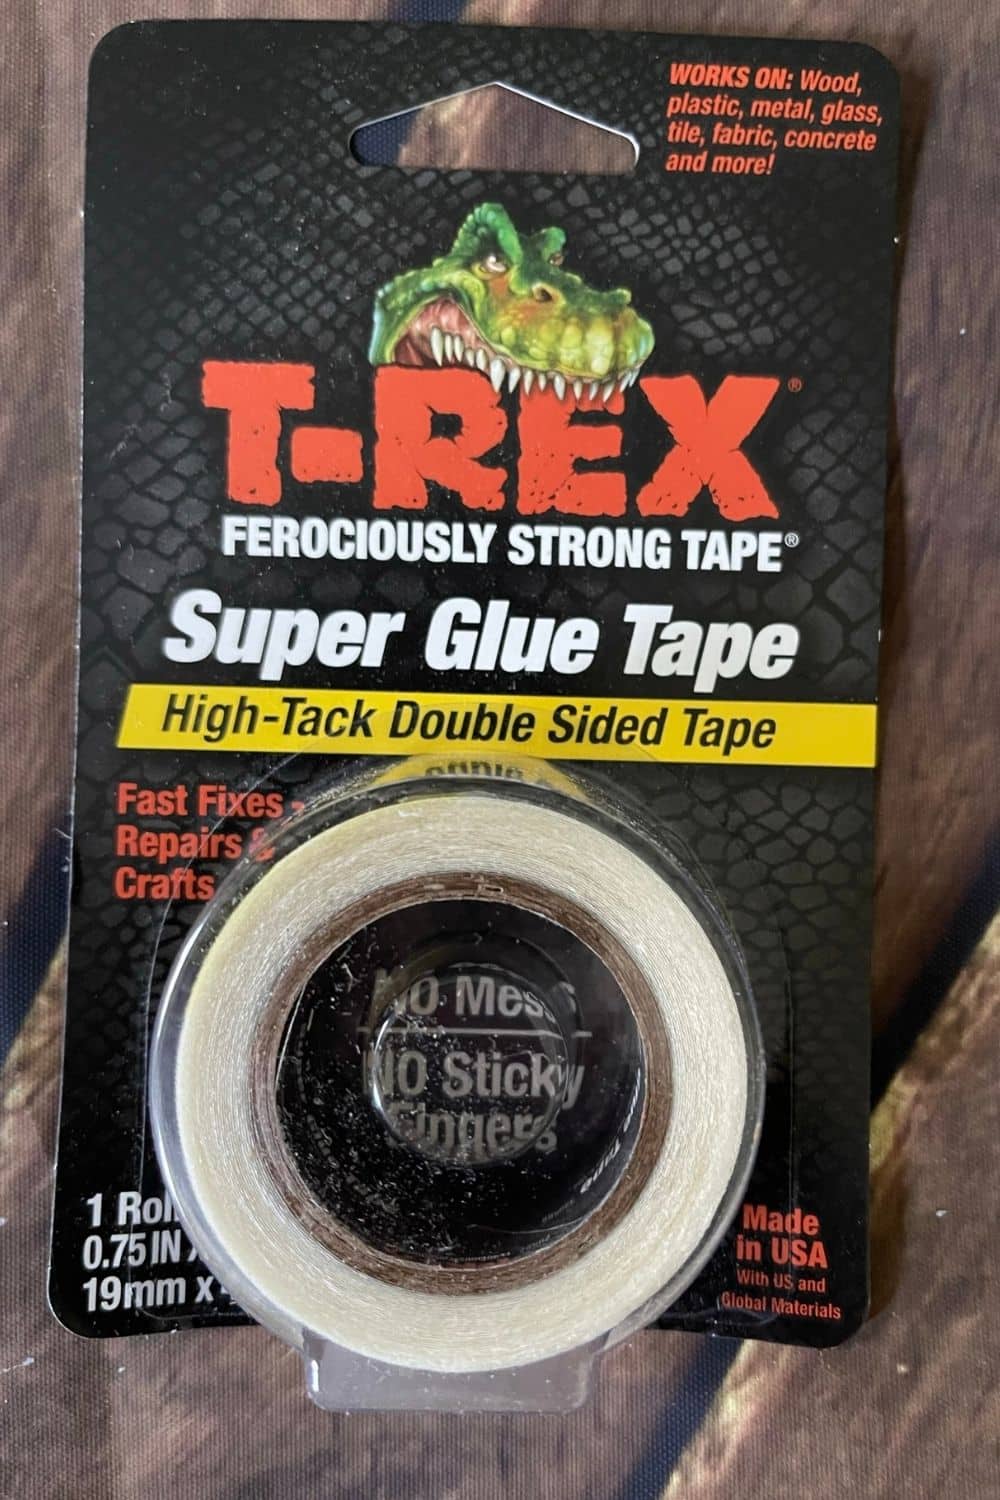
- T Rex Tape
- zip ties LARGE
- pinwheel (optional)
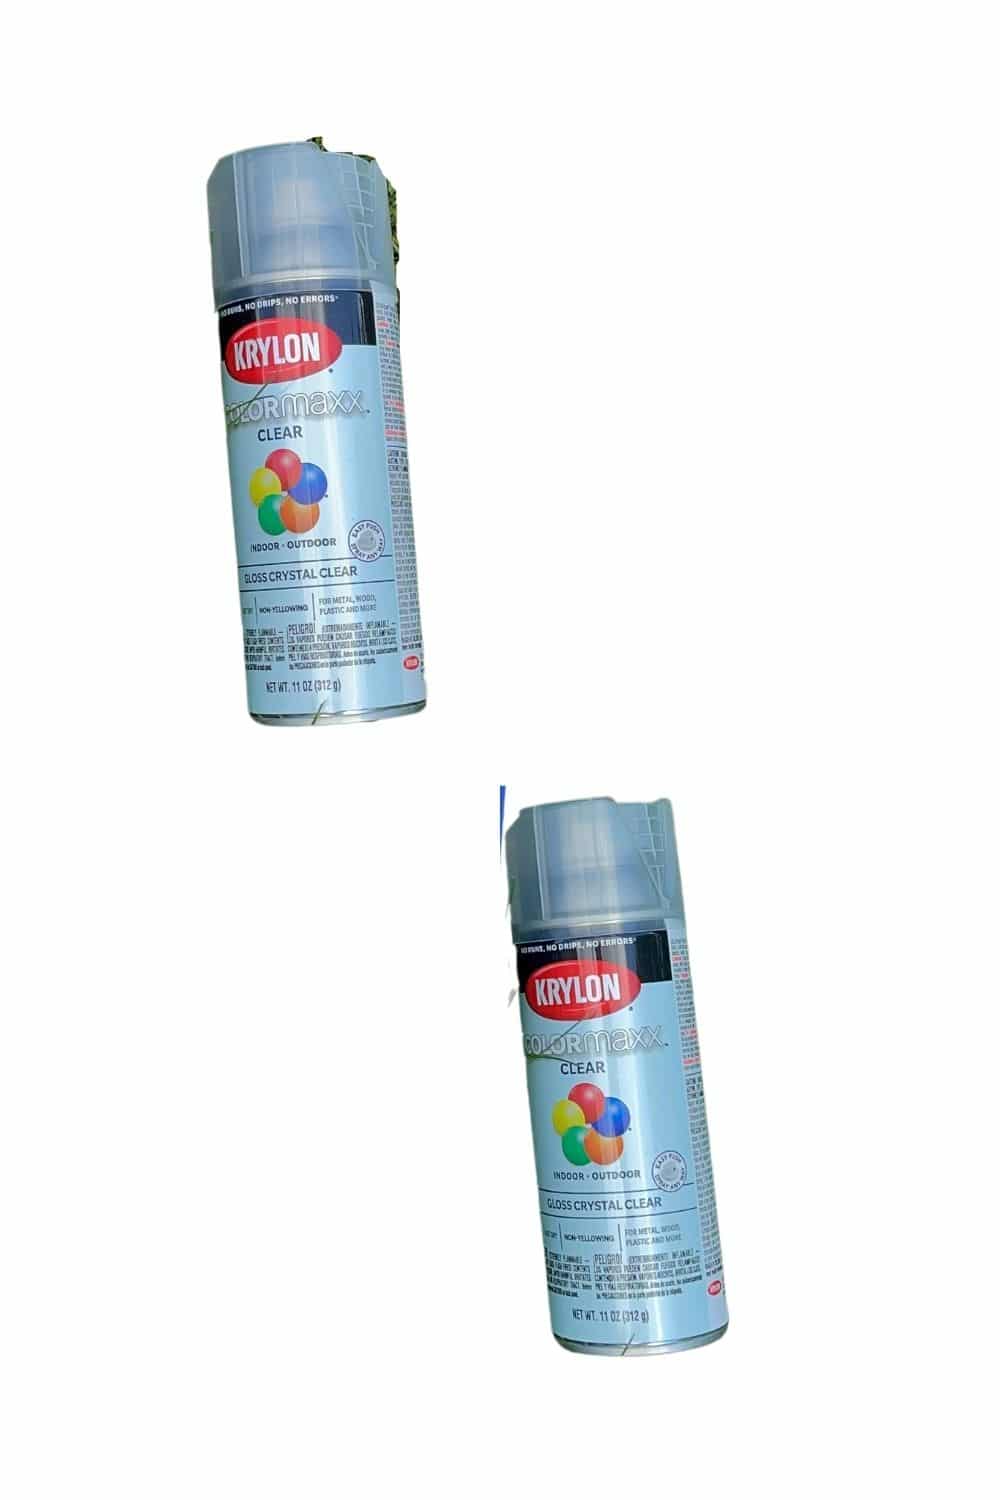
- outdoor clear paint
How To Make A DIY Easy Outdoor Decorative Thermometer
Here we go this is fast and easy and if you blink your eyes, it’s done!
Step 1: Gather Your Hanging Thermometer Supplies To Assemble
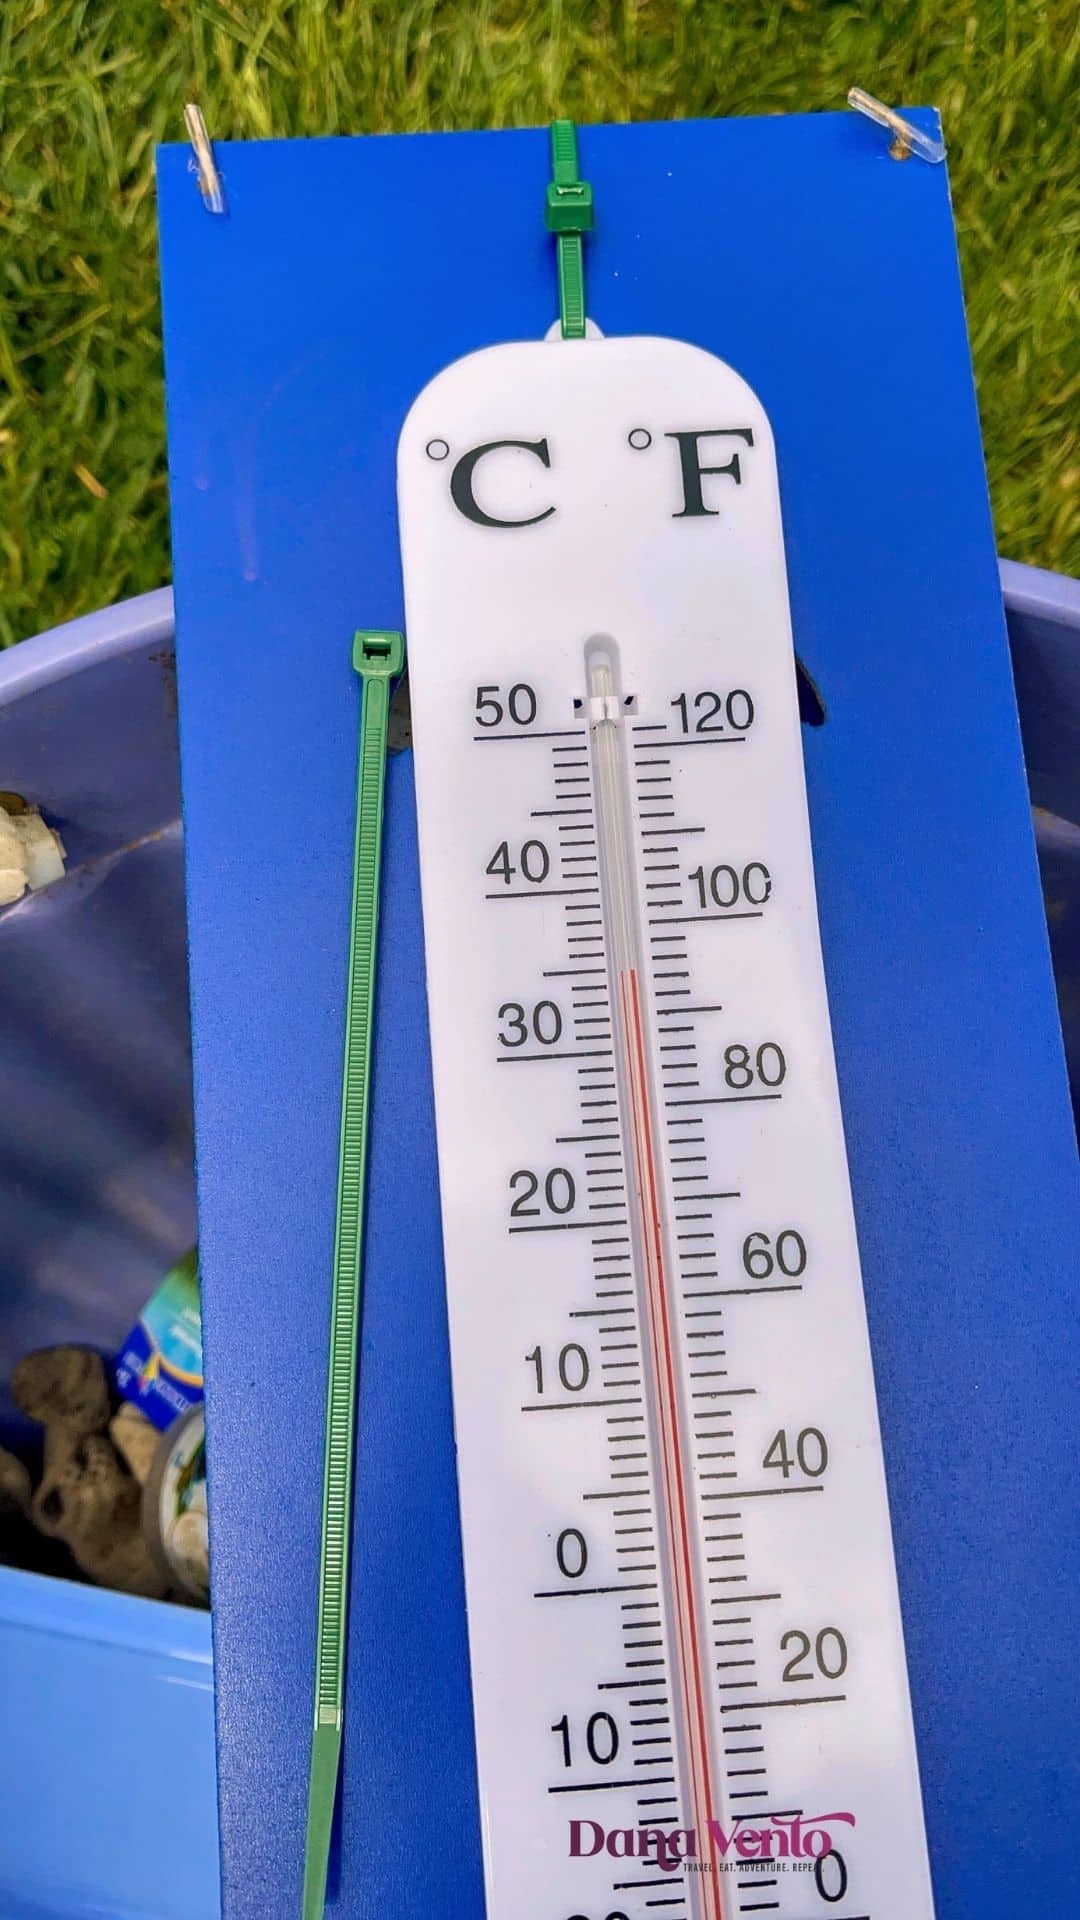
You’ll need the clear spray, the zip tie, the board, thermometer, pinwheel, and the T Rex Tape.
Step 2: Prep the Outdoor Thermometer Support Board
Before you begin, if you purchased your board at the Dollar Tree, as I did, you will want to seal it to prepare it for the outdoors, which it is NOT when purchased.
So change that ‘as-is’ item into ‘outdoor’ and you are good to go!
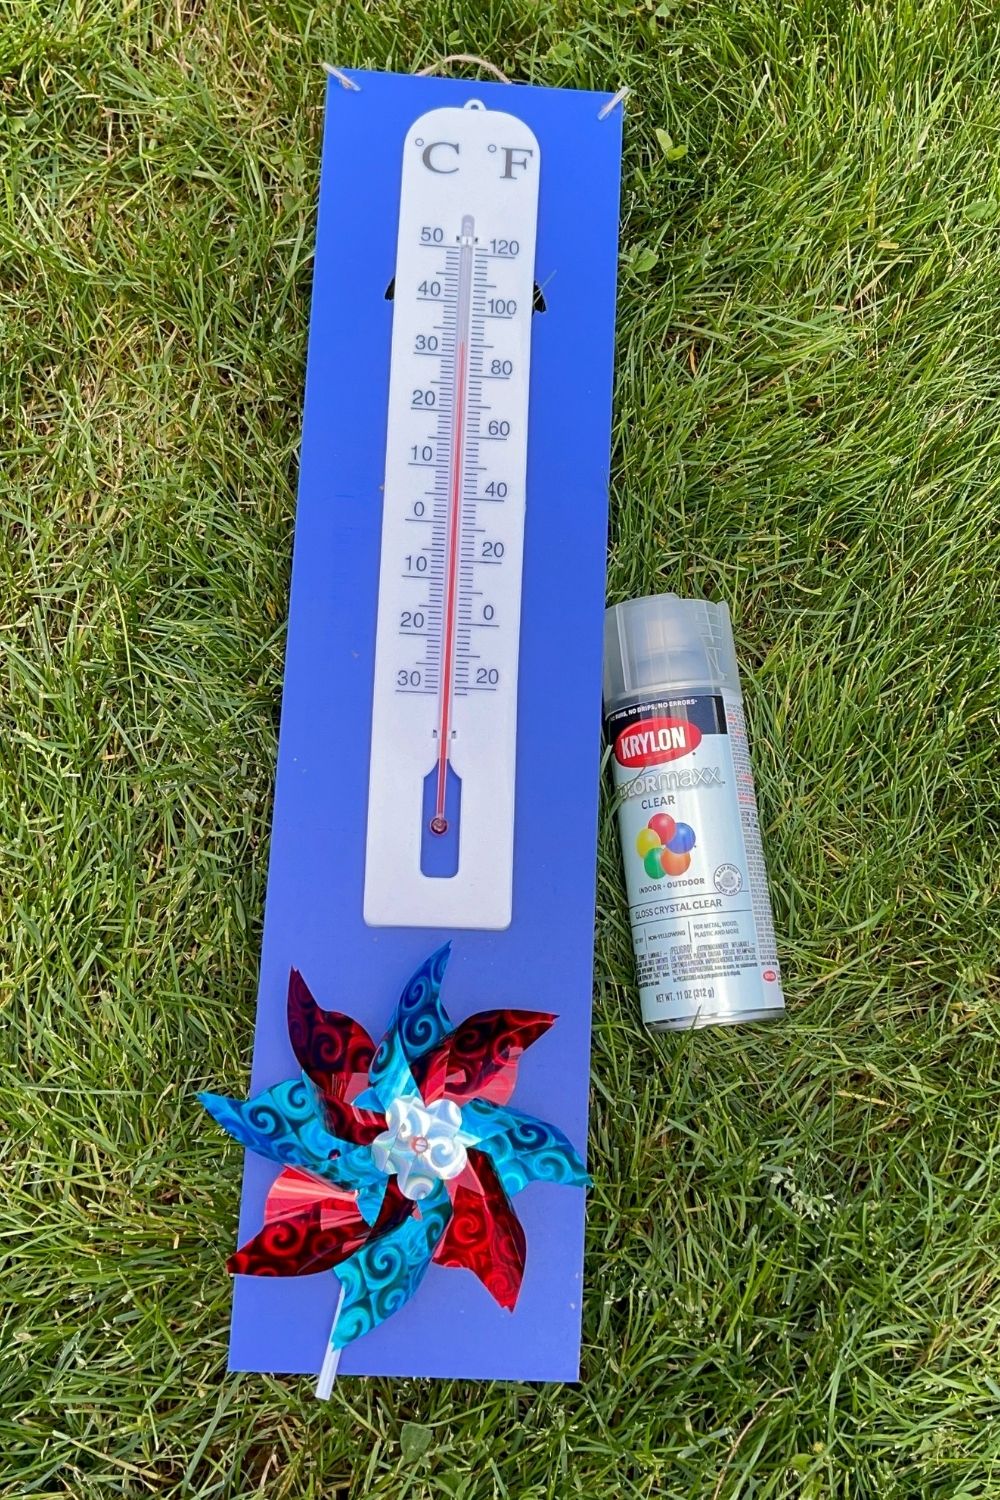
All you have to do is lightly coat the back, front, and edges with the clear outdoor spray and allow it to dry.
For me, it took 30 seconds to coat and about 5 minutes to dry. I will admit I worked with it when it was a little tacky on the one side but no big deal, it did dry!
Step 3: Putting The Outdoor Weather Thermometer Together
Once the board is dry, you will want to use your zip tie to secure the thermometer to the board and it is easy because if you look you can see that there is an opening under the top part of my thermometer which is how I pulled the zip tie through.
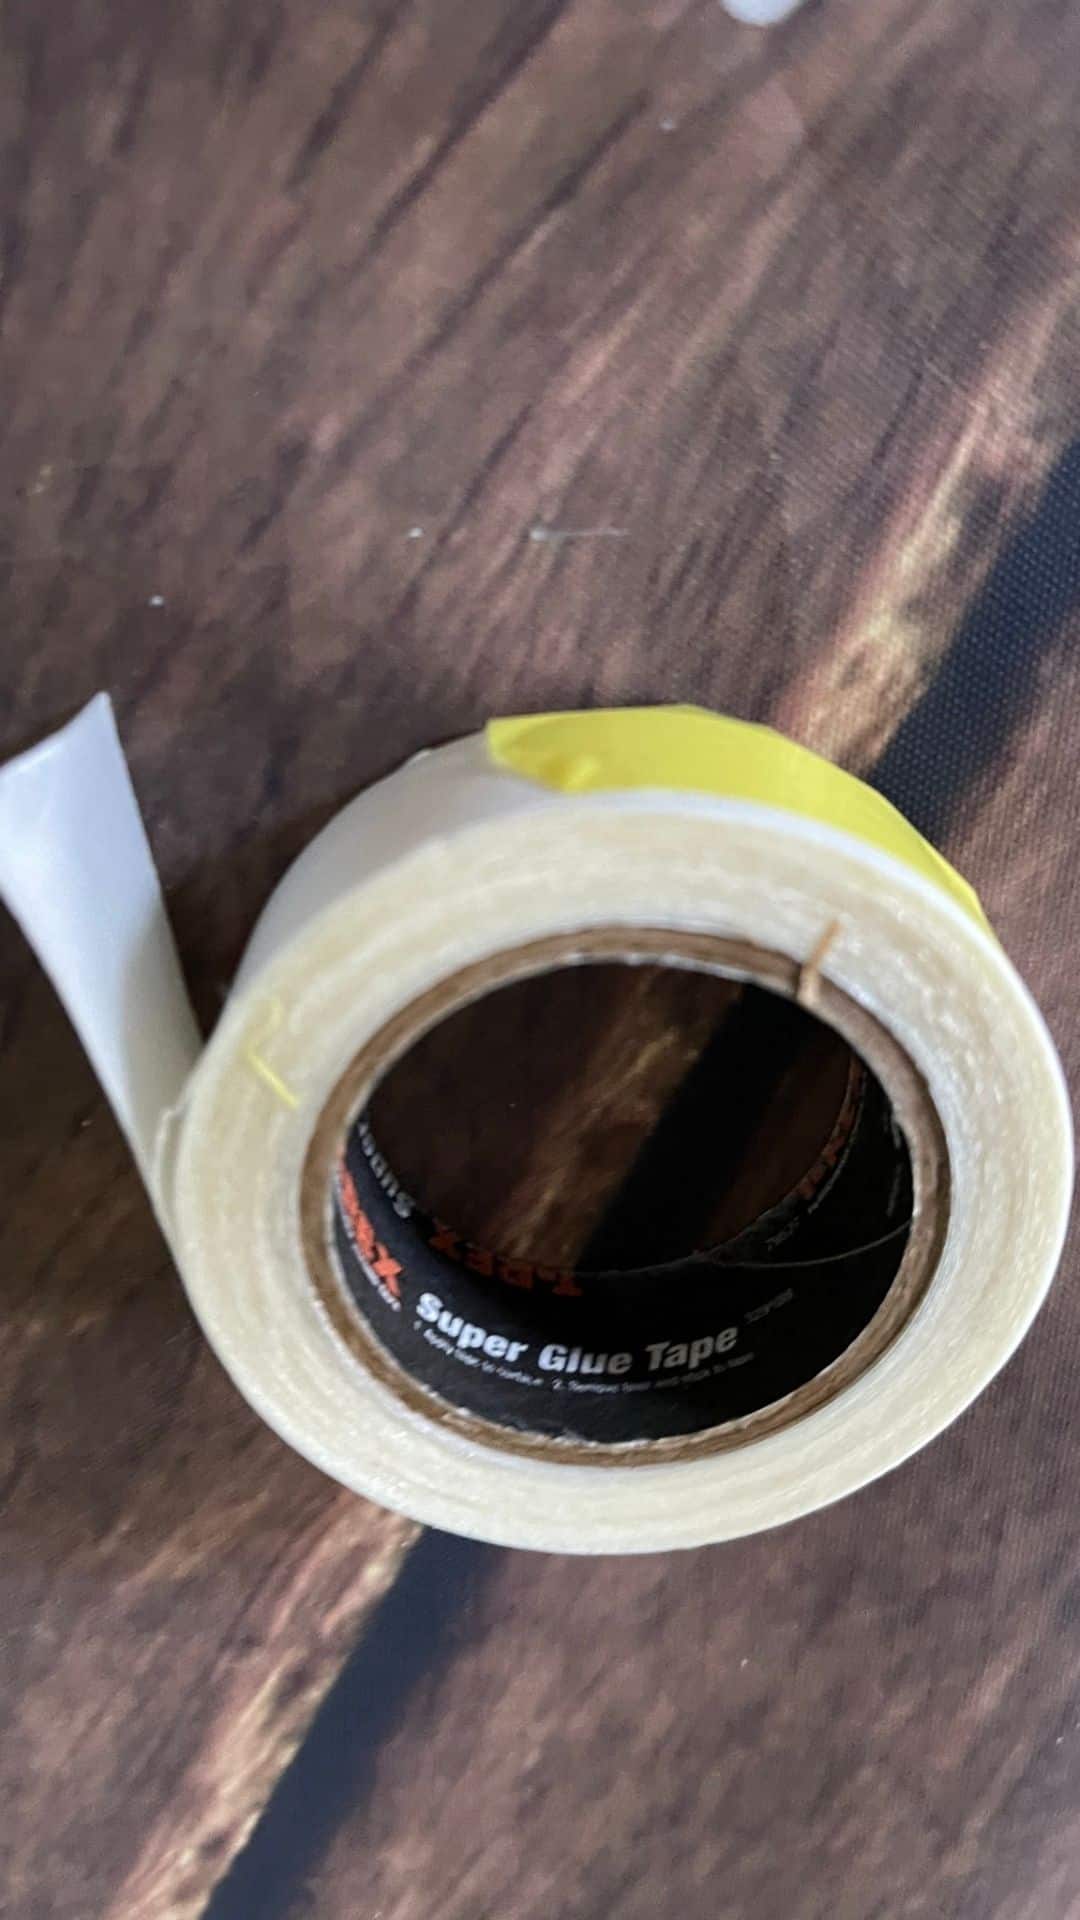
Next, I cut most of the pinwheel off using a pair of pruners and left just enough to secure the T Rex Tape to.
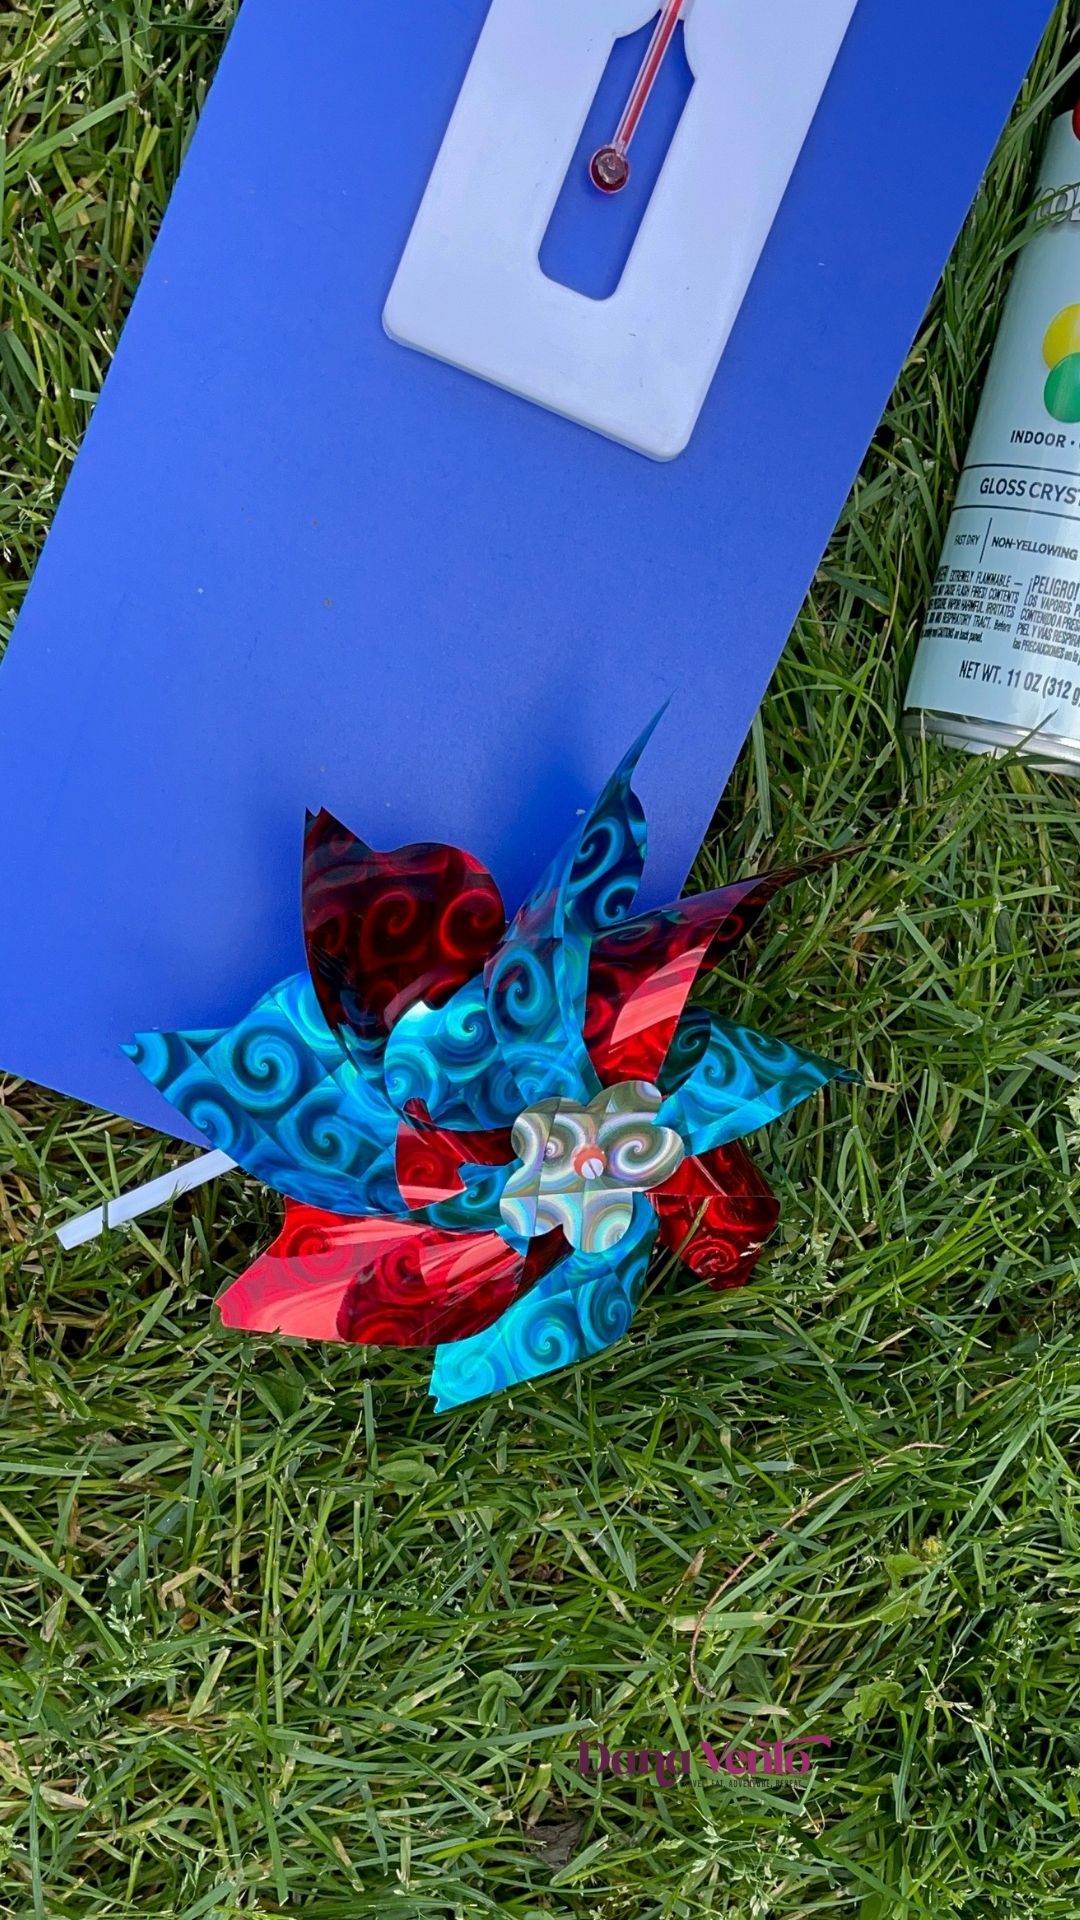
What I made sure of is that the Pinwheel would be straight on the board and that it had room to spin and it did.

Step 4: Place Your DIY Decorative Patio and Garden Thermometer In Its New Outdoor Space
Now you have a few choices when it comes to the placement of your outdoor temperature gauge.
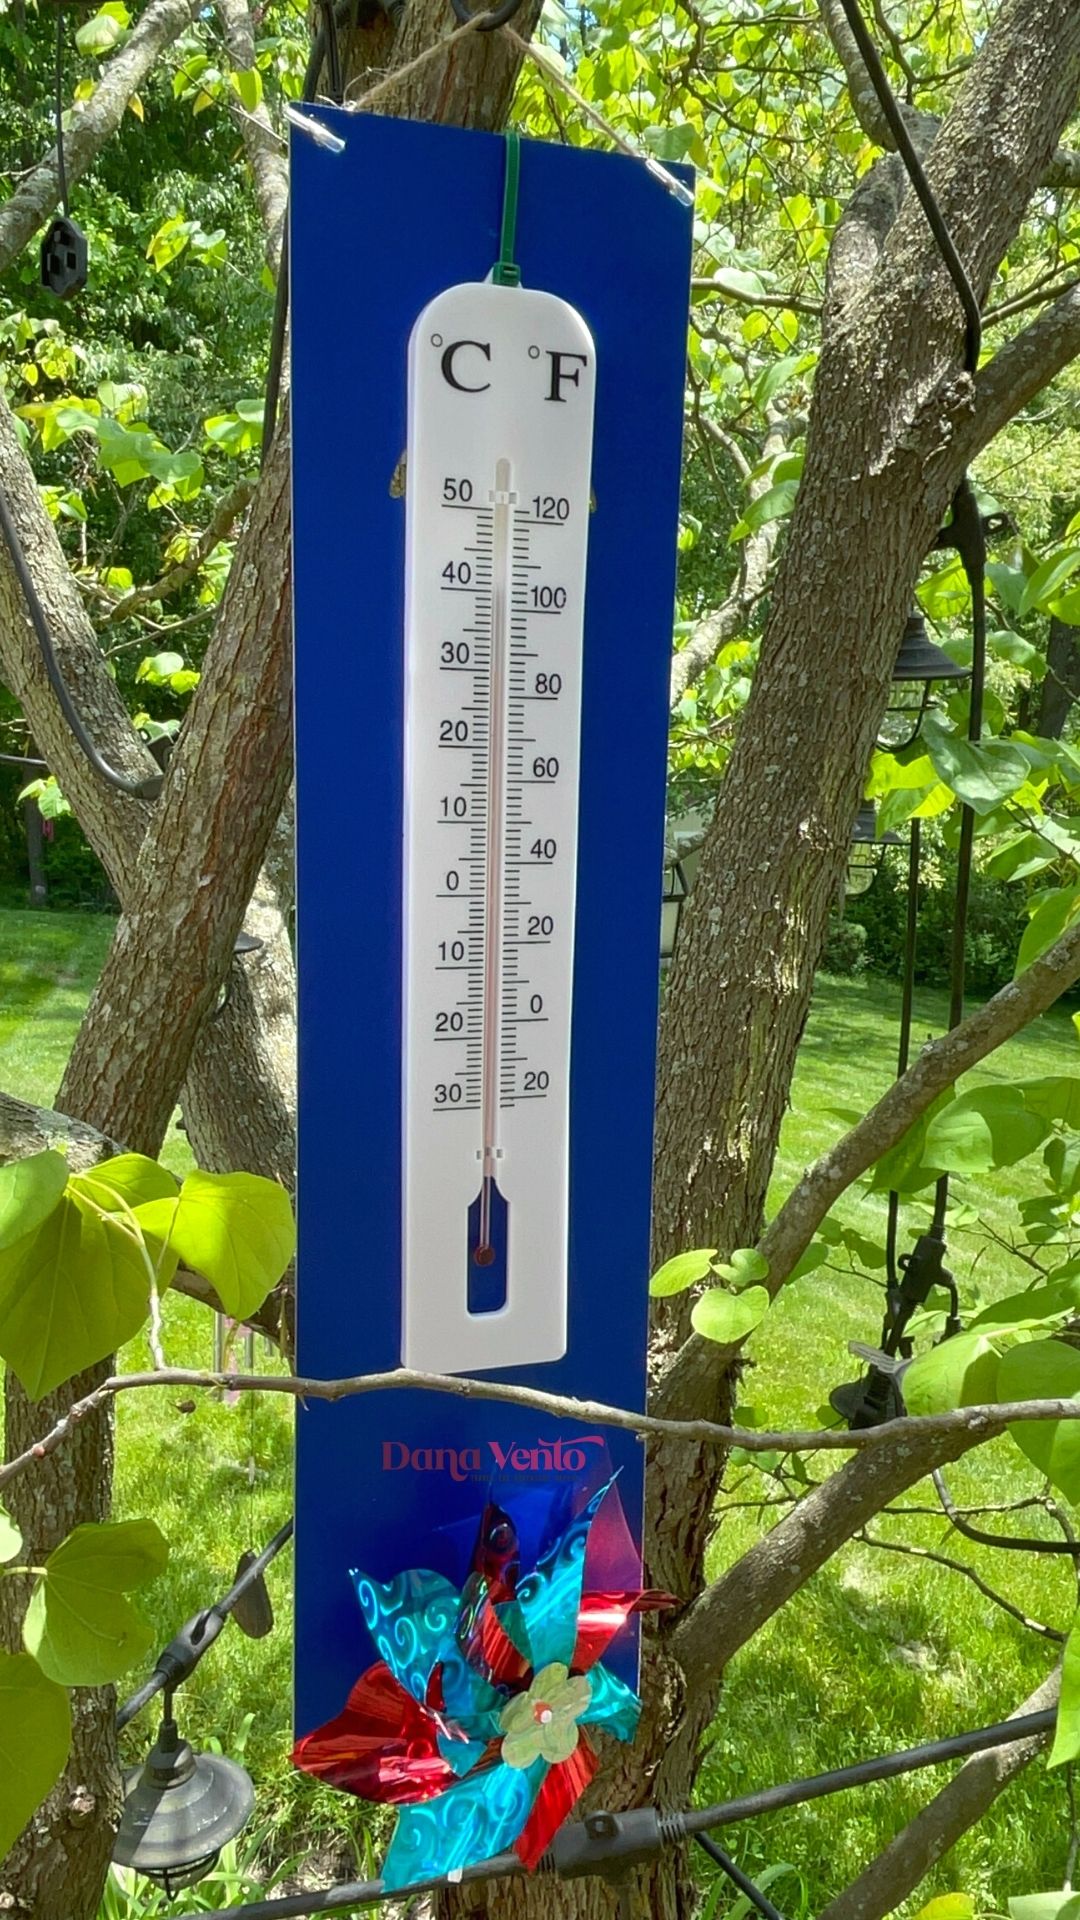
- hang it on an ‘S’ hook from the branch of a tree (that is what I did)
- Hang it on a shepherd hook in your flower garden
- Add a hook to your wall on your patio and hang it from the hook
There are other ways you could also choose to hang your outdoor temperature gauge, but you will have to find what best suits your needs.
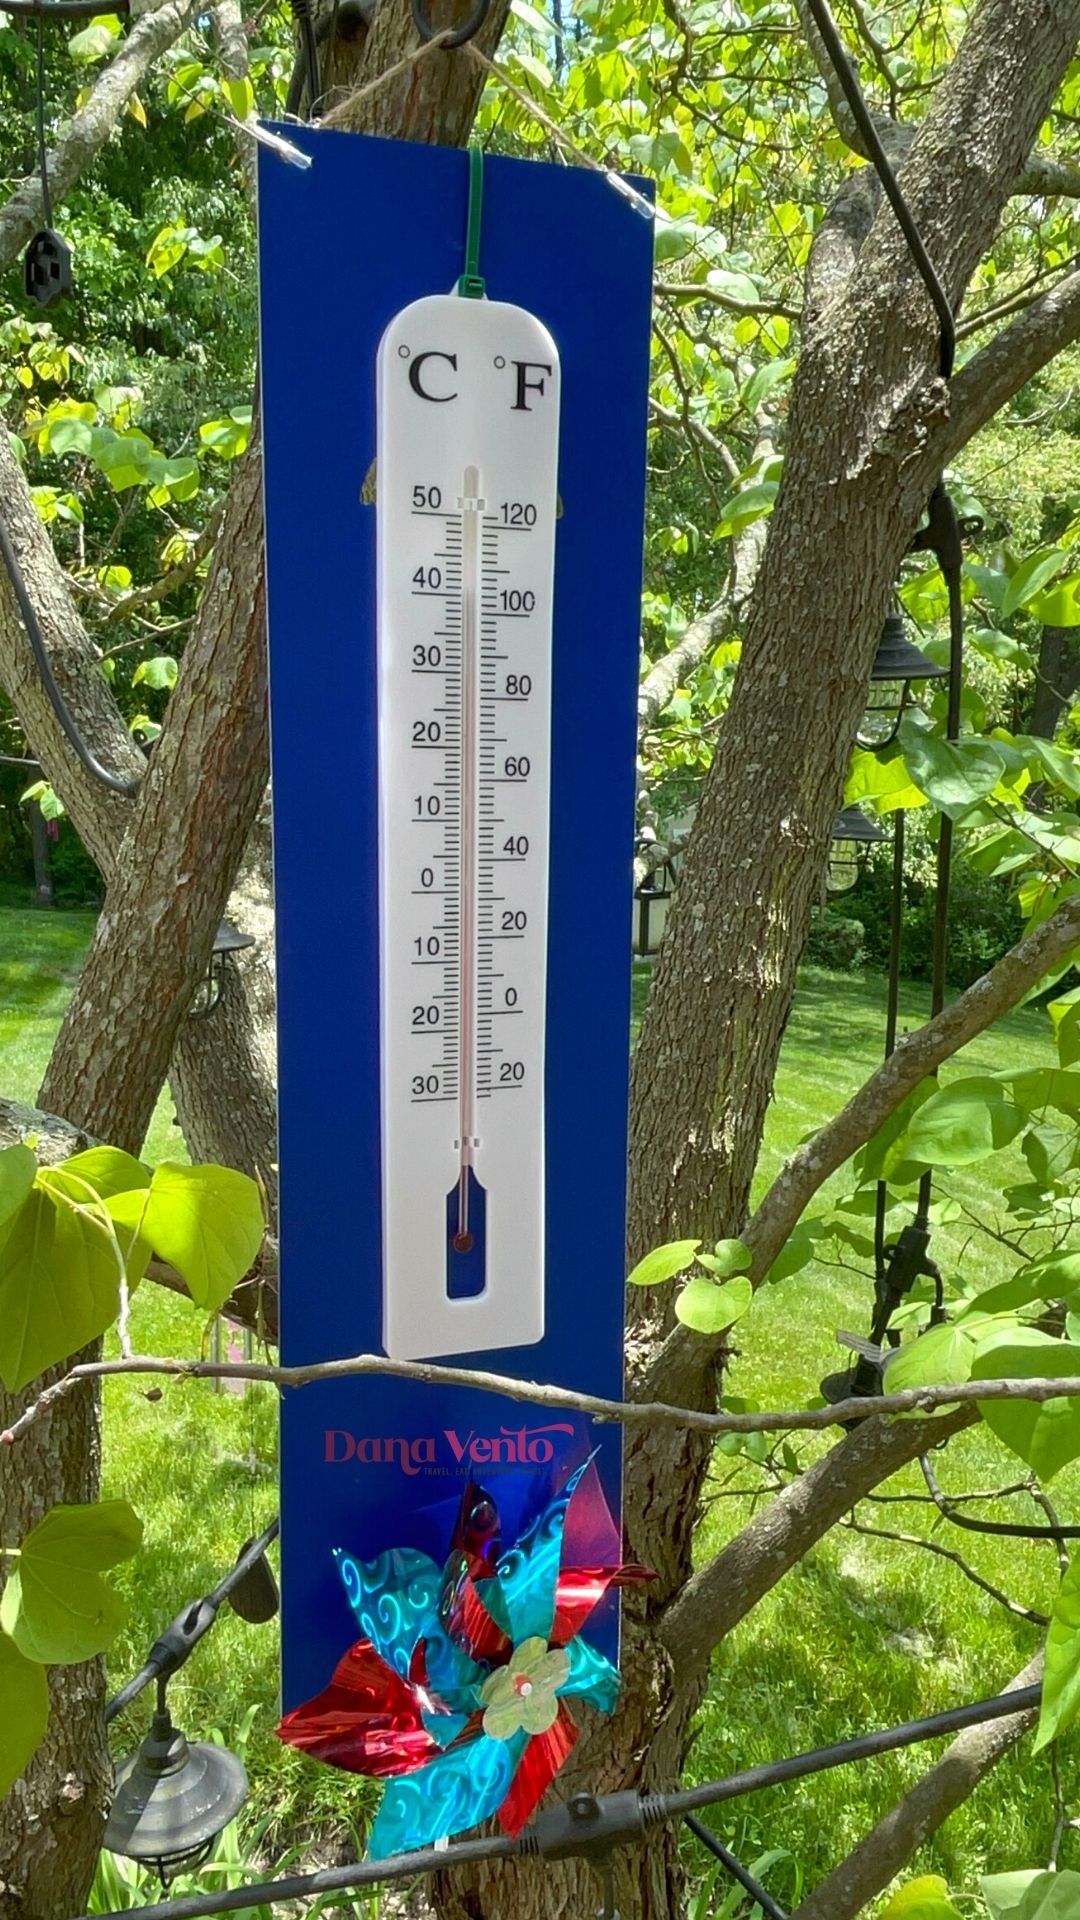
Where Do You Hang An Outdoor Thermometer Gauge?
You hang it out of direct sunlight as that will not provide an accurate reading.
Instead, place it under a tree where there is adequate shade and airflow.
How High Should I Hang the Exterior Weather Thermometer Off Of The Ground?
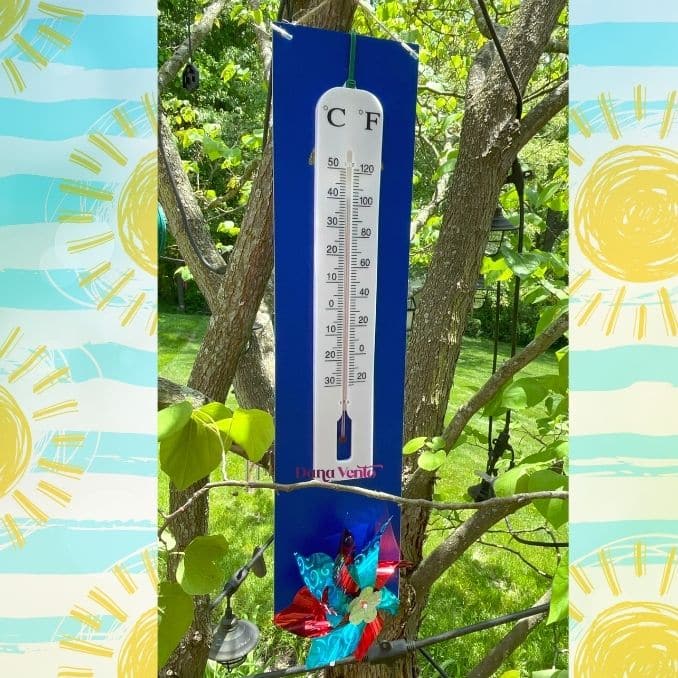
Place the outdoor decorative thermometer at least 4 feet off the ground but not more than six feet you will have the right amount of airflow in order to get a solid, true reading of the temperature!
Other OutDoor DIY Projects You’ll Love
- Garage Door Area Upgrades
- Garage Beverage Fridge DIY
- Gardening
- Pallet Garden
- Outdoor Lighting For Patio
- Installing TV outdoors
Don’t Forget To Come Back and Tell Me How Your DIY Easy Outdoor Decorative Thermometer Turned Out!
DIY Easy outdoor Decorative thermometer
DIY Easy Outdoor Decorative Thermometer - this is truly a very simple way to enhance your outdoor living space (patio or garden area) with a simple yet decorative exterior weather thermometer DIY, so you'll always know what the air temperature around you is while you are spending time outdoors! Even better, the outdoor thermometer takes only 10 minutes to assemble, costs just five dollars, and is the perfect addition to your garden, patio, porch, or any other outdoor area.
Materials
- 1 Painted Decorative Wood Board From The Dollar Tree 18" x 5" x .25"
- 1 Bulb Thermometer Dollar Tree
- 1 Pinwheel
- a zip tie
- T-Rex Super Glue Tape or some outdoor double sided tape (whatever you have on hand)
- Clear Outdoor Spray To seal board (optional)
Tools
- Scissors for zip tie
- Scissor for glue
Instructions
- You'll need the clear spray, the zip tie, the board, thermometer, pinwheel, and the T Rex Tape.
Prep the Outdoor Thermometer Support Board - Before you begin, if you purchased your board at the Dollar Tree, as I did, you will want to seal it to prepare it for the outdoors, which it is NOT when purchased.
- So change that 'as-is' item into 'outdoor' and you are good to go!
- All you have to do is lightly coat the back, front, and edges with the clear outdoor spray and allow it to dry.
- For me, it took 30 seconds to coat and about 5 minutes to dry. I will admit I worked with it when it was a little tacky on the one side but no big deal, it did dry!
Putting The Outdoor Weather Thermometer Together
- Once the board is dry, you will want to use your zip tie to secure the thermometer to the board and it is easy because if you look you can see that there is an opening under the top part of my thermometer which is how I pulled the zip tie through.
- Next, I cut most of the pinwheel off using a pair of pruners and left just enough to secure the T Rex Tape to.
- What I made sure of is that the Pinwheel would be straight on the board and that it had room to spin and it did.
- Place Your DIY Decorative Patio and Garden Thermometer In Its New Outdoor Space
- Now you have a few choices when it comes to the placement of your outdoor temperature gauge.
- hang it on an 'S' hook from the branch of a tree (that is what I did)
- Hang it on a shepherd hook in your flower garden
- Add a hook to your wall on your patio and hang it from the hook
- There are other ways you could also choose to hang your outdoor temperature gauge, but you will have to find what best suits your needs.


Leave a Reply